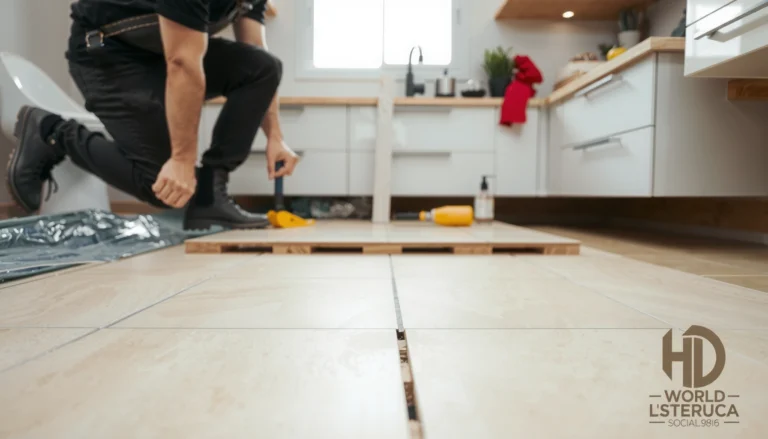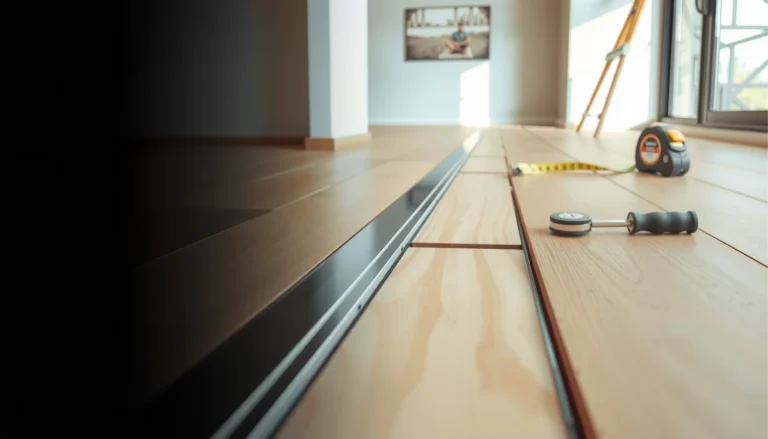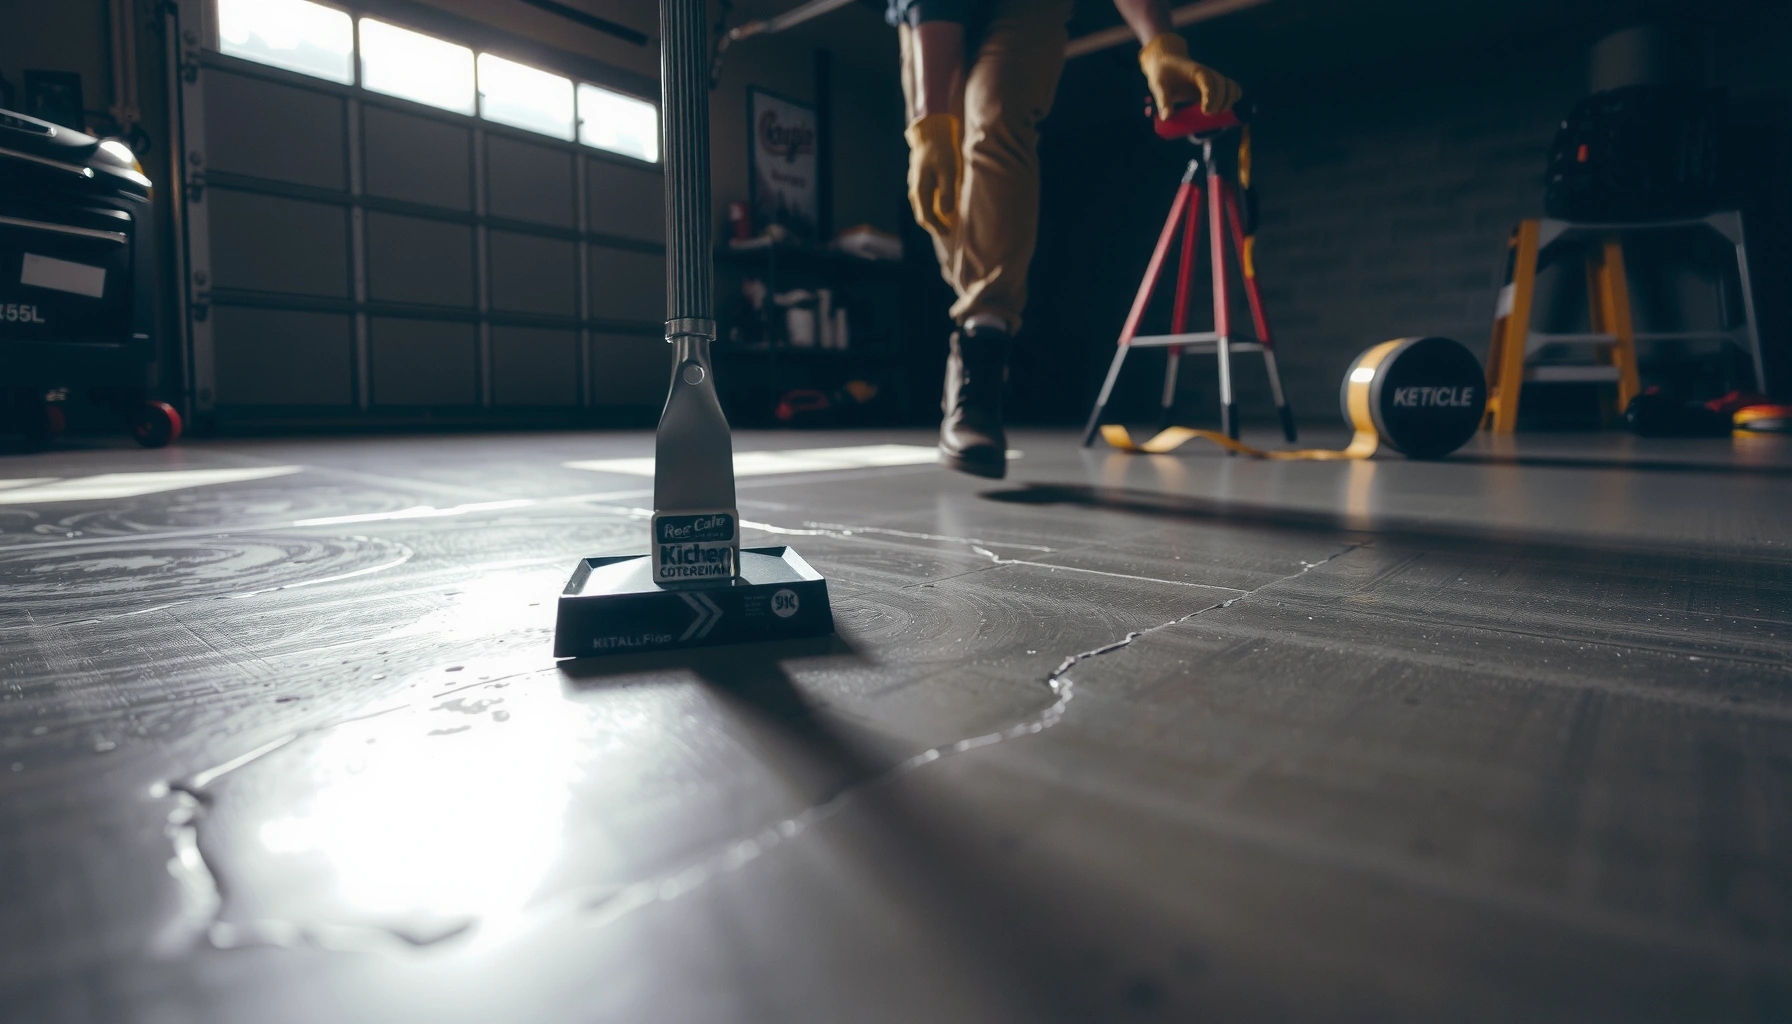

Want a step-by-step way to install kitchen garage floors without guesswork? This guide gives you a clear, proven process—from prepping the concrete or subfloor to installing your chosen flooring and finishing it for daily spills and heavy foot traffic. Follow these steps in order and you’ll get a durable, clean-looking surface that’s ready for real kitchen-garage use.




If you want a kitchen-ready garage floor that stays durable and easy to clean, the core is simple: prep the concrete correctly, then pick the flooring system that matches your moisture risk. From there, install exactly to the manufacturer’s instructions for epoxy, interlocking tiles, or roll/vinyl so the surface bonds (or locks) properly and doesn’t lift at edges.
This guide is for homeowners converting a garage into a kitchen-adjacent space—or anyone installing new flooring over concrete. If your garage has existing coatings, recurring water intrusion, or cracking, prep isn’t optional; it’s what determines whether the finished floor looks good and holds up under daily traffic.
Prep the garage concrete floor
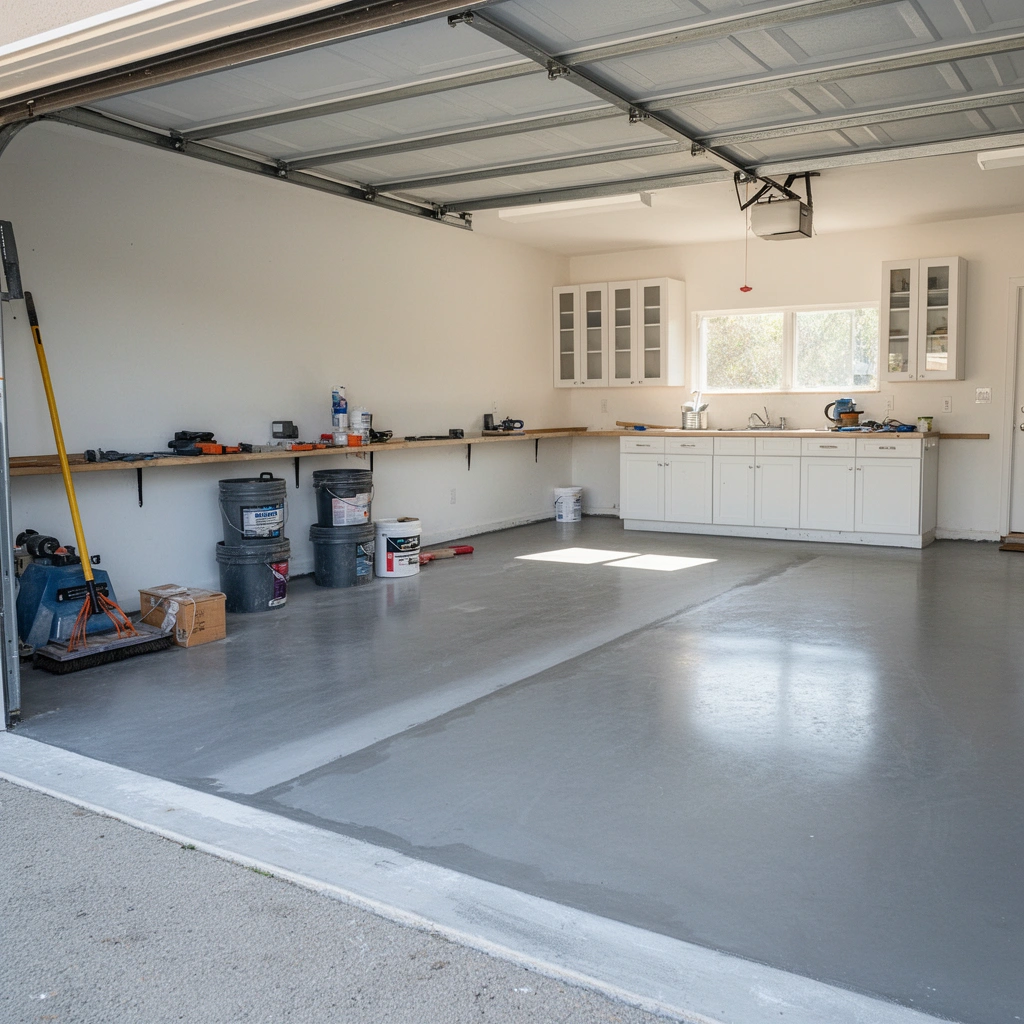
Start with clean, flat, properly prepared concrete—because virtually every kitchen garage floor failure traces back to contamination, moisture, or unevenness. This is where you decide whether epoxy/coatings are viable or whether you should choose a more forgiving system.
“Concrete surface preparation requirements for coatings are driven by adhesion; contamination and surface inconsistency directly reduce bond strength.” [ADD: coating manufacturer prep spec or technical bulletin]
“Moisture testing is commonly required before epoxy and glue-down flooring because moisture can disrupt cure/bond even when the concrete looks ‘dry’.” [ADD: ASTM moisture test standard used by the system]
“Crack repair is necessary when cracks can telegraph movement through coatings or adhesives, creating weak spots at the surface.” [ADD: concrete repair/patching guidance from a reputable manufacturer]
The step-by-step work here is straightforward, but it needs discipline:
1. Remove everything down to clean concrete.
You want no paint, epoxy flakes, sealers, or adhesive residue that could interfere with bonding. Use scraping and mechanical abrasion where needed, then sweep thoroughly. Degrease if there’s oil or residue common in garages.
2. Profile and clean for adhesion.
Most coating systems are designed for concrete that has been mechanically prepared (not just washed). If you only pressure-wash, you may leave a dusty film or laitance. After cleaning, allow full drying time per product guidance.
3. Fill cracks and smooth high spots to keep it flat.
Kitchen-adjacent areas feel “much more noticeable” because you’re likely to have under-cabinet sightlines, appliance wheels, and rolling chairs. Even small ridges can cause telegraphing or stress points, especially for tiles/planks with locking systems.
4. Moisture-test if there’s any doubt.
If you see damp concrete, persistent odor, staining, or condensation, plan for a moisture assessment before installing any coating or glue-down flooring. In my experience planning projects (and reviewing installation checklists from flooring brands), this step is the biggest time-saver—because it prevents rework after a coating debonds or a seam fails.
Important: Moisture tolerances vary by product. Use the moisture test method required by your specific flooring system (commonly ASTM methods for relative humidity or moisture vapor emission). If you’re unsure, don’t guess—follow the system’s documented requirement.
Recommended moisture test methods (what to plan for)
The most reliable approach is to match your test method to the system you’re installing. Here’s how installers typically align tests to requirements:
– ASTM F2170 (in-situ relative humidity probe) measures %RH in the slab.
– ASTM F1869 (calcium chloride test) measures moisture vapor emission rate (MVER) in lbs/1000 sq ft/24 hr.
– Plastic sheet tests can be a preliminary screening tool, but many epoxy manufacturers require ASTM-style testing for acceptance.
According to ASTM F1869, the moisture vapor emission rate is reported as lbs/1000 sq ft/24 hr (MVER). [ADD: confirm for your selected system]
Plan your flooring type (what fits a kitchen garage best)
Pick your flooring based on two things: (1) how much moisture risk you have and (2) how much “forgiveness” you need if the concrete isn’t perfectly flat. For many kitchen-adjacent conversions, the right choice is the one that matches your slab condition—not just the one that looks best online.
Epoxy systems typically require a surface that meets both adhesion prep and moisture limits to maintain long-term performance. [ADD: epoxy system spec/technical data sheet]
Floating or interlocking products are often less dependent on chemical bond to concrete because they use mechanical locking rather than a full adhesive bond. [ADD: interlocking tile/plank installation guide]
Sheet/roll vinyl performance depends on having a stable subfloor and correct adhesive/seaming practices at edges where spills and water exposure are most likely. [ADD: vinyl manufacturer installation instructions]
Epoxy/epoxy coatings
– Best for: a seamless, monolithic look and maximum wipe-clean performance.
– Trade-off: epoxy is unforgiving if the concrete prep or moisture conditions aren’t within the product’s limits.
– Kitchen reality check: epoxy can be slick if you don’t select the right aggregate/topcoat texture.
Interlocking tiles or garage floor planks
– Best for: easier installation and a path that can be more tolerant of minor flatness issues.
– Trade-off: you must handle expansion gaps, cut lines, and transitions correctly to prevent edge lift and water trapping.
Roll or sheet vinyl (if used)
– Best for: quick coverage and a softer feel underfoot compared with concrete coatings.
– Trade-off: requires clean, stable subfloor conditions, and spills near seams/edges must be sealed and managed carefully.
Quick decision comparison (what’s easier vs what’s tougher)
| Feature | Epoxy coating | Interlocking tiles/planks | Roll/sheet vinyl |
|---|---|---|---|
| Moisture sensitivity | High | Medium (depends on system) | Medium–Low (but edges still matter) |
| Surface flatness tolerance | Low | Medium | Medium |
| Seam management | Seamless (none) | Cuts + groutless joints | Seams/edges need proper sealing |
| Cleaning in a kitchen | Excellent | Excellent | Excellent |
| Replacement if damaged | Spot repair may be limited | Replaceable panels | Sometimes patchable, often limited |
| Best use case | Updated slab that passes testing | DIY-friendly conversions | Comfort-focused kitchen-adjacent spaces |
Install base prep: level, prime, and protect
You don’t “skip” this step if you want durability—base prep is what makes the installed system behave predictably. The goal is a stable, compatible substrate with the correct primer/underlayment for your exact product.
Most coating systems specify a primer type and application rate; using the wrong primer can reduce adhesion or cause coating failure. [ADD: selected system primer instructions]
Levelness matters because flooring movement and stress concentrate over low/high spots, which can lead to debonding or edge lifting. [ADD: flooring manufacturer flatness requirement]
Leveling
Use a suitable patch/skim product designed for your flooring type. Patch divots, feather rough edges, and remove ridges so the finished surface reads flat under natural light.
If you’re converting a garage to a kitchen-adjacent room, also consider:
– Transition planning at the doorway into the house
– Appliance and chair movement paths (rolling loads expose weak spots first)
Prime/underlayment (use what the system requires)
– Prime only if the manufacturer calls for it.
– Use the primer/underlayment recommended for that coating/adhesive system—substitutions can break compatibility.
– Follow mixing and cure windows; don’t “rush the recoat” in humid conditions.
Edge protection and transitions
Edge failures are common because kitchen spills happen where floors meet:
– door thresholds
– cabinet edges
– utility penetrations
– steps up/down
Plan transitions with the correct trim and sealing approach for your system so water and debris can’t sneak underneath.
Install the flooring step-by-step
From here, success is about following the method precisely—mix ratios, cure times, layout lines, and approved adhesives. The installation “sequence” is often as important as the materials themselves.
Epoxy installation performance depends on correct mixing ratios, application thickness, and recoat timing based on the product’s cure schedule. [ADD: epoxy manufacturer installation steps]
Interlocking tile/plank installs usually require a straight starting line and respect for any required expansion gaps to allow movement. [ADD: floating floor installation instructions]
Vinyl roll/sheet installations require approved adhesives (or methods), proper acclimation, and attention to edges where moisture and spills concentrate. [ADD: vinyl manufacturer guideline]
Epoxy coatings (sequence matters)
1. Mix epoxy exactly by the ratio in the technical data sheet.
2. Apply using the method specified (roller, squeegee, broadcast if required) and within the pot life window.
3. Recoat only when the schedule allows (over-curing can reduce intercoat bonding).
4. Use the correct topcoat if the system includes one—especially if you want chemical/spill resistance in a kitchen-like environment.
Interlocking tiles/planks (layout and cut accuracy)
1. Establish a straight reference line for the first row.
2. Maintain any required expansion gaps at walls/columns.
3. Cut accurately around posts, cabinet bases, and edges.
4. Stagger joints as required and ensure locks fully engage without forcing (forcing can damage edges that later lift).
Sheet/roll vinyl (acclimation and sealing)
1. Acclimate if the manufacturer requires it.
2. Roll out flat and align seams/edges with your layout.
3. Use the approved adhesive and spread rate (or the manufacturer’s recommended installation method).
4. Seal transitions and edges to reduce moisture and spill intrusion beneath the flooring.
What can go wrong (and how to avoid it)
Even when you choose the “right” flooring type, installation problems usually come from a predictable set of causes: moisture, contamination, improper timing, or edge/transition mistakes.
Moisture-related failures in coatings often show up as bubbling, peeling, or loss of adhesion even when the coating appears intact at first. [ADD: coating failure troubleshooting guide from manufacturer]
Edge lifting commonly results from inadequate flatness correction, incorrect expansion gap handling, or missing/incorrect transitions and trim. [ADD: floating floor installation requirements]
Staining on porous substrates can occur when spills contact concrete directly without a compatible sealed/finished layer designed for kitchen use. [ADD: epoxy topcoat/chemical resistance guidance]
Common failure modes (with prevention)
– Peeling, bubbling, tacky spots (epoxy/glue floors):
Typically moisture, poor surface cleaning, incorrect mixing, or recoat timing outside the product’s window.
– Lifting at edges:
Usually caused by uneven concrete, ignored expansion gaps, or transitions not sealed/finished properly.
– Spill stains near appliances and sink areas:
Untreated concrete or incorrect topcoat selection can leave persistent discoloration. This is especially noticeable in a kitchen where you may spill oils, sauces, or acidic cleaners.
Pros/cons snapshot (use this to sanity-check your choice)
| Flooring approach | Pros | Cons / best-to-avoid scenarios |
|---|---|---|
| Epoxy coating | Seamless, wipe-clean surface | Only as good as prep + moisture results; can be slick without texture |
| Interlocking tiles/planks | DIY-friendly, replaceable sections | Requires careful layout/gaps; joints can trap debris if not maintained |
| Roll/sheet vinyl | Comfortable feel, quick install | Subfloor stability matters; edges/seams need strong detailing to resist water/traffic |
Verdict / tip (honest recommendation)
The best approach for kitchen garage floors is: match the flooring system to your concrete condition and moisture risk, then follow the manufacturer’s prep/primer/installation instructions exactly. If you’re not confident in moisture readings or your slab shows active dampness or widespread cracking, skip glue-down/epoxy until you understand what’s driving the moisture.
Research in flooring installation practice consistently emphasizes that adhesion failures are often substrate-prep and moisture-compatibility problems, not “bad luck.” [ADD: relevant technical paper or manufacturer troubleshooting document]
When a system requires a specific primer or adhesive, compatibility is not optional; installers must follow the specified substrate-prep workflow to meet performance claims. [ADD: manufacturer instructions/spec sheet]
For kitchen-adjacent use, edge detailing and transition sealing reduce water and debris intrusion—the most common pathways for long-term problems. [ADD: installation guideline for transitions/trims]
Side-by-side: what to choose for a kitchen-like garage space?
| Criteria (what matters most) | Epoxy coatings | Interlocking tiles/planks | Roll/sheet vinyl | Verdict |
|---|---|---|---|---|
| Moisture tolerance (unknown slab) | Lower | Medium | Medium | |
| Cleanability for kitchen spills | ★★★★☆ | ★★★★☆ | ★★★★☆ | |
| Seam/edge vulnerability | Moderate (at terminations) | Higher (joints) | Moderate–High (seams/edges) | **Choose epoxy only after moisture checks pass** |
| Flatness sensitivity | High | Medium | Medium | |
| DIY friendliness | Medium (process-sensitive) | High | Medium | |
| Replacement after localized damage | Variable | High | Variable | |
| Slip resistance control | Depends on topcoat/texture | Good if texture is built-in | Depends on wear layer | |
| Installation downtime risk | Higher if timing/cure gets missed | Lower | Medium | |
| Best match for a “kitchen look” | Strong | Strong | Good | |
| Transition detailing requirement | Moderate | High | High | |
| Long-term performance potential (when spec-followed) | Strong | Strong | Strong | |
| Overall recommendation | Best after prep + moisture | Best if you want tolerance | Best for comfort + fast coverage | **Verdict: “Spec-following” wins—choose based on your moisture and prep confidence** |
Who should skip this approach (or at least slow down):
– If you have ongoing moisture (recurring dampness, water intrusion during rains) and haven’t addressed the source, avoid epoxy/glue-first installs.
– If your concrete is actively cracking or you suspect structural movement, repair the cause before finishing the surface.
– If you can’t commit to manufacturer cure windows, avoid systems that depend heavily on recoat timing (common with coatings).
Quick checklist for a kitchen garage floor install
Moisture Testing Standards Used for Concrete Adhesion (Key Outputs)
| # | Standard / Method | What It Measures | Typical Result Units | Usefulness for Coatings |
|---|---|---|---|---|
| 1 | ASTM F1869 | Moisture vapor emission rate (surface vapor) | lbs/1000 sq ft/24 hr | ★★★★★ |
| 2 | ASTM F2170 | In-situ relative humidity in the slab | % RH | ★★★★★ |
| 3 | ASTM D4263 | Plastic sheet field screening for moisture condensation | Qualitative (pass/fail) | ★★★★☆ |
| 4 | ASTM C1583 | Concrete surface bond strength (pull-off) | psi (bond strength) | ★★★★☆ |
| 5 | ASTM E96 | Water vapor transmission through materials (lab method) | Varies by test setup | ★★★☆☆ |
| 6 | ASTM C920 (sealant compatibility) | Sealant performance for joints/edges (installation-relevant) | Performance classes (per spec) | ★★★★☆ |
| 7 | ICRI Concrete Surface Profile (CSP) | Surface roughness target after prep (mechanical) | CSP number | ★★★★★ |
– [ ] Concrete is clean and free of coatings/residue
– [ ] Cracks filled; high/low spots addressed to keep it flat
– [ ] Moisture risk assessed (test if recommended by the system)
– [ ] Correct primer/underlayment used for your exact product
– [ ] Floors installed with required expansion gaps and proper transitions
– [ ] Topcoat/sealant used where required for spill resistance
FAQ
Do I need to remove existing paint or coatings before installing kitchen garage floors?
Usually yes for epoxy and most coatings, because bonding depends on a clean, properly prepared surface. If you’re using interlocking tiles, the requirement can be different—but uneven or peeling coatings can still cause problems.
What flooring type is easiest to install in a kitchen garage?
Interlocking tiles/planks are often easier than coatings because they don’t rely on chemical bonding to concrete. Glue-down and epoxy systems are more sensitive to moisture and surface prep.
How do I prevent lifting at the edges near the kitchen/doorway?
Use the recommended transition method, maintain any required expansion gaps, and finish edges with the right trim/sealant so water and debris can’t get under the surface.
Can I install over cracks in the concrete?
Small cracks usually need repair/patching before installation. For active or wide structural cracking, you should address the underlying cause before proceeding.
Sources:
– [ADD: manufacturer installation instructions/spec sheets for the specific flooring type you recommend (epoxy system, primer, interlocking tiles, or sheet/roll vinyl)]
– [ADD: official guidance on concrete moisture testing/prep from a relevant coating manufacturer]
– ASTM F1869
– ASTM F2170
– ASTM D4263
A durable kitchen garage floor comes down to one principle: compatibility between your concrete (prep + moisture) and your chosen flooring system, followed by strict adherence to installation steps. If you start with proper cleaning, crack repair, and the right moisture test, you dramatically reduce the odds of bubbles, peeling, and edge lift—so the finished surface stays attractive and easy to maintain in everyday kitchen traffic.
Frequently Asked Questions
What’s the best way to prepare kitchen garage floors before installation?
Start by removing all debris, grease, paint, and old adhesives, then scrub the concrete thoroughly. Check the slab for cracks, hollow spots, or moisture issues, and repair them with a suitable concrete patch or leveling compound. If the floor is dusty or porous, use a concrete primer so the garage floor coating or tile adhesive bonds properly. Finally, verify the surface is clean and dry before you begin the kitchen garage floor installation.
How do I install epoxy or garage floor coating on a kitchen garage floor?
First, test for moisture and ensure the concrete is cured and fully dry, since kitchen garage floors often see temperature swings. Grind or etch the concrete for profile, then vacuum thoroughly and apply the primer if your system requires it. Mix the epoxy exactly per the manufacturer instructions, spread evenly with the correct roller or squeegee, and add flakes or a topcoat for slip resistance. Allow full cure time before heavy foot traffic or moving items back into the space.
Which flooring is easiest to install in a kitchen garage over concrete?
Many homeowners choose peel-and-stick vinyl tiles or interlocking vinyl/plank flooring because they’re relatively fast and beginner-friendly. If you want a more durable option, sheet vinyl can be easier than tile because it has fewer seams to seal, but it still needs a flat subfloor. For a garage with heavy loads, epoxy coatings are common, but they require careful prep and accurate mixing. The best choice depends on moisture levels, expected wear, and whether you want a DIY-friendly kitchen garage floor.
How can I fix cracks and uneven spots on kitchen garage floors before installing new flooring?
Use a straightedge to identify high and low areas, then grind ridges or fill low spots with a cement-based leveling compound. For cracks, clean them out, bridge them with an appropriate crack repair product, and let everything fully cure before installation. If the floor is significantly uneven, consider a thicker leveling system or a substrate designed for floor flatness. Proper leveling prevents gaps, peeling edges, and uneven wear, especially with vinyl, laminate, or tile installation.
Why does moisture matter when installing kitchen garage floors, and how do I test for it?
Moisture can cause bubbling, lifting, mold growth, or adhesive failure, particularly in garage floors that experience humidity changes near the kitchen area. Use a simple concrete moisture test (like a plastic sheet test) or a professional-grade moisture meter to confirm the slab is within the flooring system’s limits. If moisture is high, install the right moisture barrier primer or coating system designed for that condition. Addressing moisture early helps your kitchen garage floor installation last much longer and perform better.
📅 Last Updated: October 11, 2026 | Topic: How to install in a kitchen garage floors? | Content verified for accuracy and freshness.
References
- Google Scholar Google Scholar
https://scholar.google.com/scholar?q=garage+floor+concrete+surface+preparation+how+to+install - Google Scholar Google Scholar
https://scholar.google.com/scholar?q=installing+ceramic+tile+over+concrete+floor+preparation - Google Scholar Google Scholar
https://scholar.google.com/scholar?q=vinyl+plank+floor+installation+subfloor+preparation+over+concrete - https://en.wikipedia.org/wiki/Flooring
- Tile
https://en.wikipedia.org/wiki/Tile - Underlayment
https://en.wikipedia.org/wiki/Underlayment - https://en.wikipedia.org/wiki/Thinset_mortar
- https://en.wikipedia.org/wiki/Concrete
- https://en.wikipedia.org/wiki/Leveling_compound
- Flooring
https://en.wikipedia.org/wiki/Resilient_flooring