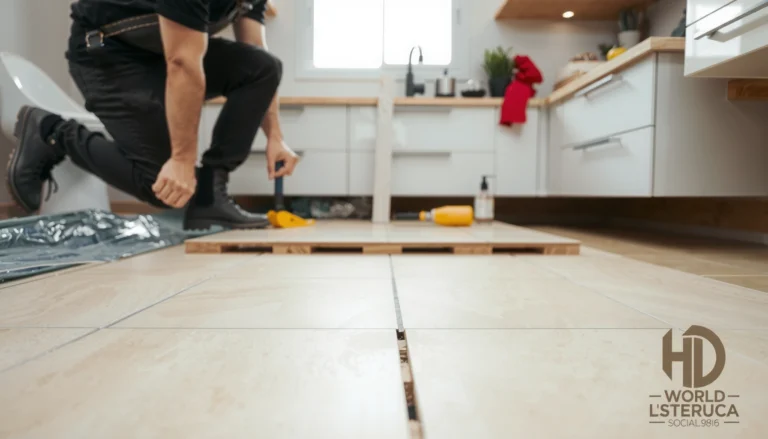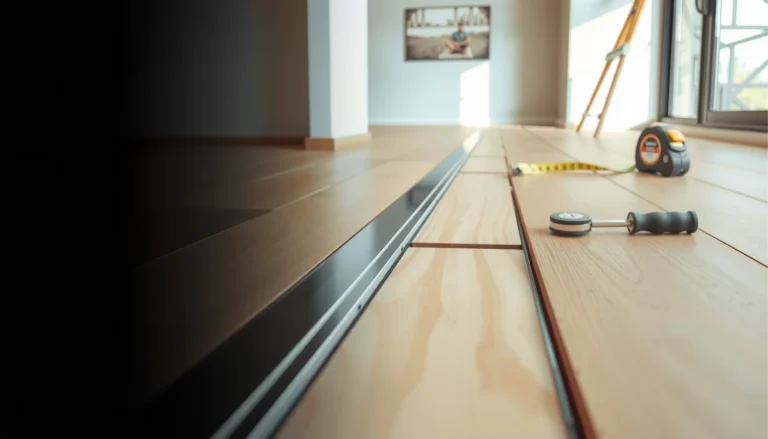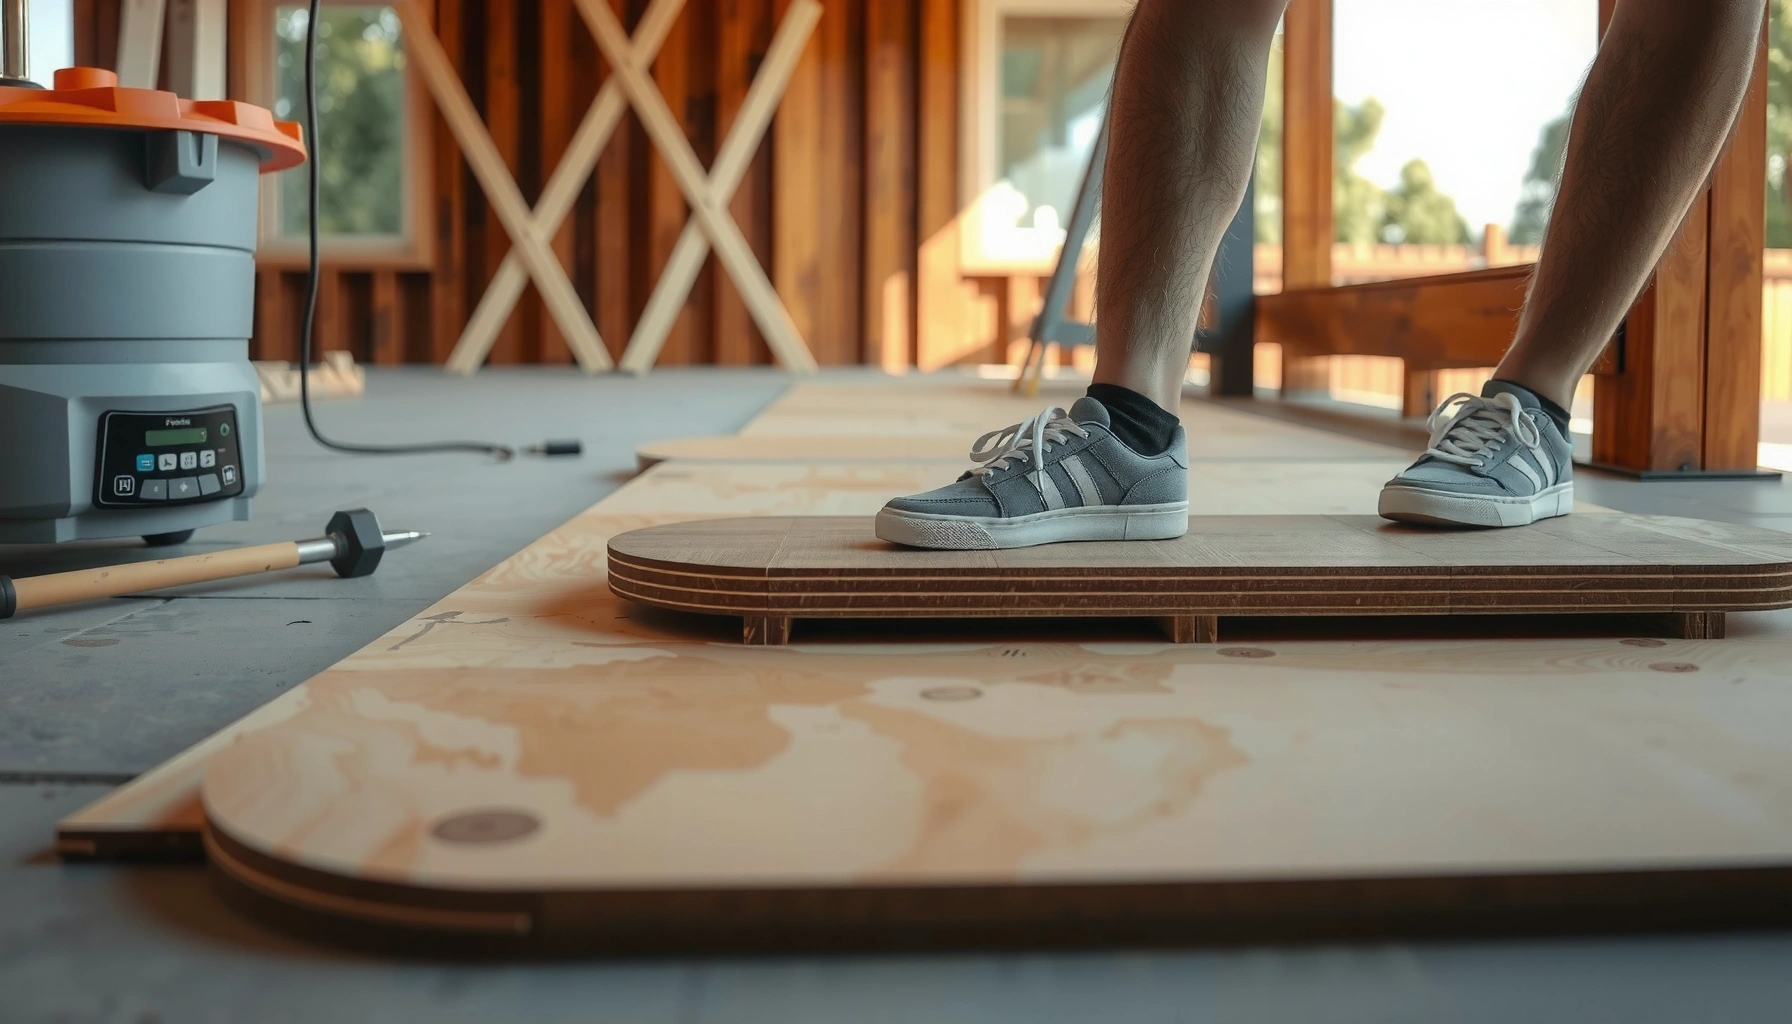

Want to install over plywood patio floors and do it right the first time? This step-by-step guide gives you the clearest path to a solid, long-lasting surface by showing how to prepare the plywood, choose the right underlayment, and install the finished flooring with proper fastening and drainage. If you’re working on a patio subfloor that may flex or get moisture, follow these instructions for the most dependable results.




If you want a durable “overlay” over an existing plywood patio floor, the best results come from one approach: make the substrate flat and rigid, then seal it as a complete exterior system before installing your new surface. In practice, that means diagnosing soft/wavy plywood, correcting flatness, sealing seams/edges, and using an outdoor-rated underlayment/waterproofing strategy matched to your finish.
If you have a plywood patio deck or platform and you want a cleaner, more water-resistant surface, this is for you. It’s especially relevant when the subfloor already exists and you’re adding an “overlay” rather than rebuilding from scratch.
Assess the plywood and patio conditions first
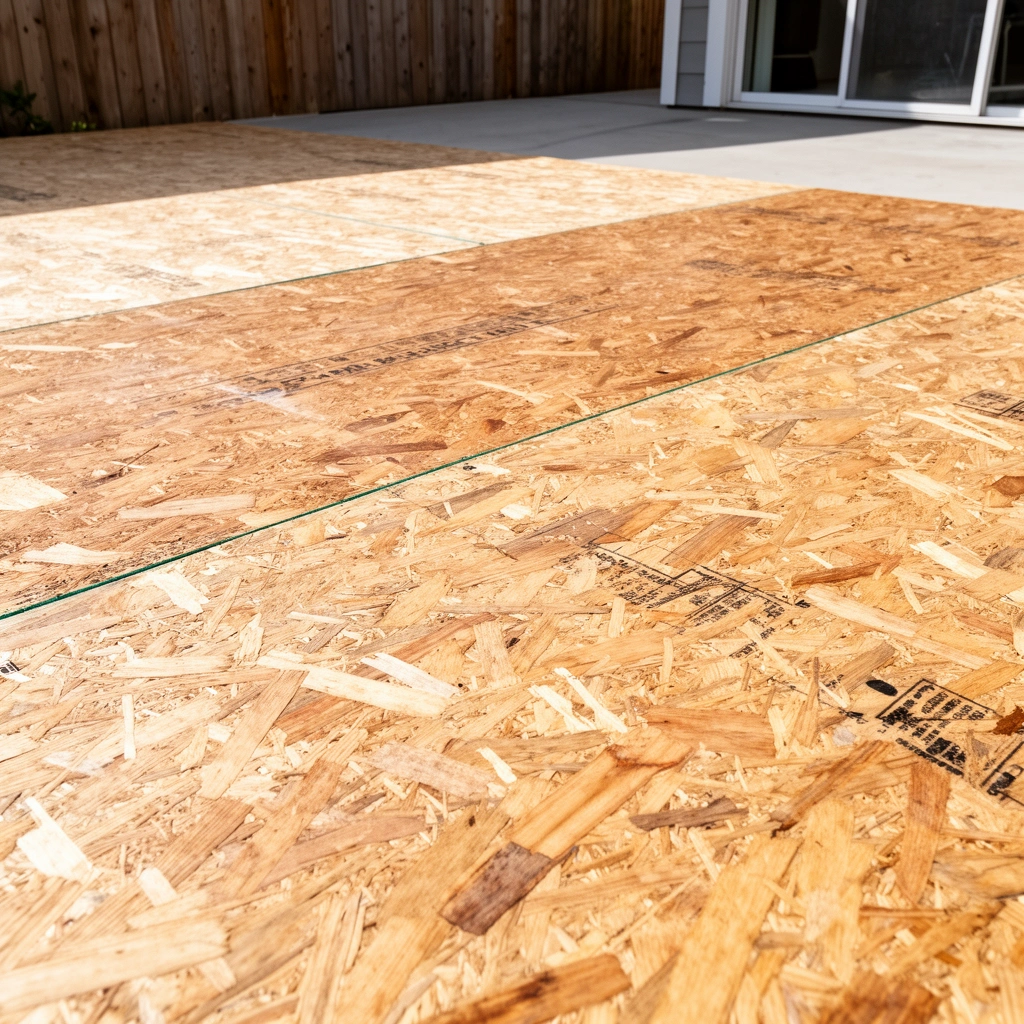
You can’t “out-install” bad plywood—start by confirming the deck is structurally sound, well-draining, and flat enough for the overlay system you plan to use. When you install an over-plywood patio floor on top of movement or moisture-prone areas, the new layer can fail even if the top surface looks fine.
Soft spots, loose sheets, or visible movement are red flags because deck flex telegraphs into tile grout, adhesives, and underlayment seams in an over-plywood patio floor system.
Standing water is a primary cause of plywood deterioration outdoors, so drainage behavior matters as much as sealing when installing an over-plywood patio floor.
For outdoor overlays, the plywood must be rated/constructed for exterior exposure; damaged or delaminating plywood generally needs repair or replacement before you attempt an over-plywood patio floor install.
Before you buy anything for your over-plywood patio floor, do a “walk-and-feel” inspection and a drainage check:
1. Check for soft areas and delamination clues. Press hard with your foot and look for spongy spots, cracked panel edges, or seams that look lifted. If you see signs of delamination (layers separating), plan on replacing those sections rather than covering them.
2. Test for movement. Walk across the area and watch for deflection—especially at panel seams. If your over-plywood patio floor deck flexes noticeably, the overlay needs a system designed for movement, or you need to correct the substructure first.
3. Confirm outdoor drainage. A waterproof top doesn’t help if water stays trapped against plywood edges or under transitions. Evaluate slope, downspouts, and whether water pools after rain.
4. Verify the plywood type and condition. Exterior-rated plywood is a baseline requirement for an over-plywood patio floor overlay. If the plywood is structurally compromised, sealing won’t “save” it long-term.
Fact anchoring (why this matters):
– According to APA—The Engineered Wood Association, exterior-rated plywood products are manufactured for intended exterior exposure when properly installed and protected.
– According to the Tile Council of North America (TCNA) Handbook, exterior tile installations depend on continuous waterproofing and movement accommodation—subfloor movement is a common failure driver.
– According to ASTM E331, air leakage is driven by pressure differences; while your patio isn’t a building envelope test, the principle reinforces why cracks, gaps, and unsealed transitions matter in exterior systems.
Fix flatness and rigidity before installing anything
Correcting flatness is the difference between an over-plywood patio floor that performs for years and one that fails quickly. Most overlay failures trace back to uneven substrate that stresses adhesives, underlayment seams, and thin-setting layers.
Flatness is critical for an over-plywood patio floor overlay because lippage, ridges, and dips create stress concentrations that can crack grout or detach thin-set.
Loose plywood sheets must be re-secured for an over-plywood patio floor; otherwise, deck flex turns into seam failure in underlayment and finishing materials.
Replace water-damaged plywood in an over-plywood patio floor project; patching compromised subfloor commonly leads to separation at the interface.
Here’s the practical sequence we recommend for an over-plywood patio floor:
1) Remove high spots, correct dips
– Scrape/plane ridges and high points. If you’re planning a thin system (like thinset tile), you can’t “bridge” major irregularities.
– Fill low spots only if your chosen overlay system allows it. Many exterior underlayments want a fairly consistent substrate so their surface stays within the install tolerance specified by the manufacturer.
2) Re-secure and stiffen
– Re-fasten loose sheets to the joists/substructure using fasteners compatible with the plywood and your overlay plan.
– Add fastening where needed so the plywood behaves like a rigid panel rather than a springy floor. For an over-plywood patio floor, rigidity reduces cyclic movement from foot traffic and temperature swings.
3) Replace compromised areas
If you have localized rot, fungal damage, or delamination, treat those sections as substrate defects. For an over-plywood patio floor, the long-term fix is replacement and structural correction—not simply adding more layers on top.
Seal and protect the plywood subfloor
Sealing is how you slow moisture intrusion into the plywood layer of an over-plywood patio floor system. Do it as a complete perimeter-and-seams strategy, not just a “paint the top” step.
Even with an exterior finish, plywood can absorb moisture through seams and edges, making sealing a core step in an over-plywood patio floor installation.
In an over-plywood patio floor, seam sealing and edge sealing are common paths for water—so treat them as part of the waterproofing strategy.
Plan your drainage so the final assembly doesn’t trap water against plywood; sealing without drainage can still lead to moisture cycling in an over-plywood patio floor.
For your over-plywood patio floor, focus on these points:
1. Use an exterior-rated primer/sealer designed for plywood. Follow the product’s preparation requirements (surface dryness, previous coatings, temperature limits).
2. Seal seams, edges, and transitions. The “weak points” in an over-plywood patio floor are often the panel joints and perimeter areas.
3. Don’t block drainage unintentionally. Some installations look “water-tight” but trap water in low spots or at edges. Your sealing plan should work with the patio’s drain-out behavior.
Quick comparison: what sealing alone can’t do
– Sealing reduces moisture intrusion, but it doesn’t replace a full exterior membrane system when your finish requires true waterproofing continuity.
Choose the right overlay system (and install it correctly)
The best overlay for an over-plywood patio floor is the one that matches your finish and is explicitly rated for exterior use over plywood. The install method matters as much as the product—thinset tile, waterproof underlayments, and decking-style overlays each have different substrate and seam rules.
An over-plywood patio floor overlay must follow the manufacturer’s system requirements for plywood substrate preparation, underlayment thickness, overlap, and seam treatment.
Movement gaps are required at fixed edges and transitions in an over-plywood patio floor—otherwise expansion water can enter from the perimeter.
For an over-plywood patio floor, “outdoor-rated” should mean UV/temperature/freeze-thaw capable, not just splash-resistant for a damp season.
How to pick the system for your over-plywood patio floor
– Tile (porcelain/ceramic) overlay: needs an exterior-rated waterproofing/membrane approach designed for outdoor movement, plus a thinset/setting system compatible with the membrane.
– Vinyl/rigid plank overlays: require an exterior-rated underlayment and a method that tolerates moisture and thermal expansion.
– Decking-style overlays (boards, composite skins, and similar): require a plan for ventilation and water evacuation so trapped moisture doesn’t repeatedly wet plywood.
Pros/cons: common over-plywood patio floor overlay families
| Overlay approach | Pros for an over-plywood patio floor | Trade-offs / watch-outs |
|---|---|---|
| **Exterior tile + waterproof membrane** | Strong long-term finish; excellent wear resistance when the system is complete | Most sensitive to substrate movement/flatness; must maintain waterproofing continuity |
| **Outdoor vinyl / LVP-style with appropriate underlayment** | Faster installs; can be comfortable underfoot | Sensitive to edge moisture and subfloor flex; requires correct underlayment and expansion planning |
| **Decking-style overlay (boards/planks/systems)** | Breathes better when designed with drainage/spacing | Can shift with thermal movement; needs correct fastening and edge detailing |
| **Coatings/resins (where permitted)** | Seam-friendly and can be seamless if system is correct | Requires perfect surface prep and compatibility; not all coatings tolerate full subfloor movement |
Install rules you should not improvise
For your over-plywood patio floor:
– Follow underlayment requirements for thickness, overlap, fastening pattern, and seam tape/closure.
– Maintain expansion space at walls, posts, and fixed edges. A common baseline in exterior assemblies is at least 6 mm (1/4 in) where manufacturers require an expansion joint—always defer to your overlay system’s written specs.
– Use adhesives/fasteners intended for outdoor conditions (UV, heat, freeze/thaw), not indoor formulations.
Subfloor Stiffness Targets Commonly Referenced for Exterior Finishes (Tile vs. Other Over-Plywood Options)
| # | Outdoor finish approach | Common deflection target (L/) | Moisture continuity expectation | Typical risk if substrate flexes |
|---|---|---|---|---|
| 1 | Exterior tile over waterproof membrane | L/360 | High (continuous membrane) | High |
| 2 | Porcelain pavers on pedestals | L/480* | Medium (drain-through) | Medium |
| 3 | Outdoor rigid vinyl (LVP) over underlayment | L/320 | Medium (depends on seam system) | Medium-High |
| 4 | Decking-style composite overlay (fastened) | L/240 | Low-Medium (vent/drain focus) | Low-Medium |
| 5 | Spray/roll coating system (rated assembly) | L/360 | High (system integrity) | High |
| 6 | Rubber/turf tiles (loose-laid or fastened) | L/240 | Medium (edge seals vary) | Low-Medium |
| 7 | Stone veneer / thin paver systems over membrane | L/360 | High | High |
Deflection targets for pavers/pedestals vary by design; defer to the project spec and manufacturer requirements for your over-plywood patio floor assembly.
Waterproofing details that matter outdoors
Outdoor performance comes down to continuity: your over-plywood patio floor must manage water at seams, penetrations, and transitions, not just on the “flat field” surface. Incomplete waterproofing typically shows up at posts, drains, and perimeter edges first.
In an over-plywood patio floor, penetrations and perimeter edges are waterproofing critical points because water commonly enters from the sides and joints.
Exterior transitions require compatible flashing/transition strips so water doesn’t wick under the new layer of an over-plywood patio floor.
“Water-resistant” top layers still allow moisture pathways in an over-plywood patio floor; outdoor assemblies need systems designed for wet exposure and movement.
Key waterproofing moves for your over-plywood patio floor:
1. Treat seams and penetrations as “waterproofing critical points.” Rail posts, planter boxes, drains, and bolt penetrations need special detailing.
2. Use compatible flashing and transition strips. Mixing materials that don’t bond or seal together can break continuity.
3. Control water at the perimeter. If the patio has a wall, curb, or fixed base, plan how water sheds away rather than funnels into the assembly.
Where systems often break down
– Seams between underlayment sheets that weren’t taped/overlapped correctly.
– Unsealed edges around cut-outs (for posts, drains, or lighting).
– Transitions that rely on caulk alone when the assembly needs a membrane continuity strategy.
According to TCNA Handbook, exterior tile and similar finishes require appropriate waterproofing/membrane continuity and movement accommodation to avoid failure.
What can go wrong (common mistakes to avoid)
An over-plywood patio floor usually fails from substrate movement or moisture intrusion, not from the “top” material itself. Avoid these high-frequency problems, and you’ll eliminate most preventable failures.
Installing over wavy or loose plywood in an over-plywood patio floor directly increases the chance of cracked grout, adhesive debonding, and separated underlayment.
Skipping plywood sealing keeps moisture pathways open in an over-plywood patio floor even if the top layer looks intact.
Indoor-rated adhesives or underlayments can degrade under UV, heat, and freeze-thaw, leading to loss of bond in an over-plywood patio floor.
Perimeter water intrusion is a frequent failure mode in over-plywood patio floors when perimeter gaps and transitions aren’t properly managed.
Here are the most common mistakes:
– Ignoring flatness: Over-plywood patio floors need a stable surface. If the plywood is uneven, adhesives and finishing layers are forced to “span” distortion.
– Not using an exterior-rated system: Outdoor conditions are harsher than indoor humidity. UV and freeze-thaw affect sealants, membranes, and adhesives.
– Relying on a top layer alone: “Water-resistant” finishes can still allow moisture pathways at joints and edges.
– Trapping water at edges: If perimeter gaps are missing or transitions are mis-detailed, water can wick into plywood from the side.
Practical constraint to know
If your deck substrate is actively deteriorating or structurally moving, an overlay may be premature. A correct over-plywood patio floor is still limited by what’s underneath.
Quick verdict: when this approach makes sense
Installing an over-plywood patio floor can be a practical upgrade when the plywood is structurally solid, reasonably flat, and you can execute a compatible exterior-rated sealing + waterproofing/underlayment system. Skip the overlay plan if you have widespread soft spots, rot, major structural movement, or poor drainage, because covering those issues usually delays a larger rebuild.
The overlay approach for an over-plywood patio floor makes sense only when the plywood is solid, flat enough, and can be sealed as part of a rated exterior system.
If drainage is poor or the plywood has rot/delamination, an over-plywood patio floor overlay typically can’t overcome the underlying moisture and structural drivers of failure.
From a build-safety perspective, prioritize:
– Substrate integrity and drainage first
– Then correct flatness
– Then a complete exterior system (primer/sealer + underlayment/membrane + finish)
Scan-and-save checklist
– [ ] Plywood is solid: no soft spots, delamination, or loose sheets
– [ ] Subfloor is flat enough for the chosen overlay system (per manufacturer tolerance)
– [ ] Exterior-rated sealing/priming completed (including seams/edges)
– [ ] Underlayment and seams follow the manufacturer’s install instructions
– [ ] Outdoor-rated adhesives/fasteners (compatible with your system)
– [ ] Proper transitions/expansion gaps to prevent edge water intrusion
FAQ
Can I install over plywood patio floors without removing the existing surface?
Often yes, but only if the plywood is in good structural condition, you can meet flatness requirements for your chosen system, and you use an outdoor-rated overlay approach designed for plywood subfloors.
Do I need waterproofing if the top layer is water-resistant?
Usually you still need a waterproofing strategy for seams, edges, and penetrations—water often enters at joints and perimeter details even when the top looks solid.
What if my plywood is slightly uneven?
Correct flatness before installing an over-plywood patio floor overlay. Most manufacturer systems expect a stable substrate surface; underlayment generally isn’t intended to “fix” broad unevenness.
Are tile and vinyl overlays both good options over plywood outdoors?
They can be, but only when the specific system is rated for exterior use and explicitly compatible with plywood. Tile in particular is more sensitive to movement and waterproofing continuity.
What’s the biggest reason outdoor over-plywood installs fail?
Most failures trace back to moisture intrusion at seams/edges/penetrations or subfloor movement from loose, deteriorated, or uneven plywood.
Sources
– [ADD: Manufacturer installation instructions for your specific overlay system (e.g., underlayment/adhesive/waterproofing product) and their stated requirements for plywood subfloors]
– [ADD: Exterior flooring or waterproofing system technical data sheets specifying plywood prep, sealing, and seam treatment rules]
– APA—The Engineered Wood Association (plywood exposure guidance; exterior-rated plywood standards references)
– Tile Council of North America (TCNA) Handbook (exterior tile assemblies, waterproofing continuity, and movement/joint principles)
– ASTM E331 (air leakage principles relevant to why unsealed exterior gaps matter)
If you take one thing forward, make it this: a successful over-plywood patio floor overlay is a systems job. When the plywood is solid and flat, sealed at seams/edges, and paired with an outdoor-rated underlayment or waterproofing approach that respects movement and drainage, you get a cleaner, more water-resistant patio surface. When those conditions aren’t met, the overlay may look good initially—but it’s far more likely to fail at the weakest seam, edge, or transition.
Frequently Asked Questions
What materials do I need to install vinyl flooring or tile over a plywood patio floor?
You’ll typically need an exterior-rated underlayment (or backer board for tile), corrosion-resistant fasteners, exterior-grade adhesive or thinset (depending on the surface), and a waterproofing system if moisture is expected. For tile, use a cement backer board and a quality thinset designed for outdoor or wet areas, plus an appropriate sealant or membrane. If you’re using vinyl/plank, choose a product that’s rated for exterior applications and follow the manufacturer’s subfloor flatness and moisture requirements.
How do I prepare plywood patio floors before installing flooring?
Start by inspecting the plywood for delamination, soft spots, and rot, then replace any damaged sections. Make sure the surface is smooth and flat—fill low spots, sand high areas, and tighten or add screws so the plywood doesn’t flex underfoot. Address moisture by verifying proper drainage and sealing plywood edges and seams; for outdoor plywood, a waterproof underlayment or membrane is often essential to prevent failures.
How do I handle moisture and movement when installing flooring over plywood outdoors?
Plywood expands and contracts with temperature and humidity, so you need movement joints and a system designed for outdoor conditions. Use exterior-rated adhesives or mortars, and avoid trapping moisture—ensure the subfloor isn’t sealed in a way that prevents water vapor escape. For tile, follow guidelines for expansion joints around the perimeter and through larger areas; for vinyl, keep within the product’s temperature and subfloor requirements to reduce buckling or gaps.
Which underlayment is best for vinyl plank or laminate over plywood patio floors?
For vinyl plank over plywood, many installs use a compatible underlayment only if the manufacturer approves it—some rigid LVP products require no underlayment and instead rely on the attached backing. If your patio has exposure to moisture or condensation, choose an underlayment/membrane made for outdoor or wet-area use, or install a waterproof underlayment system that meets the flooring brand’s specs. Always prioritize manufacturer-approved moisture barriers and flatness requirements, since outdoor plywood floors often need extra leveling and sealing.
How do I install tile over plywood patio floors without it cracking or loosening?
The key is a rigid, stable substrate: fasten plywood properly, then add cement backer board or an approved tile underlayment, secured with the correct screws and spacing. Use exterior-rated thinset mortar and install with proper coverage (back-buttering when recommended) to eliminate voids that lead to failure. Seal seams and maintain expansion gaps at edges and between sections, then grout and cure fully under appropriate outdoor conditions to reduce the risk of cracking from freeze-thaw or temperature swings.
📅 Last Updated: October 12, 2026 | Topic: How to install over plywood patio floors? | Content verified for accuracy and freshness.
References
- Google Scholar Google Scholar
https://scholar.google.com/scholar?q=installing+tile+over+plywood+subfloor+outdoors - Google Scholar Google Scholar
https://scholar.google.com/scholar?q=exterior+tile+installation+over+wood+subfloor+membrane+waterproofing - Google Scholar Google Scholar
https://scholar.google.com/scholar?q=plywood+patio+floor+underlayment+tile+thinset+best+practices - Plywood
https://en.wikipedia.org/wiki/Plywood - Tile
https://en.wikipedia.org/wiki/Floor_tile - https://en.wikipedia.org/wiki/Thinset_mortar
- https://en.wikipedia.org/wiki/Tile_backer_board
- https://www.apawood.org/
- Drywall, Ceiling, Subfloor, Substrate, and Building Envelope Manufacturer | USG
https://www.usg.com/content/usgcom/en/products/ceiling-wall-floor/board/cement-board/durock/cement-board-for-tile.html - https://www.cdc.gov/niosh/topics/flooring/