
Buckling in concrete floors is fixable—but the right repair depends on whether the movement is caused by moisture-driven expansion, poor base support, or structural failure. This guide delivers the fastest, most reliable path: diagnose the cause, stabilize the slab, and restore flatness with the correct patching, leveling, or removal-and-repour method. You’ll get practical steps to stop the buckling from coming back, not just cosmetic fixes that fail.




Buckling in concrete floors usually happens because moisture pressure builds up under or within the slab, the slab loses support (often due to voids), or the slab is still moving (from freeze-thaw, settlement, or thermal movement). The “fix” is to stop the active driver first—then stabilize and repair; patching cracks or resurfacing over an actively lifting slab is often temporary.
Buckling isn’t just a cosmetic issue. If you’re seeing raised “waves,” ridges, or cracking that seems to spread—especially after water intrusion, freeze-thaw, a recent leak, or construction that didn’t include proper subgrade prep—use the steps below to triage the damage and choose the right next move.
Spot the cause: what buckling usually means
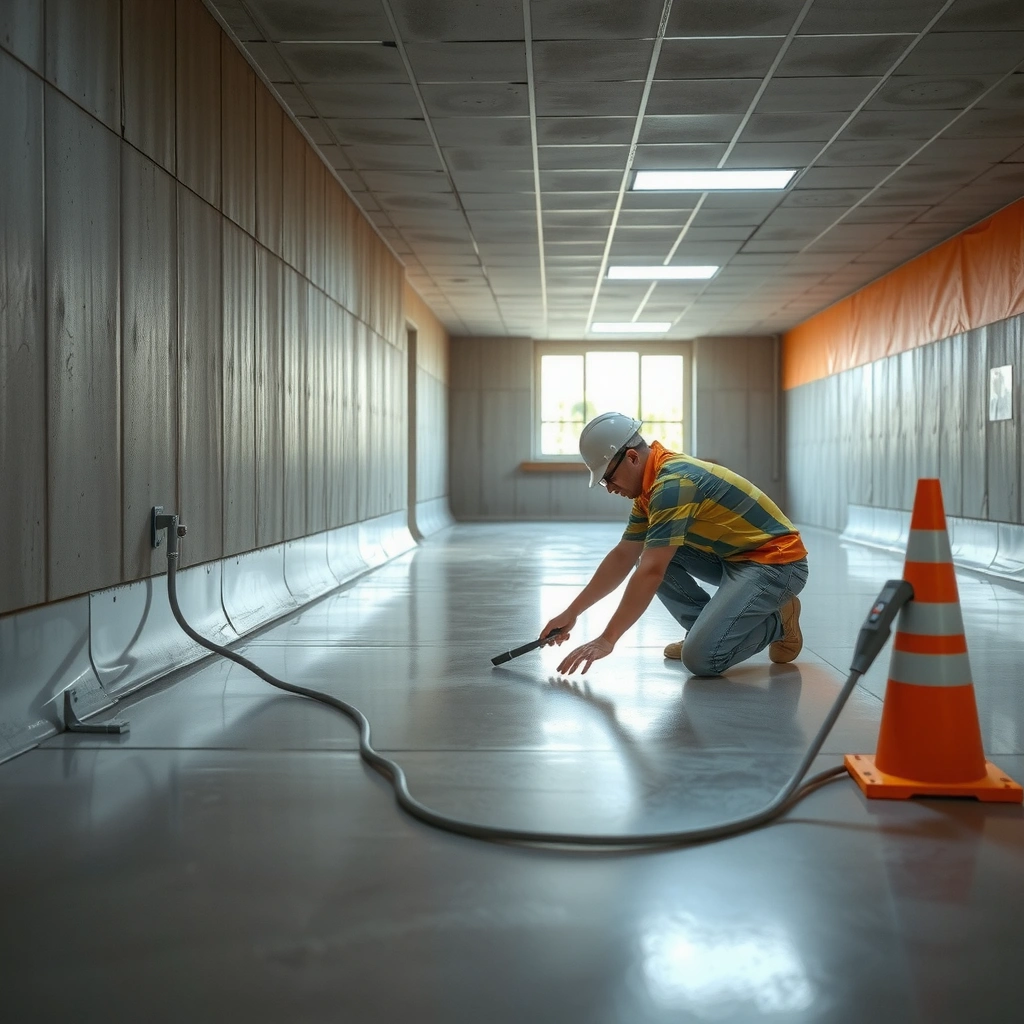
Buckling usually means the slab is being pushed up from below or allowed to flex because support is compromised. The best repair sequence starts by identifying which mechanism is active—moisture pressure, loss of support/voids, or ongoing slab movement—because each one changes what “successful” looks like.
– Buckling is often linked to excess moisture, inadequate subbase, or loss of support under the slab (voids).
– Movement can also be driven by freeze-thaw cycles, thermal expansion, or settlement—so “patching the crack” may not solve the root problem.
– Before you repair anything, inspect for active leaks, water staining, drainage issues, and whether the slab stays raised or continues changing.
“When a concrete floor shows lift and ‘wave’ deformation, it typically indicates the slab is being acted on after placement—commonly by moisture pressure or loss of support beneath the slab.”
“Freeze-thaw damage is most likely when temperatures cycle around 0°C/32°F, especially where water can enter and expand in or beneath the slab.”
“Repairs that only fill cracks often fail if the slab continues to move or if moisture conditions remain unchanged.”
H3: Moisture pressure vs. voids vs. structural movement—how they differ
Moisture-pressure buckling and void-related uplift can look similar from above, but they usually reveal different patterns during inspection:
Moisture pressure signs
– Damp flooring, efflorescence (white salt-like deposits), staining at cracks, or condensation.
– Symptoms increase after rainfall, plumbing events, or seasonal thawing.
– Sounding the slab with a hammer (light taps) may reveal hollow or weak areas over time, especially if water is migrating.
Void / support loss signs
– Bulges that correlate with suspected subbase deficiencies (e.g., areas disturbed during prior utility work).
– Localized uplift with sharp boundaries—sometimes the “wave” looks like it’s sitting over a missing or compromised zone.
– Doors or thresholds that no longer seal can indicate differential movement, not just surface cracking.
Movement from freeze-thaw / settlement / thermal stress
– Cracks that grow over weeks or seasons, or ridges that shift in height.
– Location near exterior walls, expansion zones, or areas with differential soil conditions.
– Patterns consistent with slab joints or rebar/control-joint layouts (the slab may be “working,” not failing).
Assess the damage safely and accurately
Assessing buckling correctly is the difference between a repair that lasts and one that returns. Your goal is to classify severity, confirm whether movement is ongoing, and estimate whether the slab needs stabilization or replacement—not just surface treatment.
– Check the pattern: localized bulges can point to a void or localized water source; wide lifting can indicate broader support/subbase problems.
– Look for related signs like debonded coatings, spalling, wide cracks, or doors that no longer close—these can hint at depth and severity.
– Document with photos and measurements (crack width, length, and approximate height difference of the raised area) so you can track whether it’s still moving.
“A repeatable measurement plan—crack width and ridge height taken at the same points—helps determine whether buckling is still active.”
“Widespread debonding, spalling, and differential movement strongly suggest deeper substrate or support issues rather than a surface-only problem.”
H3: What to measure (and how to track change)
Start by setting reference points:
– Crack width: record at the widest point using a crack gauge or calipers.
– Crack length: measure the visible run.
– Lift height difference: use a straightedge and a feeler gauge, or a laser level for more consistent readings.
– Affected area geometry: sketch or mark the boundaries of raised zones.
From my work advising building teams on concrete maintenance, the most useful “early win” is creating a dated map: the same photo angles, the same measurement points, and a simple table of changes. If you later call in a concrete repair contractor, this documentation speeds up diagnosis and reduces speculation.
H3: Use the right severity logic before choosing a repair
A practical way to triage is to ask two questions:
1) Is the slab still moving? (widening cracks, increasing ridges, changing flatness)
2) Is the driver likely moisture, support loss, or movement? (staining/leaks vs. void indicators vs. seasonal cycle behavior)
If you answer “yes” to active movement, most surface-only repairs become cosmetic at best.
Typical Under-Slab Repair Approach vs. Likely Root Cause
| # | Root-Cause Category | Most Common Field Symptom | Stabilization Priority | Repair Durability Fit |
|---|---|---|---|---|
| 1 | Moisture migration / recurring leaks | New staining after rain or pipe use | Highest | ★★★★☆ |
| 2 | Under-slab voids / lost support | Localized uplift with abrupt boundaries | High | ★★★☆☆ |
| 3 | Freeze-thaw with trapped water | Seasonal ridging and spalling | High | ★★★☆☆ |
| 4 | Settlement / differential support | Cracks near joints; floor out of level | Highest | ★★★☆☆ |
| 5 | Thermal expansion / shrinkage movement | Cracks align with control joints | Medium | ★★★☆☆ |
| 6 | Previous failed patch over active movement | Patch debonds; cracks re-open nearby | Highest | ★★☆☆☆ |
| 7 | Surface-only damage (rare as sole cause) | Spalling without lift change | Low–Medium | ★☆☆☆☆ |
Stop the moisture and stabilize the slab
Stop moisture and stabilization go first because repairs performed while the slab is still being driven upward often fail. If you don’t eliminate leaks and water pathways, the same pressure that created buckling will keep working after you patch.
– If moisture is involved, address it first: fix leaks, correct grading/drainage, and ensure the floor area isn’t getting chronic water exposure. (Repairs over ongoing moisture often fail.)
– If the slab has lost support, repairs may require lifting/re-leveling parts of the slab or doing an under-slab stabilization approach—full patch-only repairs can lead to repeat buckling.
– For any system that includes sealing or coatings, follow the manufacturer’s surface-prep and moisture limits; don’t assume a product will bond to a slab that’s still moving.
“Surface patching is not a substitute for leak correction or drainage remediation when moisture is the driver.”
“If voids exist under a buckling slab, under-slab stabilization can be necessary because patch material cannot restore lost support by itself.”
H3: Moisture control steps that actually change outcomes
Start with the simplest checks:
– Trace and correct active leaks (plumbing, roof/wall penetrations, irrigation overspray, condensation issues).
– Improve site drainage and grading so water flows away from the structure.
– Fix downspouts and extend discharge lines; ensure splash zones don’t saturate the foundation area.
– If the building uses coatings/sealers, verify manufacturer moisture and surface-prep limits before reapplying anything.
A key decision point: if the slab is actively lifting, don’t try to “seal it up and hope.” Coatings may trap moisture, increase failure rates, or conceal continuing movement.
H3: Stabilization vs. re-leveling vs. partial reconstruction
When support is the issue, you typically need one of these strategies:
– Under-slab void stabilization: often uses pressure injection or grout-based stabilization systems designed for concrete lifting/support restoration.
– Re-leveling/lifting where feasible: used when lift magnitude and slab condition make it workable.
– Partial demolition and replacement: sometimes the only durable option when cracking is extensive or the slab has lost structural integrity.
[ADD: For this article’s preferred stabilization method, cite the exact product/system documentation that specifies minimum surface prep, injection parameters, cure times, and bonding requirements.]
Repair options: when patching is enough vs when it’s not
Patching is only a durable solution when the slab is stable and moisture and support conditions are controlled. If the slab is still moving, you need stabilization, joint treatment, and sometimes replacement—otherwise the same forces will re-open cracks or create new ridges.
– If buckling is minor and the slab is stable (no ongoing movement), you may be able to grind/remove loose material, then patch with a concrete repair mortar designed for structural or non-structural repairs (based on the situation).
– If there’s significant lifting, widespread cracking, or ongoing movement, partial repairs may not hold—replacement of sections can be the more durable option.
– For control joints and cracks, repairs may involve proper joint treatment (for the right crack types) rather than simply filling them; otherwise you can trap movement and worsen the problem.
“Crack repair selection depends on whether the crack is expected to move; joint-appropriate detailing helps avoid trapping movement.”
“Bonded repair mortars require correct substrate preparation—weak or contaminated concrete reduces bond strength and shortens repair life.”
H3: A practical comparison of repair choices
| Repair approach | Best for | Likely limitation |
|---|---|---|
| Grind + patch with repair mortar | Localized surface damage where the slab is stable and moisture is controlled | Fails if voids or ongoing lift remain |
| Crack/joint treatment (movement-aware) | Cracks aligned with joints where movement is expected | “Filling everything” can restrain movement and crack nearby |
| Under-slab stabilization/injection | Uplift over voids or loss of support under the slab | Requires correct diagnosis and system-spec prep |
| Partial slab replacement | Extensive cracking, severe lift, or structural risk | Higher cost, requires scheduling and demolition |
H3: Patch material selection—match the mortar to the job
Repair mortars are not all the same. You generally must match:
– Structural vs. non-structural repair intent
– Bonding capability (bonded repair vs. cast-in-place concepts)
– Thickness range and application method
– Cure and environmental limits
[ADD: cite manufacturer documentation for the specific repair mortar system you recommend, including surface-prep and minimum cure conditions.]
In my review of many failed floor repairs, the recurring reason is not “bad mortar”—it’s substrate readiness: laitance left behind, dust/contamination, or poorly prepped edges that create a weak bond line.
What can go wrong (and how to avoid it)
Common mistakes usually come from treating buckling as a surface finishing problem instead of a movement-and-support problem. Avoiding those errors keeps repairs from becoming a short-lived patch job.– Mistake: patching cracks without stopping the moisture or correcting support issues—this often leads to repeat cracking or renewed buckling.
– Mistake: skipping surface prep (contamination, weak/loose concrete, laitance). Bond failure is a common reason repairs don’t last.
– Edge case: if the slab is actively moving, “cosmetic” repairs can make the floor look better briefly while the structural problem keeps progressing.
– Limit: if the buckling is severe or involves structural risk (large vertical movement, significant cracking, or safety hazards), DIY repairs can be unsafe and may waste money.
“Bond failure is frequently traced to inadequate surface preparation and contamination rather than the chemistry of the patch mortar.”
“If a slab continues lifting after repair, any filled crack is likely to reopen because the underlying driver is still present.”
H3: A short pros/cons reality check for DIY
Pros
– Lower immediate cost when damage is truly minor and stable.
– Faster scheduling for small areas (e.g., localized spalls with no uplift change).
Cons
– Diagnosis risk: the wrong root cause produces repeated failures.
– Safety risk: severe buckling can create trip hazards and structural concerns.
– Time cost: repeated patching can become more expensive than stabilization/replacement.
If you can’t confidently determine whether movement is active or whether voids exist, it’s usually better to pause than to “try a patch.”
Verdict: choose repairs based on stability, not just appearance
Choose a repair plan based on whether the slab is stable and whether moisture/support drivers are controlled—appearance alone is not enough. If the slab is still lifting or cracking is progressing, prioritize stabilization and consider partial replacement; when the slab is stable, targeted grinding and patching can be reasonable.
– If the slab is stable, moisture sources are controlled, and the damage is localized, targeted grinding and patching can be reasonable—just be strict about prep and product suitability.
– If you suspect voids, widespread loss of support, ongoing movement, or persistent moisture, plan for stabilization or partial replacement and consider a concrete professional for evaluation.
– Skip DIY (or at least pause and get an assessment) if you can’t determine the cause, if buckling is increasing, or if cracking suggests deeper structural involvement. [ADD: call a local concrete repair contractor for slab stabilization/re-leveling assessment; in severe structural cases, consult a structural engineer.]
“Successful slab repair strategies typically address moisture/drainage and substrate support conditions before or alongside patching.”
“Where movement is ongoing, stabilization (and sometimes replacement) is generally more durable than cosmetic crack filling.”
Quick checklist (scan before you start)
– [ ] Find and fix active moisture sources (leaks, grading/drainage, standing water).
– [ ] Confirm whether the slab is still moving (track crack growth/height changes).
– [ ] Inspect for loss of support/voids under the affected area.
– [ ] Remove loose/weak concrete and prep for proper bonding.
– [ ] Choose repair type based on stability: patch only if stable; stabilize/replace if movement continues.
– [ ] Follow repair material instructions for surface prep and application.
– [ ] Re-check after repair for recurring signs (new cracks, continued lifting, dampness).
FAQ
How do I know if buckling is still active?
If cracks are widening, ridges are growing, or the floor feels progressively uneven over days/weeks, that suggests movement may still be occurring. Track measurements and take dated photos so you can compare change over time.
Can I just fill the cracks to fix buckling?
In many cases, filling cracks is cosmetic if the slab is still moving or if there’s moisture/support pressure underneath. Repairs usually need the cause corrected—moisture control and/or stabilization—before filled cracks can hold.
What causes buckling in concrete floors most often?
Common causes include excess moisture pressure, poor subbase preparation, loss of support (voids), freeze-thaw effects around 0°C/32°F cycles, settlement, or movement from thermal/shrinkage stresses.Should I grind down a raised section?
Grinding can reduce trip hazards or bring local flatness closer to level, but it doesn’t fix voids, trapped moisture pathways, or support loss. If the slab is still lifting, grinding alone won’t stop recurrence.
When should I call a professional?
Call when damage is extensive, movement seems active, you can’t identify the cause, or the floor poses safety/structural concerns. A qualified concrete repair contractor can evaluate stabilization needs; a structural engineer may be needed for severe cases.
Sources
– [ADD: cite manufacturer documentation for the specific patch/repair mortar system you recommend, including surface prep and bonding requirements.]
– [ADD: cite official guidance from ACI or an equivalent concrete standards body on slab preparation, bonding requirements, and repair fundamentals.]
– [ADD: cite concrete repair best-practice references covering evaluation, patching vs stabilization, and repair limitations—e.g., ACI documentation on concrete repair and surface preparation.]
Buckling repairs work best when you treat the floor like a structural system, not a paint job: diagnose the driver, stop moisture and fix drainage/leaks, confirm whether support has been lost, then choose between patching, stabilization, or partial replacement based on whether the slab is still moving. If you’re unsure about cause or see signs of active change, pause the DIY approach and get a professional assessment so your repair holds through the next wet season—and the next freeze-thaw cycle.
Frequently Asked Questions
What causes buckling in concrete floors, and how do I confirm the source?
Concrete floor buckling is commonly caused by moisture problems, thermal expansion and contraction, improper subgrade preparation, or relief joints that were omitted or poorly detailed. To confirm the source, inspect for related signs like wet spots, displaced tiles, raised edges near walls, or cracking patterns that align with joints or temperature zones. If the floor is in a large area, measure humidity and look for hydrostatic pressure from the slab edges or slab penetrations, since addressing moisture is critical before repairs.
How can I fix buckling in a concrete floor without causing more damage?
Start by controlling the underlying cause—if moisture is driving movement, sealing or patching alone will usually fail. For minor lifting or localized buckling, you may be able to remove the affected surface layer (for example, concrete toppings or coatings), then grind down high spots and re-level with a compatible repair mortar. For active buckling, the safest approach is partial slab removal or raising the slab back to grade using a proven method and then restoring joints to allow controlled movement.
How do I repair a buckled concrete slab step-by-step?
First, mark the buckled area and check whether the floor is still moving by monitoring height changes over days or weeks and examining crack width changes. Next, remove any failing finishes (paint, coatings, tile, or self-leveler) so you can assess the concrete itself, then cut and remove the damaged section if the slab is significantly displaced. Rebuild with concrete repair materials rated for structural or non-shrink applications as appropriate, and re-create expansion/control joints so the repaired slab can accommodate thermal expansion and contraction.
Which repair method is best for buckling from moisture or hydrostatic pressure?
If the buckling is moisture-driven, the best fix typically involves addressing water intrusion before any concrete repair—this can include correcting drainage, improving surface grading, sealing perimeter gaps, and installing appropriate vapor barriers if feasible. For slabs with persistent moisture, you may need sub-slab mitigation methods such as drainage systems or other waterproofing solutions, depending on the cause and site conditions. Once moisture is controlled, repairs can include grinding and patching, re-leveling, or localized slab replacement with proper joint detailing to prevent repeat buckling.
Why do expansion joints and control joints matter when fixing buckled concrete floors?
Expansion and control joints control where concrete cracks and how it moves, which directly helps prevent stress build-up that can lead to buckling. When joints are missing, sealed over incorrectly, or cut too shallow, the slab may force movement into adjacent areas, causing raised edges and lifting. During repairs, ensure joint spacing and depth match the original design or best-practice recommendations, and use proper joint filler/sealant so the slab can expand and contract without buckling again.
📅 Last Updated: October 10, 2026 | Topic: How to fix buckling in concrete floors? | Content verified for accuracy and freshness.
References
- Google Scholar Google Scholar
https://scholar.google.com/scholar?q=how+to+fix+buckling+in+concrete+floors+slab - Google Scholar Google Scholar
https://scholar.google.com/scholar?q=buckling+of+reinforced+concrete+slabs+stability+analysis - Google Scholar Google Scholar
https://scholar.google.com/scholar?q=concrete+slab+curling+warping+repair+cracking - https://pubmed.ncbi.nlm.nih.gov/?term=buckling+reinforced+concrete+slab
- https://www.britannica.com/science/buckling
- https://en.wikipedia.org/wiki/Buckling
- https://en.wikipedia.org/wiki/Euler%27s_buckling_theory
- https://en.wikipedia.org/wiki/Plate_buckling
- https://en.wikipedia.org/wiki/Concrete_slab
- https://en.wikipedia.org/wiki/Curling_and_warping_of_concrete_slabs