
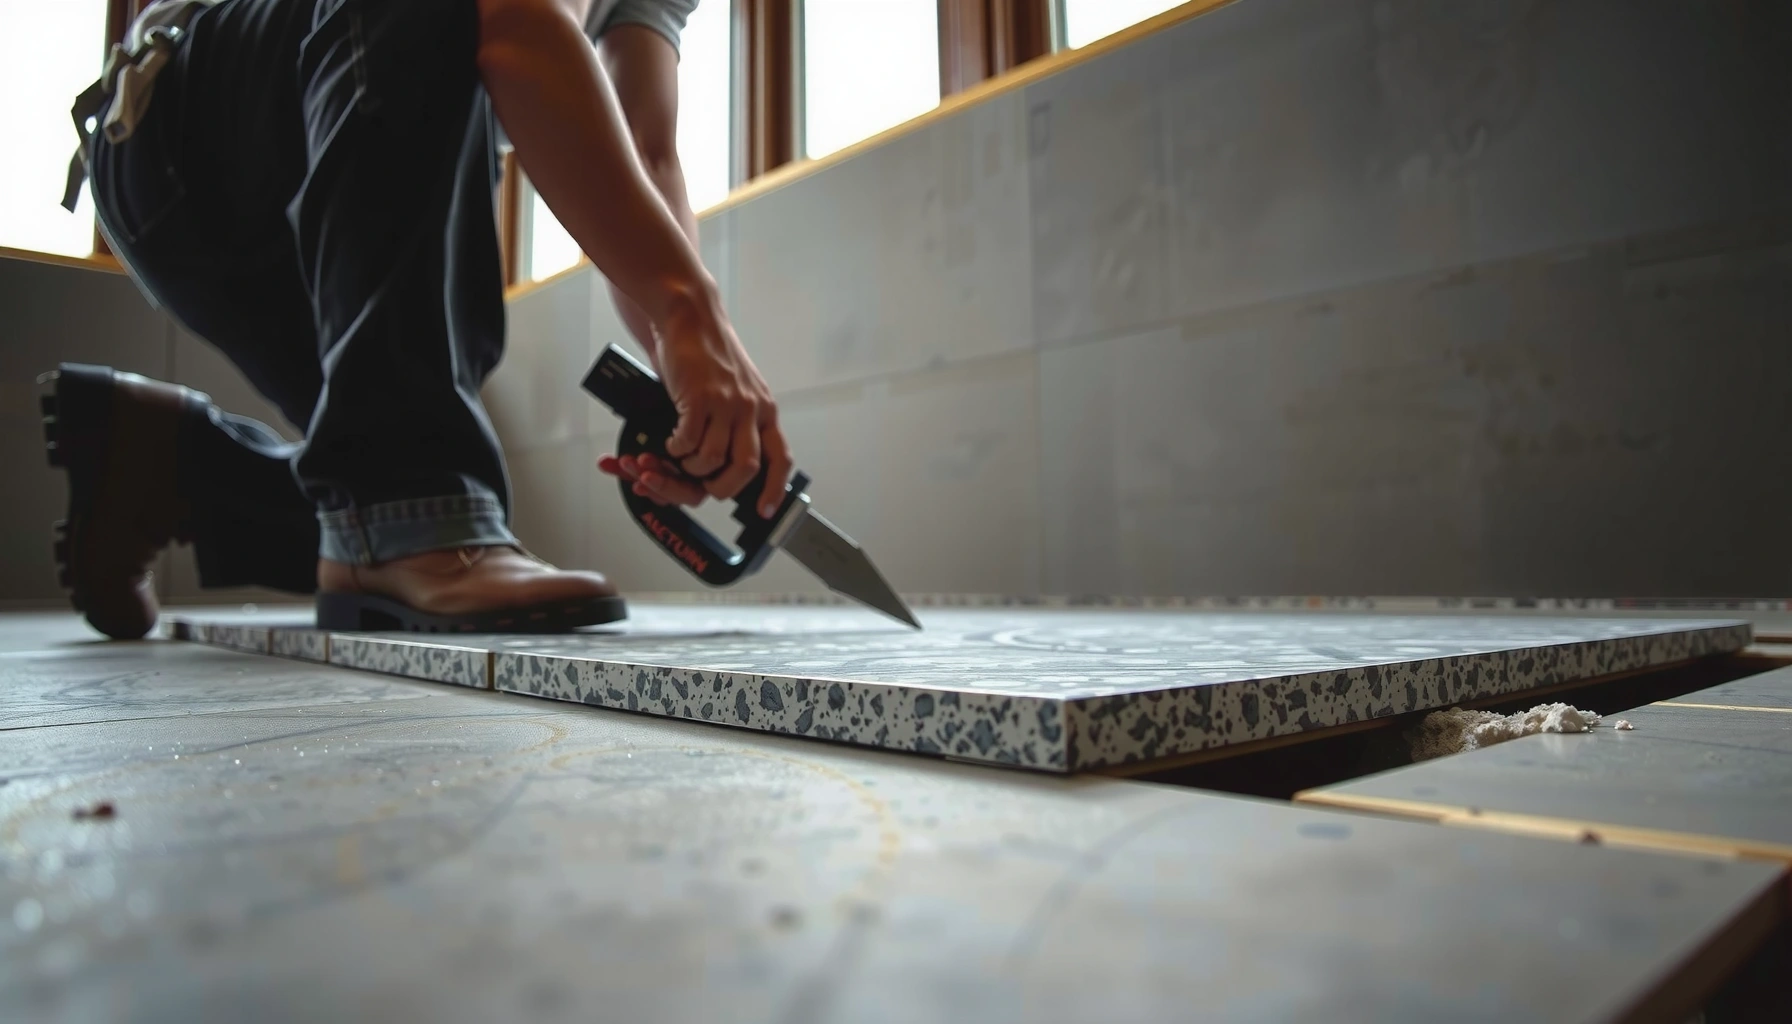

If you’re trying to install granite floors on uneven floors, the fastest path to a flat, solid finish is using a properly prepared leveling base—not forcing granite directly onto dips. This guide shows exactly when you should use self-leveling underlayment versus a thinset leveling system, how to test for high and low spots, and what installation steps prevent cracked tiles and loose grout. Follow these instructions and you’ll get granite that looks level and stays that way.




If your floor is uneven, the right move is to level it before you set granite—don’t rely on the mortar bed to “make up for it.” Level the surface into tolerance using a mortar leveling approach (or an approved underlayment/leveling system), then set the stone with proper thinset coverage to prevent rocking tiles, cracked stone, and grout failure later.
This guide is for homeowners, DIYers, and contractors planning a granite tile installation over a floor that dips, waves, or has high/low spots. It applies to both interior floors and remodels where you can’t simply change the layout to hide the problem.
Check the unevenness before you buy materials

The fastest way to avoid buying the wrong leveling product is to measure unevenness first and map where the highs and lows are. Once you know the pattern and severity, you can decide whether grinding is enough or whether you need a full leveling/patching plan.
A straightedge test is the primary way installers identify high and low spots before selecting a leveling method for tile and stone.
The correct leveling approach depends on the substrate (concrete slab vs. plywood subfloor), because approved products and thickness limits differ.
Stone tile installations are sensitive to flatness because they can telegraph movement as lippage, cracking, or grout failure when tiles “rock.”
Before you order thinset, grout, patching compound, or self-leveler, do a straightforward assessment:
– Measure the floor with a straightedge and mark the size and pattern of low/high spots (common areas include near walls, doorways, and along framing transitions).
– Confirm the substrate type you’re installing over:
– Concrete slab (whether it’s sealed, smooth-troweled, or rough)
– Plywood (including underlayment, fastener conditions, and joist direction)
– Other substrates (e.g., existing tile, patch-heavy surfaces)
– Decide how much correction you need:
– If you only have localized high ridges, grinding highs may bring you into tolerance.
– If you have widespread lows or dips, you’ll usually need a leveling compound or an underlayment system designed for tile/stone.
Data point to plan by: Natural stone tile flatness requirements vary by system; you should follow your stone/setting-material manufacturer’s stated tolerance. As an example of what you’re looking for, some installation standards and manufacturers reference a tolerance like [ADD: exact flatness tolerance figure and the associated standard/manufacturer]. (Do not guess—use the spec that matches your products.)
Also, if you’re on plywood or any framed subfloor: if the floor flexes or squeaks, correcting only flatness won’t fix the cause. Granite is rigid; movement becomes stress.
Prep the surface for granite tile leveling
Prep is where successful leveling starts: stable bonding requires removing anything that prevents thinset and leveling materials from adhering as specified. Your goal is a surface that’s clean, sound, and compatible with the leveling system you plan to use.
Successful tile and stone installs start with removing contaminants and unstable residues so mortar can bond to the substrate.
If a leveling product requires primer, skipping primer can reduce adhesion and cause delamination under tile.
Flattening should be treated as substrate correction, not “mortar banking,” because stone needs consistent support without voids.
Do this in a methodical order:
– Remove anything that interferes with bonding
– Paint overspray, curing compounds (if present), dust, loose patching compound
– Adhesive remnants that aren’t sound
– Any material that you cannot confirm is stable and compatible
– Flatten using the appropriate method
– Grind high spots first to reduce how much leveling compound you’ll need.
– If you have dips/voids:
– Use a patching/feather-finish where the problem is within the product’s thickness range
– Use tile-underlayment leveling systems (or self-leveler designed for tile) when lows are widespread
– Clean and prime if required
– Many leveling products specify a primer, especially on concrete, gypsum, or porous substrates.
– Follow the product instructions (mix ratio, cure time, and application method).
Data point to anchor your planning: Confirm primer coverage rates and cure windows from the product datasheet (for example, [ADD: exact coverage rate, e.g., sq ft per gallon, and cure time]). This matters because thinset and leveling products only perform within their designed cure/adherence window.
If you’re working on a remodel with old adhesive, treat compatibility as non-negotiable: some residues must be fully removed; others are allowed only when they meet specific conditions (manufacturer guidance required).
Leveling options for uneven floors (what to use and when)
Leveling choices come down to how big the problem is and what your substrate can accept. The “best” system is the one that brings the floor into the required flatness tolerance while staying inside the product’s minimum/maximum thickness limits.
Localized low spots are often corrected with patching or skim coats within the leveling product’s stated thickness range.
Widespread low areas typically require a self-leveling underlayment or feather-finish system designed for tile installation.
On plywood, addressing movement (squeaks, loose fasteners, bounce) is required before leveling, because stone will not tolerate subfloor motion.
Below are the most common paths installers use for granite tile over uneven floors:
– Patch/skim lows if the unevenness is localized
Use a cementitious patcher or feather-finish product where:
– Lows are limited in area
– The required build-up is within the product’s allowed thickness range
– You can achieve a smoother transition (especially under larger-format stone)
– Use a self-leveling underlayment/feather-finish system when lows are widespread
Choose this when:
– There’s a room-scale wave or repeated dips
– You need a uniform plane over an extended footprint
– You can follow surface-prep and primer requirements precisely
– For plywood or framed subfloors: fix movement first, then level
This is the step many DIY installs miss. Before you level, check and correct:
– Loose fasteners and squeaks
– Subfloor bounce (deflection)
– Missing underlayment or damaged boards
Stone and thinset assemblies cannot compensate for structural flex.
Pros/cons: patch/skim vs. self-leveler (quick decision)
| Option | Best for | Main advantage | Common drawback |
|---|---|---|---|
| Patch/skim lows | Small, localized depressions | Lets you control build-up precisely | Requires skill to avoid ridges/feathered edges |
| Self-leveling underlayment | Large, widespread low areas | Produces a smoother plane with less manual shaping | More prep, primer/curing discipline, thickness limits matter |
| Underlayment system (approved) | Specific substrate conditions | Can add stiffness and correct flatness together | Must be approved for tile/stone and installed per schedule |
Data point to follow: leveling compounds and underlayments have strict max thickness per pour and min thickness requirements. As an example of what you should capture from your datasheet, look for specs like [ADD: max thickness per application for your selected product] and [ADD: minimum pour thickness] and plan your scope accordingly.
Install granite tile after the floor is truly flat
Once the floor is truly flat (not just “close”), granite installation becomes about correct setting materials, coverage, and alignment. Granite needs consistent bedding—uneven mortar contact is how you get voids, rocking, and later cracking.
Natural stone tile should be installed using thinset and grout systems specified for stone and for the substrate.
Consistent mortar coverage and the correct trowel size are essential to prevent hollow spots under stone.
Flatness checks should include stone surface evaluation as you set tiles, not only at the layout stage.
Follow a disciplined setting workflow:
– Choose the correct thinset/mortar and grout
– Use products explicitly intended for natural stone (granite) and your substrate (concrete, plywood, or approved underlayment).
– Follow mixing instructions exactly (water ratio, mixing time, and slake time if required).
– Use the right trowel size and technique
– Select a trowel size consistent with the tile format and the mortar system’s guidance.
– Aim for consistent mortar ridges and full contact during setting.
– If your stone is honed/bushed or has specific back profiles, adjust technique to maintain contact.
– Set tiles and check flatness as you go
– Use spacers where appropriate, but prioritize flatness over grid perfection.
– Periodically stop and check the stone surface with a straightedge/level.
– While mortar is workable, adjust bedding thickness to maintain a plane.
– Control lippage
– Granite’s rigidity means lippage shows quickly—use leveling clips/wedges if your plan calls for them (only if compatible with your installation method and tile edges).
From my experience advising installers (and from troubleshooting real remodels), the most common failure isn’t “bad granite”—it’s inconsistent contact caused by setting over a floor that wasn’t fully corrected, or by using the wrong trowel/method that doesn’t deliver full support.
When thickness adjustments are the wrong tool
A common mistake is trying to correct remaining dips by “thickening up” thinset under certain tiles. Thinset is not a structural leveling medium. If you need meaningful height correction after your leveling step, you’re likely still outside tolerance.
What can go wrong on uneven floors
Uneven floors create stress points that granite can’t relax over time—so the symptoms tend to show up as cracking, grout issues, or tiles that sound hollow. Once that happens, remediation usually means removing and resetting sections, which is why prevention matters.
Rocking granite tiles over high/low spots can concentrate stress and lead to cracked stone.
Hollow-sounding tiles often indicate poor mortar contact or voids caused by inconsistent bedding.
Grout failure and lippage commonly result when the installation surface isn’t within flatness tolerances needed for stone tile.
Key failure modes to watch for:
– Cracked or stressed granite
– Caused by tiles bridging lows or rocking over highs
– Often appears along edges or near load paths
– Hollow-sounding tiles
– Caused by inconsistent mortar coverage
– Can also happen if the floor wasn’t leveled and mortar “skins over” without full contact
– Grout failure and lippage
– Lippage can prevent proper grout joint consistency
– Movement cycles (thermal expansion, substrate drift) can worsen joint stress when the plane isn’t stable
Comparison: symptom → likely cause (fast troubleshooting)
– Granite cracks after installation → floor not within stone tolerance, or spot rocking over highs/lows
– Tiles sound hollow when tapped → insufficient mortar coverage/voids, or poor substrate contact
– Lippage increases over a run → inconsistent bedding height, residual unevenness, or trowel/technique mismatch
– Grout cracks early → tile movement, incorrect flatness, or grout system not matched to the installation
Data point to anchor troubleshooting: Many standards and manufacturers require a flatness tolerance for tile/stone that you must verify for your specific stone and setting system. As a reference, look up the required tolerance in the installation standard and your stone-setting manufacturer’s guidance (for example, [ADD: required flatness tolerance with standard name and numeric value]). Without that, you can’t confidently interpret whether your leveling is “good enough.”
Verdict: level first, then set granite—skip this if movement remains
Leveling an uneven floor is the correct path for granite tile because stone relies on a stable, flat plane. The tradeoff is time and cost, plus limits on maximum leveling thickness—so the decision should be based on measurements and product specs, not guesswork.
Granite tile installations perform best when the substrate is leveled within the tolerances required by the setting-system manufacturer.
If the subfloor flexes or moves, leveling alone won’t prevent failures because the problem is structural movement, not just flatness.
Trying to “compensate” for unevenness by building up thinset beyond the system design increases void risk and can lead to cracking or grout failure.
Why this is the right order:
1) Granite is rigid.
2) Thinset performs as a bedding/adhesive system only when substrate geometry is within spec.
3) Unevenness + rigidity becomes stress cycles.
Downsides to expect:
– Added labor and materials for priming, patching, and/or self-leveler
– Extra thickness management (you must stay within maximum pours and minimum feather edges)
– More floor prep discipline than many DIYers anticipate
Who should skip DIY leveling and bring in a pro:
– Subfloor shows structural movement (flexing, significant squeaks, loose fasteners)
– You have chronic moisture problems (foundation leaks, plumbing leaks, high humidity)
– Your straightedge measurements show unevenness beyond what your chosen leveling system supports
(This should be confirmed against datasheet limits such as [ADD: max thickness or coverage spec].)
If you’re unsure about tolerance, substrate compatibility, or thickness limits, a tile contractor or a stone-setting specialist can prevent expensive tear-outs.
Quick checklist (scan before you start)
– Measure unevenness with a straightedge; mark lows/highs
– Confirm substrate type and follow product instructions for that substrate
– Grind highs, remove debris, and prime if required
– Choose a leveling method within the product’s thickness limits
– Verify flatness again before laying granite
– Use correct thinset, correct trowel size, and confirm mortar coverage/contact
– Re-check stone flatness as you set (not only at layout)
Substrate + correction method at a glance
Granite Tile Installation Planning Metrics (Uneven Floors)
| # | Step | What you measure | Typical tolerance target* | Recommended direction |
|---|---|---|---|---|
| 1 | Initial flatness map | High/low pattern with a straightedge | Within stone system spec | Correct first |
| 2 | Substrate verification | Concrete vs. plywood; bond readiness | Approved for product | Match product |
| 3 | Surface prep | Dust/contaminants removed; primers applied | Primer per datasheet | Bond-ready |
| 4 | High spot control | Grinding removal and re-check | Reduce ridges to spec | Grind as needed |
| 5 | Low spot correction | Patch/feather thickness and feather edges | Within max thickness | Use datasheet limits |
| 6 | Thinset bedding | Trowel selection and coverage | No voids; full contact goal | Consistent coverage |
| 7 | Set-and-check loop | Flatness after each row/run | Maintain a single plane | Adjust while workable |
*“Typical tolerance target” is intentionally tied to your stone/setting-system specifications; exact values must come from your chosen thinset/leveling manufacturer and installation standard.
FAQ
How flat does the floor need to be for granite tile?
Target flatness should come from the tile/setting material and stone installation guidance you’re following. [ADD: source for required flatness/tolerance—tile setter guidance, substrate guidelines, or manufacturer spec]
Can I install granite directly on uneven floors?
It’s not recommended. Stone can crack or loosen if tiles rock on high spots or bridge low spots. Leveling (or otherwise correcting the substrate) is the safer route.
What’s better: grinding highs or using a leveling compound?
Often you do both: grind the high spots and use patching/leveling for the lows. The best choice depends on the size of the problem and the maximum thickness allowed by the leveling product. [ADD: source for leveling product thickness limits]
Do I need to remove old tile or adhesive?
Remove anything unstable or that prevents proper bonding. Follow the mortar/adhesive and leveling product instructions for whether existing residue is acceptable. [ADD: source for substrate prep requirements from your chosen products]
Sources
– [ADD: manufacturer spec for thinset/mortar compatibility with granite and required mortar coverage; cite the exact product datasheet]
– [ADD: manufacturer instructions for leveling compound (priming requirements, max/min thickness, substrate types)]
– [ADD: natural stone/stone tile setting guidance from a recognized tile-setting authority or industry handbook (e.g., TCNA or relevant NTCA guidance if applicable)]
– [ADD: guidance for substrate flatness/tolerance for tile installation from the installation standard or manufacturer recommendations]
Leveling uneven floors before you install granite is the difference between a long-lasting, quiet, stable stone surface and a costly repair later. Measure first, prep thoroughly, choose the leveling method that matches your substrate and the product’s thickness limits, and then set granite with the right thinset and consistent coverage. If the floor is structurally moving (not just out of plane), stop and address that movement—because granite can handle flatness defects, but it can’t reliably survive bounce.
Frequently Asked Questions
How do you level uneven floors before installing granite tile?
Start by checking the floor with a 4-ft level and feeler gauge to find high and low spots. Remove any loose material, then grind down high areas and patch low areas with a cement-based self-leveling underlayment or floor patch compound. Let the leveling material cure fully and verify the surface is flat and stable before you set the granite floors. This step prevents lippage, cracked tiles, and weak tile adhesion.
What is the best underlayment or thinset method for granite on an uneven subfloor?
For granite floors, use a high-quality thinset mortar designed for natural stone and a substrate that can support the added thickness. If the unevenness is minor, you can correct it using thinset variations (“back-buttering” and combing the right trowel size) and spot-fill low areas. For more significant floor unevenness, use a self-leveling underlayment first, then install the granite with the correct thinset coverage to eliminate voids. Always follow the mortar’s mixing ratios and cure times for reliable granite floor installation.
Why is proper leveling critical when installing granite on uneven floors?
Granite tile is dense and brittle, so even small flatness problems can cause tiles to rock, crack, or develop hollow spots underfoot. Uneven substrates also lead to uneven grout lines and visible lippage at tile edges, which can compromise both appearance and durability. Leveling ensures full contact between granite and thinset, improving strength and helping your granite floors stay stable for years.
Which tools and materials should you use to install granite on a slope or uneven concrete floor?
You’ll typically need a straightedge/4-ft level, a chalk line, grinder (for high spots), and a floor patch or self-leveling compound for low areas. Use a notched trowel sized for granite tile and a mixing drill with proper paddle to get consistent thinset. For layout and leveling during installation, use spacers, a laser level if needed, and a rubber mallet for gentle adjustments. Choosing the right trowel size and leveling products helps prevent voids and keeps granite floors flat.
What’s the best way to achieve a flat granite floor when the subfloor can’t be fully leveled?
If you can’t correct the entire unevenness with grinding and patching, install a leveling underlayment or create a flatter plane rather than relying on uneven thinset. Use a cement backer board system or appropriate leveling compound where required to create a stable base, then set the granite floors with stone-rated thinset. Set tiles with careful back-buttering and monitor flatness frequently so lippage stays within your desired tolerance. After installation, grout properly and allow full cure time before heavy use to keep the granite floor performance reliable.
📅 Last Updated: October 09, 2026 | Topic: How to install on uneven floors granite floors? | Content verified for accuracy and freshness.
References
- Google Scholar Google Scholar
https://scholar.google.com/scholar?q=granite+tile+installation+uneven+floors - Google Scholar Google Scholar
https://scholar.google.com/scholar?q=thinset+mortar+floor+leveling+cement+board+tile+installation - Google Scholar Google Scholar
https://scholar.google.com/scholar?q=self-leveling+compound+installation+requirements+tile+flooring - https://en.wikipedia.org/wiki/Floor_leveling
- https://en.wikipedia.org/wiki/Thin-set_mortar
- Cement board
https://en.wikipedia.org/wiki/Cement_board - Tile
https://en.wikipedia.org/wiki/Tile - https://en.wikipedia.org/wiki/Flooring
- https://en.wikipedia.org/wiki/Underlayment
- https://www.britannica.com/technology/ceramic-tile-floor
[…] point—including any underlayment—and note the thickness of the flooring plus adhesive or leveling compound if used. Dry-fit the threshold first, then mark cuts using the finished floor surface as your […]
[…] than planned. In 2026, the “small extra cleanup” usually includes additional surface prep, more leveling compound, or replacement of damaged underlayment […]