
To level laminate floors before installing a hallway, the fastest reliable approach is to find the high and low spots with a straightedge and then correct them with a self-leveling underlayment only where needed. This method beats guessing with shims because it creates a flat, smooth surface that prevents click-lock gaps and squeaks once the hallway planks go down. If your floor has wide dips or uneven transitions, you’ll know exactly what to measure and what product to use before you start laying laminate.



Level laminate floors for a hallway by checking subfloor flatness and moisture first, then correcting the floor using the leveling method that matches your hallway’s highs and lows. Once the surface is within the laminate system’s flatness tolerance (and the leveling material is fully cured), install the required underlayment and float the planks with the correct expansion gap.
If your hallway subfloor has low spots, ridges, or uneven transitions (and you want the laminate to click together cleanly without gaps), this guide is for you—especially if you’re working with a concrete slab or plywood that needs flattening before planks go down.
Confirm hallway subfloor flatness and moisture
If you start by measuring flatness and moisture, you prevent most laminate installation failures before they happen. The goal is a stable subfloor that meets both the laminate manufacturer’s flatness tolerance and your underlayment/leveler’s moisture rules.
Most laminate manufacturers specify a maximum subfloor flatness deviation (commonly on the order of a few millimeters) measured with a straightedge over a defined distance.
Moisture is often the “silent failure” that causes leveling compounds and underlayments to lose performance even when the floor looks flat.
Moisture testing methods for slabs commonly follow ASTM standards such as ASTM F1869 (calcium chloride) and ASTM F2170 (in-situ RH probes).
Before you buy a bag of leveling compound, confirm three things for the hallway laminate flooring installation:
1) Flatness (not just “no visible bumps”)
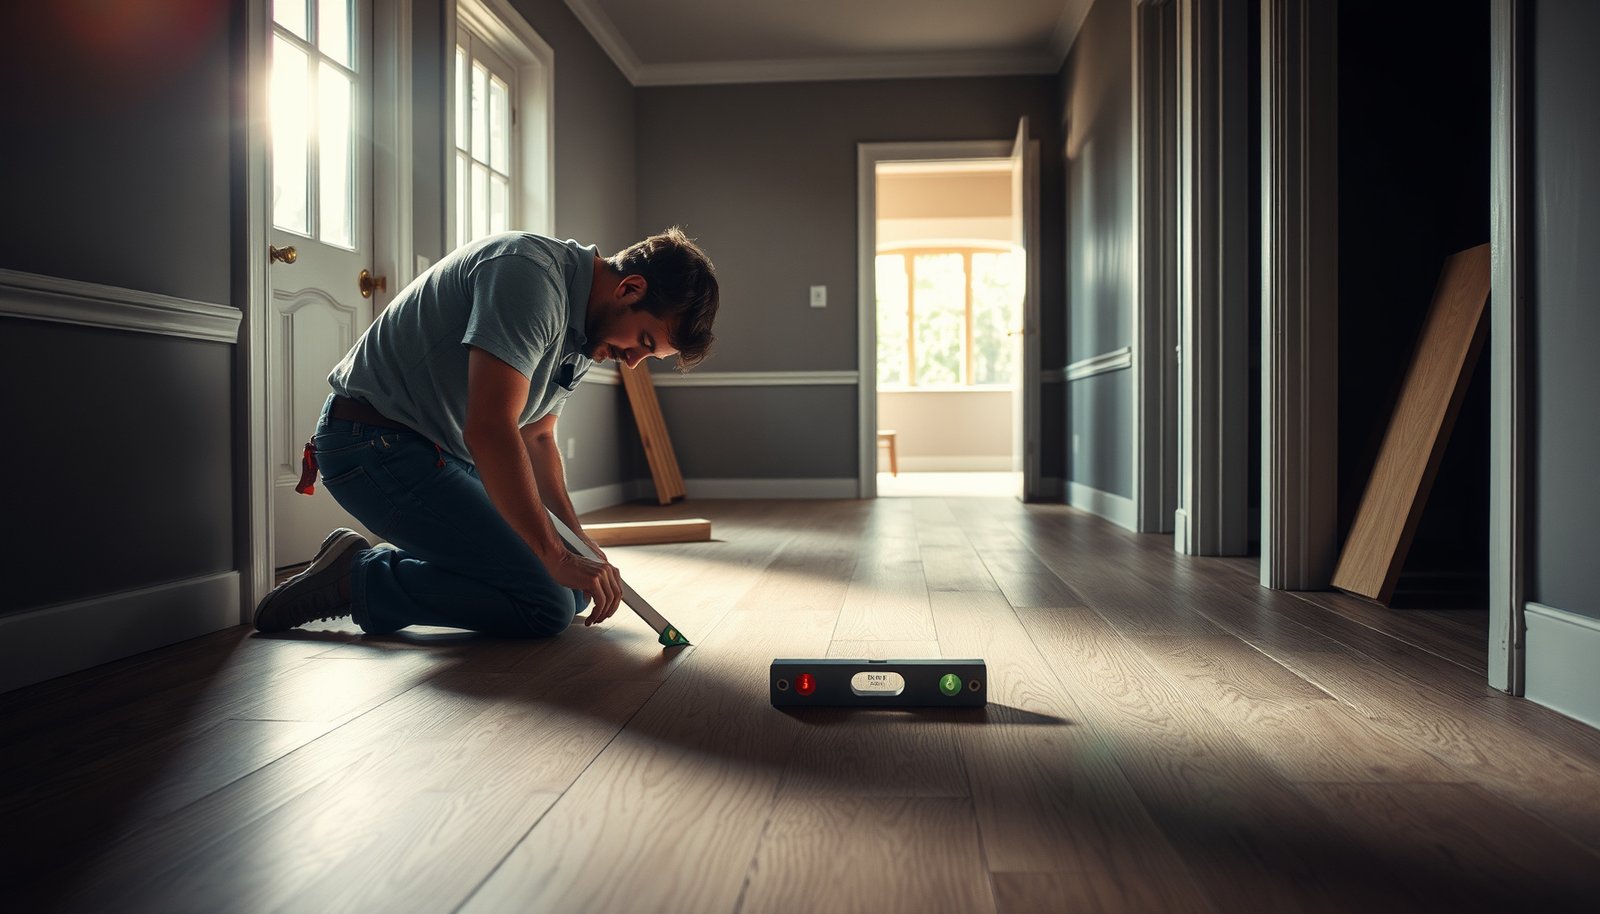
– Use a straightedge/level and measure in multiple directions—especially across the walking path and perpendicular to the hallway length.
– Mark high spots and low spots, and record:
– the straightedge span you used (example: 6 ft / 10 ft),
– the deviation at each location,
– and whether low areas are isolated dips or wide valleys.
A key guidance point: NWFA wood flooring guidance (often used as a reference in flooring industries) commonly uses straightedge checks like 3/16 in over 10 ft and 1/8 in over 6 ft as flatness targets for successful installations. NWFA (National Wood Flooring Association) installation guidance (See your laminate manufacturer’s tolerance first.)
2) Moisture (especially on concrete)
– Check moisture using the test method your laminate system expects.
– For slab-on-grade or lower-level concrete, consider both:
– calcium chloride tests (ASTM F1869),
– and in-situ RH testing (ASTM F2170).
– Compare results to the limits required by the laminate + underlayment combination—many underlayments have their own vapor-control constraints.
NWFA moisture guidance references common numeric targets such as 75% RH max (ASTM F2170) and 3 lb/1000 sq ft/24 hr max (ASTM F1869) for certain wood flooring applications. NWFA (National Wood Flooring Association) moisture guidance Always confirm what your laminate and underlayment require for your specific hallway laminate installation.
3) Movement and structural issues
Even perfect leveling won’t fix a subfloor that moves.
– Tighten/replace loose fasteners in plywood systems.
– Inspect for cracks, spongy boards, or failing/soft patch areas.
– If you find active movement, fix that first—then level.
> Practical takeaway: In 2026, hallway laminate installs still fail most often due to skipped moisture testing and poor subfloor prep—not because the installer picked the “wrong” brand of leveler.
Subfloor Flatness Deviations (Inches → Millimeters)
| # | Measured deviation (in.) | Equivalent (mm) | Typical laminate tolerance fit | Tolerance leniency (mm) |
|---|---|---|---|---|
| 1 | 1/32 | 0.79 | ★★★★☆ | 0.79 |
| 2 | 1/16 | 1.59 | ★★★★☆ | 1.59 |
| 3 | 1/8 | 3.18 | ★★★☆☆ | 3.18 |
| 4 | 3/16 | 4.76 | ★★★☆☆ | 4.76 |
| 5 | 1/4 | 6.35 | ★★☆☆☆ | 6.35 |
| 6 | 5/16 | 7.94 | ★★☆☆☆ | 7.94 |
| 7 | 3/8 | 9.53 | ★☆☆☆☆ | 9.53 |
Pick the right way to level before installing laminate
Choose your leveling method based on the shape of the problem (shallow dips vs wide low areas vs high ridges). For hallway laminate flooring, the “right” method is the one that gets you to the manufacturer’s flatness tolerance without adding weak layers or unapproved thickness.
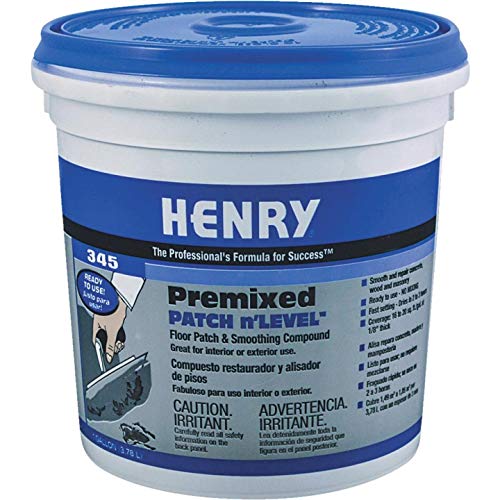
Feather-finish patch compounds are designed for smoothing localized dips, while self-leveling underlayments target broader low areas by creating a new plane.
If a subfloor ridge or hump is removable, grinding/sanding before applying leveler often performs better than trying to “build up around” a high spot.
Using a leveling product outside its labeled thickness range increases the risk of cracking, debonding, and poor long-term stiffness for laminate click joints.
Use your flatness notes to select an approach:
– For shallow dips: patch/feather compounds can be enough if you only need minor corrections.
– For wider, low areas: a self-leveling underlayment/compound is often easier to get a smooth plane.
– For localized problems: shimming or spot fixes may work, but you’ll still need a surface that meets the laminate’s flatness requirement.
Here’s a practical comparison for hallway laminate installation:
| Method | Best for | Pros | Cons / watch-outs |
|---|---|---|---|
| Feather patch / smoothing compound | Localized low spots and small transitions | Fast spot corrections; less “pour control” needed | Not ideal for large valleys; thin applications can telegraph |
| Self-leveling underlayment / compound | Wide low areas and “whole-hallway” flattening | Creates a consistent plane with minimal manual shaping | Requires correct priming + containment; thickness must match label |
| Grinding high spots + spot patch | Ridges/humps that block flatness | Avoids building weak material over high points | Dust control and re-measure required; not all substrates allow grinding |
From my side, the consistent pattern I’ve seen on job walkthroughs is that hallway laminate installers benefit most from a “measure first, then choose” workflow—but .
Prep the subfloor so the leveling compound bonds
Solid prep is what turns a leveling product into a durable base for laminate. If adhesion fails, the leveling layer can debond, creating new hollows that show up as joint separation.
Self-leveling systems depend on clean, porous, properly primed substrates; skipped primer is a common reason for weak bond lines.
Dust, paint residue, and loose patch material can act like release agents and prevent leveling compound from integrating into the substrate.
Containment at doorways and transitions matters because many self-levelers are fluid enough to travel beyond your intended area.
Follow these prep steps for your hallway laminate flooring installation:
– Remove everything that prevents adhesion (dust, paint overspray, old adhesive residue, loose debris).
– Follow the leveling product prep steps (typically cleaning + priming where required).
– Protect edges and transitions so the pour/patch doesn’t spread into doorways or other rooms.
At this stage, also think about transitions:
– Under door jambs, confirm you can achieve the thickness you need while keeping clearances and movement gaps intact.
– If the hallway connects to another finished floor, plan your leveling height so your laminate transitions don’t create a trip edge or an overstressed click joint.
Also, in 2026, more installers are treating leveling as part of a full “floor system,” not a standalone fix—meaning underlayment and moisture barriers are chosen to work together, not in isolation.
Step-by-step: level the floor for a hallway
Leveling is straightforward when you work in the right order: mark → mix → apply → cure → re-check. For hallway laminate flooring, the key is not rushing the cure and not trusting “it looks flat” until you measure again.
Self-levelers still require measurement after cure; you don’t get to “eyeball” flatness because laminate click joints respond to even small deviations.
Mix ratios, mixing time, and total water added are controlled variables—changing them can affect flow, strength, and surface finish.
Re-checking flatness after cure prevents installing laminate on a new high/low created by incomplete mixing, settling, or premature finishing.
– Mark the low spots and set up the work area so you maintain a consistent slope/flat plane.
– Mix and apply leveling material according to the bag label (including water ratio, mixing time, and thickness range).
– Let it cure fully before you test again for flatness—don’t proceed “by feel.”
A practical installation workflow for a hallway:
1) Measure and map highs/lows
Use pencil marks and a simple layout sketch. For a hallway, pay extra attention near:
– entries,
– where old floor coverings were removed,
– and at any expansion/movement joints.
2) Set containment and work pacing
Self-levelers start flowing and setting on schedule. Plan so you can mix and place continuously as required by the product label.
3) Apply the correct thickness
Add material gradually when using patches, and follow the label when pouring self-leveler. Don’t exceed the system’s minimum/maximum thickness—extra thickness can increase shrinkage or create a brittle surface.
4) Cure, then measure again
After full cure, repeat the straightedge measurements across the hallway. If you’re still out of tolerance, correct again—rather than trying to “hide” the deviation under laminate.
After leveling: cure time, underlayment, and laminate acclimation
After leveling, verify the cured surface meets the laminate system’s flatness requirements before you install anything on top. Then install the correct underlayment and acclimate the laminate so it can expand/contract safely in your hallway environment.
Laminate floating floors rely on a flat, stable base so click-lock joints seat fully and resist gapping under normal foot traffic.
Underlayment selection is part of the floor system: its moisture and installation requirements must match the leveling plan.
Manufacturers require laminate acclimation to prevent post-install expansion/contraction that can stress joints in hallways.
– Verify the cured surface is flat to the laminate manufacturer’s specification: .
– Install the correct underlayment (and follow its moisture/installation requirements, not just the leveling plan).
– Acclimate the laminate to the home environment as the flooring manufacturer requires: .
Two details that prevent callbacks:
– Underlayment alignment: seam placement and overlap (or tape requirements) follow the underlayment instructions, not your preference.
– Expansion gap discipline: leave the required perimeter gap and avoid locking it with tight trim or trapped materials.
Also remember: if you’re level, dry, and still getting poor clicking, the issue might be plank handling, subfloor fastener movement, or an underlayment mismatch—so re-check the floor system as a whole.
What can go wrong when leveling laminate flooring
Most failures trace back to skipping a required prep step, violating product thickness/cure rules, or installing laminate before the base system is stable. In a hallway, those issues show up quickly because traffic and joint strain are concentrated in a long, repetitive path.
Skipping primer or using the wrong substrate prep can cause poor bond performance and a surface that becomes fragile or powders under load.
Applying leveling compound outside its labeled thickness range increases the risk of cracking and reduced stiffness—problems that laminate click systems can’t “forgive.”
Installing before full cure can trap moisture and leave the base unstable, leading to joint gaps or planks that don’t seat properly during installation.
– Skipping primer/using the wrong prep can cause poor bond, debonding, or “powdery” failure at the leveling surface.
– Going too thick (or too thin) outside the product’s approved range can lead to cracking, weak spots, or uneven height.
– Installing laminate before full cure can trap moisture or leave the surface unstable—leading to joint gaps or clicks that won’t seat properly.
Who should be extra careful (or skip DIY)?
– If the concrete slab shows ongoing moisture issues (peeling coatings, persistent dampness, or repeated test failures), fix the moisture source first.
– If your hallway has structural movement (squeaks, bounce, or loose fasteners), leveling won’t solve the root cause.
– If you’re unsure whether your leveling product is approved for your substrate and thickness, verify with the product’s technical data sheet before starting.
Leveling quick checklist and final tip
If you follow a measurement-to-cure-to-install sequence, hallway laminate floors usually click together with far fewer gaps. Use this checklist to keep your process tight and auditable—especially if you’re working across multiple trades.
A disciplined flatness verification loop (measure → level → re-measure) is the fastest path to a clean click-lock laminate install.
Moisture limits are system-specific; you can’t “level over” excess moisture and expect underlayment to prevent failures indefinitely.
– Measure: flatness + identify highs/lows
– Check: moisture requirements for your specific system
– Prep: clean + prime as required by the leveling product
– Apply: patch for small dips, self-leveler for larger areas (within stated thickness)
– Cure: re-check flatness before installing underlayment/laminate
– Install correctly: follow expansion gap + acclimation rules from the flooring manufacturer
Quick table: what to do in common hallway scenarios
| Hallway condition | Best first move | Typical leveling approach |
|---|---|---|
| Small low spots | Measure how deep/wide | Patch/feather compound |
| Large low areas | Confirm product thickness range | Self-leveling underlayment |
| High ridges | Identify if it’s removable | Grind/sand (if allowed) then re-measure |
| Moisture concern | Don’t “level over it” blindly | Fix moisture source; follow system specs |
Frequently Asked Questions
What’s the best way to level laminate floors in a hallway before installation?
Start by checking the subfloor flatness with a 6–10 ft straightedge or a long level, and measure the highest and lowest spots. For small dips, use a self-leveling compound feathered to the edges of the low areas; for larger unevenness, consider grinding high spots or using leveling underlayment. Clean the floor thoroughly, address any loose boards, and prime the surface if the leveling compound manufacturer requires it to ensure proper bonding.
How can I tell if my hallway subfloor needs leveling for laminate flooring?
Look for unevenness by placing a straightedge across the hallway in multiple directions and marking where gaps appear. Many laminate floors require the subfloor to be flat within a specific tolerance (often around 1/8 in over 6 ft), so confirm your laminate manufacturer’s specs. If you feel bounce in the floor or see warped/loose subfloor panels, you’ll likely need leveling and/or repairs before laying laminate to avoid clicking noise, gaps, or joint separation.
Why is subfloor leveling critical before installing laminate planks in a hallway?
Laminate flooring depends on a flat, stable surface so the locking joints engage correctly and can handle daily foot traffic. If the subfloor is uneven, planks may flex, causing edge separation, squeaks, or premature wear—especially in hallways where people walk frequently. Proper leveling also helps prevent “lippage” and reduces the risk of moisture-related issues by keeping the installation consistent across the run.
Which leveling method is best for low spots versus high spots under laminate flooring?
For low areas, self-leveling underlayment is usually the most efficient solution because it flows to form a flat plane when applied to the required thickness. For high spots, grinding down or scraping is typically better than trying to build up everything around it, since thick pours can raise floor height and complicate transitions. After any grinding, vacuum thoroughly, then re-check flatness before installing laminate and underlayment.
How do I level the floor and prepare it correctly when installing laminate in a long hallway?
Work in sections along the hallway length to keep the mix, pour timing, and flatness checks manageable—especially if you’re using self-leveling compound. Apply the correct primer, control moisture, and follow the manufacturer’s drying and thickness guidelines before adding underlayment or laminate planks. Once leveled, let the floor cure fully, then reinstall or replace any damaged underlayment areas, because proper leveling plus proper underlayment is key to a stable laminate floor in a hallway.
📅 Last Updated: October 21, 2026 | Topic: How to level a laminate floors before installing hallway? | Content verified for accuracy and freshness.
References
- Laminate flooring
- https://en.wikipedia.org/wiki/Floor_leveling
- Floor
- Floating floor
- Self-leveling concrete
- Underlayment
- Level
- https://scholar.google.com/scholar?q=how+to+level+laminate+flooring+subfloor+flatness Google Scholar
- https://scholar.google.com/scholar?q=laminate+floor+installation+subfloor+preparation+flatness+tolerances Google Scholar
- https://scholar.google.com/scholar?q=self-leveling+compound+installation+subfloor+preparation+ASTM+F710 Google Scholar