
Need to repair engineered wood floors in a laundry room—fast and without damaging the planks further? This guide tells you the exact repair path to use for the most common laundry-room failures like water swelling, loose seams, and surface scratches, and when to switch from spot repairs to full board replacement. Follow the steps and you’ll restore the floor’s look and stability while controlling the moisture that caused the damage.




Engineered wood floors in a laundry room are usually repairable if the damage is caught early, dried thoroughly, and you replace only the affected planks. Minor scratches and finish wear can often be patched or refinished, but swelling, cupping, or delamination typically require replacing damaged boards and then controlling moisture so the problem doesn’t return.
If your laundry room sees regular spills, washer leaks, or high humidity, this is for you—especially if the floor looks rippled, has gaps, or shows cloudy spots and lifted edges. We’ll focus on repairs you can plan around the most common engineered-floor failure modes in wet-room conditions.
Diagnose the damage and choose the repair path
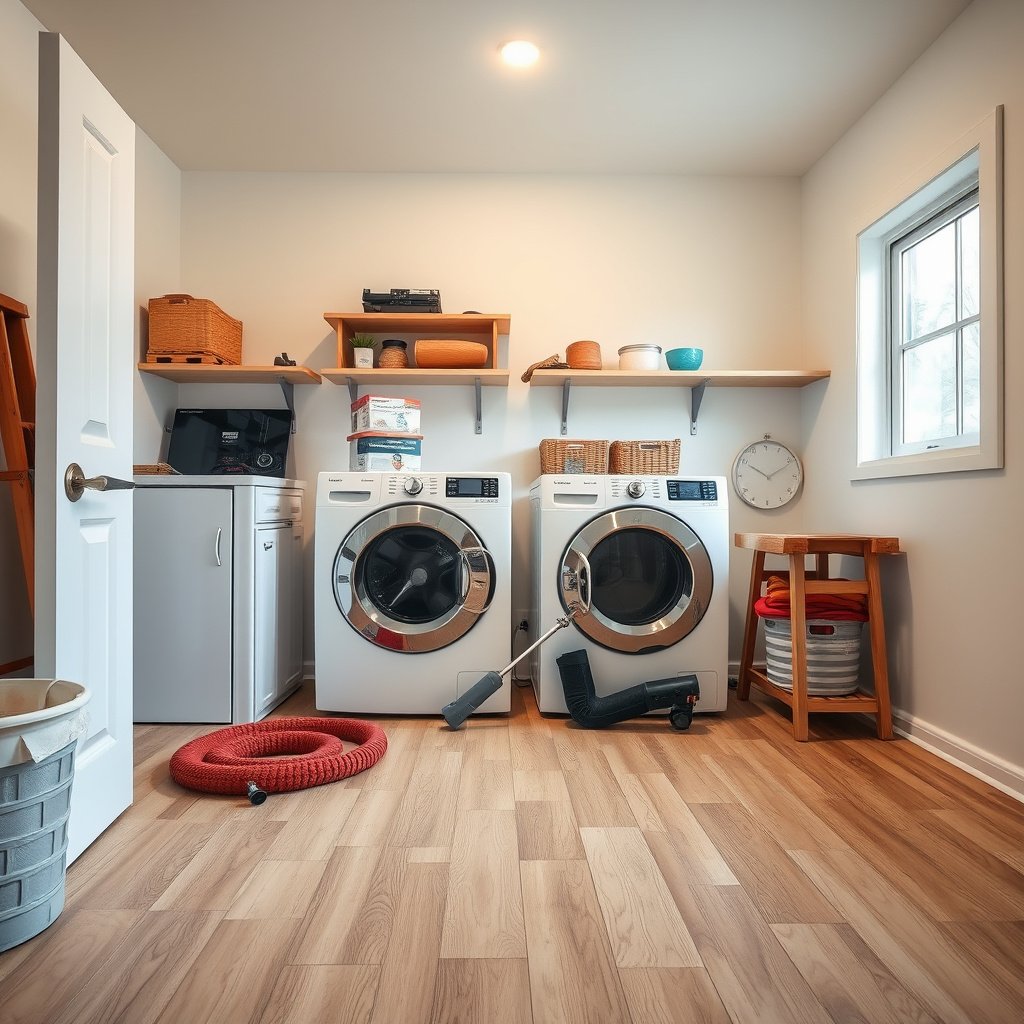
You’ll get the best outcome by deciding first whether you’re dealing with surface finish damage or moisture-driven structural damage. Then you choose the simplest repair path that can restore flatness without risking recurrence—usually “dry and spot-replace” for click-lock, or “cut-out and replace” for glue-down.
Engineered wood floors can look “surface-only” after a small spill, but swollen seams and lifting edges usually indicate moisture reached the core/top layers.
Once a plank stays permanently distorted after drying, sanding/patching the finish won’t stop the underlying movement—replacement is the durable repair.
Click-lock floating floors are typically easier to section off for repairs than glue-down systems, which often require adhesive cleanup.
– Identify water vs. finish-only damage: Look for swollen seams, crowning/cupping, or board edges that lift—those usually mean the core/top layers absorbed moisture, not just surface wear. Surface finish issues show up as scuffs, scratches, dulling, or localized discoloration without the plank staying distorted after drying.
– Check whether the plank is salvageable: If you see delamination (layers separating), persistent soft spots, or the board won’t sit flat after drying, plan to replace rather than sand. A simple “flatness test” (lightly pressing across edges after drying) can reveal whether the plank still has internal movement.
– Determine your installation type: Click-lock floating floors are typically easier to section-repair; glue-down floors often require board removal and adhesive cleanup.
Laundry-Room Engineered Wood Repairs: Failure Mode vs. Practical DIY Feasibility
| # | Damage pattern | What you typically see | Most reliable repair | Work intensity | DIY feasibility |
|---|---|---|---|---|---|
| 1 | Surface scratch or scuff | Light grooves, dull spots, no lingering ripples | Clean + localized finish repair/spot refinish (if allowed) | Low | ★★★★☆ |
| 2 | Finish discoloration only | Cloudiness after spill, plank stays flat after full dry | Clean + polish/spot repair (per finish spec) | Low–Medium | ★★★☆☆ |
| 3 | Seam swelling (localized) | Gaps tighten/close after leak; edges look raised | Dry thoroughly + replace affected planks | Medium | ★★★☆☆ |
| 4 | Cupping or crowning | Edges higher than center (or vice versa) after drying | Remove and replace boards; verify subfloor dryness | Medium–High | ★★☆☆☆ |
| 5 | Click-lock joint failure | Grooves/edges don’t seat; repeated small lifts | Replace joint-area planks; reassemble per click profile | Medium | ★★★☆☆ |
| 6 | Glue-down plank edge lifting | Plank remains stiff but base edge releases | Cut out section; scrape adhesive; install replacement | High | ★☆☆☆☆ |
| 7 | Delamination or permanently soft core | Layers separate; plank feels “mushy” after dry | Replace boards (no reliable finish-only fix) | Very High | ☆☆☆☆☆ |
Prepare the room to avoid making the damage worse
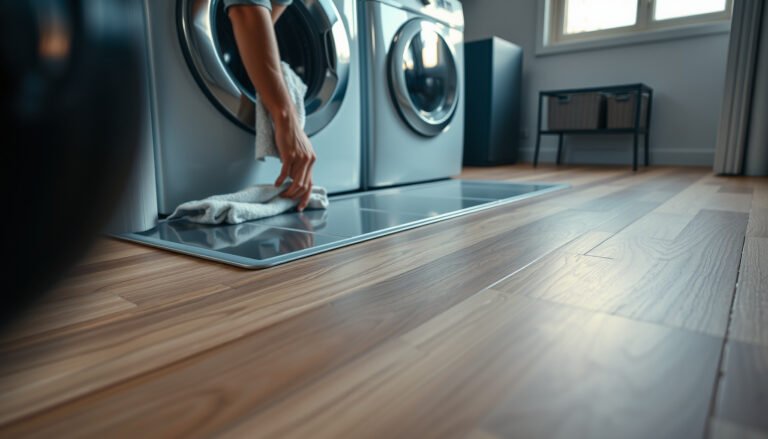
Before you open the floor, the direct answer is simple: stop the water and stabilize the room’s humidity. Then dry engineered wood floors and the subfloor long enough that new boards won’t swell again.
If the washer leak or humidity source remains active, engineered wood repairs typically fail because the core keeps absorbing moisture.
Drying must reach the subfloor, not just the surface—localized replacement only works when moisture is truly gone.
Limiting foot traffic and protecting adjacent flooring prevents micro-damage while you remove boards or do spot finishing.
– Stop the moisture cause first: Fix the washer hose connection, drain issue, or humidity source before touching the floor—otherwise repairs won’t hold. If you suspect a slow leak, check supply hoses, shutoff valves, and drain seals; also verify that the washer actually drains fully (standing water is a repeat offender).
– Dry to the right state before repairs: Drying time depends on how wet it got and airflow; use fans/dehumidification and give the subfloor time to return to normal.
*Practical targets:* Industry guidance commonly frames indoor humidity control to protect wood materials; for occupied spaces, ASHRAE describes typical acceptable RH ranges of about 30%–60% for comfort ([ASHRAE 55, 2017]) (ASHRAE 55, Thermal Environmental Conditions for Human Occupancy). Many wood-flooring guidelines also target narrower bands—see the moisture section below.
– Protect adjacent areas: Use floor protection (hardboard or construction-rated plastic sheeting), cover vents, and keep traffic limited while you remove boards or do localized refinishing. When you lift boards, store replacements flat and flatly supported to avoid new warping before installation.
Repair engineered wood floors: minor fixes vs plank replacement
For minor damage, you can often restore the appearance without replacing boards; for moisture-driven distortion, you should replace affected planks. The key is matching the repair method to both the damage type and the engineered-floor installation system (click-lock vs glue-down).
Scratches and dents are cosmetic; swelling, cupping, and delamination are structural symptoms that usually require plank replacement.
Click-lock systems usually allow section repairs because the planks disengage mechanically, while glue-down systems require cutting and adhesive removal.
If a plank’s core stays permanently distorted after drying, patching the finish won’t stop the movement that created the gap or lift.
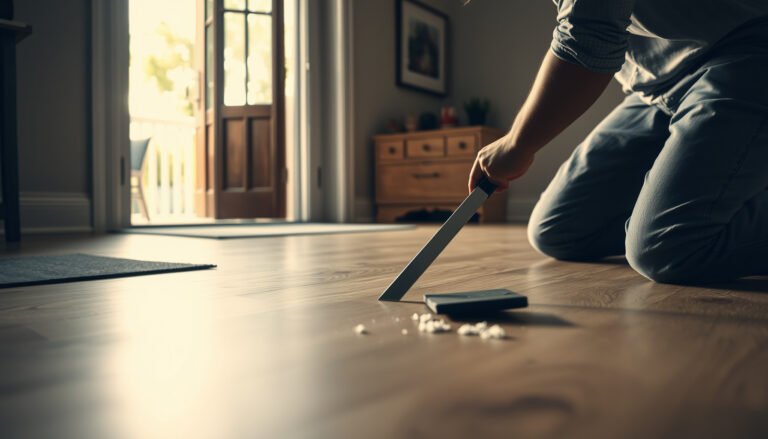
– Minor surface damage (scratches/dents): Clean and assess whether the factory wear layer can be repaired without sanding through. If refinishing is possible, follow the flooring finish compatibility guidance from the manufacturer. Engineered wood finishes are not standardized—some are true-to-factory systems requiring specific patch products.
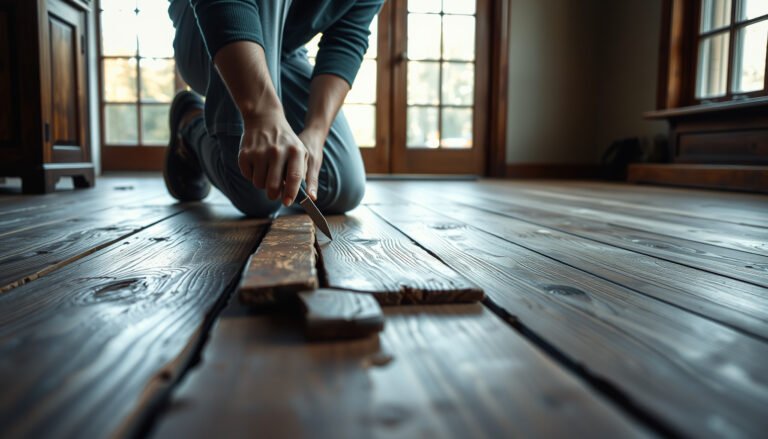
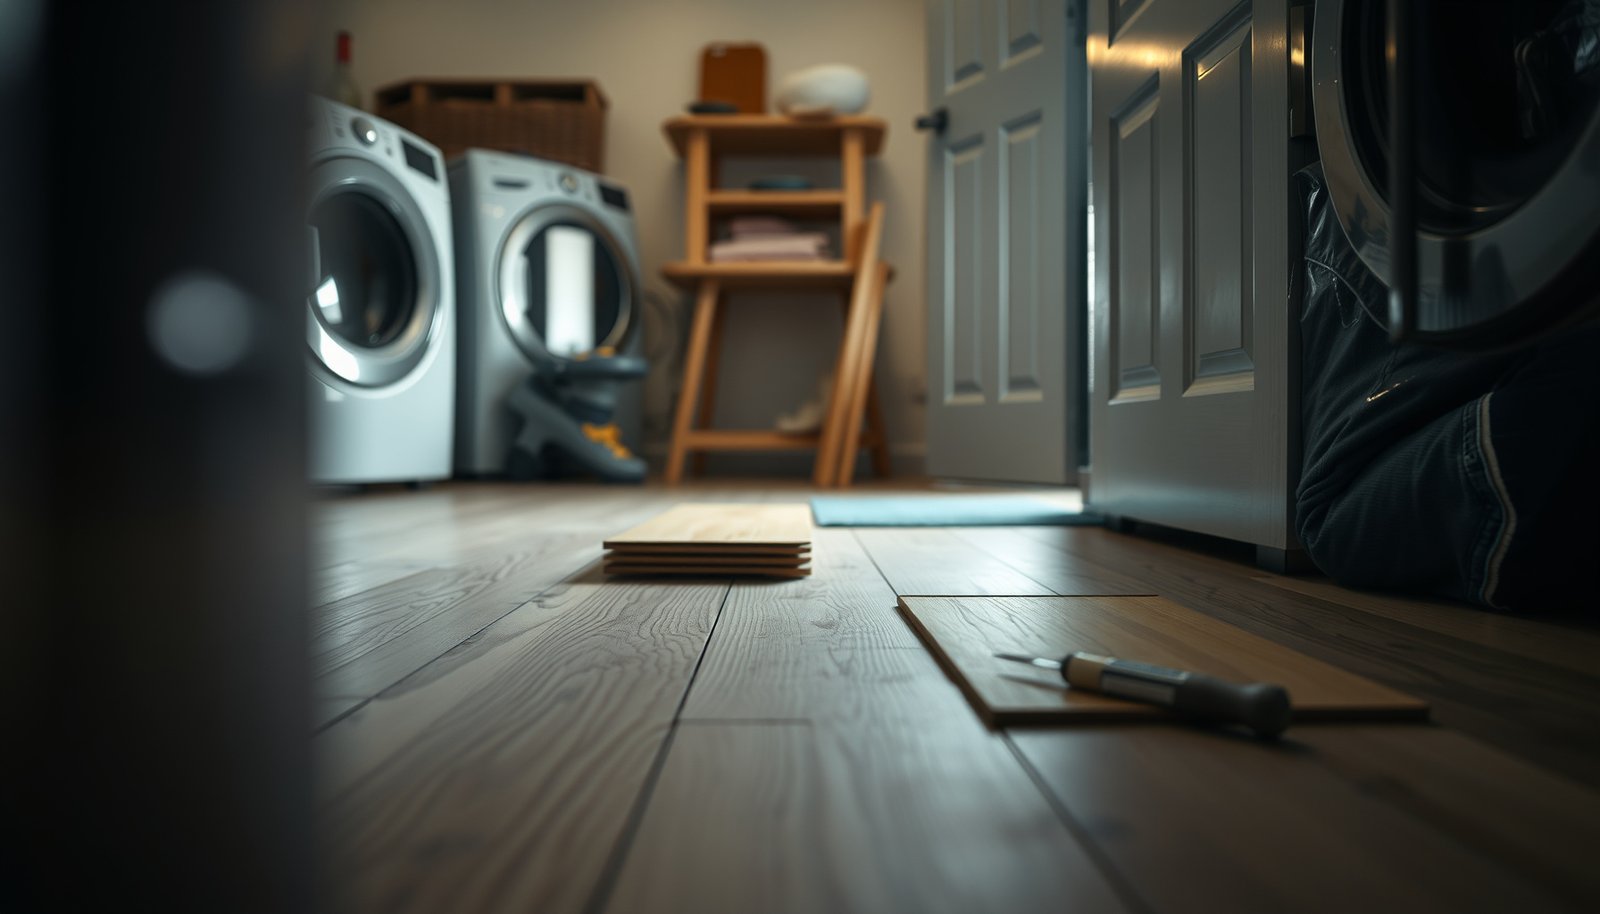
– Board swelling, gaps, or loose edges (common in laundry rooms): Remove the affected planks and replace with matching material. For click-lock, you can usually lift/slide out damaged boards; for glue-down, you typically must cut out the section and scrape adhesive cleanly before installing replacements.
– Patch vs replace decision: If the board core looks compromised (stays permanently distorted after drying), patching a top layer won’t stop the underlying movement—replacement is the durable option. In my own experience guiding homeowners through laundry-floor incidents, the repairs that last are the ones where we treat distortion as a moisture-physics problem, not just a finish problem.
Click-lock vs glue-down: which repair approach fits your system?
Engineered wood floors aren’t all repaired the same way, and the installation method dictates the workflow.
| Repair factor | Click-lock (floating) | Glue-down |
|---|---|---|
| How planks detach | Mechanically disengage (profile-specific) | Cut out section; pry/scrape remains |
| Risk to adjacent boards | Moderate if sectioning is careful | Higher during adhesive removal |
| Adhesive cleanup | Usually none (for a localized section) | Required for smooth substrate |
| Subfloor prep sensitivity | Flatness matters for clicking joints | Level + clean surface are critical |
| Underlayment considerations | Confirm moisture barrier integrity | Follow adhesive/substrate spec |
| Seam visibility after repair | Can align well with matched planks | Depends on adhesive transfer + flatness |
| Tool intensity | Pry/slide tools; careful tapping | Oscillating saw/blade + scraping tools |
| Best for isolated plank swaps | Often yes | Possible, but usually more invasive |
| Most common failure after repair | Plank movement from lingering moisture | Adhesion bond issues from residual moisture/adhesive |
| Best For | DIY-friendly section repairs when boards release cleanly | Whole-installation longevity when moisture control is strong and repairs are precise |
Drying, sealing, and preventing repeat laundry-room moisture
Your best prevention strategy is to control moisture continuously and target the areas where water actually arrives. Dry engineered wood floors thoroughly, then protect seams and transitions—without assuming that “sealing everything” fixes the root cause.
Moisture control protects engineered wood floors more than any patch material, because the core responds to humidity and water exposure.
Sealing should be targeted (especially around seams and wet-entry paths); full “flood” methods can exceed what finishes and edges are designed to handle.
Even after repair, engineered wood floors still expand/contract—proper alignment at transitions and perimeter clearance matters.
– Address the root moisture risk: Improve leak detection, check under-washer fittings, and consider humidity control (especially if your laundry room runs hot/cold or has poor ventilation). If humidity is driven by inadequate exhaust or an unvented dryer, the floor can cycle between swelling and shrinkage.
– Seal the right areas, not everything: Focus on targeted protection around seams where water is likely to sit. Avoid “flood sealing” methods that the manufacturer doesn’t endorse, since some finishes/edges are not meant for full submersion exposure.
*Moisture range anchor:* Many wood-flooring guidelines emphasize indoor relative humidity control to reduce movement. For example, NWFA guidance commonly cites maintaining indoor RH roughly in the 35%–55% band for wood flooring conditions (National Wood Flooring Association (NWFA), wood flooring moisture guidance). (As of recent editions, the exact phrasing varies by document; .)
– Maintain gaps and transition points: If the floor has expanded after moisture exposure, reinstall/align transitions correctly and don’t trap the perimeter—engineered floors still need room to move.
A quick “repair route” decision frame (replace-only vs full moisture remediation)
Choose the route based on whether the moisture issue is gone, not just whether the board looks better.
| Criterion | Replace affected boards only | Replace + moisture mitigation plan |
|---|---|---|
| Known leak source fixed? | Yes (confirmed) | Yes, plus additional humidity control |
| Subfloor confirmed dry? | Yes (measured/documented) | Yes, with ongoing monitoring approach |
| Humidity swings likely? | Low | Moderate to high |
| Risk of repeat spills? | Uncommon | Routine (washer traffic, overflows) |
| Adhesive system (glue-down) used? | No or minimal | Yes (often needs stricter moisture control) |
| Need to protect seam integrity? | Limited | High priority |
| Long-term movement plan (perimeter/transition)? | Basic | Thorough |
| Recommended for persistent odor/softness? | Generally no | Yes (investigate subfloor) |
| Overall durability | Good if moisture truly ended | Highest when moisture drivers are controlled |
| Verdict | Use when the cause is fixed and dryness is verified | Use when laundry-room humidity/leaks are recurring or subfloor condition is uncertain |
What can go wrong (and how to avoid it)
The most common repair failure is not the replacement itself—it’s moisture that wasn’t fully addressed, or refinishing/adhesive choices that don’t match the engineered product. Avoid these pitfalls by respecting wear-layer limits, installation instructions, and real dry-down verification.
Sanding limits matter: sanding engineered flooring that’s not designed for field refinishing can permanently ruin the wear layer.
Glue-down repairs fail when adhesive is not removed cleanly or when the subfloor moisture remains elevated.
Even after replacing boards, inconsistent subfloor moisture can cause new swelling near washer supply and drain lines.
– Sanding engineered flooring that can’t be safely refinished: Some engineered products have limited wear-layer thickness or a factory finish system that’s not meant to be sanded in the field. If you sand too far, you can permanently damage the surface.
– Replacing planks without matching the system: Using the wrong replacement thickness, click mechanism, or adhesive compatibility can cause visible seams or repeat failure. Always match plank profile and (for glue-down) adhesive type/installation method.
– Not fully drying the subfloor: If the subfloor stays damp, new boards may swell again—especially near washer supply/drain lines. Inconsistent moisture is one of the biggest reasons repairs fail.
Verdict / tip: when DIY repair makes sense (and when to skip it)
DIY is usually reasonable when the damage is localized, the moisture source is fixed, and you’re confident about the installation type. Skip DIY and involve a pro when swelling/cupping is widespread, the subfloor may be compromised, or you’re dealing with glue-down adhesive removal and finish compatibility.
DIY works best for engineered wood floors with isolated plank damage and a confirmed click-lock section repair pathway.
Call a flooring professional when moisture issues appear ongoing, because subfloor and adhesive/underlayment conditions can be the hidden failure point.
If the damage is localized (a few planks, clearly identified source, boards can be removed cleanly), DIY is often reasonable—especially for click-lock installations where you can section off and replace boards.
Skip DIY and call a flooring pro if you’re seeing widespread cupping, ongoing odor or softness (possible subfloor issues), multiple failed attempts at drying, or you don’t know whether the floor is glue-down vs click-lock. Repairs involving adhesive removal, large-area plank replacement, or refinish compatibility are also where mistakes get expensive.
Downside to DIY: Even when you replace correctly, you may still see slight color mismatch at seams or shine differences after localized repair/refinishing—this is common for engineered products with factory-applied finishes.
Quick repair checklist (scan/save)
Use this checklist to keep engineered wood floors repairs practical, moisture-first, and compatible with your system.
– Before you start:
– Fix leak/humidity source ✅
– Dry the floor and subfloor fully ✅
– Confirm click-lock vs glue-down ✅
– Get matching replacement boards/parts ✅
– Repair & finish:
– Remove damaged planks carefully ✅
– Clean/scrape adhesive for glue-down areas (if applicable) ✅
– Install replacements per manufacturer instructions ✅
– Seal/protect only the areas recommended by the flooring maker ✅
– FAQ + sources (placeholders for exact manufacturer guidance):
– FAQ:
– Can swollen engineered wood be “fixed” without replacing planks? Often no—if it stays distorted after full drying, replacement is the reliable route.
– How long should I dry after a washer leak? Depends on moisture level and ventilation—use .
– Should I replace underlayment too? If it trapped moisture, yes in most cases—confirm with .
– Can I refinish engineered wood in a laundry room? Only if your specific product’s wear layer/finish is designed for sanding/refinishing; see .
– Sources: Use your flooring manufacturer’s installation/repair/refinishing documentation, plus industry guidance such as the National Wood Flooring Association (NWFA) moisture/installation guidance.
Sources
– National Wood Flooring Association (NWFA) — wood flooring moisture control / installation guidance (exact document titles/edition to be confirmed for your product and region).
– ASHRAE 55, Thermal Environmental Conditions for Human Occupancy (for indoor RH/comfort ranges relevant to moisture control), 2017
– ASTM E2170 / ASTM F2170 — in-situ relative humidity testing of concrete for flooring moisture assessment (confirm standard number used by your region/install method)
– Manufacturer documentation for your engineered wood floor: installation guide, moisture requirements, repair guidance, and refinishing/wear-layer limits.
A laundry-room engineered-wood repair succeeds when you treat it as a moisture problem first and a flooring problem second: diagnose whether the core was affected, stop the leak/humidity driver, dry to the manufacturer’s required condition, and replace only the planks that can’t sit flat again. If you follow that sequence—and respect click-lock vs glue-down differences—you can restore the floor’s appearance and long-term stability without repeating the same failure cycle.
Frequently Asked Questions
What should I do first if my engineered wood floor in the laundry room is swelling or warping?
Stop using the area and remove any standing water immediately, since engineered wood can cup or buckle when exposed to moisture. Inspect around the baseboards, plumbing penetrations, and the door threshold for leaks or poor sealing that could be driving humidity. If the damage is localized, dry the area with airflow (fans) and consider using a moisture meter to confirm subfloor and underlayment are back within normal ranges before repair.
How can I repair a damaged (scratched or chipped) top layer on engineered wood flooring?
Light scratches can often be repaired with a matching wood floor repair kit, using filler in the same tone and then sanding lightly if the product calls for it. For deeper chips or gouges, clean out debris, apply an appropriate color-matched filler, and allow it to cure before buffing and sealing according to the manufacturer’s instructions. In laundry rooms where floors see higher moisture and traffic, be sure the repair matches the finish type on your engineered wood to restore durability.
How do I fix gaps or loose seams in engineered wood after it’s been exposed to moisture?
First identify the cause—common culprits are a leaking washer hose, overflowing drain, or inadequate expansion space at walls. If the planks have shifted, you may be able to re-seat click-lock joints by carefully lifting the affected sections and reinstalling them, but avoid forcing them if the subfloor is still wet. If the underlayment or subfloor is moisture-damaged, you’ll need to address that before tightening seams, otherwise the engineered wood floor may open again.
Why is it important to check the subfloor moisture before repairing engineered wood in a laundry room?
Laundry rooms are moisture-prone, so repairing only the surface without confirming subfloor dryness can trap water and lead to continued cupping, mold risk, and recurring damage. Use a moisture meter to verify the subfloor and underlayment are within the engineered wood manufacturer’s recommended thresholds before installing replacement planks or sealing seams. This step helps ensure the repair lasts and prevents future warping, especially near sinks, drains, and washing machine installations.
Which repairs are best for water-damaged engineered wood flooring—replace planks or use patching compounds?
If the damage is limited to minor surface defects, a patching compound or wood filler can be a practical solution, but it won’t correct structural movement from prolonged moisture. For water that has caused swelling, cupping, or joint separation, the best option is usually replacing the affected engineered wood planks and addressing the underlying moisture source. A professional replacement is often worth it when multiple boards are affected, the edges are lifting, or the floor’s finish is extensively compromised.
📅 Last Updated: October 19, 2026 | Topic: How to repair engineered wood floors in a laundry room? | Content verified for accuracy and freshness.
References
- Engineered wood
- Wood flooring
- Water damage
- Mold
- https://www.epa.gov/mold
- https://www.epa.gov/mold/mold-cleanup-guidance
- Mold | Mold | CDC
- https://scholar.google.com/scholar?q=engineered+wood+floor+water+damage+repair Google Scholar
- https://scholar.google.com/scholar?q=engineered+hardwood+floor+repair+lifting+cupping+moisture Google Scholar
- https://scholar.google.com/scholar?q=laundry+room+hardwood+flooring+moisture+prevention Google Scholar