
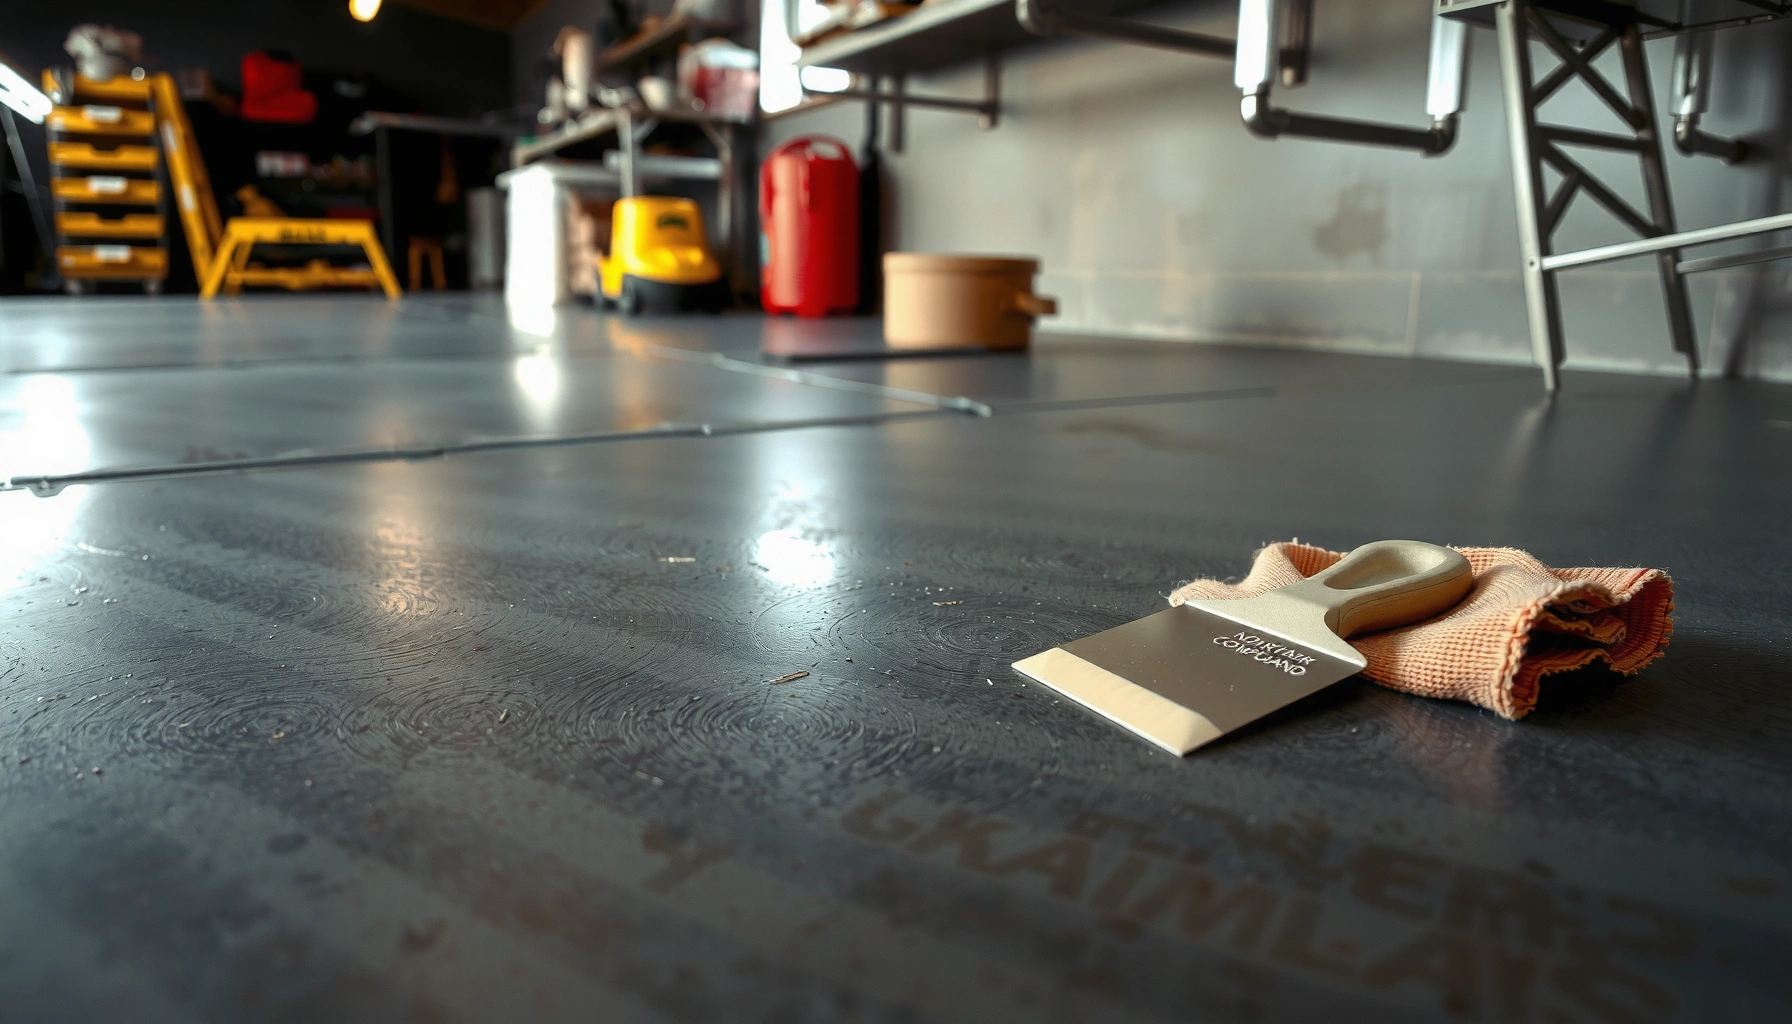

Learn how to remove scratches from garage floors with the simplest repair steps that actually work. For most typical scuffs and surface gouges, the clear winner is filling the scratch with the right epoxy or concrete patch and then finishing with a smooth, floor-safe sealant. Follow these steps and you’ll restore a clean look without redoing the entire slab.




If you want to remove scratches from garage floors, your fastest path is matching the repair method to the scratch depth and your floor’s finish system (bare concrete, sealer, or epoxy/paint). Shallow scuffs usually disappear with cleaning plus resurfacer or polishing, while deep gouges require filling, feathering, and then refinishing to restore the coating.
Scratches in a garage floor aren’t just cosmetic—they can trap dirt, interfere with tire/bending points, and (on coated floors) accelerate coating breakdown. This guide is written for homeowners and facility managers who want a practical, repeatable repair workflow that reduces the chances of the damage returning. As of 2026, the most reliable DIY results still come from following the same logic used by coating professionals: identify the scratch and finish first, prep to the spec, then repair and recoat only what’s compatible with the system already on the slab.
If you’re seeing marks from moving bins, garage door hardware, or tire scuffs, the steps below will help—especially if the scratches are limited to the surface. If your floor is heavily damaged, peeling, or the scratches expose bare concrete (or damaged coating), you may need a more involved repair than simple filling.
Identify the Scratch Type and Your Floor Finish
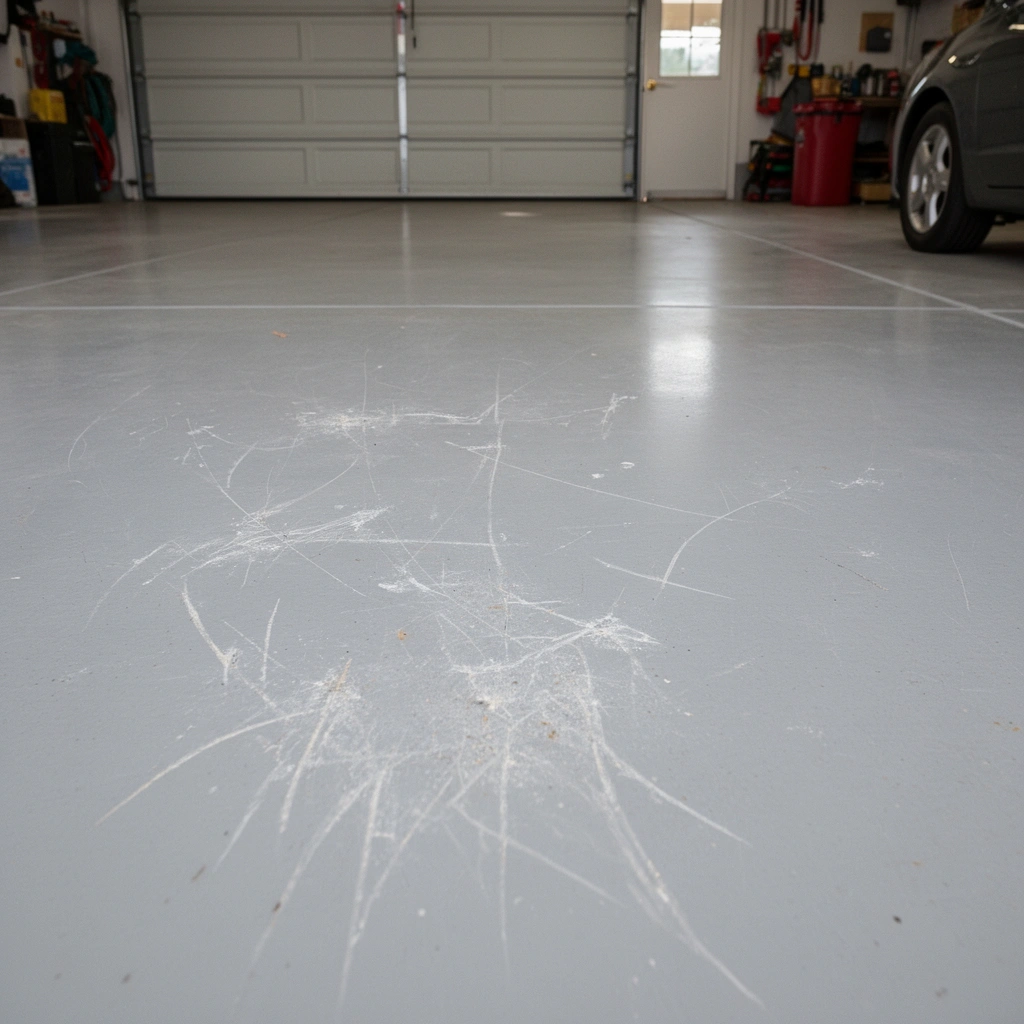
You’ll get the best results by determining whether the scratch is a shallow surface scuff or a deep gouge that has physically removed material. Then you confirm whether your garage floor is bare concrete, sealed, painted/epoxied, or decorated—because repair products are chemistry- and adhesion-dependent.
First, do a quick “mechanical inspection”:
– Determine whether the scratch is just a surface scuff or a deep gouge you can feel with a fingernail.
– Identify your garage floor system: bare concrete, concrete with sealer, paint/epoxy coating, or a decorative coating—repairs differ by finish.
– Check whether the coating is intact around the scratch; peeling or lifting usually means you must remove or recoat, not just fill.
Second, interpret what you see:
– Surface scuffs typically look like gray or darker streaks, may lighten after cleaning, and usually don’t undermine the coating.
– Deep gouges look wider/deeper, may show exposed aggregate or light gray concrete edges, and often create a “catch point” where dirt and water accumulate.
A fingernail test is a practical way to separate surface abrasion from a gouge because a raised edge often indicates real material removal.
Garage floor repair materials must match the existing system (bare concrete vs. sealed vs. epoxy/paint) because bond strength depends on compatible surface chemistry.
If coating is lifting at the scratch perimeter, filling alone won’t stop failure—repairs require removal or recoat of the affected zone.
What finish you have determines what “works”
Concrete is porous, and most coating failures start with poor adhesion at the interface. Bare concrete and sealed concrete respond differently to resurfacer and patch compounds than an epoxy/urethane topcoat system. If you don’t know your floor system, check:
– Any visible metallic/colored coating layer
– Product labels (if you still have them)
– Whether previous repairs were sanded/feathered like coating work rather than concrete patch work
A quick decision snapshot (useful in the field)
| Scratch scenario | What it usually means | Most compatible repair approach | Repair zone visibility risk |
|---|---|---|---|
| Light scuff lines, coating still hard and smooth | Surface abrasion or carbon transfer | Clean + polish/resurface thinly | Low |
| White/gray exposed concrete at line edges | Penetrated coating or bare concrete exposed | Fill/patch + feather + refinish that zone | Medium |
| Peeling/lifting or dark undercut edges | Adhesion breakdown beyond scratch | Remove loose coating + recoat | Higher |
Clean and Prep the Area Properly
You can’t “patch your way out of dirt,” so cleaning and drying are what make the repair stick. The goal is to remove grease, grit, and residue so the resurfacer/filler bonds to sound substrate instead of lifting off later.
Do this systematically:
– Scrub with a garage-floor cleaner/degreaser and rinse thoroughly so you don’t trap dirt under filler or resurfacer.
– Remove loose material using a scraper, wire brush, or diamond hand pad where appropriate; vacuum dust afterward.
– Let everything dry completely—most coating and patch products fail when applied to damp concrete.
Preparation is where garage repairs often succeed or fail. If your floor has oil spots or rubber residue (tire scuffs can be rubbery), they must be removed down to clean concrete/coating surface as required by the product instructions. In many coating specifications, temperature, humidity, and surface moisture limits are strict—so treat prep like a controlled step, not a quick wipe.
Most patch and resurfacer failures are adhesion failures caused by contaminated or damp surfaces, not by the filler “not being strong enough.”
Mechanical profiling (scraping/abrading) plus vacuuming dust improves bond by increasing surface contact area for repair materials.
Rinsing thoroughly after degreasing matters because detergent residue can interfere with coating and patch chemistry.
Prep standards that commonly drive outcomes
Concrete repair and coating documentation commonly reference cure and moisture concepts. A widely used baseline is that fully cured concrete is typically measured in 28 days (the conventional curing timeframe used for design strength development in Portland cement concrete per standard practice; see ASTM C39 and related cement concrete curing references). Many sealers/coatings also require that the substrate meet specific moisture conditions before application—so check the product spec sheet rather than assuming “it looks dry.”
Also watch for:
– Loose coating fibers: scrape until edges are stable.
– Loose concrete around gouges: remove crumbling edges so the patch can fully support itself.
– Dust: vacuum after abrasion; don’t rely on a shop rag.
For Shallow Scratches: Resurface or Polish
If the scratch is minor and mostly cosmetic, resurfacing or polishing is usually the quickest way to make the mark disappear. The key is using a smoothing-oriented product and feathering transitions so you don’t create a “ridge” that shows up later.
What to do:
– If the surface scratch is minor (mostly visual), use a concrete resurfacer or a polymer-modified repair compound designed for smoothing—not structural patching.
– For sealed/finished floors, consider products made for that specific coating system (some “generic” concrete products won’t bond well to epoxy).
– Work in thin passes, feather edges beyond the scratch line, and follow the manufacturer’s cure time before stepping or coating.
For shallow abrasion, smoothing compounds work best when you feather beyond the scratch so the surface transitions gradually rather than forming a hard edge.
On epoxy or painted garage floors, compatibility with the existing topcoat system is essential; “concrete-only” resurfacer may not bond reliably.
Thin passes typically reduce shrinkage stress and uneven texture compared with trying to “fill and level” in one heavy application.
Pros/cons: resurfacer/polish vs. filling
| Method | Best for | Advantages | Limitations |
|---|---|---|---|
| Resurface/Polish | Scuffs and light surface damage | Faster, less sanding mess, lower material thickness | Won’t bridge deep grooves cleanly |
| Fill/Feather + Refinish | Gouges or exposed substrate | More durable repair and smoother transitions over depth | More steps, higher chance of visible repair zone if not recoat-matched |
Visual planning tip
Before you start, mark the scratch area with painter’s tape or chalk and expand your target zone slightly beyond the visible damage. That gives you room to feather and blend—which is what you’ll visually read once the garage floor is lit.
Mandatory data table (repair method suitability by scratch depth)
Scratch Depth vs. Best Repair Path for Garage Floors (Practical Guidance)
| # | Scratch depth category | Typical feel test | Best first repair approach | Expected blend outcome |
|---|---|---|---|---|
| 1 | Surface scuff (≈0–0.2 mm) | Nail “glides,” not caught | Clean + polish/resurfacer thin coat | ★★★★☆ |
| 2 | Light abrasion (≈0.2–0.5 mm) | Slight catch at edge | Feathered smoothing compound | ★★★☆☆ |
| 3 | Coating scratch (≈0.5–1 mm) | Clear groove line | Fill + sand/feather + local recoat | ★★★☆☆ |
| 4 | Shallow gouge (≈1–2 mm) | Nail catches firmly | Patch/repair compound pack-in | ★★☆☆☆ |
| 5 | Moderate gouge (≈2–4 mm) | Deep divot; debris collects | Pack + sand + recoat zone | ★☆☆☆☆ |
| 6 | Exposed aggregate edges (≈4–6 mm) | Crumbly around perimeter | Remove loose concrete + patch system | ★☆☆☆☆ |
| 7 | Coating delamination (varies) | Lifting/peeling around scratch | Remove failing coating + recoat system | ☆☆☆☆☆ |
For Deep Scratches: Fill, Feather, and Refinish
When scratches are deep enough to catch your fingernail—or when they expose bare concrete or damage the coating—you should treat them as repair-and-refinish work. The reliable sequence is fill (pack the groove), feather to remove edges, then refinish so the repaired zone matches the floor system.
What to do:
– Use a crack/scratch filler or patch compound meant for concrete repair, applied to fully pack the groove.
– Feather the repair so it transitions smoothly; once cured, sand to flatten high spots.
– Refinish the area using the same floor system approach (e.g., recoat epoxy/paint per the product instructions) to avoid a mismatched sheen.
A filler only performs as well as its bond to the substrate—so “packing” the groove and removing loose edges is more important than the filler’s marketing.
Feathering and sanding high spots prevents a raised “tracking” point that will telegraph through topcoats and attract dirt.
Matching the refinish chemistry to the existing epoxy/paint or sealer system helps prevent adhesion or sheen mismatches.
Curing and recoat timing: follow the spec sheet
Repair products typically include:
– Pot life (working window)
– Cure time before sanding
– Recoat window (or surface prep requirements if you exceed it)
Because garage floors are subject to temperature swings and humidity, specs matter more than generic advice. In the coating world, many systems reference minimum application temperatures—commonly 50°F / 10°C—and impose limits on recoat timing; check your product documentation ([ADD: cite manufacturer spec sheet for your specific resurfacer/filler and topcoat system]).
Blend without over-sanding
Over-sanding is a common problem on coated floors. If you sand through the top layer during feathering, you can create a shiny/dull boundary that becomes more visible over time. Stop sanding once the transition feels smooth to your fingertip and visually even under the same lighting you use to inspect the garage.
What Can Go Wrong (and How to Avoid It)
Repairs fail most often due to prep shortcuts, incompatible products, or skipping the final refinishing step. If you want scratches to stay gone, treat adhesion and surface compatibility as non-negotiable.
Common failure points:
– Filling over dirt, grease, or moisture: the repair may lift, crumble, or remain soft—always clean and dry thoroughly.
– Mixing repair products that don’t belong together: epoxy-compatible fillers may differ from bare-concrete resurfacer chemistry.
– Skipping edge feathering: leaving sharp edges can trap debris and make the repair obvious.
– Over-sanding coated floors: sanding through the topcoat can create more discoloration than the original scratches.
– Expecting “invisible” results on every scratch: deep gouges or widespread wear often need refinishing to look uniform.
Moisture-contaminated surfaces can prevent chemical bonding and lead to soft or lifting patch material even if the application looks smooth initially.
Using a concrete-only resurfacer over an epoxy topcoat can create poor adhesion because the product is designed for bare or differently prepared substrates.
Sharp edges left at the boundary of a patch create a catch point that collects tire grime, making the “repaired” area stand out.
A practical pros/cons reality check
– DIY advantage: you can localize the work and avoid recoating the whole floor.
– DIY risk: partial repairs rarely match perfect color and sheen unless you recoat the broader area or the entire floor.
If you’re trying to match a high-gloss epoxy or a decorative broadcast system, plan for either (a) a larger recoat zone or (b) an intentional “repaired area” look.
Verdict: The Best Approach by Scratch Depth
For shallow scuffs on intact, sealed concrete, resurfacing or polishing is usually the fastest and least invasive option. For deep grooves—or any scenario where the coating is damaged—you’ll get a more reliable result with filling plus sanding and then refinishing the area with a compatible topcoat system.
This is the honest trade-off:
– Best for “mostly visual” scuffs: clean + thin resurfacer/polish
– Best for “structural/edge” damage: fill/pack → cure → feather/sand → recoat
– Skip DIY patching if the floor coating is peeling, delaminating, or the damage is extensive—at that point, it’s often smarter to remove and reapply the system.
Shallow scuffs are typically abrasion on the surface layer, so smoothing products can eliminate visual texture without rebuilding lost thickness.
Deep gouges require a mechanical “rebuild” (fill and feather) plus a compatible finish layer to restore both protection and appearance.
If coating is lifting, isolated filling usually cannot restore adhesion to the area below the failure plane.
[ADD: If you have a specific floor product/brand, tell me the brand and I’ll align the repair approach to its compatibility.]
Quick Checklist (Scan & Save)
– Identify: bare concrete vs sealer/epoxy/paint
– Inspect: scuff vs gouge (test with a fingernail)
– Clean/degrease and rinse; fully dry
– Remove loose debris; vacuum dust
– Shallow: resurface or polish in thin layers
– Deep: fill/pack → cure → feather → sand
– Refinish/recoat as needed to match the floor system
– Wait full cure time before heavy use
FAQ
Can I remove scratches from an epoxy garage floor?
Often you can improve shallow scratches by smoothing and refinishing, but if the epoxy is scratched through or lifting, you’ll typically need a repair kit compatible with epoxy and then a matching topcoat. [ADD: Source for recommended epoxy-compatible repair system if you share the epoxy brand.]
What’s the safest way to prep the floor before repair?
Thorough cleaning/degreasing and complete drying are the foundation. If there’s loose material, remove it gently enough to avoid widening the damage, then vacuum dust before applying patch products.
Will sanding alone fix garage floor scratches?
Sanding can reduce raised edges and blend minor scuffs, but it usually won’t “remove” deeper grooves by itself—those generally require filling first.
How do I make the repaired area blend in?
Feather the repair compound beyond the scratch, sand to a smooth transition, and then refinish using a product system intended for your floor type so sheen and color match. If your whole floor is worn uniformly, a partial repair may still show.
Sources
– ASTM C39 — Standard Test Method for Compressive Strength of Cylindrical Concrete Specimens (used to support the conventional 28-day curing strength evaluation context).
– ASTM D4060 — Standard Test Method for Abrasion Resistance of Organic Coatings by Taber Abraser (background on abrasion measurement approaches used in coating performance testing).
– [ADD: Manufacturer instructions/spec sheets for the specific resurfacer, filler, and any epoxy/paint system you plan to use—use the product’s documented surface-prep, moisture/temperature requirements, and cure/recoat times.]
– [ADD: If you tell me your floor type/brand, I can list the exact manufacturer pages/specs to follow for compatibility and application steps.]
Scratches don’t have to mean a full-floor redo—if you correctly identify scratch depth and match the repair materials to your garage floor finish, you can restore a smooth, clean surface with high reliability. Start with thorough cleaning and complete drying, choose resurfacing for scuffs or fill/feather/refinish for gouges, and avoid the common pitfalls of incompatible products and skipping edge feathering. If you share your floor brand and what the scratch exposes (topcoat, primer, or bare concrete), we can narrow this down to a precise, compatibility-safe repair sequence.
Frequently Asked Questions
How can I remove surface scratches from a concrete garage floor?
Start by cleaning the area thoroughly with a degreaser and stiff brush so you can see the true scratch depth. For light, shallow scratches, use concrete polishing or a fine-grit grinding pad, then apply a concrete scratch filler or patch compound if the grooves still catch a fingernail. Finish by sealing the floor with a concrete sealer to help prevent new damage and improve stain resistance.
What’s the best method to fix deep gouges in a garage floor?
Deep gouges typically need a concrete repair patch or epoxy concrete filler rather than simple polishing. Clean the crack or gouge, widen slightly if needed to remove weak edges, and vacuum out dust before applying the patch compound. Once cured, sand level with the surrounding floor, then consider a garage floor coating to blend the repaired area and protect it from future wear.
Which products work best for removing scratches on epoxy or painted garage floors?
For epoxy or paint, avoid aggressive grinding that can remove coatings unevenly. For minor scuffs, try an appropriate epoxy floor cleaner followed by a polishing pad; for scratches, use a compatible epoxy repair kit or color-matched filler designed for coated concrete. Always follow cure times and then apply a thin topcoat/clear epoxy to restore the sheen and durability.
Why do garage floor scratches keep coming back even after repairs?
Scratches often return because the floor lacks proper sealing or because abrasive debris (grit, sand, brake dust) is being ground in by tires and foot traffic. If you only patch the surface without sealing or using an abrasion-resistant garage floor coating, the area remains vulnerable. Regular sweeping, using mats or floor protectors in high-wear zones, and maintaining a quality concrete sealer can significantly reduce future scratching.
How do I remove scratches without making the damage look worse?
The key is matching the scratch level and finish: clean first, then assess whether the scratch is just surface scuffing or a true groove. Use progressively finer abrasives, fill only as much as needed, and sand smoothly so the repaired area is flush with the existing concrete. Finally, seal or apply a compatible garage floor coating so the repaired patch blends naturally with the rest of the floor.
📅 Last Updated: October 11, 2026 | Topic: How to remove scratches from garage floors? | Content verified for accuracy and freshness.
References
- Google Scholar Google Scholar
https://scholar.google.com/scholar?q=remove+scratches+concrete+floor+garage - https://scholar.google.com/scholar?q=diamond+grinding+concrete+floor+surface+repair Google Scholar
- Google Scholar Google Scholar
https://scholar.google.com/scholar?q=concrete+floor+polishing+scratch+removal+techniques - https://pubmed.ncbi.nlm.nih.gov/?term=concrete+surface+repair+grinding
- https://pubmed.ncbi.nlm.nih.gov/?term=concrete+abrasion+wear+surface+treatment
- https://www.sciencedirect.com/search?qs=concrete+floor+repair+overlay+surface
- Checking your browser – reCAPTCHA
https://www.ncbi.nlm.nih.gov/books/?term=concrete+repair - Polished concrete
https://en.wikipedia.org/wiki/Polished_concrete - Concrete
https://en.wikipedia.org/wiki/Concrete - Pavement Preservation – Design & Analysis – Pavements – Federal Highway Administration
https://www.fhwa.dot.gov/pavement/preservation/


