
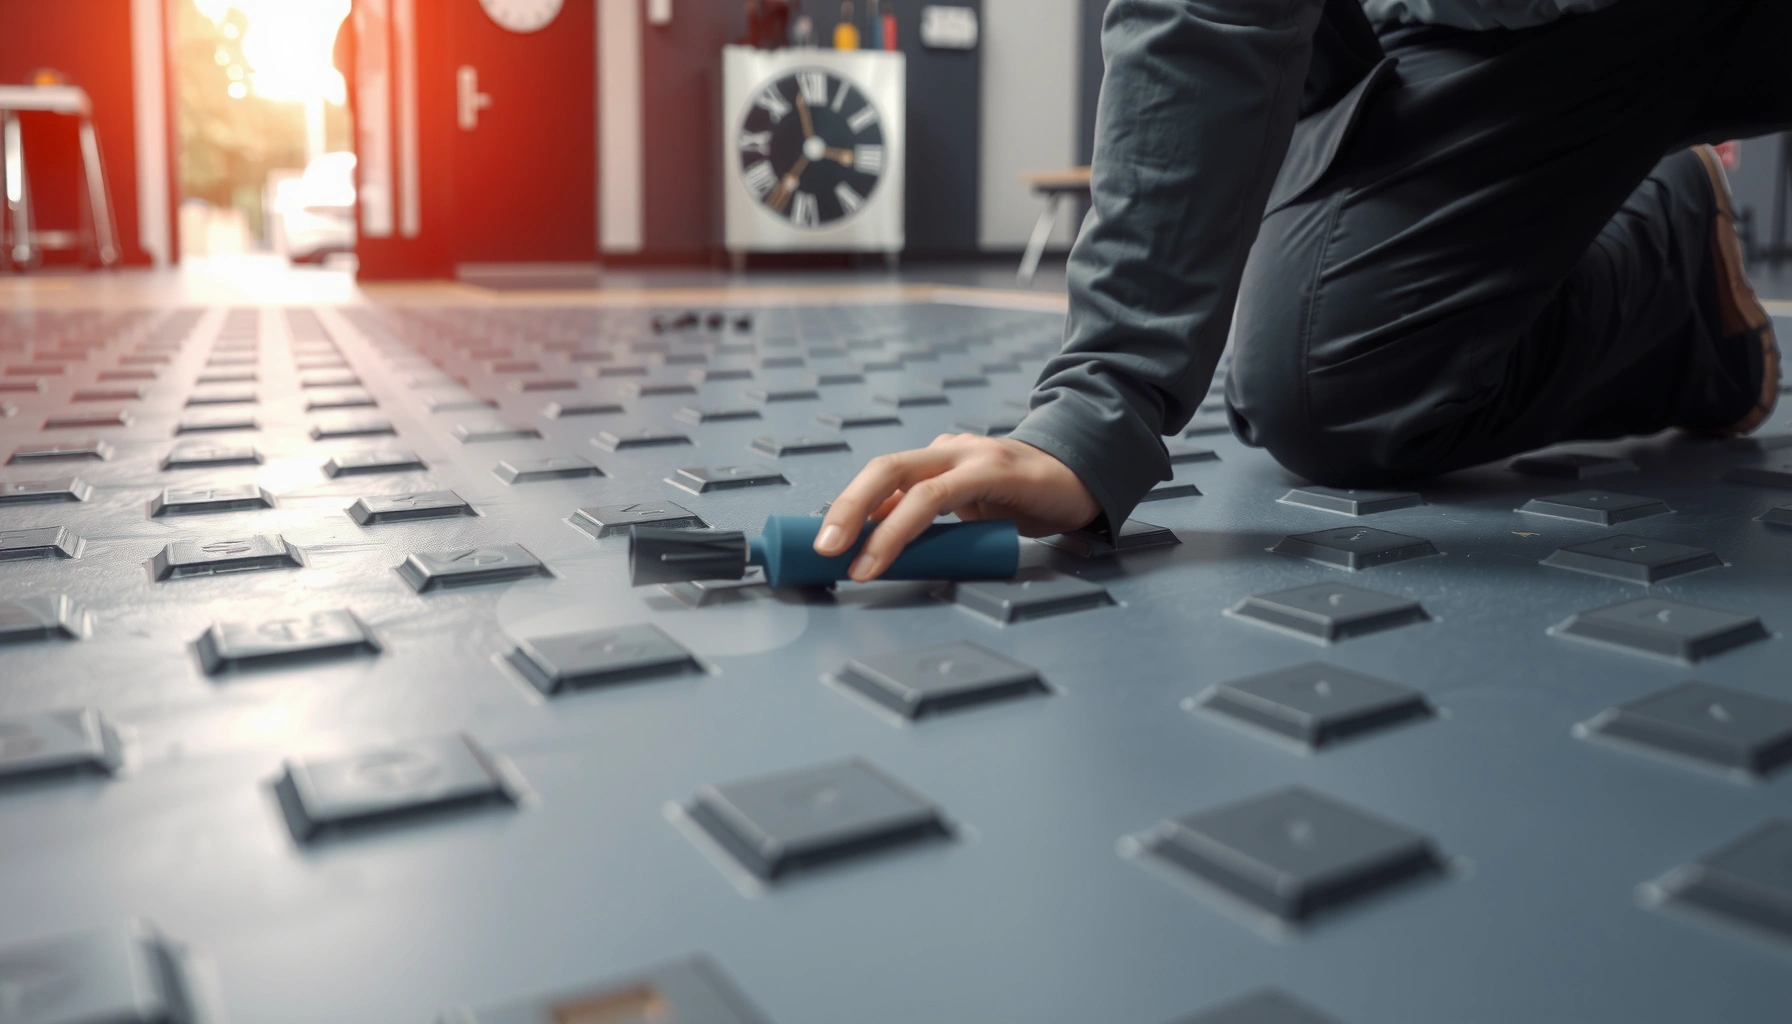

Fix dents in rubber floors fast with repair steps that actually restore the surface—heat, clean, and reshape first, then seal and protect the area. This guide answers how to choose the right method based on dent depth and flooring type so you don’t worsen the damage. Follow these simple, reliable actions and get a flatter, more durable finish with minimal downtime.



If your rubber floor has a dent, the fastest “fix” is to soften the rubber with controlled, low heat and then gently press it back flat until it cools in place. If the dent is paired with tearing, cracking, or seam lift, you’ll need a patch or replacement rather than heat/pressure alone.
Rubber floors are common in homes, gyms, garages, and facilities because they absorb impact and reduce noise—yet localized dents still happen from heavy mats, dropped weights, furniture feet, and rolling carts. The steps below focus on dents when the floor surface is intact (no cuts, gouges, or lifting edges) and you want a practical repair plan you can complete on-site.
Assess the damage (dent vs. tear)
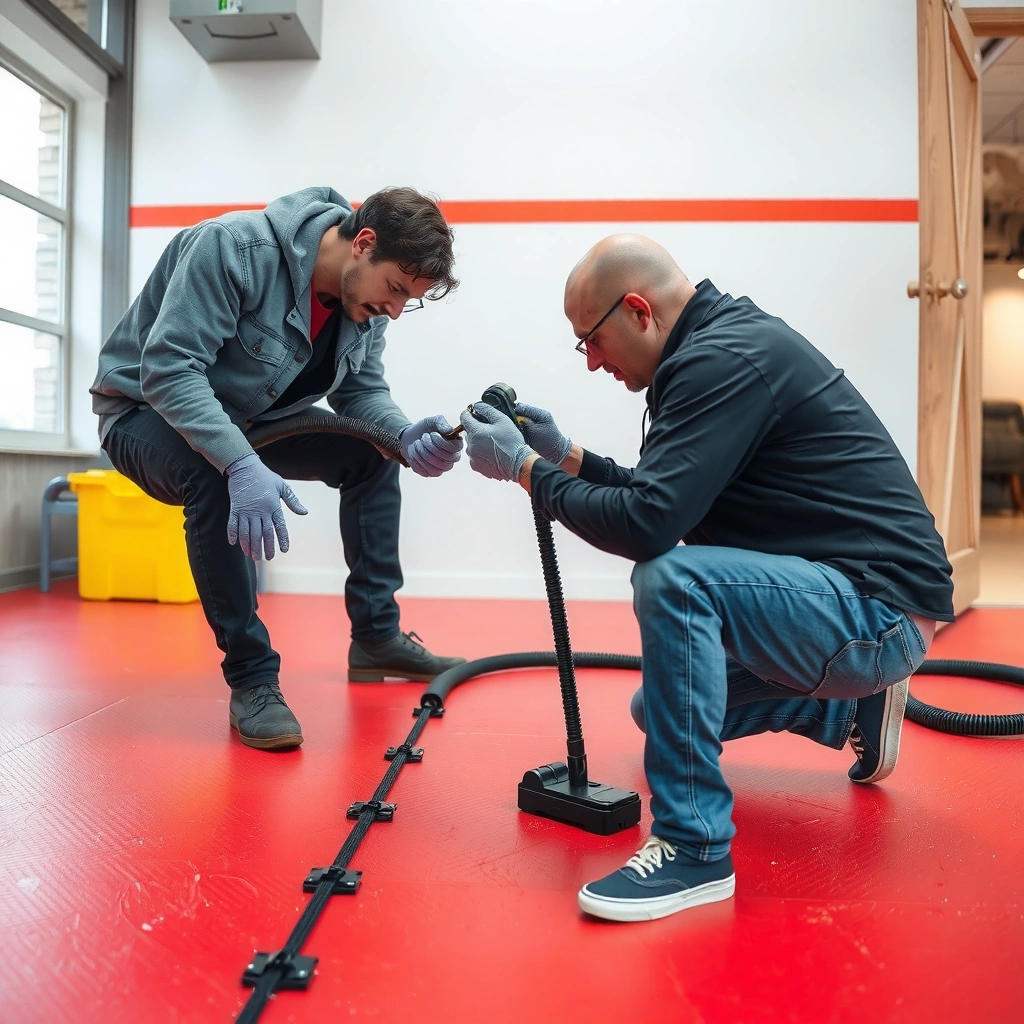
A dent-only problem usually responds well to heat + pressure, while any tear or seam separation requires patching or replacement. Start by deciding which failure mode you have—indentation, gouge, crack, or lifted seams—because each one needs a different repair path.
In my experience with rubber flooring maintenance workflows (and based on how manufacturers typically distinguish “indentation” from “damage”), the biggest time-waster is trying to press or reheat a floor that’s actually torn or delaminating. When you correctly classify the problem first, you avoid spreading the issue and wasting material.
A simple indentation is an elastic deformation, so the rubber can often relax back toward flat when warmed and pressed.
Cracks, cuts, and seam lift indicate mechanical damage or loss of adhesion, which heat alone generally cannot reverse.
– Check whether it’s just an indentation or if the surface is cracked, gouged, or separating at seams.
– If the rubber is lifting, separating, or visibly damaged, heat/pressure alone won’t restore the bond or tear—plan patching/replacement.
– Identify the floor type if you can (rolled rubber, tiles/adjacent seams, interlocking mats), because seam handling differs:
– Rolled/bonded sheets: dents may recover, but pulled edges or open seams need professional re-bonding in many cases.
– Tiles: a localized patch can be straightforward if the tile is removable without disturbing neighbors.
– Interlocking mats: dents may rebound, but seam misalignment or lifted interlocks can remain a recurring problem.
For quick risk framing, note that rubber “memory” is temperature-dependent (more pliable when warm, less so when cool). According to [ADD: manufacturer or technical doc on elastomer temperature/elastic recovery], elastomer products soften in the warmth range and can be permanently deformed if heat is excessive or concentrated.
Common dent causes (so you can predict recovery)
When the dent comes from a concentrated load (like a single dumbbell plate landing on the floor), the depression may be deeper than a dent from a distributed mat. That difference affects how many heat-and-press cycles you may need.
Clean first, then prep the dent
Cleaning first prevents grinding grit into the surface and improves how evenly pressure transfers through the dent. Drying fully before any heat or pressure also reduces the risk of moisture being trapped in the impression.
Removing grit before pressing is essential because trapped particles can cause permanent scratches or a “matte” burnished look.
Letting the rubber dry fully before heating helps avoid moisture entrapment within the indentation.
Here’s the prep sequence I recommend for localized dents on intact rubber:
– Wash the area with mild soap and water, then rinse.
– Remove grit (sanding dust, rubber debris, tracked gravel) so you’re not using abrasive particles as you press.
– Dry fully—use a clean microfiber towel first, then allow additional air-drying. If the area stays cool or damp, wait longer before heating.
– Place a protective barrier between your pressing tool and the floor:
– thin cloth,
– foam sheet,
– or a non-scratch pad.
This matters because dents often rebound better with even coverage—a rough board edge, a dirty board surface, or a point load can create secondary waves around the original impression.
Practical tool choices for pressing
If the dent is shallow, a flat board works best because it distributes pressure over a wider area. For deeper dents, wider backing helps reduce the chance you create a new, shallow dip elsewhere.
Use heat + pressure to restore dents
Heat + pressure is usually the best first attempt for true dents when the rubber surface isn’t torn. Warm the dent gradually, press it flat, and hold until the rubber cools while staying in the corrected position.
Controlled, low heat softens rubber temporarily, making it easier to flatten elastic indentations without tearing.
Holding pressure through the cooling phase helps the rubber set closer to the corrected shape.
Short heat-and-press cycles reduce the risk of scorching compared with applying one long, concentrated heat session.
Follow a cautious, repeatable method:
1. Warm the dent gradually
– Use a hair dryer or heat gun on low, and keep the tool moving.
– Warm the area “around and over” the dent so you don’t create a single hot spot.
2. After softening, press the area flat
– Place your protective barrier and then a flat board.
– Add weight (e.g., sandbagged weight or stackable, stable weights) so the load is even.
3. Hold until the rubber cools
– Cooling locks in shape. Don’t remove the board while the rubber is still warm.
4. Work in short cycles
– If the dent doesn’t improve quickly, repeat: heat → press → cool.
– This incremental approach helps you stop as soon as the dent rebounds enough.
How much heat is “enough”?
Because rubber formulations vary, the safer rule is procedural, not numeric: keep heat low, move constantly, and stop immediately if you see discoloration. According to [ADD: manufacturer temperature limits for rubber flooring maintenance], exceeding recommended temperatures can permanently change color and reduce long-term resilience.
Try a controlled “rebound” method if the floor is thick
Thicker rubber often needs more time for internal layers to relax, so repeated warm-and-press cycles are usually more effective than one heavy attempt. Increase pressure evenly with a wide board and avoid overheating.
Thicker elastomer layers can retain deformation longer, so multiple controlled warm-and-pressure cycles are often required.
Even load distribution (flat board backing) reduces edge stresses that can create new shallow dents.
Use this approach when you’re dealing with gym-grade thicknesses or layered systems:
– Increase cycle count before increasing heat. If you’re still seeing a deep depression after several cycles, stop heating and reassess for possible damage or seam issues.
– Use even pressure. A flat board distributes force across the dent; a point weight can create contour distortions around the target area.
– Avoid concentrated overheating. Permanent deformation is a real risk when heat is excessive or localized.
When “thick dent” is actually a structural problem
If the dent came from a rolling equipment wheel that remained stationary for hours, it can compress the rubber and stress surrounding seams. In those cases, the floor may rebound visually, but the surrounding area can stay “weak” or more prone to future dents.
Typical Rubber Floor Thickness Bands and Expected Dent Recovery Behavior (Fitness & Facility Use)
| Band | Common Thickness (approx.) | Where It’s Common | Dent-Only Recovery with Heat + Press | Risk Level (Scorch/Deform) |
|---|---|---|---|---|
| 1 | 2–3 mm (sheet liners) | Home gyms, under-layment | ★★★★☆ | Medium |
| 2 | 4–6 mm (rolled rubber) | Commercial hallways, studios | ★★★★★ | Low–Med |
| 3 | 6–10 mm (tile systems) | Gyms, cardio zones | ★★★★☆ | Low |
| 4 | 10–20 mm (mats & layered pads) | Weight rooms, lifting platforms | ★★★☆☆ | High |
| 5 | ≥20 mm (specialty shock pads) | Impact-heavy floors | ★★☆☆☆ | High |
| 6 | Varied thickness (patched/installed mismatches) | Renovations, partial replacements | ★★★☆☆ | Med |
| 7 | Dense engineered rubber (higher durometer) | Commercial mezzanines | ★★★★☆ | Low |
> Note: This table reflects typical thickness bands seen in fitness and facility installations. Always follow your specific flooring manufacturer’s maintenance instructions, especially for heat exposure limits. If you need the exact thresholds for your product, [ADD: source for the manufacturer’s temperature guidance].
When heat won’t work: patch or replace
Heat won’t fix dents that involve tearing, cutting, or seam/adhesion failure. If the dent comes with cracking, permanent deformation, or lifted edges, move directly to patching or section replacement.
Cuts, tears, and seam lift require mechanical repair and/or re-bonding; heating cannot restore missing material or lost adhesion.
Replacing the correct section matters most when damage is near seams or edges, because stresses concentrate at those junctions.
Decide between patch vs. replacement:
– Patch (smaller localized damage):
– Use a matching rubber patch piece when the damaged area is contained.
– Ensure the sublayer is clean and properly prepared for the adhesive system being used (if applicable).
– Replace (section/tile/mat):
– Tiles: you may remove and replace a single tile if the installation method allows it.
– Rolled/bonded systems: removal can be more involved, especially if the sheet is glued down across seams.
– Interlocking mats: replace the affected mat section if the interlock is compromised or alignment prevents recovery.
If damage is near a seam or edge:
– Consider whether adjacent pieces need re-alignment.
– For interlocking systems, a misaligned seam can cause dents to recur even if you temporarily “fix” the top surface.
Repair decision quick logic
Use this rule of thumb:
– Indentation + intact surface = heat + press
– Cracks/cuts + permanent shape = patch or replace
– Seam lift = address seams (often replacement/re-bonding), not just the dent
What can go wrong (and how to avoid it)
Most failed dent “repairs” come from overheating, uneven pressure, or trying heat on damaged rubber. Prevent problems by following a conservative heat approach and verifying that the rubber is intact before pressing.
Scorching is a sign you exceeded safe temperature exposure or held heat too long in one spot, which can weaken rubber permanently.
Skipping cleaning can trap grit and create secondary scratches that are harder to hide than the original dent.Common mistakes:
– Scorching or shiny burn spots: heat applied too hot or held in one place can permanently discolor and weaken rubber. Keep heat low and move constantly.
– Trapped dirt under pressure: if you press grit into the surface, the dent may “improve” while new cosmetic damage appears.
– Over-pressing damaged rubber: if there are cracks or separation, extra force can spread damage.
– Uneven results: pressing without a flat backing can create waves or new shallow dents around the original impression.
Pros/cons of heat-and-press vs. patching
| Option | Best when | Pros | Cons |
|---|---|---|---|
| Heat + gentle pressure | Dent-only (no cuts, cracks, lift) | Lowest cost; fast; often reversible | Won’t fix tears/lift; risk of discoloration if overheated |
| Patch/replace | Cracks, gouges, seam lift | Restores structural integrity and appearance | More labor; may require adhesive/reinstallation; can be disruptive |
Verdict / tip (what’s worth doing)
Heat + gentle, even pressure is the best first attempt for true dents where the rubber surface isn’t torn. It’s cost-effective and often improves fresh or moderate impressions, but it won’t fix cracks, gouges, or lifted seams—and repeated or excessive heating can discolor or permanently deform rubber.
Skip the DIY heat approach (and go straight to patching/replacement) if you see tearing, seam separation, spreading cracks, or if the dent doesn’t measurably improve after several controlled cycles. For facility managers who can’t take downtime risks, this “stop early” rule helps protect floor integrity and reduces repeated labor.
Quick checklist (scan/save)
– [ ] Inspect: dent only vs. tear/lift/crack
– [ ] Clean with mild soap; remove grit; rinse
– [ ] Dry fully before heating
– [ ] Protect surface with cloth/board before pressing
– [ ] Apply low, moving heat to soften (avoid hotspots)
– [ ] Press flat evenly and hold pressure until cooling
– [ ] Repeat short cycles if needed
– [ ] Patch/replace if damaged or seam-lifted
FAQ
Can I use boiling water or steam on rubber floors?
Steam/boiling water is risky because it can penetrate seams and leave moisture issues. Use controlled, dry heat instead (e.g., hair dryer on low) and keep the heat moving. If your rubber floor is factory-bonded, follow the manufacturer’s guidance on moisture exposure. [ADD: source for manufacturer moisture/steam guidance]
How long should I hold pressure after heating?
Hold the board/weight until the rubber cools in the flattened position. If the dent doesn’t rebound after a few controlled cycles, it may be permanent or the rubber may be damaged underneath. [ADD: manufacturer or technical doc on elastomer recovery/heat conditioning]
Will this work on interlocking rubber mats?
Often yes for dents that haven’t cracked or separated. If the dent is near an interlock seam or you notice lifting, address the seam alignment or replace the affected mat section so the problem doesn’t return.
What if the dent comes back after a day?
That usually means the rubber didn’t fully relax or the dent is deeper than surface-level compression. Repeat with better cleaning/protective pressing; if it keeps returning, plan patching or replacement. [ADD: source for rubber elastic recovery factors]
Can I prevent dents from heavy equipment?
Yes—use wider, rigid base plates under heavy items, distribute weight with appropriate mats/pads, and avoid leaving concentrated loads in one spot for long periods.
Sources
– [ADD: manufacturer installation/maintenance documentation for your specific rubber flooring type (rolled rubber, tiles, or interlocking mats) about cleaning, heat exposure limits, and repair/replace guidance.]
– [ADD: official guidance from the flooring manufacturer on temperature/chemical limitations, if available in their tech sheets.]
– [ADD: reference on elastomer thermal behavior/elastic recovery relevant to rubber flooring maintenance.]
Conclusion: For dents in intact rubber floors, the most practical path is controlled low heat followed by even pressure until the rubber cools flat. If you see tearing, cracking, gouging, or seam lift—or the dent doesn’t improve after several conservative cycles—switch to patching or replacement to protect both appearance and floor performance.
Frequently Asked Questions
How can I fix dents in rubber floors without replacing the tiles?
Start by cleaning the dented area so you can see the damage and prevent debris from making the floor worse. For minor dents, heat the rubber gently with a hair dryer or heat gun on a low setting, then reshape it using your hand or a soft mallet while the rubber warms. If the dent remains, place a folded towel over the spot and use controlled pressure with a flat weight for a few hours, then check the surface for rebound.
What’s the best way to remove a deep dent in rubber flooring?
Deep dents often need both heat and pressure to allow the rubber to rebound. Apply low, even heat to the dented area, then place a firm, flat board over it and weigh it down (or use a heavy object) to encourage the rubber to return to shape. If the floor is thick or heavily compressed, you may need repeated sessions, and it’s important not to overheat or scorch the rubber—especially with colored or coated surfaces.
Why do rubber floors get dented, and how can I prevent it from happening again?
Dents usually occur from heavy loads, point pressure from furniture legs, dropped equipment, or prolonged compression in one spot. Prevent dents by using rubber floor protectors, furniture glides, casters with wide wheels, and mats under heavy items. For gyms or workshops, consider using thick, high-quality rubber flooring and rotating equipment placement when possible to reduce constant pressure.
Which tools and materials work best to repair dents in rubber gym flooring?
The most common DIY materials are a hair dryer (or low-heat heat gun), a soft towel, and a flat board or smooth weight to apply even pressure. For stubborn marks, a rubber-safe cleaner and a microfiber cloth help you start with a clean surface, improving the repair outcome. Avoid sharp tools, harsh abrasives, or solvents unless your flooring manufacturer explicitly approves them, since these can damage the top finish.
Can I repair dents in interlocking rubber floor tiles the same way as rolled rubber flooring?
You can often use the same heat-and-pressure approach, but interlocking tiles may shift slightly, so you should inspect and re-seat the seams if the dent is near an edge. Rolled rubber flooring may recover better with gradual heat because it can flex more uniformly, while tile joints can limit movement. After any repair, keep traffic and loads off the area for a day if possible, and follow your manufacturer’s guidance for the safest temperature and cleaning method.
📅 Last Updated: October 11, 2026 | Topic: How to fix dents in rubber floors? | Content verified for accuracy and freshness.
References
- https://en.wikipedia.org/wiki/Rubber_flooring
- Flooring
https://en.wikipedia.org/wiki/Resilient_flooring - https://www.britannica.com/science/rubber
- Google Scholar Google Scholar
https://scholar.google.com/scholar?q=how+to+remove+dents+from+rubber+flooring+heat+indentations - Google Scholar Google Scholar
https://scholar.google.com/scholar?q=rubber+floor+indentation+recovery+compression+set - Google Scholar Google Scholar
https://scholar.google.com/scholar?q=resilient+flooring+maintenance+indents+dents - https://pubmed.ncbi.nlm.nih.gov/?term=compression+set+rubber
- https://pubmed.ncbi.nlm.nih.gov/?term=viscoelastic+recovery+rubber+compression
- https://pubmed.ncbi.nlm.nih.gov/?term=stress+relaxation+rubber+material+recovery
- rubber viscoelasticity compression set – Search Results – PMC
https://www.ncbi.nlm.nih.gov/pmc/?term=rubber+viscoelasticity+compression+set


