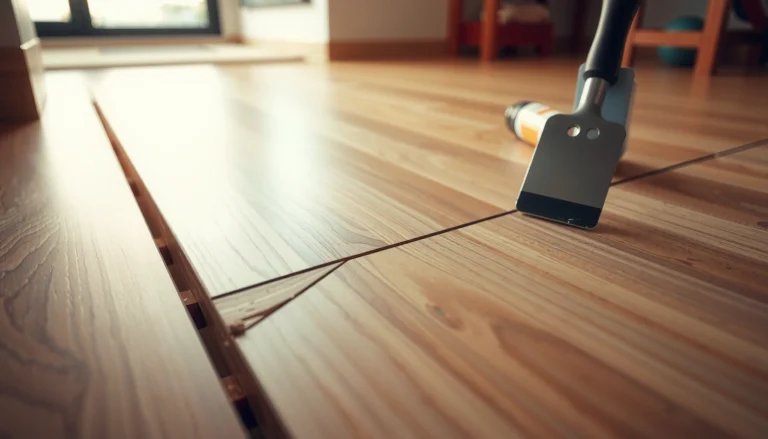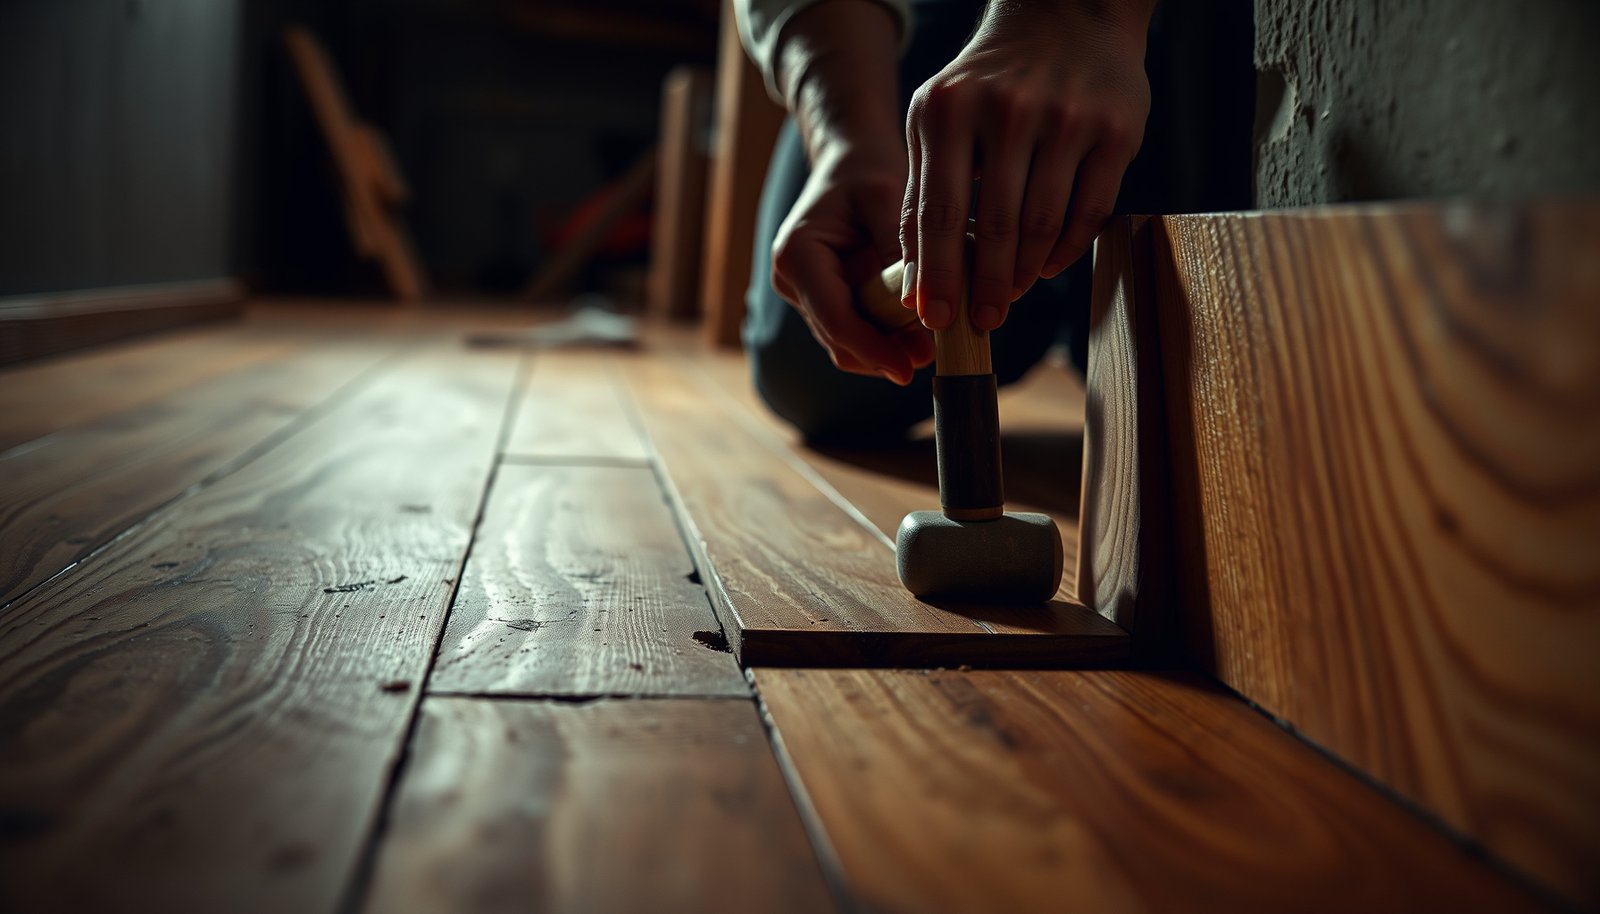

Learn how to repair hardwood floors in a basement with a clear, step-by-step plan that fixes the most common failures—scratches, gaps, loose boards, and water damage. You’ll get the fastest decision points for what to clean, what to sand, when to replace planks, and how to stabilize the surface so the repairs actually hold. Follow these instructions and you’ll know exactly what to do from inspection to finish.




Repairing hardwood floors in a basement starts with controlling moisture—then you repair the boards that moved. If you skip the moisture check, even “correct” nail fixes, seam filling, or sanding often fail because wood will keep expanding and cupping with changing humidity and vapor pressure.
Repairing hardwood floors in a basement is mainly about stopping moisture first—then you fix the boards. Start by checking for dampness/high humidity and inspecting the slab/subfloor, because warped or cupped planks usually come back if the moisture problem remains. After that, the “right” repair depends on whether the damage is loose boards, gaps, squeaks, scratches, or cupping/warping.
This guide is for homeowners dealing with common basement hardwood issues (gaps, squeaks, loose nails, surface damage, or boards lifting/cupping) where the wood is still installed or mostly intact. If the flooring is actively wet, moldy, or has widespread buckling, treat it as a moisture-remediation problem first—and consider professional help.
Diagnose the basement moisture (before touching the boards)
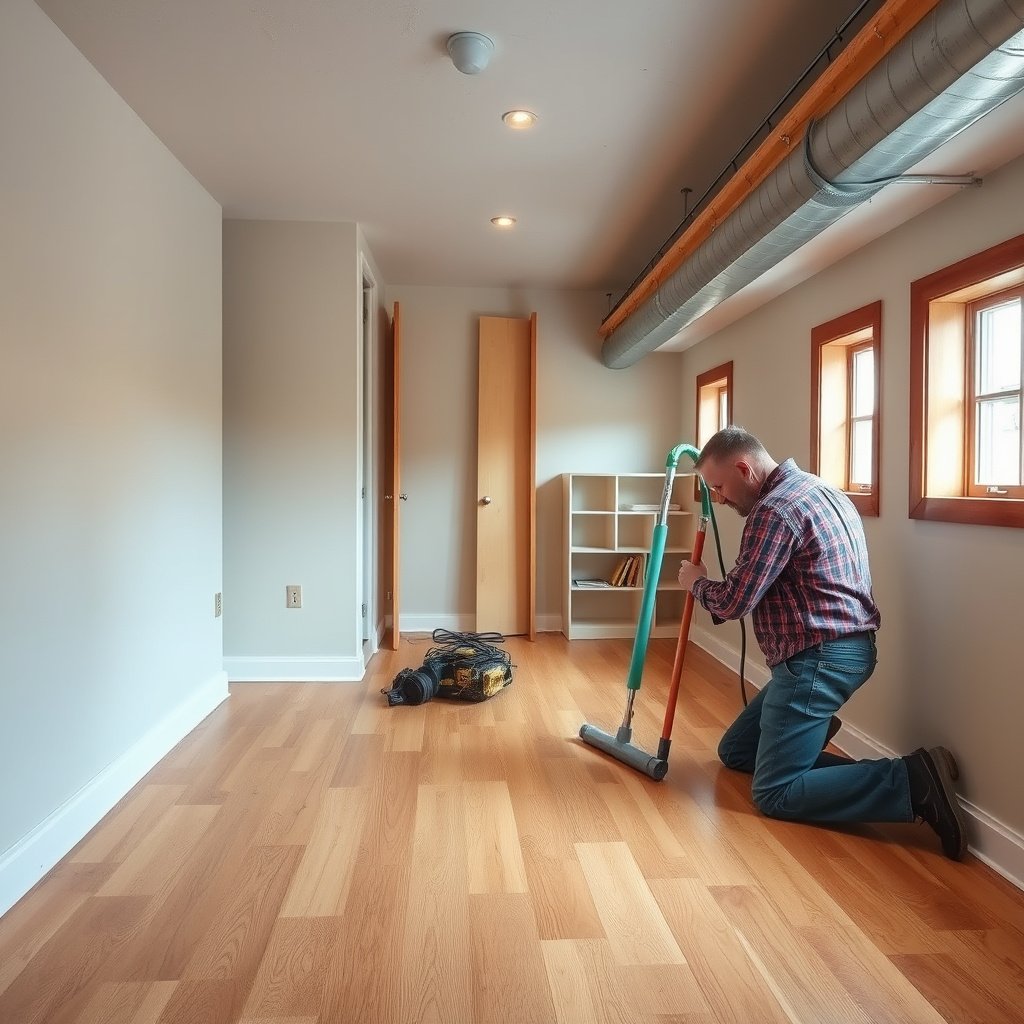
You should diagnose basement moisture first because most basement hardwood failures are caused by moisture driving into the slab/subfloor or by elevated indoor humidity. Only after you confirm conditions are stable should you fasten boards, fill seams, or sand—otherwise the wood will move again and reopen your repair.
Before touching a single plank, look at the basement the way you’d inspect a “moisture system.” According to the EPA, mold can begin growing within 24–48 hours after a water event if moisture is present (U.S. Environmental Protection Agency (EPA), mold guidance). While your flooring might not be moldy, the same moisture dynamics can trigger cupping and shrinkage in hardwood. In 2026, more basements are being built tighter (less drying air exchange), so humidity spikes are common even without obvious leaks.
Basement hardwood repairs that skip moisture testing often fail because wood movement continues with ongoing vapor pressure from concrete and seasonal RH changes.
EPA notes mold can start growing within 24–48 hours after a water event when moisture remains.
What to look for right now
– Musty smell or “earthy” odor near walls, corners, and along the slab perimeter.
– Visible condensation on concrete surfaces, cold pipes, or basement ductwork.
– Dark spots that persist on slab areas or around wall edges.
– Floor “waves” over time: slight cupping changes after humid spells can be a telltale sign the basement environment is driving wood movement.
Measure conditions (don’t guess)
Use a wood-rated moisture meter for boards and an indoor humidity meter/monitor for air. The goal is to confirm the basement is at or near a condition the wood can tolerate long-term—not just “dry right now.”
As a baseline, NWFA guidance commonly recommends maintaining a stable indoor environment around 35%–55% relative humidity (RH) for hardwood floors (National Wood Flooring Association (NWFA), moisture and environment guidance). Your exact target should still follow your specific flooring manufacturer’s requirements, but the 35%–55% RH band is a widely used planning range.
Consider installation method before deciding what “repair” means
Installation method determines whether moisture can move upward and how your repair should be approached:
– Solid/nail-down hardwood over slab: moisture migration through concrete is a frequent driver of cupping.
– Hardwood over sleeper/over-joist systems: you may need to address moisture in sleepers/subfloor layers.
– Engineered or floating systems: movement behavior can differ; some systems tolerate minor seasonal change better, but basement humidity still matters.
Identify what’s actually wrong with the hardwood
You should identify the damage type because each symptom points to a different root cause and therefore a different repair strategy. Loose boards and squeaks are often a fastening/subfloor issue; cupping and buckling usually mean sustained moisture exposure.
In my experience troubleshooting basement floor callbacks (and reviewing homeowner reports), the most expensive “fixes” begin when someone tries to sand or fill gaps before confirming flatness and moisture stability. Here’s how to sort the problem quickly on basement hardwood floors: observe movement, check flatness, and match the symptom to the likely failure mode.
If planks are cupping or buckling, sanding won’t correct the underlying moisture-driven moisture content imbalance.
Gaps that open and close seasonally typically track indoor RH changes rather than a one-time installation defect.
Loose or lifting boards (and squeaks)
Common signs include:
– Movement when you step on a particular area.
– Visible seam opening at board edges.
– Nails or fasteners that seem to have “pulled” away from the wood.
Looseness can come from nail failure, but in basements it can also come from an unstable support layer (e.g., crumbling topping, deteriorated sleepers, or a weak subfloor interface).
Gaps and shrinkage
Look for:
– Line separations between planks.
– Gaps that increase during drier months and narrow again later (or the reverse if moisture conditions are swinging).
This often means the wood is experiencing humidity cycles. Repairing seams without stabilizing RH can force the filler to crack.
Cupping / warping / buckling
This is the basement hardwood “red flag” category:
– Edges of boards sit higher or lower than the center.
– Planks remain visibly distorted even when traffic load is light.
– Sometimes the floor looks flatter in one direction than the other.
Sustained moisture from below, persistent high basement RH, or both are the usual drivers.
Surface-only damage (scratches and worn finish)
Surface damage typically looks dramatic but doesn’t always mean the wood moved:
– Finish wear, scuffs, or localized scratches
– Boards feel stable when pressed by hand
– Flatness appears consistent
When the wood is stable, repairs can often be cosmetic rather than structural.
Gather the right tools and protect the room
You should gather tools and containment before you remove, sand, or refinish anything because basement dust and debris travel easily through framing and HVAC returns. Planning the workflow also reduces the chance you leave wood exposed to basement humidity longer than necessary.
Basement hardwood floors tend to be in unfinished environments with airflow issues, so dust control matters as much as tool selection. If you plan to sand, protect occupants and protect the rest of the basement from fine particulates.
Core tools (typical for these repairs)
– Pry bar or oscillating multi-tool (for careful board/trim removal if needed)
– Hammer and nail set (or appropriate finish nailer if your installation type supports it)
– Wood glue for compatible repairs
– Spacers, painter’s tape, and clamps for controlled board positioning
– Sanding supplies (only if boards are stable)
– Vacuum + HEPA filtration for dust management
PPE and containment
– Eye protection
– Dust mask/respirator for sanding or fine debris
– Plastic sheeting to contain dust
– Keep basement air circulation controlled during work so you don’t unintentionally change RH while the repair cures
Match materials to your basement hardwood
Wood and finish compatibility is not optional:
– Replacement boards should match species, width, and thickness as closely as possible.
– Use filler/compound intended for wood flooring (not generic spackle).
– If your floor is site-finished vs prefinished, ensure prep and recoating steps are compatible.
– Follow manufacturer-specific finish systems for sanding prep, abrasion level, and recoat timing. ()
7-Item Basement Hardwood Repair Sequence (Moisture First)
| # | Step | Decision Gate | What It Prevents | Priority (★) |
|---|---|---|---|---|
| 1 | Measure basement RH | 35–55% target band | Open seams & recurring cupping | ★★★★★ |
| 2 | Check slab & edges for moisture | Identify persistent damp zones | Board movement caused by vapor migration | ★★★★☆ |
| 3 | Measure wood moisture content | Confirm consistent readings | Mismatch between installed vs equilibrium MC | ★★★★☆ |
| 4 | Map stability (press/step test) | Identify moving vs stable areas | Sanding on active cupping zones | ★★★☆☆ |
| 5 | Address loose boards & supports | Fix fastening/subfloor failures | Squeaks returning after re-nailing | ★★★☆☆ |
| 6 | Repair seams with compatible filler | Only when boards are flat | Cracked filler caused by ongoing movement | ★★☆☆☆ |
| 7 | Sand/refinish only after stabilization | No active cupping | Uneven wear & repeated patching | ★☆☆☆☆ |
Repair options by damage type
You should choose repair options based on what’s happening to the wood—moisture-driven warping needs different steps than fastening loose planks. The fastest way to waste money is to use “board-only” fixes when the slab/subfloor is still creating moisture conditions.
Use this section as your decision ladder: stabilize moisture first, then address stability (fasteners/support), then address seams/appearance, and only then consider sanding/refinishing if the boards are flat and staying that way.
Most basement hardwood “board repair” tasks only succeed when the environment is controlled to reduce seasonal RH swings.
If a board is visibly cupped, sanding before moisture is corrected can remove material unevenly and lock in the defect.
1) Fix loose boards and squeaks
Re-secure boards using the correct fastening approach for your installation type. In a basement, the critical nuance is that squeaks can be caused by movement at the wood-to-substrate interface—not just a missing fastener—so fasten into stable support.
– Locate existing nail lines where possible instead of randomly driving fasteners.
– If boards loosen due to failing support (crumbling concrete topping, deteriorated sleepers, or weak subfloor sections), fix the support before re-fastening.
– After fastening, re-check flatness; if the area still flexes, you may need targeted removal and subfloor correction.
2) Fill minor gaps or seams (without hiding a moisture issue)
Stabilize the moisture first, then use wood flooring repair products only if the planks remain flat. For slightly wider seams, it’s often better to stabilize and acclimate than to pack filler into boards that are still moving.
– Use a wood filler or color-matched repair compound meant for flooring seams.
– Avoid “forcing” filler into active movement zones—filler can shrink, crack, or fall out.
– If gaps keep returning on the same lines, that’s a signal the basement hardwood is still responding to moisture cycles.
3) Replace damaged planks (for warped, stained, or delaminated sections)
For warped or seriously compromised boards, replacement is usually the durable option—provided the replacement acclimates to your basement environment first.
– Remove only affected planks/rows where the damage is worst.
– Preserve tongue-and-groove or connection integrity where possible.
– Acclimate replacement boards in the same basement conditions before installation (follow the wood product manufacturer’s acclimation guidance; ).
4) Sand and refinish only when the boards are stable
If boards are cupped or actively moving, sanding can make the situation worse by removing material from the high spots and leaving low areas unaddressed.
For stable floors with surface wear:
– Confirm no active cupping.
– Use the correct prep method for your finish type (site-finished vs prefinished).
– Always follow finish manufacturer instructions for sanding abrasion, cleaning solvents, and recoat timing. ()
What can go wrong in basement hardwood repairs
You should treat these failure modes as a diagnostic checklist, not a “worst-case” list. If you see these problems during your project, stop and reassess moisture conditions and board stability before you keep spending money.
Basement hardwood failures are usually mechanical (movement, fastener failure, delamination) and environmental (humidity, vapor pressure, cold-surface condensation). The wrong repair sequence turns short-term defects into long-term damage.
Trying to sand or fill seams while the floor is still moving typically results in repeat cracking, re-gapping, or uneven finish.
Fasteners that don’t engage stable substrate layers can loosen again quickly in basements with unstable slab/subfloor conditions.
Common mistakes and how they show up
– Repairing before moisture control: seams re-open, cupping returns, and finish failures appear within seasons.
– Using the wrong fastening method: basements may require different fastening into stable material; incorrect choices can loosen.
– Sanding warped boards: sanding assumes flatness; if planks are moving, it won’t restore geometry.
– Mixing incompatible products: incompatible stain/finish can cloud, peel, or look uneven.
– Ignoring asbestos/old coatings: if the basement is older and you’re sanding, verify whether old coatings could contain hazardous materials. Use appropriate testing/containment and local guidance ().
DIY repair vs. moisture remediation (comparison)
| Feature | DIY board repairs | Moisture-first remediation |
|---|---|---|
| Core assumption | Wood movement is temporary/local | Moisture dynamics are driving movement |
| Moisture testing depth | Often limited to visible signs | Measures RH/wood moisture; may include concrete testing |
| Primary intervention | Nails, filler, localized board replacement | Ventilation/dehumidification, vapor barriers, leak/surface mitigation |
| Failure risk if RH swings continue | High (repairs reopen) | Lower (environment stabilized first) |
| Best for | Stable, localized damage | Ongoing dampness, repeated cupping, recurring staining |
| Time to results | Often quick on the day of repair | May take longer to stabilize conditions (weeks/months) |
| Dust/odor control | Moderate if sanding/refinishing | Varies by scope; can include containment work |
| Long-term durability | Uncertain if moisture is still active | More durable when the root cause is controlled |
| Cost profile | Lower upfront, higher redo risk | Higher upfront, but fewer repeat failures |
| Best For | Localized squeaks/seams on a stable floor | Recurring cupping, damp indicators, visible slab moisture |
Verdict: when DIY makes sense (and when to stop)
DIY repairs on basement hardwood floors make sense when the wood is mostly stable and the defects are limited—like a few loose planks, localized scratches, or small seam gaps that correlate with manageable humidity swings. If you confirm stable moisture conditions and your boards stay flat, a carefully targeted repair can be cost-effective and aesthetically rewarding.
Skip DIY and stop the project if you suspect active flooding/leaks, see persistent dampness at slab/edges, detect mold, notice widespread buckling, or you can’t confirm moisture levels are within acceptable limits for hardwood. In 2026, the most responsible move is often to pause the finishing work until moisture is stable, because repeating repairs after cupping returns usually costs more than doing a moisture remediation plan first.
Patch vs replace warped planks (quick decision)
| Criteria | Repair/patch (filler, leveling spot-work) | Replace planks |
|---|---|---|
| Primary goal | Hide minor defects | Restore flatness and integrity |
| When boards are visibly cupped | Often short-lived | Appropriate when replacement is localized |
| Effect on future movement | Doesn’t change moisture-driven behavior | Works only after moisture conditions are stabilized |
| Aesthetic match | Can blend if damage is surface-level | Better match with correct species/finish approach |
| Tooling complexity | Lower (filler, sanding of finish only) | Higher (target removal, installation) |
| Risk of repeating defects | High if movement continues | Lower when acclimation + moisture control happen |
| Sanding compatibility | Depends on flatness | Compatible once stable and matched |
| Subfloor/support issues | May remain unaddressed | Replacement can be paired with support fixes |
| Verdict (bottom line) | Choose only for surface-level problems | Choose for warped sections after moisture is controlled |
Quick checklist (scan before you start)
| Check | What to do | Why it matters |
|---|---|---|
| Moisture source | Inspect for leaks, condensation, and damp slab areas | Prevents repairs from failing |
| Humidity control | Measure/monitor basement humidity and stabilize it | Reduces seasonal expansion/contraction |
| Board stability | Press/step-test for movement; look for cupping changes | Determines if you can sand/refinish |
| Damage mapping | Mark damaged boards/areas before removing anything | Keeps replacement work precise |
| Materials match | Use compatible filler/finish and correct replacement boards | Avoids peeling/cracking/odd color |
| Follow product instructions | Use manufacturer specs for acclimation, fastening, finish prep | Prevents incompatible system failures |
Sources
– National Wood Flooring Association (NWFA), Wood Flooring Installation Guidelines—moisture testing and environmental control guidance for hardwood flooring.
– ASTM D4442, Standard Test Methods for Direct Moisture Content Measurement of Wood and Wood-Based Materials (commonly used as the reference method for wood moisture content).
– U.S. Environmental Protection Agency (EPA), Mold remediation and moisture control guidance (including timelines for mold growth after water events).
If your basement hardwood floors are still mostly intact, you can often achieve a durable repair by treating moisture control as the first “fix” and then matching the repair method to the symptom—loose boards, seams, surface damage, or warped sections. When cupping/buckling or persistent dampness shows up, pause the finishing work and focus on stabilizing conditions; that’s what keeps repairs from coming back year after year.
Frequently Asked Questions
How do I repair cupped or warped hardwood floors in a basement?
Start by identifying the moisture source causing the hardwood floor to cup or warp, such as high basement humidity, plumbing leaks, or poor ventilation. Use a moisture meter to confirm the subfloor is within manufacturer-recommended moisture limits before replacing or reinstalling damaged planks. For mild cupping, controlled drying with dehumidifiers may allow the floor to flatten, but severe warping usually requires section-by-section board replacement and sanding.
What’s the best way to fix squeaky hardwood boards on a basement subfloor?
First, locate the squeak points by walking the area while listening and feeling for movement at seams and nail lines. In basements, use a crawl-safe approach—add shims or re-secure boards to the joists if you can access them from below, using the correct screws or nails for your subfloor system. If you can’t access underneath, you may need to remove affected boards or use a floor-squeak repair kit designed for hardwood floors.
How can I repair gaps or buckling in basement hardwood flooring?
Gaps and buckling typically happen when the hardwood expands due to moisture and then contracts unevenly, so resolving humidity control is essential before any hardwood floor repair. Check relative humidity levels with a hygrometer and consider installing a basement dehumidifier and improving airflow. For gaps, you may be able to re-glue and clamp loose planks; for buckling, remove and replace the affected boards once the subfloor is dry and stable.
Why does hardwood floor finish peel in basements, and how do I fix it?
Basement floors often experience moisture vapor movement, causing the finish to separate and peel, especially if the floor wasn’t acclimated or sealed properly. To repair peeling finish, sand down to sound material, clean thoroughly, and apply a moisture-appropriate primer or sealer before refinishing the hardwood floor. If peeling is widespread, you may need to address underlying moisture before refinishing so the problem doesn’t return.
Which repairs should I do first before refinishing hardwood floors in a basement?
Before refinishing basement hardwood floors, repair structural and moisture-related issues first—loose planks, raised sections, damaged boards, and any subfloor instability should be corrected. Confirm moisture levels, let the hardwood acclimate, and replace boards that are permanently warped or delaminated. After repairs, sand and prep the surface properly, then apply a durable finish that suits basements, such as products designed for higher-moisture environments.
📅 Last Updated: October 16, 2026 | Topic: How to repair hardwood floors in a basement? | Content verified for accuracy and freshness.