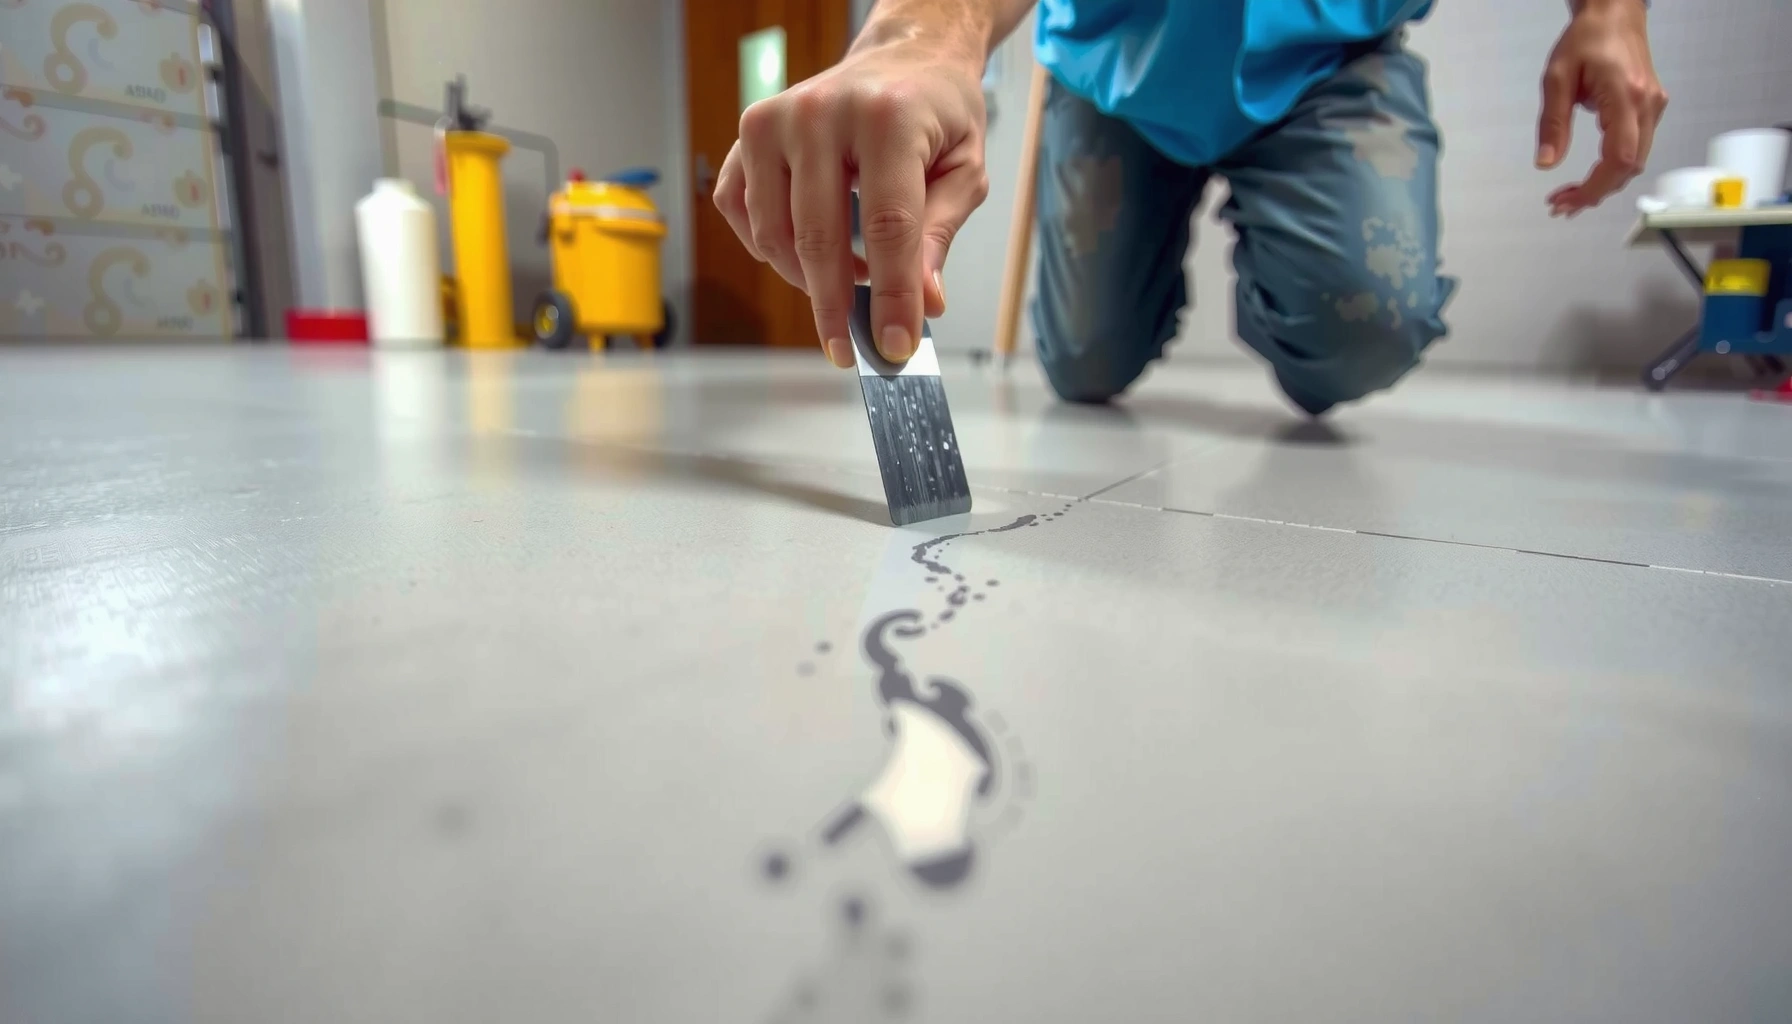

Learn how to fix scratches on polyaspartic floors with a proven, practical repair process that actually restores the surface—not just hides the damage. If you’re dealing with light scuffs, a straightforward clean-and-refinish typically delivers the best result; deeper scratches may require targeted patching to level and seal the area. Follow the steps correctly and you’ll get a smoother finish with the same durability as the surrounding coating.




Scratches on polyaspartic floors usually get fixed by matching the repair method to scratch depth: buff shallow scuffs, fill and skim-coat gouges, and recoat when cosmetic blending won’t hold. The key is system-compatible cleaning, correct abrasion, full cure time, and feathering so the repair doesn’t leave a “spot” under overhead lighting.
If you manage a commercial facility, install polyaspartic coatings, or maintain your own garage/warehouse floor, this guide walks you through practical, repair-ready steps for common surface wear—shoe scuffs, dragged furniture marks, and minor gouges—while helping you decide when DIY is realistic versus when a contractor should step in. As of 2026, many owners still delay repairs because they fear a visible patch; this article focuses on reducing that risk by using repeatable assessment and prep logic rather than guesswork.
Assess the scratch depth first (scuff vs. gouge)
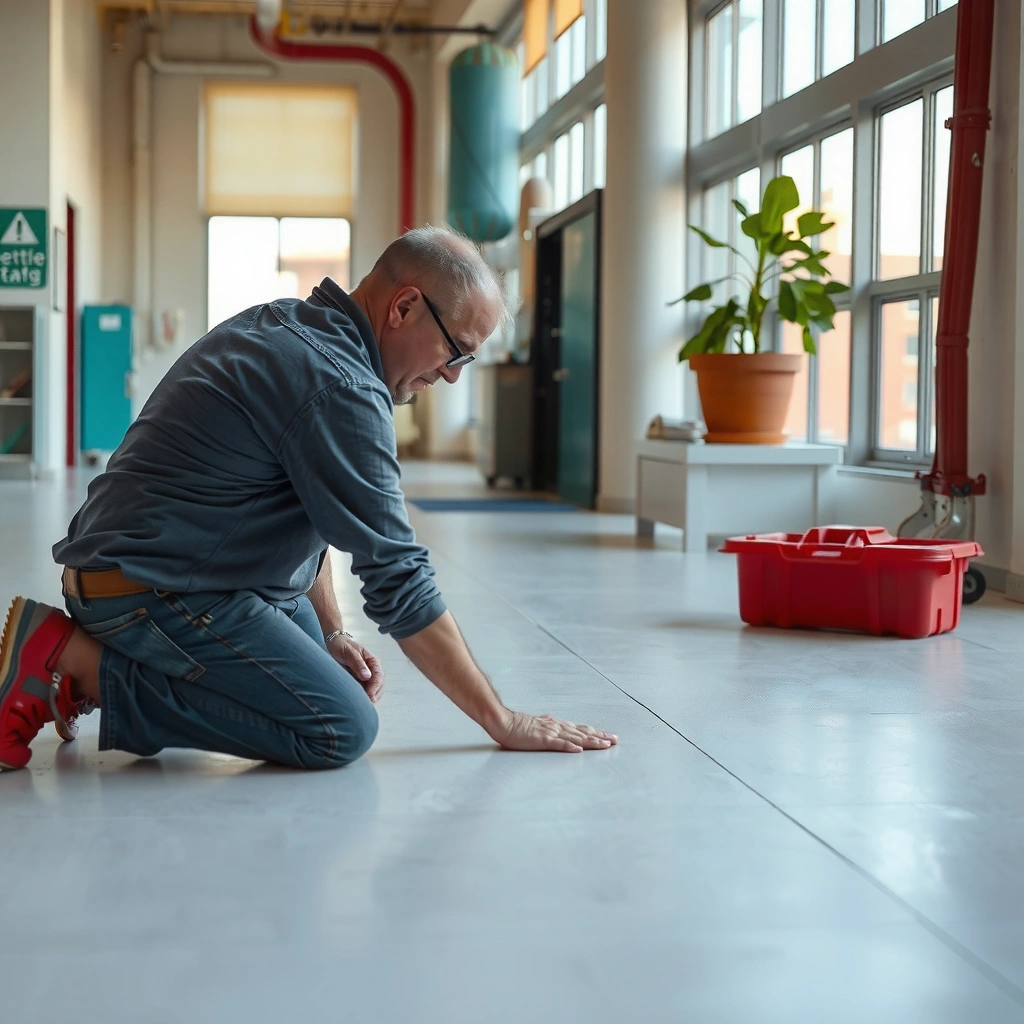
The fastest way to avoid a “failed patch” is to determine whether the scratch is only affecting the topcoat look or whether it has actually opened the surface enough to require filling. In short: if a fingernail catches, plan on a filler/patch system; if it’s only dullness or minor drag marks, buffing may be enough.
“If the scratch is raised or catches a fingernail, it indicates a profile change that surface-level polishing may not eliminate.”
“Sheen mismatch after repair is commonly caused by uneven topcoat removal, abrasion range differences, or incomplete cure—not by the filler itself.”
“Polyaspartic coatings are multi-layer systems; damage that exposes a lower layer typically needs more than polishing to restore uniform appearance.”
“A simple visual check plus a tactile test (fingernail) is often sufficient to categorize scratches into buffable vs. fill-required categories before you buy materials.”
Start with three quick checks—each one maps to a different repair strategy:
1) Fingernail test: scuff or open profile?
Run a clean fingernail across the scratch:
– No catch (smooth to the touch): treat it like a *surface scuff* (topcoat texture/sheens are the main issue).
– Catches or feels “open”: treat it like a *gouge/open scratch* (you’ll need a compatible repair filler and sanding/leveling after cure).
2) Visual discoloration: coating-only or substrate exposure?
Look at what the scratch “reveals”:
– Same color as the topcoat, just dull: often scuffing or abrasion of the topcoat surface.
– Gray/brown discoloration or visible base material: often indicates deeper damage where polishing won’t restore uniform appearance because you’ve removed or breached more layers.
3) Sheen check: does texture matter?
Turn off harsh overhead lights and inspect under a slanted angle (a flashlight across the floor works). Light scratches may only change gloss and reflectivity, while deeper damage changes texture—and texture differences remain visible even when color looks close.
Fact anchors you can use right away (conversion + standard identifiers):
– 1 mil = 0.001 in = 25.4 µm (useful when you’re comparing “how deep” a repair needs to be in the same language as coating specs).
– ASTM D4060 is commonly used to measure abrasion resistance of coatings (you’ll see it referenced in technical contexts when evaluating durability vs. scratch formation) (ASTM International, ASTM D4060).
– ASTM F710 is a widely referenced standard for measuring moisture in concrete substrates (important if you see more than scratch wear—like recurring failure spots near moisture pathways) (ASTM International, ASTM F710).
Quick pros/cons: buffing vs. patching
| Option | Best for | Main benefit | Main risk | Typical visibility outcome |
|---|---|---|---|---|
| **Buffing / surface polishing** | Shallow scuffs, “drag” marks, non-catch scratches | Restores gloss/appearance | Can create a sheen line if you abrade too unevenly | Often good blend for true surface-level issues |
| **Fill + skim-coat patch** | Gouges, catch-able scratches, edge-raised damage | Restores profile and smoothness | Wrong chemistry or poor feathering leaves a rim | Usually better than buffing for raised damage |
Clean and prep so the patch actually bonds
Polyaspartic scratch repairs fail most often because contamination blocks adhesion, not because the filler “can’t work.” Clean thoroughly, degrease only if your coating system allows it, abrade only where the repair plan requires it, and respect dry/cure times exactly.
“Adhesion failures in resin flooring repairs are frequently traced to oils/grease, dust, or residue that remain after cleaning.”
“For multi-layer coatings, the repair zone must be mechanically profiled to give the patch a reliable grip—light abrasion is often required even when cleaning is perfect.”
“System-compatible cleaners matter; some solvents can soften or interfere with polymer surfaces if misused.”
“Mechanical profile should be limited to the repair method’s requirements to avoid creating a larger ‘transition zone’ than necessary.”
What “clean” means for polyaspartic
1. Wash to remove dust and debris
– Dry sweep first, then clean with a coating-approved cleaner (follow the label directions precisely).
– Avoid letting cleaner residue dry into the scratch zone.
2. Degrease only when needed
– If the floor has contamination from parking lots, compressors, food prep, or equipment, degreasing may be necessary.
– The critical point: use only cleaners recommended for your polyaspartic system. If you can’t confirm compatibility, stop and ask the coating manufacturer or contractor for a recommended prep product list.
3. Let the floor fully dry
– Even “dry to the touch” can be too soon if your environment is humid or cool.
– Proceed only when the repair zone is fully dry and stable.
Where abrasion fits (and where it doesn’t)
Abrasive prep is not just “to rough it up”—it’s to create the right profile for bonding:
– For buffing, you usually use fine abrasion/polishing steps to minimize visibility.
– For patching, you often abrade scratch edges and the surrounding repair zone enough to create mechanical grip and transition.
Rule of thumb: You want enough profile to bond, but not so much you create a large area that will later show a sheen difference.
Repair-proof prep checklist
– Cleaned and degreased only with coating-approved products
– Repair area dry before filler/skim-coat
– Mechanical profiling performed as required by the repair method
– Feathering plan decided before applying anything (so you don’t “invent” the transition afterward)
Repair light scuffs and shallow scratches (often buffing works)
The best outcome for shallow, non-catch scuffs comes from restoring the finish look without cutting a deep, visible transition. For many polyaspartic floors, careful buffing plus thorough wipe-down can make minor marks nearly disappear under normal lighting.
“Buffing shallow scratches can reduce visibility because it restores topcoat gloss/reflectivity rather than rebuilding lost material.”
“Uneven pressure and inconsistent pad movement are common causes of a visible sheen ‘square’ around the repair.”
“After polishing, inspection under multiple lighting angles is needed to confirm the scratch removal is truly cosmetic—not just temporarily less obvious.”
Step-by-step: buff the finish back
1. Clean the scratch zone
– Even for buffing, contamination under the pad can leave smears or micro-haze.
2. Use fine abrasion/pads designed for resin finishes
– Use a microfiber pad or equivalent finish-friendly pad.
– Keep pressure gentle and consistent.
3. Work gradually
– Small, overlapping passes are better than aggressive grinding in one spot.
– Your goal is to reduce the scratch’s visibility by leveling the surface effect.
4. Wipe clean and inspect
– After buffing, wipe thoroughly and inspect at multiple angles:
– overhead lighting
– slanted flashlight/side light
– daylight if applicable
Common “sheen line” issue (how to prevent it)
If your repaired area ends up duller or shinier than the surrounding floor, it usually means you changed the surface finish unevenly. The fix is often to sand/buff uniformly across a slightly larger zone—not to repeat treatment only inside the scratch line.
> [ADD: source for manufacturer guidance on polishing/buffing techniques for polyaspartic topcoats, including pad type and inspection method.]
Fill and patch deeper scratches (skim-coat approach)
For gouges and snaggy scratches, buffing can’t rebuild the lost profile—you need a compatible filler/patch system. A skim-coat repair (fill, cure, level, then blend the finish) is usually the most reliable method for “catch-able” damage.
“Raised or open scratches typically require a compatible patch/filler to restore surface profile; polishing alone cannot fill missing material.”
“Feathering repair edges reduces the formation of a visible rim caused by a hard transition between cured patch and surrounding topcoat.”
“Full cure time before sanding/buffing helps prevent shrink marks, soft spots, and contour differences.”
Step-by-step: skim-coat repair logic
1. Confirm you truly need a patch
– If the fingernail catches or you see exposed lower material, treat as patch-worthy.
2. Prepare the repair boundary
– Clean again, then lightly abrade where the patch will bond.
– The surrounding area should be profiled enough for adhesion, but your feathering plan should still keep the transition subtle.
3. Apply compatible filler/patch
– Use a product explicitly compatible with your polyaspartic system.
– Apply in a way that allows leveling to the surrounding surface after cure.
4. Feather edges progressively
– Avoid “build up then scrape flat” in one step.
– Feather gradually so you don’t leave a crisp ridge.
5. Cure fully
– Wait for the full cure window in the manufacturer instructions before sanding/buffing.
– Skipping cure is a top cause of repaired spots that look fine initially and fail cosmetically later.
6. Sand/buff to a uniform finish
– Work outward slightly to blend the transition.
– Clean dust thoroughly between steps.
Compatibility matters more than people expect
Polyaspartic systems are not interchangeable with random fillers. Incompatible chemistry can cause:
– poor bonding
– fisheyes or craters
– peeling at the patch boundary
> [ADD: manufacturer repair-compatibility source—e.g., a “repair and patching” document or technical bulletin for polyaspartic topcoats.]
Recoat when the damage is widespread or cosmetic blending is poor
If scratches are widespread or localized patching leaves an obvious sheen/texture mismatch, the most dependable fix is a localized recoat (or broader recoat depending on system design). This restores uniform topcoat appearance by bringing the entire repair zone back to the same surface architecture.
“When sheen mismatch persists after sanding and buffing, a partial localized recoat is often the most effective way to re-establish a uniform topcoat finish.”
“Polyaspartic aesthetic blending depends on topcoat chemistry, application thickness, and surface prep consistency across the treated zone.”
When recoat is the smarter choice
Recoat (rather than repeated patch attempts) is usually worth considering if:
– scratches cover a large area
– patch boundaries remain visible even after careful blending
– the floor already shows multiple wear patterns from the same exposure source (e.g., recurring dragging points)
How to recoat responsibly
– Plan consistent prep across the affected zone, not just around individual scratches.
– Keep the recoat window aligned with your coating system’s technical guidance.
– Expect that perfect “invisible blending” depends on how similar the new surface is to the original in sheen level and thickness.
> [ADD: source for the correct recoat/overcoating window for your polyaspartic system—typically found in the manufacturer’s technical data sheet (TDS) for the topcoat.]
What can go wrong (and when to stop DIY)
DIY scratch repair often goes fine when the scratch category is correct—but it fails when adhesion, cure timing, or chemistry is wrong. If you see systemic coating problems (peeling, delamination, recurring failure spots tied to moisture), stop repairing scratches as isolated events and get an assessment.
“A repair that fails at the patch boundary typically indicates contamination, inadequate surface profiling, or chemical incompatibility—not just poor blending technique.”
“Over-buffing can create a glossy/dull transition line by changing the surface finish depth beyond what the surrounding floor experienced.”
“Patch shrink or soft spots are often linked to skipping full cure time before sanding or further finishing.”
Common failure modes
– Wrong repair chemistry: incompatible fillers/cleaners can lead to poor bonding, fisheyes, or peeling.
– Rushing cure/dry time: patch too soon can trap solvent/volatiles and cause contour issues.
– Over-buffing: aggressive polishing can alter gloss and create a visible “light/dark” line.
– Not feathering edges: hard borders are highly visible under overhead lighting.
– Applying over contamination: oils/grease/silicone residues can break adhesion even if the repair looks good initially.
When you should stop DIY
Stop and call a contractor if:
– the coating shows peeling, widespread delamination, or moisture-driven issues
– you can’t identify the primer/topcoat system
– the floor’s documentation is missing and you can’t confirm what “compatibility-approved” means for fillers/cleaners in your situation
Why system identification matters: polyaspartic coatings are typically multi-component systems, and repair methods depend on the specific primer and topcoat chemistry. Without system documentation, it’s harder to predict adhesion and sheen behavior.
Practical stop-point decision guide
| Situation you see | Likely root cause | Best next action |
|---|---|---|
| Patch edge lifts | Adhesion/chemistry issue | Pause DIY; consult manufacturer or contractor |
| Repair looks “spotty” after blending | Sheen/texture mismatch | Consider broader sanding zone or localized recoat |
| Scratch returns quickly in same spot | Ongoing abrasion source | Fix traffic pattern / chair leg protection / matting; then re-repair |
Quick repair checklist (save this)
Use this list before you start, so your repair sequence stays in the right order.
Scratch Repair Method Map for Polyaspartic Floors (Field-Use Guidance)
| # | Scratch category | What you observe | Primary method | Repair “blending” difficulty | DIY confidence |
|---|---|---|---|---|---|
| 1 | Surface scuff | No nail catch; color intact, dull look | Buff/polish only | ★☆☆☆☆ | High |
| 2 | Shallow drag mark | Slight nail catch; no base exposure | Fine abrasion + spot buff | ★★☆☆☆ | Medium-High |
| 3 | Light gouge | Nail catches; surface profile changed | Fill + feather skim-coat | ★★★☆☆ | Medium |
| 4 | Deep gouge | Raised edges; possible base discoloration | Patch system + level sanding | ★★★★☆ | Medium-Low |
| 5 | Clustered wear zone | Multiple scratches; visible “traffic path” | Localized recoat (often) | ★★★★☆ | Low-Medium |
| 6 | Sheen-line issue after repair | Gloss mismatch around scratch | Uniform blend re-sanding or recoat | ★★★☆☆ | Medium-Low |
| 7 | System-level failure (beyond scratches) | Peeling/delamination/moisture patterns | Stop DIY; diagnose & remediate | ★★★★★ | Do not DIY |
– [ ] Check depth: fingernail test + visual inspection
– [ ] Clean and degrease (coating-compatible products only)
– [ ] Abrade only as the repair method/system requires
– [ ] Buff for shallow scuffs; fill/patch for gouges
– [ ] Feather edges to avoid a raised rim
– [ ] Sand/buff only after full cure
– [ ] Recoat locally if cosmetic blending fails
FAQ
Can I fix polyaspartic scratches without recoating?
Yes—often light scuffs and shallow scratches can be improved significantly with thorough cleaning and fine buffing. If the scratch is raised, snaggy, or exposing lower material, plan on a filler/patch approach rather than polishing only.
What if the repaired spot looks shinier or duller than the rest?
Sheen mismatch usually comes from uneven abrasion, differences in cure conditions, or a patch transition that isn’t blended over a wide enough zone. Let everything cure fully, then blend uniformly across a slightly larger area to avoid a hard “border.”
Will touch-up be invisible?
It can blend well, but fully invisible repairs aren’t guaranteed, especially under strong overhead lighting. Localized recoat is generally more reliable when cosmetic perfection matters.
How do I know what filler/patch product is compatible?
Use products specified for your polyaspartic system or follow the manufacturer’s documented repair guidance. If you don’t have system documentation, obtain a compatibility chart/bulletin from the original coating supplier before proceeding.
Sources
– ASTM International standards referenced in this article: ASTM D4060 (Abrasion resistance of coatings by the Taber method), ASTM F710 (Standard Practice for Preparing, Cleaning, and Evaluating the Moisture Condition of Concrete Subfloor Surfaces Using Relative Humidity).
– [ADD: Manufacturer technical documentation for your specific polyaspartic coating system—primer/topcoat compatibility, recommended surface prep, cure/dry times, and approved repair/patch procedures.]
– [ADD: Manufacturer technical data sheets (TDS) for cleaning/degreasing agents approved for polyaspartic coatings.]
– [ADD: Manufacturer guidelines for abrasion grit ranges, sanding steps, and allowed recoating/overcoating windows for the topcoat.]
Scratched polyaspartic floors usually respond best when you match the repair method to scratch depth: buff light scuffs, patch and skim-coat deeper gouges, and consider localized recoat when blending won’t hold up. Start with contamination-free cleaning, use system-compatible materials, and follow cure timing exactly to prevent adhesion and sheen problems. If you can’t identify your coating system or the floor shows broader failure beyond individual scratches, pause repair attempts and get a professional inspection before you waste time on patch cycles.
Frequently Asked Questions
How can I fix light scratches on polyaspartic floors without refinishing the entire area?
For minor scuffs and light scratches, clean the surface thoroughly with a pH-neutral cleaner and let it fully dry. Use a polyaspartic floor scratch repair kit or a matching clear coat/repair resin and apply it thinly with a microfiber applicator. After it cures, gently buff the repaired area with a fine polishing pad to blend the sheen with the surrounding floor.
What’s the best way to repair deeper gouges in polyaspartic coating systems?
Deep scratches or gouges usually require mechanical prep so the repair material bonds properly. Lightly grind or sand the damaged area to remove loose edges, then vacuum thoroughly and wipe with an appropriate solvent recommended by the repair product. Fill with a compatible polyaspartic repair compound (or epoxy putty system designed for polyaspartic floors), allow full cure, and then sand/buff to level the surface.
Why do polyaspartic floors scratch in the first place, and how can I prevent recurrence after repair?
Scratches often come from abrasive debris (grit, sand), heavy moving equipment without protection, or dragging objects across the floor. After repairing, use felt pads under furniture, keep entry mats in place, and implement regular sweeping to prevent sand-like particles from acting as abrasives. For high-traffic areas, consider a manufacturer-approved recoat schedule and the use of floor protectants where appropriate.
Which tools and materials work best for DIY polyaspartic scratch repair?
The most effective DIY approach typically uses a compatible polyaspartic repair kit, fine-grit sandpaper or sanding pads, microfiber cloths, and a vacuum for dust removal. For blending, use a polishing pad or floor buffer with a fine-grit polishing system to restore gloss. Avoid generic fillers that aren’t designed for polyaspartic or that can create adhesion problems, and always follow the cure times listed by the coating manufacturer.
How do I restore the finish sheen after repairing scratches on polyaspartic floors?
Sheen differences are common after scratch repair because repaired areas cure differently and may have altered surface texture. After the repair material cures, sand/buff gradually using finer grits or a polishing compound until the texture matches the surrounding floor. If the floor is satin or high-gloss, apply a small, manufacturer-approved clear coat or topcoat only if needed to achieve a uniform polyaspartic floor finish.
📅 Last Updated: October 11, 2026 | Topic: How to fix scratches on polyaspartic floors? | Content verified for accuracy and freshness.
References
- Google Scholar Google Scholar
https://scholar.google.com/scholar?q=polyaspartic+floor+coating+scratch+repair+how+to - Google Scholar Google Scholar
https://scholar.google.com/scholar?q=epoxy+floor+coating+repair+scratches+surface+preparation+sanding - Google Scholar Google Scholar
https://scholar.google.com/scholar?q=polyurethane+floor+coating+scratch+repair+abrasion+resistance - https://pubmed.ncbi.nlm.nih.gov/?term=epoxy+coatings+surface+preparation+abrasion+scratch
- https://pubmed.ncbi.nlm.nih.gov/?term=polyurethane+coatings+scratch+abrasion+repair
- Epoxy
https://en.wikipedia.org/wiki/Epoxy_resin - Polyurethane
https://en.wikipedia.org/wiki/Polyurethane - https://en.wikipedia.org/wiki/Surface_preparation
- https://en.wikipedia.org/wiki/Concrete_surface_preparation
- Concrete
https://en.wikipedia.org/wiki/Concrete