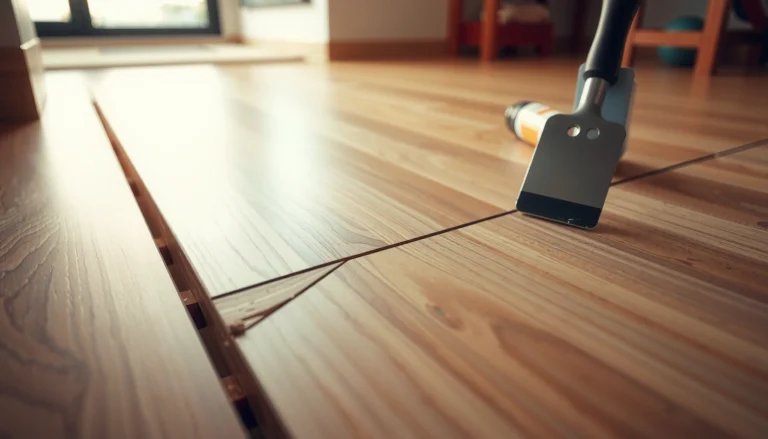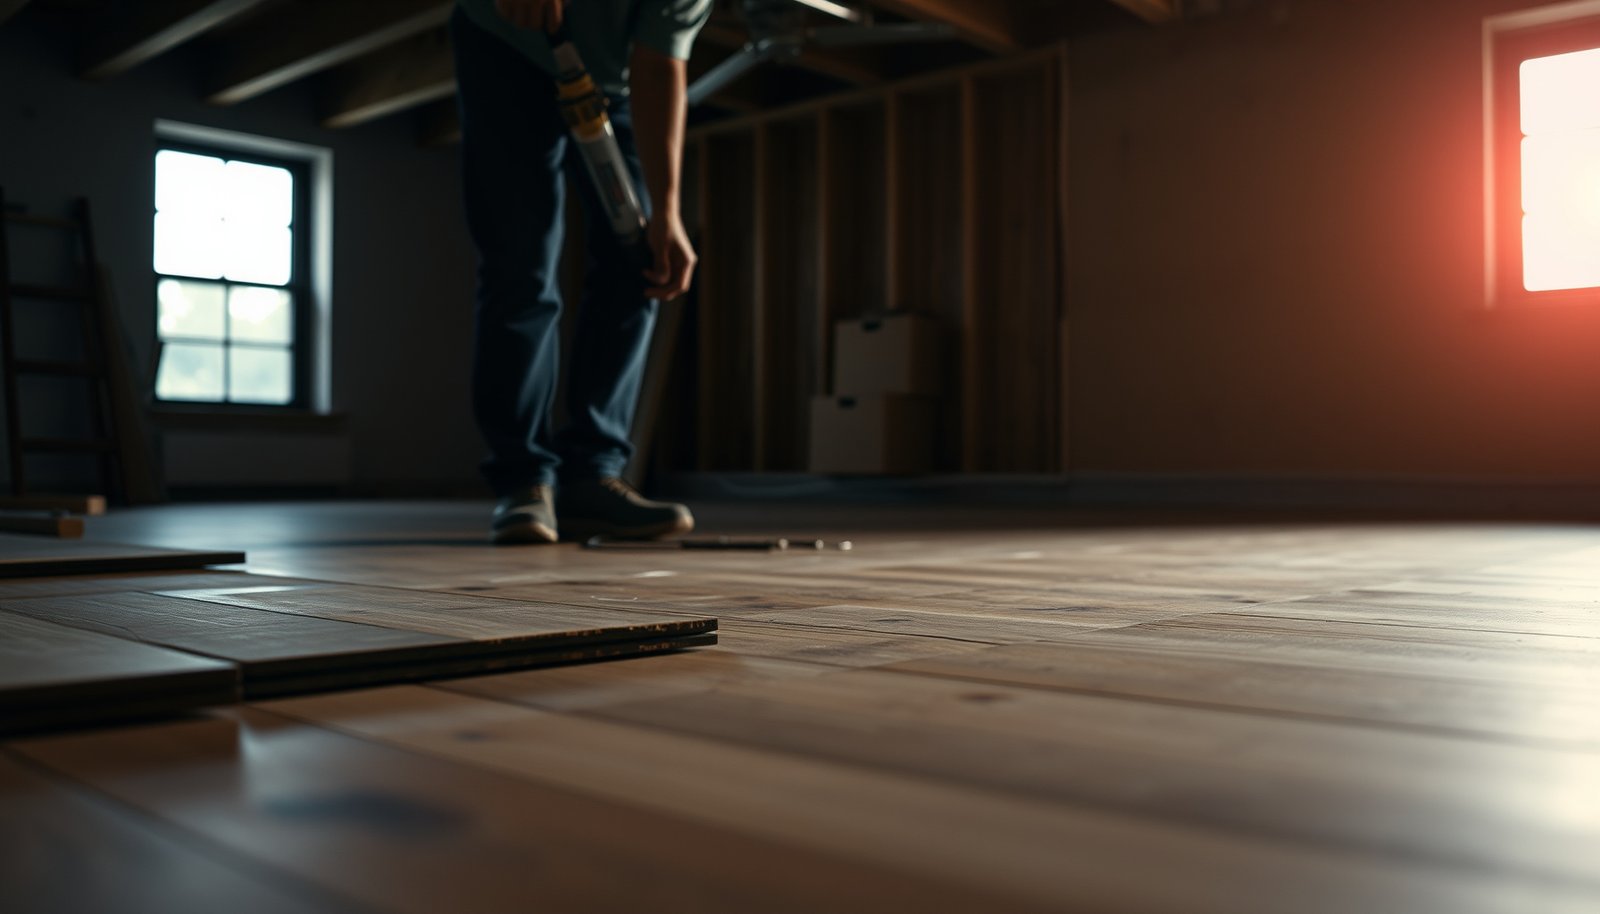

Replacing hardwood floors in a basement is worth doing only if you follow a moisture-first installation process—this guide shows the right steps to avoid warping, cupping, and buckling. You’ll get a clear, start-to-finish plan for assessing the subfloor, choosing the correct materials and underlayment, and installing and sealing hardwood to handle basement humidity. By the end, you’ll know exactly how to replace hardwood floors in a basement the way contractors do it, with the checks that prevent expensive failures.




Replace hardwood floors in a basement by handling moisture first, then installing the right flooring type with proper subfloor prep. In practice, that means testing moisture, checking the subfloor’s flatness and condition, acclimating the wood, and using the installation method recommended by the flooring manufacturer. If your basement is cooler/drier than typical living spaces—or if it has a history of dampness—this process matters more than in other rooms. This guide is for homeowners and DIYers who want a clearer plan before they start tearing out old flooring or choosing between solid vs. engineered hardwood.
Plan for basement moisture and materials before you remove anything
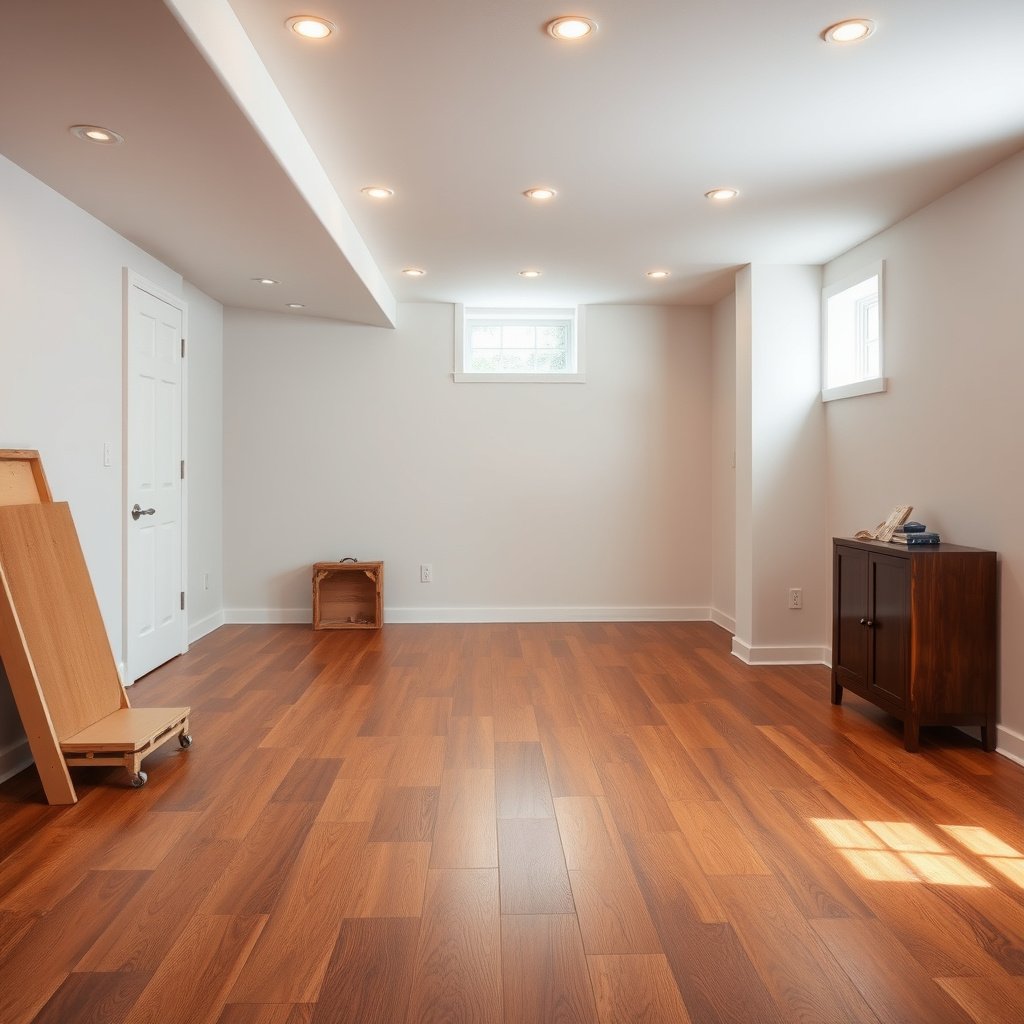
Start by treating basement moisture as the primary installation variable, because hardwood failures nearly always trace back to excess moisture or poor vapor control. Once you know the moisture profile, you can choose the flooring type and installation system that the manufacturer actually approves.
ASTM F2170 measures in-situ concrete relative humidity and reports results as RH% for moisture-related installation decisions. ASTM F2170
ASTM F1869 reports moisture vapor emission rate (MVER) in lb/1000 ft²/24 h, which is a different moisture metric than RH%. ASTM F1869
Vapor barriers are evaluated using ASTM E96, which expresses vapor transmission in “perms.” ASTM E96/E96M
Plan with your flooring’s requirements, not just “basement rules of thumb.” Basements often sit closer to exterior grade, have different airflow, and may experience condensation on cool concrete. Also, a basement that feels “dry today” can still have a slab moisture condition that fluctuates seasonally. As of 2026, most responsible hardwood installation approaches begin with moisture testing that aligns with your specific product’s published limits.
What to do (and why each step prevents rework)
– Check humidity/moisture conditions using a method that matches flooring recommendations (commonly relative humidity testing per ASTM F2170).
– Decide what to install: engineered hardwood is often the safer choice for basements (especially over slabs), but follow your product’s spec for allowable subfloors and barriers.
– Gather what you’ll need based on your product requirements (underlayment/vapor barrier, fasteners/adhesive, spacers, and leveling materials).
Quick planning logic that keeps you from buying the wrong materials
If your basement has a concrete slab, moisture testing often drives everything that follows: whether you can do a glue-down system, whether you need a rated vapor barrier, and what underlayment is acceptable. If you’re over a wood subfloor, flatness and airflow become just as important—click-lock boards can telegraph unevenness, and nail-down installs can struggle if the base is soft or unstable.
Data table: moisture & prep standards you’ll see referenced for basement hardwood installs
Key moisture/prep standards for basement hardwood decisions (commonly cited in specs)
| # | Standard / Guideline | What it covers | Typical measured output | Basement fit (evidence strength) |
|---|---|---|---|---|
| 1 | ASTM F2170 | In-situ RH testing for slabs | RH (%) | ★★★★★ |
| 2 | ASTM F1869 | Calcium chloride testing for MVER | lb/1000 ft²/24 h | ★★★★☆ |
| 3 | ASTM E96/E96M | Vapor transmission testing (“perms”) | perms | ★★★★☆ |
| 4 | ASTM E1745 | Vapor retarder classifications | perm-based classes | ★★★☆☆ |
| 5 | ASTM F710 | Concrete floor prep practices | surface condition suitability | ★★★★☆ |
| 6 | ASTM D4263 | Plastic sheet moisture indicator | qualitative observation | ★☆☆☆☆ |
| 7 | NWFA Installation Guidelines | Wood-floor installation best practices | manufacturer-aligned workflow | ★★★★☆ |
(Note: this table summarizes standards commonly referenced for basement moisture and prep decisions; your hardwood’s published limits still govern.)
Remove the existing hardwood flooring carefully
Begin by removing the old boards in a way that preserves the subfloor—because your replacement plan depends on what the base is really like. If you guess, you can end up leveling over damage or covering moisture-stained material that should be removed.
Hardwood replacement starts with subfloor inspection; moisture staining, odor, and soft spots often predict future floor failures more reliably than the visible surface does.
When boards are fastened with nails or staples, careful pry/pull technique reduces the chance of gouging the substrate needed for leveling and underlayment.
In practice, removal is where DIYers either collect valuable information or accidentally destroy it. Work slowly and document what you see: board direction, transition pieces, and any notches around vents or columns. Basements commonly hide wiring runs, older patchwork, and seams in the subfloor that won’t be obvious once everything is gone.
What to do (step-by-step)
– Remove boards without damaging the subfloor—use the right pry/pulling technique for nails or staples and keep debris controlled.
– Inspect what’s underneath as you go (moisture stains, soft/crumbly areas, mildew smell, loose fasteners, or uneven patches).
– Save layout notes (direction of boards, transitions, and any notches/edges) so the new install matches what worked before.
Subfloor clues you should treat as “stop-and-assess” indicators
If you smell mildew, see dark staining near slab edges, or find crumbly wood, you may be dealing with a moisture source that the new floor will amplify—especially in humid months (and in 2026, more basements see humidity swings as climate patterns fluctuate). In those cases, the right next move is not “install faster,” it’s diagnosis: verify moisture level with the appropriate test method, and correct drainage/ventilation or address slab moisture before new flooring goes down.
Inspect and repair the subfloor for flatness and stability
The subfloor must be flat, sound, and compatible with your flooring system before you install any hardwood—otherwise you risk squeaks, gaps, or joint separation. Treat this as structural prep, not “cosmetic leveling.”
Installation standards for adhesives and coverings depend on appropriate substrate prep; if the base isn’t within tolerances, bond performance degrades even when the flooring material is correct. ASTM F710
Concrete surface preparation practices are addressed through ASTM F710, which informs how primers, adhesives, and coatings should interface with slab conditions. ASTM F710
What flatness and stability mean in real terms
For hardwood, “flat” doesn’t mean “looks flat.” It means the floor system doesn’t have enough height variation to bend the boards, stress the click joints, or prevent uniform adhesive contact. For basements, flatness work often happens after you remove old underlayment and discover patchy prior repairs.
What to do (and why)
– Verify flatness and fix high/low spots with the right repair compound or leveling system required for your substrate (this is critical for click-lock, nail-down, and glue-down systems).
– Replace water-damaged subfloor sections and address any lingering moisture source before new flooring goes in.
– Clean thoroughly so adhesives/underlayment (if required) can bond as intended by the manufacturer.
Practical repair guidance (that protects performance)
– Repair compounds and leveling systems must match the substrate (concrete vs. wood) and the flooring’s installation spec.
– Avoid trapping moisture under new patches—if the slab or joist cavity is still damp, repairs without moisture correction can fail quickly.
– Clean like you’re installing an adhesive: dust, paint overspray, and loose latex residue reduce adhesion and underlayment effectiveness.
Choose the correct installation method for basement conditions
Select an installation method that your specific hardwood product approves for your basement’s substrate (typically slab vs. wood subfloor) and moisture profile. In basements, “best-looking DIY shortcut” is often the same thing that voids performance expectations.
Wood flooring performance depends on following the manufacturer’s approved installation method (nail-down, glue-down, or floating/click-lock) and compatible subfloor requirements.
Vapor barriers and underlayments are not interchangeable across flooring systems; compatibility is a spec requirement, not a suggestion.
Solid vs. engineered hardwood: how to decide for a basement
In general, engineered hardwood handles moisture fluctuations more predictably than solid boards over many slab conditions, but the exact answer still depends on the product’s approved installation details and test results.
Basement-friendly comparison (use this to narrow options before you read specs):
| Feature | Engineered hardwood | Solid hardwood |
|---|---|---|
| Typical basement suitability | Often more tolerant over slabs when installed per specs | More sensitive; still possible, but requires stricter moisture/conditions |
| Moisture-driven movement | Generally more dimensionally stable due to layered core construction | More prone to cupping/gapping when conditions swing |
| Installation method flexibility | Frequently approved for glue-down and/or engineered-friendly floating systems | Often relies on nail-down and tight condition control |
| When you should treat moisture testing as mandatory | Always—basement slabs can vary even under “dry” conditions | Especially—solid products can be less forgiving |
What to do (installation method rules that keep floors performing)
– Follow the hardwood manufacturer’s approved method (for example, nail-down vs. glue-down vs. click-lock/float). Basement slabs/subfloors often change what’s allowed.
– Use any required vapor barrier/underlayment system only if it’s compatible with your exact hardwood and your slab/subfloor type.
– Keep expansion space where the manufacturer requires it—basements can still move with seasonal humidity changes.
Important basement reality: vapor control is about more than “adding a barrier”
A vapor barrier that’s the wrong type, wrong thickness, or wrong installation detail (seams unsealed, laps incorrect, penetrations untreated) can create a weak link. Also, some installation systems require specific underlayment properties (compression resistance, moisture characteristics), so you should match components to the manufacturer’s system guidance, not convenience.
Install the new hardwood and manage expansion gaps
Acclimate the hardwood and install with correct spacing because basement floors expand and contract—just on different schedules than upstairs rooms. If you skip acclimation or ignore expansion gaps, you trade short-term speed for long-term board movement issues.
Hardwood acclimation aligns the material to the building’s temperature and relative humidity so boards arrive closer to equilibrium and reduce early movement risk.
Expansion spacing requirements exist to prevent boards from being restrained during humidity-driven expansion and contraction.
What to do (to avoid visible “installation fingerprints”)
– Acclimate the hardwood per the manufacturer’s instructions before installation (basements need stable conditions, not rapid swings).
– Start with a clean, square layout, maintain consistent spacing, and avoid forcing boards into place (especially near walls and doorways).
– Finish with transitions and trim that allow the floor to move without being locked down improperly.
How I recommend you “think like the floor” during layout
Basement layouts often include stair transitions, utility penetrations, and irregular wall geometry. Plan for how your new floor will move:
– Don’t pin expansion points with tight trim that bridges the gap.
– Use transitions at changes in plane (openings, hall-to-basement shifts) so expansion isn’t forced into one constrained area.
– Keep board orientation consistent with your desired look, but also with any subfloor seam logic you observed during removal.
What can go wrong (and when you should pause or hire help)
Pause the project if you discover moisture conditions outside the hardwood’s approved limits or if the subfloor is compromised beyond straightforward leveling. Replacing the surface over an unresolved moisture problem often results in repeat failures, not just delayed aesthetics.
Moisture problems can be invisible at the surface yet still show up as adhesive bond failure or board movement after installation.
A correct installation method is not optional—many warranties require the exact nail/glue/float system and compatible underlayment/vapor barrier.
Even premium flooring can’t perform on an uneven or unstable base; substrate flatness and integrity are prerequisites for reliable joint behavior. ASTM F710
Common failure paths in basements
– Moisture surprises: If moisture readings are high or you find ongoing dampness, replacing the floor without correcting the source often leads to cupping, gapping, or adhesive failures.
– Wrong product/method: Basements are where “works elsewhere” installation shortcuts fail—if your hardwood’s instructions don’t approve your subfloor type, don’t improvise.
– Subfloor problems: Even a good product won’t perform well on an uneven or damaged base; if repair work is beyond your comfort level, bring in a flooring contractor.
If you’re seeing active moisture, major subfloor deterioration, or you can’t get clear manufacturer guidance for your specific basement setup, it’s smarter to stop and get professional assessment first.
Pros/cons snapshot for deciding whether to DIY vs. hire
| Path | Pros | Cons / Risks |
|---|---|---|
| DIY (only if specs are clear) | Lower labor cost; full control over documentation and prep sequence | High risk of missing subfloor or moisture details without proper testing and tools |
| Hire a flooring pro | Experience with system compatibility, substrate prep, and warranty-compliant installs | Higher cost; still requires you to confirm moisture testing and system specs |
Quick checklist to save your steps
Use this as your “pause-and-verify” list before you commit to teardown, leveling, and final install. In 2026, this kind of disciplined sequence is the difference between a basement floor that stays stable and one that needs a redo.
| Step | What to confirm | Done? |
|---|---|---|
| Moisture testing | Results are within your flooring manufacturer’s limits | ☐ |
| Subfloor condition | Stable, clean, no soft/damaged areas | ☐ |
| Flatness prep | High/low spots corrected per product needs | ☐ |
| Acclimation | Wood acclimated per manufacturer instructions | ☐ |
| Installation method | Nail/glue/click-lock matches the approved method | ☐ |
| Vapor barrier/underlayment | Compatible with your exact system | ☐ |
| Expansion gaps | Spacing left at walls/transitions as required | ☐ |
| Trim/finish | Transitions don’t lock the floor down improperly | ☐ |
ASTM F2170 and ASTM F1869 measure different moisture metrics, so your results must be interpreted using the moisture criterion your flooring manufacturer specifies. ASTM F2170; ASTM F1869
Vapor control relies on tested permeance (“perms”) rather than assumptions; ASTM E96 is the basis for those ratings. ASTM E96/E96M
[OPTIONAL] If you want, tell me your basement surface (concrete slab vs. wood subfloor), the hardwood type (solid vs. engineered), and whether you’re planning nail-down, glue-down, or click-lock—then I can tailor the “choose installation method” section to your exact setup.
Sources (primary standards and guidelines used for the technical framework): ASTM F2170; ASTM F1869; ASTM E96/E96M; ASTM E1745; ASTM F710; ASTM D4263; NWFA (National Wood Flooring Association) installation guidance.
Replacing hardwood floors in a basement is mostly about getting moisture and subfloor prep right before the first board goes down. Start with moisture testing, repair and level the base, acclimate the wood, and follow the approved installation method and barrier requirements from your flooring manufacturer. If moisture is questionable or the subfloor is compromised, pause and get help—doing that upfront can prevent expensive board failures later.
Frequently Asked Questions
How do you prepare a basement before replacing hardwood floors?
Start by fixing moisture sources before you install new hardwood floors, since basements are prone to humidity and concrete condensation. Test the slab for moisture and consider a vapor barrier or moisture mitigation system designed for basement concrete. Then remove old flooring, clean the surface thoroughly, and level any high or low spots so the subfloor is flat for proper installation. Finally, acclimate the hardwood to the basement’s temperature and humidity for several days to reduce expansion and buckling.
What type of subfloor or underlayment is best for installing hardwood in a basement?
For most basement concrete floors, you’ll typically need a moisture-rated underlayment and a system that separates wood from the slab to reduce moisture damage. Engineered hardwood is often the best choice for basements because it’s more stable than solid hardwood under humidity swings. Choose underlayment that matches your floor type and installation method, such as a vapor barrier underlayment for glue-down or click-lock systems. If you’re using nail-down hardwood, confirm your basement has the right moisture profile and that you’re working with an approved subfloor system.
Which hardwood flooring is safest for basement conditions: solid or engineered?
Engineered hardwood is usually the safer option for basement environments because it uses layered construction that tolerates seasonal humidity changes better than solid hardwood. Solid hardwood can work in some basements, but it requires more stringent moisture control and careful monitoring. If your basement has a history of dampness, using engineered hardwood along with a proper vapor barrier and moisture mitigation will reduce the risk of cupping, gaps, and mold. Always verify that the specific product is rated for below-grade installation.
How do you install hardwood floors over concrete in a basement?
Begin by ensuring the concrete slab is clean, dry, and flat—use a level and follow manufacturer guidelines for allowable height variation. Install a vapor barrier or moisture mitigation layer as required, then use the recommended method for your flooring type (glue-down, floating/click-lock, or nail-down over an approved system). Use expansion gaps at walls and posts so hardwood floors can expand and contract without buckling. After installation, allow the floor to acclimate to normal living conditions and avoid locking heavy objects too tightly against the edges.
Why do basement hardwood floors fail, and how can you prevent it during replacement?
The most common causes of basement hardwood flooring failure are excess moisture, poor slab preparation, and skipping acclimation—leading to warping, squeaks, moldy odors, and loose boards. Prevent these issues by correcting leaks and drainage problems, testing slab moisture, and using a suitable vapor barrier or moisture-mitigation system. Ensure the subfloor is level before installing, and follow the installation method approved for basement concrete. Finally, maintain indoor humidity in the recommended range year-round to protect your new hardwood floors.
📅 Last Updated: October 16, 2026 | Topic: How to replace hardwood floors in a basement? | Content verified for accuracy and freshness.