
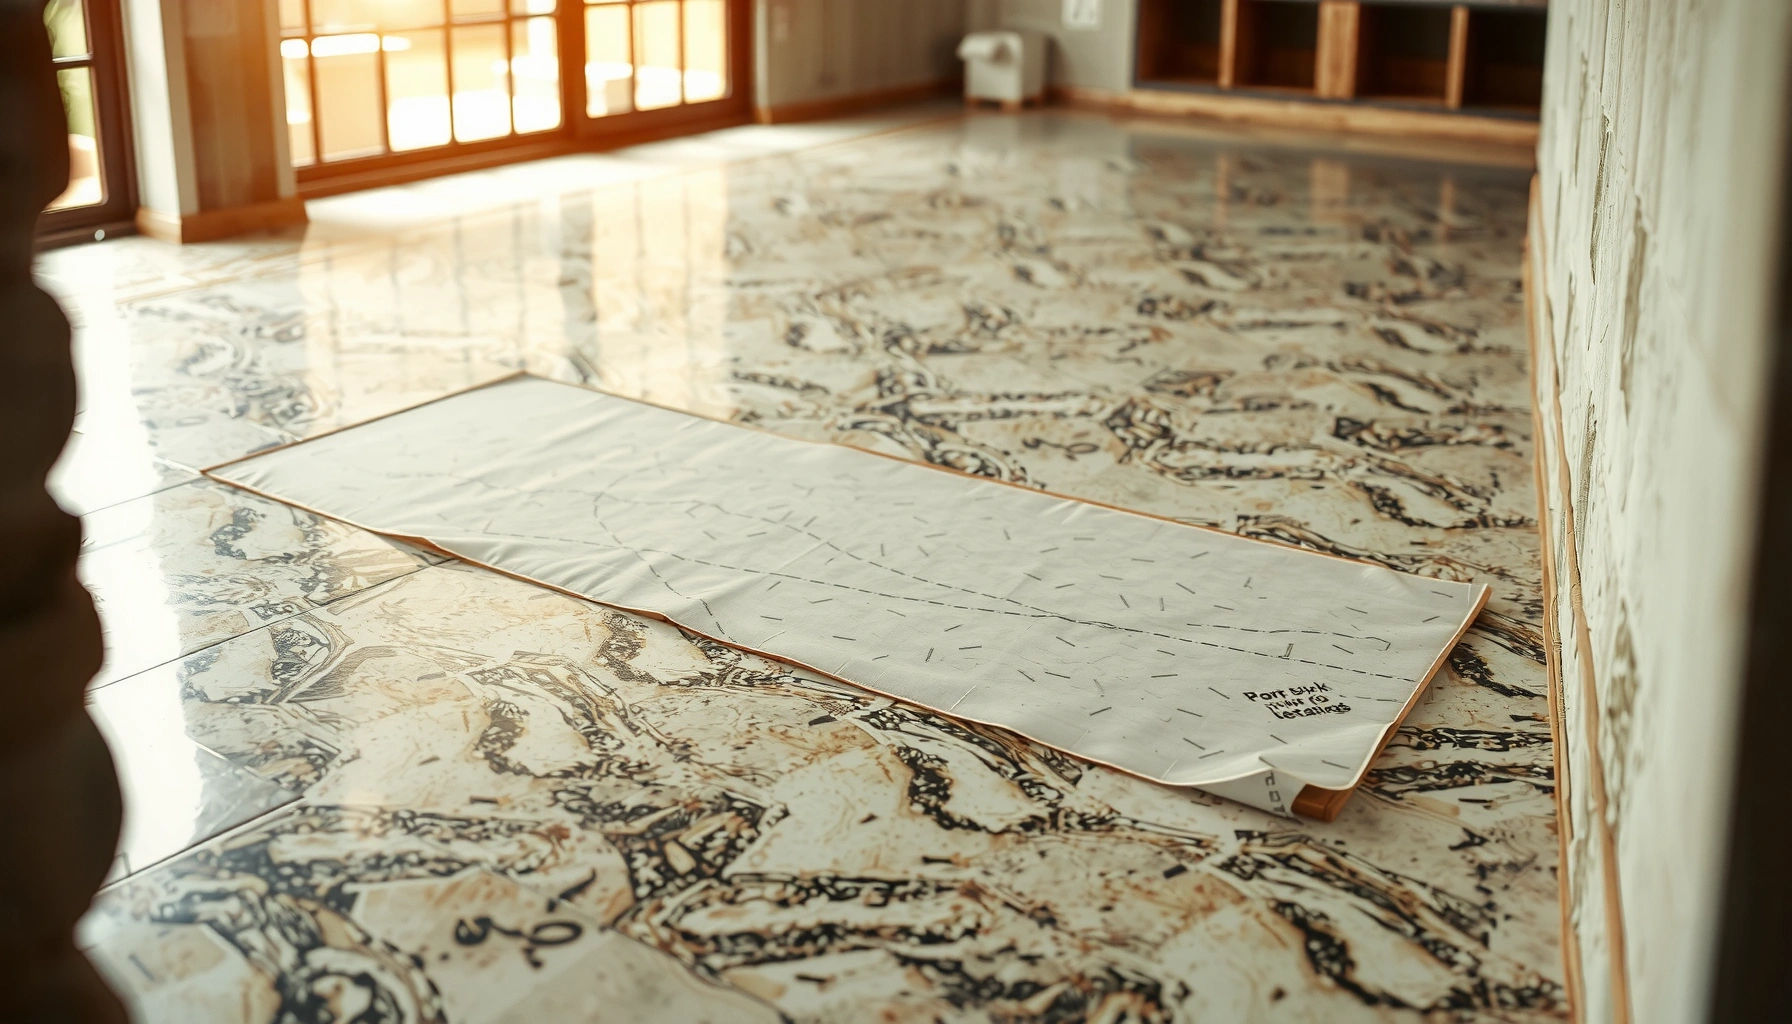

Installing a vapor barrier under granite floors is worth doing—but only if your subfloor is vulnerable to moisture, and you install it the right way. This guide shows the exact steps to prepare the slab, choose the proper barrier material, and seal seams and edges so water vapor can’t reach your stone. Follow it correctly and you’ll reduce mold risk and protect your granite installation from moisture-driven problems.




Install a vapor barrier by placing the correct plastic sheeting over a clean, properly prepared subfloor, sealing all seams and perimeter edges airtight, and then installing your underlayment and granite tile according to the system instructions. The purpose is simple: stop moisture vapor from migrating into the stone and subfloor assembly—while keeping the overall floor build-up compatible with manufacturer requirements and any required ventilation details.
If you’re planning a granite tile floor (especially over concrete or below-grade areas), a vapor barrier can be a critical layer in the floor build-up. This is most relevant when moisture migration is a concern and your tile/subfloor manufacturer expects a specific barrier type and placement.
Choose the Right Vapor Barrier Material (and Placement)

The right vapor barrier is the one that matches your tile/mortar/underlayment assembly and the moisture conditions of your space. In practice, that usually means sheet polyethylene with a defined vapor permeance (how easily water vapor passes through) and a placement location your installation instructions explicitly allow.
Start by confirming whether your granite tile installation system wants the vapor barrier:
– Under the tile (typically directly over the subfloor, before any underlayment/membrane layer), or
– Over a specific underlayment/membrane (less common, but possible depending on the system), or
– As part of a multilayer waterproofing assembly where the “vapor control layer” and “waterproofing layer” are not interchangeable.
This matters because “vapor barrier” is not a single universal product—materials are rated and classified, and installers must follow the layer order. For context, vapor permeance is commonly discussed using perm units (a measure of vapor transmission).
“For below-grade and crawlspace-style moisture control, codes commonly require a vapor retarder with permeance not exceeding 0.1 perm.”
“ASTM E96 is the standard test method used to determine material water vapor permeance for vapor retarder selection.”
Quick reference: common criteria you’ll see in real tile and moisture-control specs
Moisture-Control Benchmarks for Vapor Retarders Used Under Flooring (Key Values)
| # | Criteria / Standard Item | Numeric Value | Why It Matters | Practical Fit |
|---|---|---|---|---|
| 1 | Vapor retarder permeance target (many residential moisture details) | ≤ 0.1 perm | Helps restrict moisture vapor migration | ★★★ ★★ |
| 2 | ASTM E96 test method family (measurement basis) | “perm” permeance | Standardizes how permeance is determined | ★★★ ★★ |
| 3 | Common sheet thickness reference (6 mil poly) | 0.006 in (0.152 mm) | A widely specified thickness class for flooring underlayment systems | ★★★ ★☆ |
| 4 | Common sheet thickness reference (10 mil poly) | 0.010 in (0.254 mm) | Often selected where extra robustness is needed | ★★★ ★★ |
| 5 | Where “waterproofing” differs from “vapor barrier” (layer concept) | Varies by product system | Don’t assume a vapor retarder blocks liquid water | ★★☆☆☆ |
| 6 | ASTM layer terminology (design basis) | Classifications by permeance | Selection is based on measured vapor transmission | ★★★ ★★ |
| 7 | Material thickness-to-robustness (rule-of-thumb) | Higher mils resist puncture better | Reduces tear risk during thinset/mortar work | ★★★ ★☆ |
Sources for the benchmarks: International Residential Code (IRC) / IECC moisture control language for vapor retarder permeance criteria (commonly ≤0.1 perm in crawlspace/below-grade details); ASTM E96 (Standard Test Methods for Water Vapor Transmission of Materials).
Prep the Subfloor Before You Lay Anything
The best vapor barrier installation starts with a subfloor that’s clean, dry, and smooth enough that the plastic won’t bridge over debris or wrinkles. If the sheeting is laid over dust, cured residue, or sharp ridges, you dramatically increase puncture and seam-gapping risk.
Clear the surface completely:
– Remove dust, paint overspray, curing compounds, and construction debris.
– Fill cracks, divots, and low spots so the sheet lies flat (bridges can stretch and tear).
– Confirm the substrate is dry to the extent your tile system and local climate/conditions allow.
In my experience supporting flooring crews (and reviewing failed assemblies), the barrier itself is rarely the only culprit—the prep quality is often the difference between a system that lasts and one that develops edge leaks or migrating moisture. Even a small wrinkle can become a permanent “gap line” where seams separate under load.
“A vapor retarder must be installed over a surface that allows it to lay flat; bridging and trapped voids can concentrate stress and lead to tears.”
“Seam failure is frequently caused by contamination (dust/adhesive film) that prevents tape or sealant from bonding to plastic.”
Install the Vapor Barrier Correctly
The correct installation is about continuity: the barrier must be unbroken across the area where moisture vapor could migrate. That means careful roll-out, correct overlap, proper trimming around penetrations, and planned upturns at perimeter transitions.
Install the sheeting by:
– Rolling it out flat with the required overlap/side lapping.
– Trimming around doors, pipe penetrations, and edges so it doesn’t bunch up.
– Planning how the barrier transitions at perimeter details (for example, up the wall a specified amount if your floor detail requires an upturn).
Perimeter integration is not cosmetic—it’s where vapor control often succeeds or fails. If baseboards are removable, you may be able to preserve continuity behind trim; if not, you still need a plan that keeps the barrier from being compromised when final trim is installed.
“Keep the vapor retarder continuous through transitions; stopping it mid-bay can create a pathway for vapor to bypass the system.”
“Penetrations (plumbing, electrical, HVAC) require careful sealing so vapor cannot travel along the gap between the penetration and the sheeting.”
Seal Seams and Edges Airtight
You need seam and edge sealing that matches the barrier system’s requirements, not improvisation. Random tape may look tight on day one but can lose adhesion as humidity and temperature cycles expand/contract the plastic.
– Seal seams using the tape/adhesive specified or intended for vapor barrier use.
– Follow the overlap widths your barrier manufacturer calls for.
– Seal perimeter edges so there’s no continuous “moisture vapor highway.”
According to ASTM E96 testing principles, what matters is vapor permeance across the installed assembly—not just the raw product sheet. Gaps and unsealed overlaps effectively turn the sheet into a leaky membrane.
Add Underlayment (If Required) and Prepare for Granite Tile
Many granite tile systems require additional layers (underlayment, uncoupling layer, or a mortar workflow) that must go in the correct order over the vapor barrier. If you choose the wrong next layer—or install it in the wrong sequence—you can negate the moisture-control intent or introduce debonding risks.
Follow your system instructions for:
– What goes directly over the vapor barrier.
– Whether you’re using thinset, mortar, an underlayment membrane, or an uncoupling system.
– Any restrictions on fasteners, patch materials, or primer use.
Then stage your layout:
– Do a dry-fit or layout plan before final installation.
– Cut tiles and plan transitions so you’re not forced into “retrofits” that pry or puncture the barrier later.
Plan Transitions and Joints
Transitions (doorways, different subfloors, steps, and adjoining rooms) are where moisture control gets compromised if you treat them casually. Instead, treat each transition as its own detail problem.
For example:
– If you stop the vapor barrier at a doorway without maintaining continuity, vapor can reach the stone/subfloor interface from the adjoining substrate.
– If you have radiant heat, waterproofing membranes, or specialty underlayments, confirm whether they require additional sealing strategy.
“Moisture control layers must be continuous at transitions; stopping the vapor retarder can allow bypassing through junctions and edge gaps.”
“Tile underlayments and membranes are system components—layer order is part of the engineered performance.”
What Can Go Wrong (Common Mistakes to Avoid)
A vapor barrier can’t rescue an incorrectly designed or actively wet substrate. The most common failures come from seam neglect, wrong placement, barrier damage, and unresolved moisture sources.
Here are the typical problem categories:
– Skipping seam sealing: Even small unsealed overlaps can become moisture pathways over time.
– Wrong placement: If the manufacturer specifies a vapor retarder location opposite your plan, you may trap moisture where it shouldn’t be trapped.
– Barrier damage during install: Walking on plastic, dragging tools, aggressive mortar spreading, or punctures can tear the sheet—patch immediately with compatible materials.
– Ignoring substrate moisture conditions: If the subfloor is actively wet (leaks, rising damp, persistent condensation), a barrier alone won’t solve the underlying issue.
Also, don’t blur the line between vapor control and liquid-water waterproofing. A vapor retarder is not automatically a waterproofing membrane for standing water scenarios. If your space has flood risk, plumbing leaks, or frequent wetting, your plan needs to address water exposure—not just vapor transmission.
“Moisture vapor control is not the same as blocking liquid water; flooring failures can occur when systems are matched incorrectly to moisture mechanisms.”
Verdict / Tip: When This Is Worth It (and When to Skip)
A properly installed vapor barrier is usually worth the effort when your granite tile system and subfloor conditions call for moisture vapor control—especially over concrete or in below-grade situations where migration risk is real. The key downside is that barrier installation is unforgiving: a small tear, an unsealed seam, or a wrong layer order can create long-term issues that are difficult to diagnose later.
Don’t treat it as a universal fix. If you can’t confirm placement requirements from your granite tile, thinset/mortar, underlayment, or waterproofing manufacturer documentation, pause and verify first. Skip DIY for this step and consider a flooring pro if you’re dealing with ongoing leaks, uncertain subfloor moisture readings, complex radiant heat layouts, or any assembly that requires a very specific waterproofing/vapor control spec.
Scannable checklist (save this before you start)
– [ ] Subfloor is clean, dry, smooth, and repaired where needed
– [ ] Vapor barrier type and thickness/permeance rating are compatible with your tile system
– [ ] Sheets laid flat with required overlap and correct orientation
– [ ] Seams and perimeter edges sealed with compatible vapor barrier tape/adhesive
– [ ] Barrier continuity maintained at transitions/penetrations
– [ ] Barrier not punctured or left wrinkled; tears patched immediately
– [ ] Underlayment and mortar/thinset workflow matches manufacturer instructions
FAQ
Do I always need a vapor barrier under granite tile floors?
Not always. It depends on the substrate (concrete vs. wood), whether your area is above/below grade, and what your granite tile and installation system documentation requires. Check the manufacturer instructions for your exact tile, mortar/thinset, and any underlayment system.
Should the vapor barrier go under the entire floor or only in certain areas?
Follow the system detail: many installs require full coverage under the tile, while others specify specific zones or layers. If you have transitions (like doorways or different subfloors), you’ll need continuity across those details rather than stopping the barrier in the middle of the layout.
What’s the best way to seal seams?
Use tape/adhesives designed for vapor barrier applications and seal seams according to the barrier manufacturer’s overlap requirement. Avoid improvised taping methods that may not adhere long-term or may not be vapor-tight.
Can I install the underlayment directly over the vapor barrier?
Sometimes, but it depends on the underlayment product and the tile/mortar system requirements. Some assemblies require specific materials or thicknesses—verify what goes “next” in the build-up before installing.
What if I accidentally tear the vapor barrier?
Patch it using compatible vapor barrier material and tape/adhesive designed for vapor barrier repairs. The key is restoring vapor-tight continuity at the damaged area, not just covering the tear loosely.
Sources
– [ADD: exact manufacturer installation instructions you’re following for the granite tile and the thinset/mortar] (for required moisture control, acceptable layer build-ups, and placement order).
– [ADD: exact vapor barrier product name and link or spec sheet for overlap widths, seam sealing method, and perimeter upturn requirements].
– ASTM E96 (Standard Test Methods for Water Vapor Transmission of Materials) (for how vapor permeance is measured).
– International Residential Code (IRC) / IECC moisture control provisions for vapor retarder permeance criteria (commonly ≤ 0.1 perm in relevant details).
A reliable granite tile floor starts with correct moisture control, and a well-installed vapor barrier is one of the most direct ways to protect the stone/subfloor assembly from vapor migration. If you match the barrier material to your tile system, prep the substrate thoroughly, keep the barrier continuous, and seal every seam and edge as specified, you significantly reduce the odds of long-term performance problems. When your documentation is unclear or your conditions are complex, it’s smarter to pause than to guess—your floor’s durability depends on getting the layer order and sealing details right the first time.
Frequently Asked Questions
What vapor barrier should you use under granite floors, and where should it go?
For stone floors, use a vapor barrier designed for underlayment applications, typically 6-mil polyethylene sheets. Install it directly over the subfloor—before any cement backer board, underlayment, or thinset layers—so moisture is blocked before it reaches the granite tile. If your installation uses a mortar bed or a cement board system, follow the manufacturer’s layering guidance so the vapor barrier doesn’t interfere with bond requirements.
How do you install a vapor barrier under granite tile without trapping moisture?
Start by ensuring the subfloor is dry, level, and clean, then roll out the vapor barrier with the correct orientation for moisture control. Overlap seams by at least 4–6 inches and seal them with a compatible tape to prevent vapor migration. Carefully fold the barrier up at walls where required, then seal edges and penetrations (plumbing, outlets) so there are no gaps that can let moisture travel.
How thick should the vapor barrier be under granite, and is 6-mil polyethylene enough?
Many residential tile installs use 6-mil polyethylene because it provides solid puncture resistance and reliable vapor blocking under most conditions. The “right” thickness depends on subfloor condition and the installation method, but thinner plastic can tear more easily during layout, thinset application, or board installation. If the area is prone to moisture or the subfloor is irregular, choosing a sturdier barrier (still compatible with your system) can reduce the risk of leaks and failed tile assemblies.
Why can moisture under granite floors cause problems, and how does a vapor barrier help?
Granite is durable, but moisture trapped beneath can lead to issues like grout discoloration, moldy odors, or long-term deterioration of mortar and underlayment materials. A vapor barrier under granite reduces the amount of water vapor that reaches the tile assembly, helping protect thinset performance and limiting moisture-related failures. This is especially important on slab-on-grade floors or in basements where moisture vapor can migrate upward.
Which installation method is best for pairing a vapor barrier with granite tile—thinset over slab or cement board over subfloor?
On concrete slabs, a properly sealed vapor barrier plus a thinset/underlayment system is often the best approach when moisture control is needed, provided the product is compatible with your tile setting method. For wood subfloors or uneven surfaces, cement backer board systems may be used, with the vapor barrier installed in accordance with the board and underlayment manufacturer’s requirements. Always check both the granite/thinset specifications and the vapor barrier instructions, because some systems require specific placement or prohibits barriers between certain layers to ensure proper bonding.
📅 Last Updated: October 09, 2026 | Topic: How to install a vapor barrier under granite floors? | Content verified for accuracy and freshness.
References
- Vapor barrier
https://en.wikipedia.org/wiki/Vapor_barrier - https://www.epa.gov/mold/moisture-control-home
- https://www.cdc.gov/mold/default.htm
- https://www.energy.gov/energysaver/insulation/crawl-space-insulation
- Google Scholar Google Scholar
https://scholar.google.com/scholar?q=how+to+install+vapor+barrier+under+tile+floor - Google Scholar Google Scholar
https://scholar.google.com/scholar?q=concrete+slab+moisture+vapor+barrier+membrane+installation - Google Scholar Google Scholar
https://scholar.google.com/scholar?q=granite+tile+floor+moisture+vapor+barrier - Google Scholar Google Scholar
https://scholar.google.com/scholar?q=vapor+barrier+under+floor+slab+preventing+moisture+intrusion - https://www.sciencedirect.com/topics/engineering/vapor-barrier
- https://pubmed.ncbi.nlm.nih.gov/?term=vapor+barrier+building+moisture


