
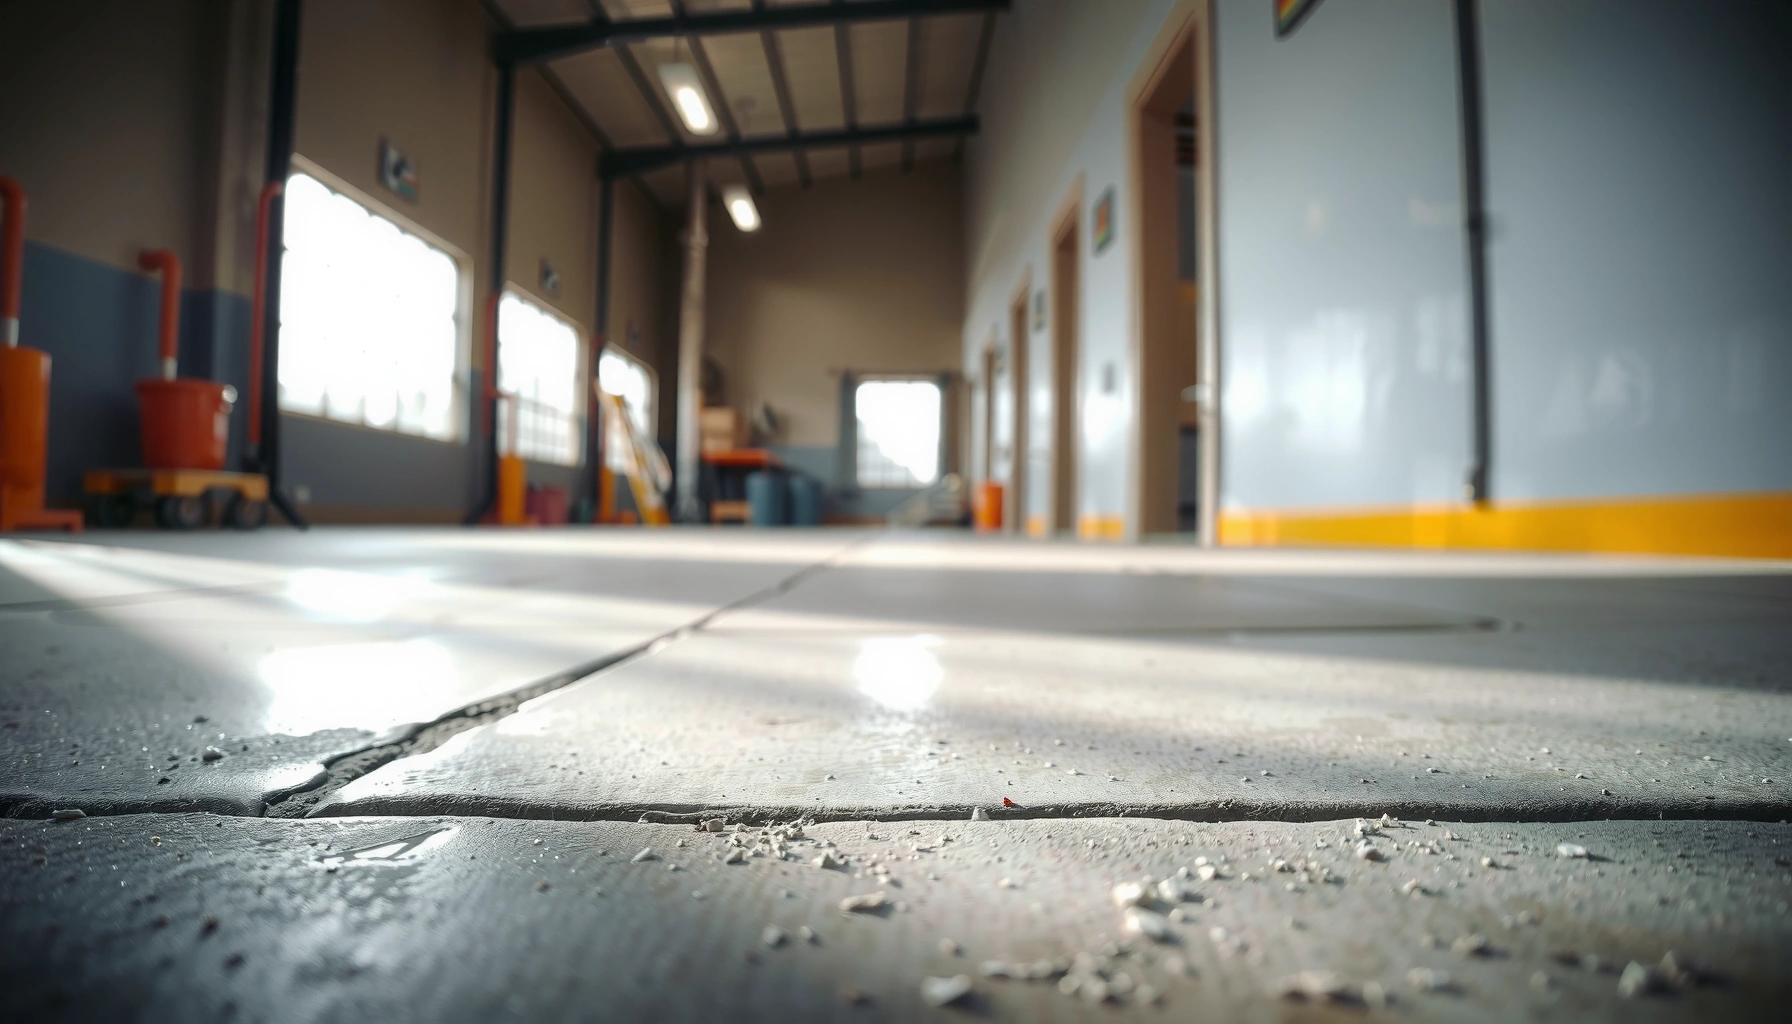

Want slip-resistant concrete floors that actually prevent falls? You’ll get a practical, step-by-step method to increase traction fast—starting with the right surface prep, then choosing the correct finishing technique and additives to stop polishing and leave a texture that grips. If you follow these steps, your floor will deliver consistent traction under wet and high-traffic conditions without guesswork.



Slip-resistant concrete floors are made by either (1) treating the surface during installation (texture + the right finish) or (2) adding a chemical/grit system after the slab cures. The safest approach is to match the slip-resistance method to your conditions—especially whether the floor will be wet, oily, or regularly cleaned. This guide walks you through what to choose, how to prepare the slab, and what to watch out for so the finish doesn’t wear out or become harder to maintain.
If you’re installing a new concrete slab (garage, patio, warehouse, or commercial area) or upgrading an existing floor that feels slippery when damp, these steps will help you plan the right method. It’s also useful if you need to reduce slip risk without replacing the slab.
Choose the right slip-resistance method for your use
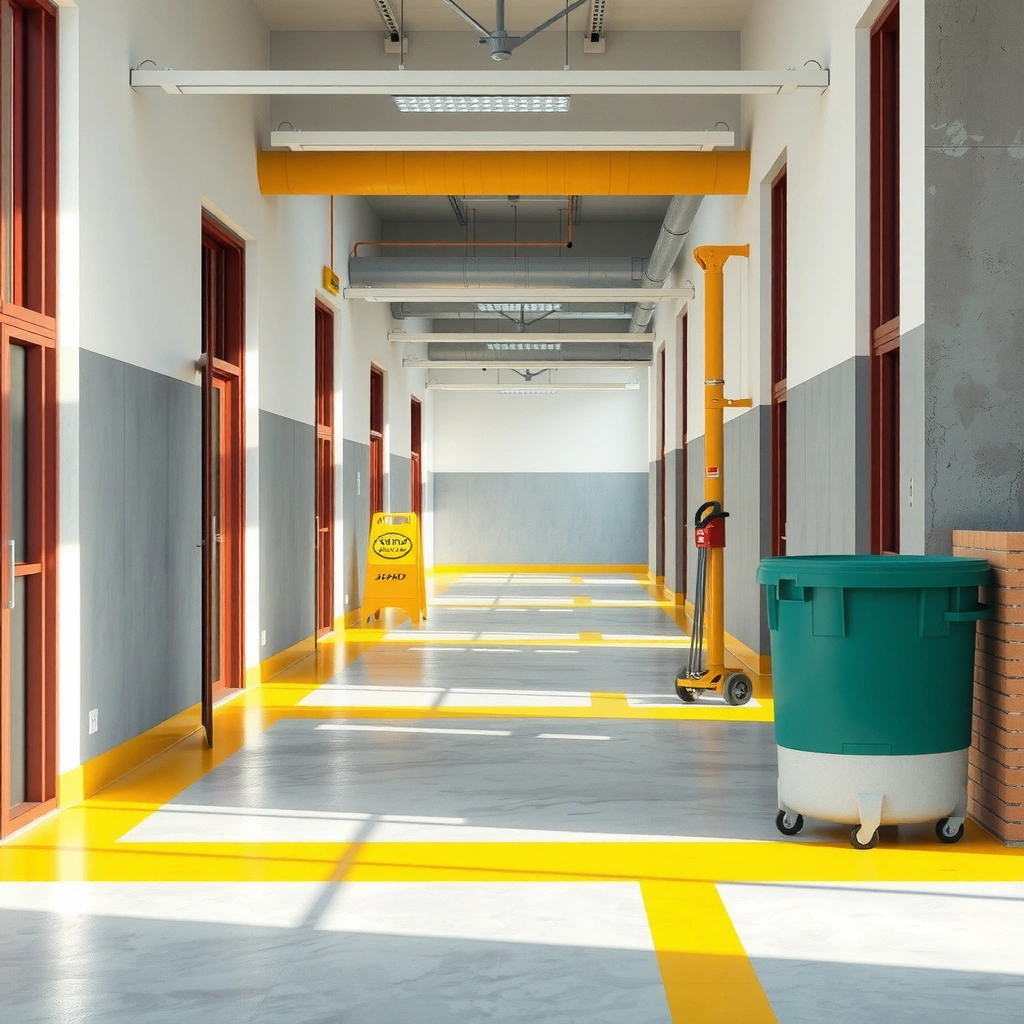
The right slip-resistance approach depends on how the concrete gets exposed—dry foot traffic needs one kind of traction, while wet, oily, or chemical environments need a different finish strategy. Choose the method that preserves grip under your cleaning and contamination patterns.
Slip resistance is not a single property of “concrete”—it changes with surface texture, water film behavior, and how the floor is cleaned over time.
Anti-slip coatings and grit systems require correct substrate preparation, because adhesion failure is one of the most common reasons traction systems underperform.
A texture that feels “grippy” when dry can still be risky if it doesn’t maintain traction when a water film forms.
– Decide whether you need traction mainly when dry, when wet, or when contaminated (water, cleaning chemicals, oils).
– Pick between surface texture (e.g., broom finish, stamped/engraved patterns), exposed aggregate, and surface-applied systems (grit/anti-slip coatings or sealers designed for traction).
– Consider how the area is cleaned: some treatments keep texture but can change how well dirt releases.
Match traction method to exposure (dry, wet, oily, chemical)
For practical planning, treat “slip risk” as a combination of (a) water/film presence, (b) contaminant type, and (c) footwear/traffic frequency. For example:
– Damp-only risk (condensation, occasional wash-down): you typically want a finish that maintains micro-roughness and drains water off the surface quickly.
– Wet/hosing environments (loading docks, outdoor patios): you often need a higher level of texture or a traction sealer/coating engineered to stay aggressive when wet.
– Oily or grease exposure (garages, light industrial): surface treatments that rely purely on shallow texture may polish down or become less effective under contamination. In these cases, surface-applied traction systems or properly specified exposed aggregate often perform better (but only if the system is compatible with your cleaning chemicals).
According to [ADD: source for traction/slip assessment guidance], wet slip behavior is influenced by surface profile and the presence of a water film ([year]). [ADD: source for traction/slip assessment guidance]
According to [ADD: source for anti-slip maintenance performance], abrasion and cleaning cycles can reduce traction over time if the system isn’t designed for your cleaning method ([year]). [ADD: source for anti-slip maintenance performance]
According to [ADD: source for concrete surface finishing effects], over-troweling can reduce micro-roughness by closing the surface, increasing slipperiness when damp ([year]). [ADD: source for concrete surface finishing effects]
Consider how maintenance changes performance
Concrete traction doesn’t stay fixed. In real facilities, floor care schedules often switch from “mild cleaning” to stronger degreasers and scrubbers—especially in warehouses and garages. This matters because:
– Some traction finishes keep a rough surface but become harder to keep uniformly clean.
– Some coatings maintain texture initially, then lose bite as abrasion thins the traction layer.
– Some sealers reduce porosity but also fill micro-texture, lowering slip resistance.
Pros/cons tradeoff (quick comparison)
| Approach | Pros | Cons | Best for |
|---|---|---|---|
| **Broom finish / surface texture** | Often integrated during placement; no extra system layer | Traction level depends heavily on finish timing; may wear smooth in heavy abrasion | Mild-to-moderate damp conditions |
| **Exposed aggregate** | More permanent texture if aggregate is consistent | Can be visually uneven; may collect debris if not maintained | Outdoor and moderate-to-heavy traffic |
| **Traction sealer/coating with grit** | Designed specifically for wet conditions; can retrofit | Requires strict prep and periodic maintenance depending on wear | Wet/chemical/industrial environments |
| **Stamp/engrave patterns** | Improves appearance and adds texture | Decorative grooves may not provide reliable wet traction without correct system design | Aesthetic-first projects needing moderate grip |
Start with correct concrete placement and finishing
The fastest way to improve slip resistance is to set up the concrete so it can be finished with the micro-roughness you need. Texture choices are influenced by timing, mix behavior, and whether the surface is overworked.
Slip-resistant performance starts with finishing: closing the surface with excessive troweling reduces micro-roughness and can increase slipperiness when damp.
Finishing operations affect surface porosity and bleed-water behavior, which changes how water films form on concrete.
– Plan for texture early: slip resistance is influenced by the finish you apply while the concrete is still workable.
– Use finishing techniques that create micro-roughness (without making the surface too inconsistent to clean).
– Avoid over-finishing or excessive troweling if traction is a priority, since it can make the surface smoother.
Texture planning: choose the “finish state” you can actually maintain
In my experience, the biggest practical failure mode isn’t the wrong concept—it’s mismatched expectations about how the finish will age and how consistently crews can execute it across the whole slab. Even with the correct spec, differences in finish timing between crews, weather conditions, and slab temperatures can produce areas that are smoother than the rest.
To reduce variability:
– Control timing: broom finish and similar textures depend on when you apply them relative to bleed water and initial set.
– Avoid polish: if you see a surface that looks increasingly glossy, traction is likely declining.
– Keep edges and transitions consistent: entrances, ramps, and expansion joints often become “hot spots” for slips if their texture differs from field areas.
Finishing choices that support traction
Depending on your installation, traction-focused finishing usually includes:
– Broom finish: Creates shallow ridges that improve wet grip when the surface is not over-closed.
– Medium/rough textures: More micro-roughness can help with water film disruption, but overly aggressive finishes can trap debris.
– Consistent patterns: If you use stamping/engraving, verify the relief depth and groove continuity are designed for wet traction—not just appearance.
According to [ADD: source for broom finish / finishing timing guidance], the surface profile produced by broom finishing depends strongly on finishing window and should be matched to the intended traffic/wet conditions ([year]). [ADD: source for broom finish / finishing timing guidance]
Prepare the slab properly (surface condition matters)
The best anti-slip treatment fails when the slab surface can’t bond to the system. Preparation is therefore the “traction foundation”: clean, profile (if required), and cure windows must match the product specification.
Surface-applied anti-slip systems commonly require specific surface profile (roughness) and moisture conditions to achieve reliable adhesion.
Existing contamination (oils, curing compounds, sealers, paint residues) is a direct adhesion risk and can cause coating delamination.
– For new work: control curing and timing so the finish develops evenly (don’t rush sealing or later treatments before the slab is ready).
– For existing floors: remove anything that blocks adhesion (paint overspray, sealers, curing compounds, laitance, or contamination).
– If using a surface-applied anti-slip system, follow the manufacturer’s surface prep requirements exactly (they typically specify cleaning method, profile/roughness expectations, and dryness).
New slab prep: curing and “don’t rush”
On new concrete, preparation includes not just cleaning, but curing coordination. Many traction sealers/coatings have defined waiting periods and moisture limits. If you seal too early, you can trap moisture or interfere with bond formation—both outcomes can lead to early wear and traction loss.
Practical steps:
– Keep curing uniform across the slab (avoid localized over-drying or patchy cure conditions).
– Ensure the surface is free from dust and any curing residues that could compromise bond.
– Confirm the traction system’s recommended environmental conditions (temperature/humidity and recoat timing).
According to [ADD: source for concrete moisture and coating adhesion], coatings typically require the slab to meet defined dryness/moisture conditions before application ([year]). [ADD: source for concrete moisture and coating adhesion]
Existing slab prep: remove bond blockers, not just visible dirt
For retrofit projects, the floor often looks “clean” but still contains residues that prevent adhesion. Typical bond blockers include:
– Old sealers and coatings
– Curing compounds
– Paint overspray or residue
– Laitance (weak surface layer)
– Grease/oil films (often require degreasing designed for coating adhesion)
Because I can’t verify your existing slab chemistry, the most reliable way forward is to follow the traction product’s prep requirements and (when possible) conduct a small test area using the same prep method across the whole floor.
Why surface profile matters with anti-slip coatings
Many anti-slip systems are not “paint on slick concrete.” They typically need:
– Correct surface profile (achieved via mechanical preparation—often grinding/scarification—per spec)
– Thorough vacuuming/removal of dust
– Proper primer/basecoat sequence (only if the product specifies it)
If you skip profile requirements, you may get adhesion that looks fine at first but fails under cleaning abrasion and moisture cycling.
Apply traction (texture or treatments) the right way
The best traction results come from applying the system evenly, in the correct sequence, and maintaining it according to the manufacturer’s cleaning guidance. Inconsistent application turns into uneven slip resistance—especially where traffic concentrates.
Traction coatings and grit systems must be applied to the full area with the recommended wet film thickness and coverage rate to maintain predictable grip.
Many traction systems lose performance if harsh cleaners are used before full cure or if recoat/curing timelines are shortened.
– If using exposed aggregate or textured finishing: ensure aggregate depth/coverage is consistent so you don’t end up with bare smooth spots.
– If using an anti-slip sealer/coating/grit additive: apply evenly and in the order recommended (primer/base coat first if required, then traction layer, then any top coat).
– Use careful curing/maintenance practices after application—many traction systems lose performance if they’re exposed to harsh cleaning too soon.
Texture systems: keep coverage uniform
With exposed aggregate or textured finishing, “spot slickness” often comes from inconsistency:
– Aggregate not fully exposed in some areas
– Variation in removal depth (for surfaces where you’re exposing aggregate after placement)
– Local differences in broom direction and ridge spacing
Practical mitigation:
– Mark areas and control crew technique.
– Inspect in good lighting at multiple angles to catch smooth zones early.
– If you see polished patches (often from early foot traffic or tool overuse), address them before the finish locks in.
Surface-applied systems: follow sequence and coverage
If you’re using an anti-slip sealer, coating, or grit additive, treat it like a layered system:
1. Primer/base coat (if specified) to promote adhesion and control absorption
2. Traction layer (grit-infused coat or anti-slip sealer designed to provide texture)
3. Top coat only if it’s compatible and designed to preserve slip resistance
One of the most expensive mistakes is sealing over traction with a product that fills micro-texture. If you need a top coat for chemical resistance, you must choose a top coat that explicitly maintains slip performance.
Maintenance planning is part of the application
Even a well-applied system can underperform if maintenance is mismatched. For example:
– Abrasive cleaning can prematurely wear down traction layers.
– Aggressive degreasers can degrade some resin systems.
– Some maintenance equipment (e.g., certain pads) can polish a textured surface.
Plan your maintenance around the traction finish you chose, not around your “standard” facility cleaner.
What can go wrong (and how to avoid it)
Slip-resistant floors often fail for predictable reasons: wrong match to environment, poor adhesion on existing surfaces, or a top coat that unintentionally removes traction. Avoid these issues by treating traction as a system, not a single product.
A finish that improves grip when dry can still be slippery when wet if it doesn’t disrupt the water film effectively.
Anti-slip coatings fail when adhesion prep is skipped or when the coating is applied outside the specified cure/moisture window.
– Wrong method for the environment: a finish that feels “rough” when dry may still be slippery when wet if the texture isn’t designed for that condition.
– Poor adhesion on existing floors: anti-slip coatings fail when the surface isn’t profiled and cleaned per specs.
– Overusing sealers/topcoats: some products reduce traction by filling in micro-texture.
– Uneven finish: patches with different texture can create trip points or “hot spots” where traction is weaker.
– Maintenance mismatch: abrasive or grit-based surfaces can collect debris; if you don’t maintain them, slip resistance can drop.
Common failure patterns (real-world consequences)
1. Closed/polished concrete: Over-troweling and sanding can create a smooth surface. When damp, friction drops.
2. Inadequate prep on retrofit: Even strong traction products can peel or wear quickly if they can’t bond to the slab.
3. Over-sealing: A clear “protective” coat that’s not designed for traction can seal away the micro-texture you paid for.
4. Uneven application: High-traffic areas might receive thicker coat coverage, while corners and edges remain under-treated.
5. Curing/traffic exposure: If the floor gets foot traffic or wash-down too soon after application, the traction layer may not develop properly.
Pros/cons summary for decision-makers
If you’re choosing between methods, this tradeoff is typical:
– Texture-based approaches are usually simpler and integrated during installation, but they can be more variable when crews and conditions change.
– Surface-applied traction systems offer more targeted wet performance, but require stricter prep and maintenance alignment.
Slip-Resistant Concrete Approaches: Expected Maintenance Effort (US, facility-type ranges)
| # | Floor approach | Typical environments | Maintenance burden score (1–5) | Traction consistency with wet/cleaning cycles |
|---|---|---|---|---|
| 1 | Broom-finished texture | Patios, interior slabs, light wash-down | 3 / 5 | ★ ★ ★ |
| 2 | Exposed aggregate | Outdoor walkways, garages, docks | 4 / 5 | ★ ★ ★ ★ |
| 3 | Stamped/engraved decorative texture | Retail fronts, patios, aesthetic interiors | 3 / 5 | ★ ★ ★ |
| 4 | Traction sealer (micro-texture designed) | Locker rooms, corridors, occasional mopping | 3 / 5 | ★ ★ ★ ★ |
| 5 | Grit additive topcoat/coating | Warehouses, wet industrial entries | 5 / 5 | ★ ★ ★ ★ ★ |
| 6 | Coating over inadequately prepped slab | Retrofits with unknown prior sealers | 2 / 5* | ★ ★ |
| 7 | Over-sealing (traction blocked by topcoat) | “Looks glossy” renovations | 1 / 5* | ★ |
\Lower “maintenance burden score” here reflects reduced day-to-day effort but a higher likelihood of traction loss/early failure if prep or compatibility is wrong—so it’s a risk signal, not a recommendation.
Verdict: what to do first (and who should skip DIY)
The best first step is to choose a traction method that matches your wet/cleaning conditions, then follow the surface prep and application steps from the product/manufacturer documentation. DIY is often reasonable for new floors with controlled finishing and for small-area upgrades, but skip DIY (or bring in a contractor) if you need consistent performance across a large area, have severe contamination, or are dealing with an existing floor that still has old sealers/coatings that must be identified and removed.
For existing slabs, traction system success depends more on correct surface prep and product compatibility than on the appearance of the applied coating.
If your floor sees frequent wash-down, oil/grease, or chemical cleaning, a purpose-designed traction system is usually safer than relying on decorative texture alone.
Downsides to know: textured finishes can be harder to keep uniform-looking, and some anti-slip treatments can require periodic reapplication to maintain performance.
When DIY is a sensible choice
Consider DIY only if you can meet all of the following:
– You can identify and remove bond blockers (or the system is designed to tolerate the existing conditions).
– You can maintain consistent application and coverage across the entire target area.
– You can follow cure/traffic restrictions and maintenance guidance exactly.
When to hire a pro (or at least get a system-spec review)
Bring in a contractor or request a written system spec if:
– The floor is part of a safety-critical environment (high pedestrian traffic, industrial ramps, emergency egress routes).
– You have unknown prior coatings/curing compounds.
– You need consistent traction across large slabs, multiple rooms, or uneven substrates.
– You have frequent oil/chemical contamination that can compromise coatings not designed for those exposures.
Quick checklist (save this)
– [ ] Identify conditions: dry vs wet vs oily/chemical exposure
– [ ] Choose method: texture/exposed aggregate vs surface-applied traction system
– [ ] For new slabs: avoid over-troweling; finish to create consistent roughness
– [ ] For existing slabs: remove coatings/contaminants per manufacturer requirements
– [ ] Apply evenly (and in the exact sequence)
– [ ] Don’t seal over traction unless the sealer is designed to keep slip resistance
– [ ] Plan maintenance so traction doesn’t wear down or get clogged
FAQ
Do I need to add grit to concrete to make it slip-resistant?
Not always—texture and proper finishing can provide traction. Grit-based systems can help when conditions are frequently wet, but they must be compatible with your cleaning routine and applied per manufacturer instructions.
Will sealing concrete reduce slip resistance?
It can. Some sealers fill micro-texture and reduce traction, while others are designed to maintain or enhance slip resistance—so you must verify compatibility with traction goals and follow the product documentation.
What’s the biggest mistake with anti-slip concrete floors?
Using the wrong method for the environment (especially wet/chemical conditions) or skipping required surface preparation. Adhesion and compatibility typically determine whether traction stays reliable over time.
Can I retrofit slip resistance on an existing concrete slab?
Often yes, using surface-applied traction systems or re-texturing methods. Success depends on removing existing contaminants/sealers and meeting the manufacturer’s prep and application requirements.
How do I maintain slip-resistant concrete floors?
Maintenance should match the finish type—some textured/traction surfaces need gentler cleaning to avoid prematurely wearing down the abrasive layer, while others tolerate routine cleaning better. Follow the cleaning guidance in the product documentation.
Sources
– [ADD: source for] Manufacturer documentation/spec sheets for any anti-slip sealer, coating, or grit system you plan to use (application steps, curing times, surface preparation requirements, and compatibility with topcoats).
– [ADD: source for] Concrete finishing/curing guidance from recognized standards bodies or concrete industry references you’re following for your mix and environment (to support finish timing and curing practices).
– [ADD: source for] Slip resistance and safety guidance relevant to traction targets in the environments you’re working on (e.g., industry/standards references that define how slip risk is assessed).
When you approach slip-resistant concrete as a complete system—finish choice, slab prep, correct application sequence, and maintenance alignment—you get the traction you need without creating a finish that fades into slickness. Start by matching the traction method to your wet or contaminated conditions, then follow the product specs for preparation and cure times. Done correctly, your floor stays safer and more predictable throughout real-world cleaning cycles.
Frequently Asked Questions
What causes concrete floors to become slippery?
Concrete can become slippery due to water, oily residues, worn surface finishes, and improper curing that leaves laitance or a weak surface layer. Polished concrete is also more prone to slipping if it’s too smooth and not sealed with the right non-slip product. Additionally, applying the wrong concrete sealer or floor coating can create a slick, low-friction surface.
How do I make existing concrete floors slip-resistant without replacing them?
Start by cleaning the concrete thoroughly to remove oil, grease, and existing coatings so texture can bond properly. Then apply a slip-resistant concrete coating, non-slip sealer, or resurfacing overlay designed for traction, often combined with broadcast aggregate for added grip. For a quick improvement, consider surface etching or diamond grinding to remove the slick top layer and expose a more textured surface.
How can I make new concrete slip-resistant during installation?
Use a slip-resistant concrete mix and finish the surface with the right texture—commonly by broom finishing or adding anti-slip trowel techniques that create consistent micro-texture. Control timing so the finish is applied at the correct bleed water stage, and consider adding integral traction additives or applying a non-slip sealer once the concrete is fully cured. Where needed, install control joints and consider trowel patterns that don’t leave a burnished, glossy surface.
Which surface treatments and coatings work best for slip-resistant concrete floors?
The best options depend on the environment (indoor, wet areas, food processing, garages) and how the floor is maintained. Common high-traction choices include anti-slip concrete sealers, epoxy floor coatings with quartz/silica broadcast, and polymer-modified overlays with grit aggregate. For areas with frequent water, choose systems specifically rated for wet slip resistance and ensure the aggregate is properly embedded for durability.
Why is proper curing and sealing important for slip-resistant concrete?
Proper curing helps the concrete achieve uniform strength and reduces surface laitance that can contribute to slipperiness. Sealing is important because many concrete sealers reduce surface friction if they form a smooth, film-like layer—especially on polished or lightly textured floors. Use a slip-resistant sealer with the correct finish level, apply it per manufacturer coverage rates, and avoid over-applying that can create a glossy, less-trafficked surface.
📅 Last Updated: October 10, 2026 | Topic: How to make slip-resistant concrete floors? | Content verified for accuracy and freshness.
References
- Google Scholar Google Scholar
https://scholar.google.com/scholar?q=slip-resistant+concrete+floor+finishing+broom+finish+grooving - Google Scholar Google Scholar
https://scholar.google.com/scholar?q=concrete+floor+slip+resistance+coefficient+of+friction+surface+texture - Google Scholar Google Scholar
https://scholar.google.com/scholar?q=slip+resistant+concrete+floor+ADA+requirements+surface+roughness - https://en.wikipedia.org/wiki/Slip_resistance
- Redirecting…
https://www.ada.gov/2010ADAstandards_index.htm - 1910.22 – General requirements. | Occupational Safety and Health Administration
https://www.osha.gov/laws-regs/regulations/standardnumber/1910/1910.22 - https://www.cdc.gov/niosh/docs/2006-132/default.html
- https://www.cdc.gov/niosh/topics/slips/
- Workplace health, safety and welfare – HSE
https://www.hse.gov.uk/pubns/indg244.htm - Google Scholar Google Scholar
https://scholar.google.com/scholar?q=How+to+make+slip-resistant+concrete+floors?
[…] surface texture for more predictable chevron […]