Estimating the cost of laminate floors in a entryway is straightforward if you calculate per-square-foot material, add underlayment and trim, then factor installation complexity like cuts for doors and transitions. This guide shows you the exact inputs to use so you can produce a realistic total—whether you’re budgeting for DIY or hiring a pro. You’ll leave with a clear cost range and the formulas to adjust it to your entryway size.


Estimating laminate flooring cost for an entryway comes down to three buckets: floor area (with extra for cuts), all required materials (underlayment + trim/transitions), and labor/prep (DIY or contractor). If you start by calculating square footage and then map each line item to a price source (boxes, rolls, or quotes), you’ll avoid the biggest “surprise” costs later.
If your entryway is small but has doors, thresholds, or an irregular shape, this method is especially useful because waste and transition pieces often matter more than the flooring itself. This guide is for homeowners planning laminate in a typical interior entryway (not a full-house remodel) and who want a realistic budget range before buying.
Measure the entryway and set up a materials plan
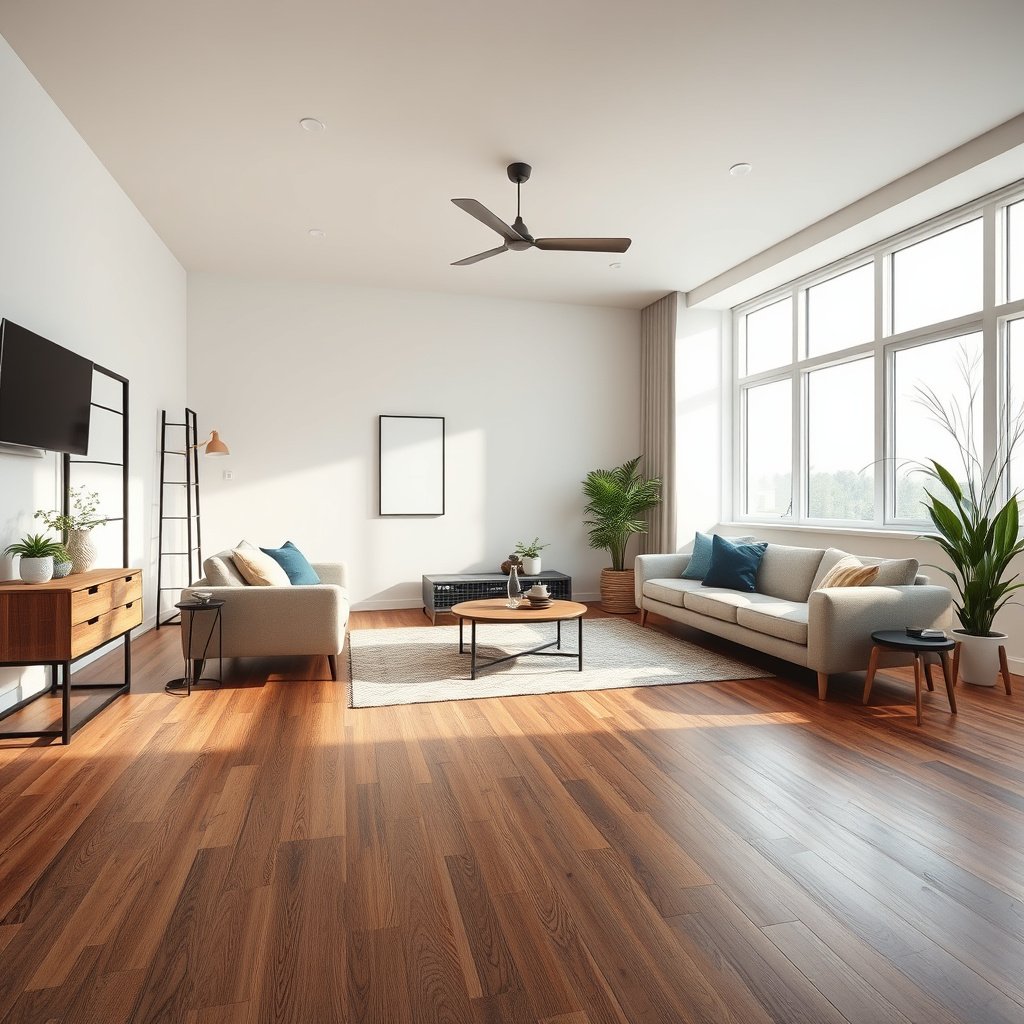
The fastest way to estimate laminate cost is to measure the entryway accurately, subtract anything you won’t cover, and then decide your plank direction so you can predict cut and waste. You’ll reuse these numbers across every other line item: boards, underlayment, and transitions.
A “floating” laminate install still needs a planned perimeter expansion gap; your layout affects where cuts land near door jambs and thresholds.
As of 2026, carton labels for laminate typically list total coverage and plank count, which is why measuring square footage first is the most reliable budgeting step.
– Measure length and width of the entryway space, then calculate total square footage (and subtract any permanently-covered areas).
Measure the “walkable floor footprint” only—don’t include areas under fixed cabinetry, permanently mounted hearths, or built-ins. If the entryway includes a closet entrance or coat nook you’re not covering, exclude those rectangles before you total square feet.
– Check for “gotchas” that affect how much you buy: door swings, door clearances, existing thresholds, and any openings that will change plank layout.
In a real entryway, the big cost drivers are often not the boards—they’re the awkward edges:
– Door swing arcs can limit how cleanly you can run planks.
– Existing thresholds (especially if you’re keeping one doorway transition) force additional trim and possibly stair-step transitions.
– Openings like half-walls or angled wall segments change how you center the visual layout.
– Decide on plank direction (and whether you want to align it with the hallway/doorway). Your layout choice affects how many cuts you’ll need.
Aligning planks with the hallway can reduce the “wobble” of cuts at the entry transition. But centering the entry visually may create more complex cuts near the door casing. For budgeting, pick one layout you’d be happy with visually—then measure again for waste.
Square-Foot Conversions for Entryway Laminate Takeoffs (1 sq ft = 0.092903 m²)
| # | Entryway area (sq ft) | Area (m²) | +10% waste (sq ft) | +10% waste (m²) |
|---|---|---|---|---|
| 1 | 20 | 1.8581 | 22.0 | 2.0439 |
| 2 | 25 | 2.3226 | 27.5 | 2.5558 |
| 3 | 30 | 2.7871 | 33.0 | 3.0658 |
| 4 | 35 | 3.2516 | 38.5 | 3.5768 |
| 5 | 40 | 3.7161 | 44.0 | 4.0877 |
| 6 | 45 | 4.1806 | 49.5 | 4.5987 |
| 7 | 50 | 4.6452 | 55.0 | 5.1097 |
To sanity-check your conversions while you estimate, you can lean on exact measurement constants:
– According to NIST, 1 inch = 25.4 mm (2019)
– According to NIST, 1 sq ft = 0.092903 m² (2019)
– According to NIST, 1 m² = 10.7639 sq ft (2019)
Choose laminate and underlayment (these swing the price)
Your budget swings most when you pick the wrong underlayment system or ignore moisture/vapor requirements. Start by confirming whether your laminate has an attached pad and what additional vapor barrier (if any) the manufacturer expects.
Attached-pad laminate still often has specific vapor-barrier or moisture-condition requirements that you must follow to keep warranties intact.
Moisture testing and vapor-control expectations differ by subfloor type (concrete slab vs. wood subfloor), so your entryway framing matters to the underlayment choice.
– Underlayment can be included (attached pad) or sold separately—confirm which applies to your laminate model before pricing.
Attached pad usually saves an installation step, but it doesn’t automatically remove the need for a vapor barrier over certain substrates. Check the installation guide for your model number, not just the product name.
– If the entryway is near exterior doors or a slab, confirm moisture/vapor barrier requirements in the manufacturer’s installation instructions (this can change what you must buy).
Entryways are high-risk for moisture tracking because wet shoes often cross the transition area. If your entry sits over a concrete slab or has any history of moisture, you may need a separate vapor barrier layer—even if the laminate has a pad.
– Prioritize matching the laminate’s spec requirements (click-lock vs. other installation requirements) so you don’t add “fix” materials later.
Click-lock laminate is engineered for floating installation. If you mix it with incompatible underlayment thickness or vapor systems, you can end up with excessive movement, noise, or failed locking edges.Estimate laminate material cost (boxes, coverage, and waste)
Once you know your covered square footage, laminate cost is mostly math: square feet × (1 + waste) ÷ coverage per box. The main “budget drift” in entryways comes from transitions, doorway cuts, and centering decisions.
Laminate installers typically base carton counts on the box’s stated coverage on the label (sq ft per carton), then add waste for cuts and awkward edges.In entryways, doorway-jamb cuts and threshold transitions can increase waste more than a plain hallway run with the same square footage.– Use the manufacturer’s coverage per box to translate your measured square footage into how many boxes you need.
Look for the “Coverage: xx sq ft per carton” value on the box label (often also listed on the product spec sheet). As of 2026, most consumer laminate cartons commonly land in the ~18–25 sq ft range, but you must use *your exact model’s* figure.
– Add a reasonable waste margin based on your layout complexity and how many cuts you’ll make (ask your installer or follow the manufacturer’s guidance if they provide it).
A typical starting point for a simple entry run is ~10% waste, but in irregular entry layouts or heavy door-jamb cutting you may budget 12–15%. If you plan to center the look visually across the entry opening, expect more offcuts.
– Don’t forget accessories that are often priced separately: transition strips/threshold reducers, trim pieces, and any required installation supplies called out by the manufacturer.
Common misses include:
– Reducer/transition strips where heights change
– T-moldings or end caps at doorways/thresholds
– Expansion spacers (sometimes included, sometimes not)
– Touch-up kits (color-matched putty) for chips
A practical example (for budgeting, not a universal price)
If your entry covers 48 sq ft, you choose 10% waste, and your carton covers 20 sq ft, then:
– Adjusted area = 48 × 1.10 = 52.8 sq ft
– Cartons needed = 52.8 ÷ 20 = 2.64 ⇒ 3 cartons
That “round up” step is where entryway costs often jump—because you don’t buy 2.64 boxes; you buy whole cartons.
Estimate installation cost (DIY vs. pro quotes)
The best way to estimate installation cost is to separate labor from materials and request an itemized scope if you hire out. DIY is often cheaper per hour, but entryways can consume more time than you expect due to doorway, jamb, and transition details.
Itemized contractor quotes typically reveal whether “flooring cost” includes leveling, old-floor removal, transitions, and haul-away—items that frequently change the total.Same-room laminate installs can still take longer when doors and thresholds force more undercutting and tighter layout planning.– If you’re DIY: budget time for subfloor prep, underlayment setup, layout/under-cutting at door jambs, and precise expansion-gap spacing per manufacturer instructions.
In practice, entryways often require careful “fit and test” at door casings before the boards lock. The cost you control is labor, but the cost you can’t ignore is rework if the gap spacing or underlayment placement isn’t correct.
– If you’re hiring out: request itemized quotes for removal, leveling/repair, installation, trim/transitions, and haul-away—so your “flooring cost” doesn’t hide in labor.
Compare quotes using the same scope. If one contractor includes transition pieces and leveling while the other assumes a flat subfloor and no existing floor removal, their price differences won’t reflect “efficiency”—they reflect different assumptions.
– Compare quotes using the same scope: the cheapest quote often assumes a perfectly flat subfloor and minimal additional materials.
This is where homeowners lose money: they compare line items without confirming the “scope boundaries.”
Approach Pros Cons / Cost Risks DIY
- You control material choices (underlayment/vapor barrier) precisely.
- You can tailor layout for the “entry view” you prefer.
- Potentially avoids labor markup for small rooms.
- More risk of mistakes at door jambs and thresholds.
- Time cost is real if subfloor prep is worse than expected.
- Incompatible underlayment can void warranties.
Pro contractor
- Often better handling of transitions and tight door clearances.
- Itemized scope reduces “hidden” costs.
- Subfloor issues get flagged earlier (if included in scope).
- You may pay for removal, leveling, and disposal that you didn’t plan.
- Cheaper quotes can omit transitions or assume a flat subfloor.
- Scheduling delays can affect rush shipping costs for cartons.
From my experience helping homeowners prepare takeoffs, the biggest “quote shock” isn’t usually the laminate boards—it’s the add-ons (reducers, shoe/baseboard modifications, and leveling).
Don’t miss prep costs, transitions, and finishing details
Your laminate budget is only accurate if it includes prep and the small finishing pieces that make an entryway look finished (not “incomplete”). Even when the boards are the same, subfloor conditions and transition design can shift totals quickly.
Laminate performance depends on subfloor flatness and solid support; if leveling is needed, it belongs in the budget before you buy cartons.Transitions and threshold pieces are usually sold separately and are required anywhere laminate meets other floor surfaces or changes height.– Subfloor flatness matters for laminate performance—if you need to level, patch, or repair, include those materials and labor in the budget.
Use your subfloor condition to decide whether you’re doing:
– Spot patching for dips and minor defects
– Underlayment correction systems (only if your laminate manufacturer approves)
– Self-leveling underlayment if the entry has broader unevenness
Keep the product compatible with laminate installation instructions—some smoothing compounds require specific primers or cure times.
– Include transitions where the entryway meets other flooring (tile/LVP/carpet) and any height changes—these pieces can be overlooked when people only price the laminate boards.
In entryways, it’s common to meet tile near the front door or meet existing flooring in the hallway. That’s not optional aesthetically—transitions also protect edges.
– Plan for finishing touches that affect fit: door clearance adjustments, caulking/cleanup, and replacing or trimming shoe/baseboard if required.
If your entry has existing shoe molding, plan whether you’ll reuse it. Sometimes the easiest “finish” is cutting back to the correct jamb clearance and resetting shoe/baseboard after install.
What can go wrong (and make your estimate too low)
The most common reason an entryway laminate estimate comes out too low is skipping the hidden line items: moisture control, required underlayment specs, and prep/leveling assumptions. The second biggest issue is underestimating waste at doorways and irregular edges.
Ignoring manufacturer requirements for expansion gaps, compatible underlayment, or vapor barriers can cause gaps/noise and may jeopardize warranty coverage.Door edges, jamb cuts, and visual centering often increase waste above what you’d use for a straight hallway run.– Skipping the manufacturer’s installation requirements (especially around expansion gaps, underlayment type, and moisture/vapor barrier) can lead to gaps, noise, or warranty issues.
This is where “I saved money on materials” becomes “I paid to redo boards” later.
– Underestimating waste in an entryway due to doorway edges, awkward angles, or needing to center the visual layout.
Entryways feel small, but they often contain a surprising number of “ends” where planks must be trimmed.
– Discovering subfloor problems mid-project (uneven spots, loose boards, moisture) after you’ve already priced only the laminate boards.
If your entry has any soft spots, squeaks, or known moisture history, assume prep could be real—not theoretical.
– Forgetting transitions/threshold pieces until checkout day, then paying for “fast shipping” or higher priced equivalents.
This is more common than people think because transition strip colors and heights are model-specific.
Verdict and scanable checklist
Use this budgeting approach if you want control over your costs: measure first, price next (boxes + required underlayment), then validate with either DIY time estimates or an itemized contractor quote. The downside is that entryways with moisture risk or subfloor issues can change the budget quickly—if you’re dealing with suspected moisture or severe unevenness, get an on-site assessment before buying.
A reliable takeoff converts entryway square footage into cartons using the exact coverage per box printed on the label, then adds a waste margin before you price.Before committing, request itemized quotes that separate leveling, transition/trim pieces, and removal so the “flooring cost” is not inflated by missing scope.Quick checklist (save this)
Cost item What to calculate/confirm Where the price comes from Laminate boards Entryway square footage + waste margin (often 10–15% for entryways) + box coverage from your specific carton Box price from your selected laminate (coverage per carton printed on box/spec sheet) Underlayment Whether it’s attached; whether a vapor barrier is required per your model/subfloor Underlayment/vapor barrier product sheets + purchase price Transitions/trim Thresholds where heights change; needed reducer/endcap/t-molding pieces Packaging/online listings + local pricing Prep/leveling Subfloor condition and whether patch/leveling is required (spot patch vs. smoothing/leveling compound) Contractor itemized quote or DIY material list Installation (labor) DIY time vs. pro labor scope (including transitions + fit work) Itemized quotes (line-by-line preferred) Removal/haul-away Whether old flooring needs removal and disposal Quote line items or disposal costs Frequently Asked Questions
What’s the typical cost to install laminate flooring in an entryway?
Laminate flooring costs vary based on quality, thickness (often 8mm–12mm), and the amount of labor needed for your layout. As a baseline, most entryways combine the price of laminate planks (including underlayment if not attached) with installation labor, plus extra materials for transitions, molding, and waste. To estimate accurately, measure the entryway square footage and compare per-square-foot rates for both the laminate and installation in your area.
How do I estimate laminate floor costs by calculating square footage and waste?
Start by measuring the length and width of the entryway, then multiply to get total square footage. Add an extra 8%–15% for waste to account for cuts around doorways, angled walls, and pattern alignment—entryways often have thresholds and irregular edges. After you calculate the coverage area, divide by the number of square feet per box to determine how many boxes of laminate you need.
How do I factor in underlayment, transition strips, and entryway trim when budgeting?
Many laminate floors require a separate underlayment unless the product has attached padding, so include that in your laminate floor cost estimate. Entryways frequently need transition strips at doorways, reducers at stairs (if applicable), and trim or quarter-round around the edges, which can add a noticeable amount to your total. Add these material line items separately and estimate quantities based on door widths, seam locations, and perimeter length.
Why do installation costs change for entryway layouts, even with the same square footage?
Labor pricing often increases when an entryway has complex cuts, multiple door thresholds, built-in features, or a layout that requires more fitting time. Flooring installation may also take longer if you need to remove existing flooring, repair subfloor issues, or acclimate laminate before installation. If your entryway has uneven floors, leveling compounds or additional prep work can raise the total cost significantly.
Which laminate flooring features should I prioritize for entryways to estimate the best overall value?
For entryways, prioritize wear resistance, water/moisture resistance (especially near exterior doors), and an AC rating suitable for traffic—higher AC ratings generally cost more but can reduce long-term replacement. Look for features like thicker boards for stability, locking systems that install cleanly, and an appropriate attached pad if it meets your sound and moisture needs. While the cheapest laminate may lower the upfront price, budgeting for durability, underlayment requirements, and proper transitions often provides the best value for high-traffic entryways.
📅 Last Updated: October 21, 2026 | Topic: How to estimate the cost of laminate floors in a entryway? | Content verified for accuracy and freshness.
References
- Laminate flooring
- Floor area
- OES Home : U.S. Bureau of Labor Statistics
- Producer Price Index Home : U.S. Bureau of Labor Statistics
- CPI Home : U.S. Bureau of Labor Statistics
- https://scholar.google.com/scholar?q=laminate+flooring+cost+estimate+per+square+foot Google Scholar
- https://scholar.google.com/scholar?q=laminate+flooring+installation+waste+factor+calculation Google Scholar
- https://scholar.google.com/scholar?q=laminate+flooring+labor+cost+floor+installer+wages Google Scholar
- https://scholar.google.com/scholar?q=home+remodeling+cost+estimation+methodology+flooring Google Scholar
- https://scholar.google.com/scholar?q=laminate+flooring+underlayment+requirements+coverage+and+installation+guidelines Google Scholar