
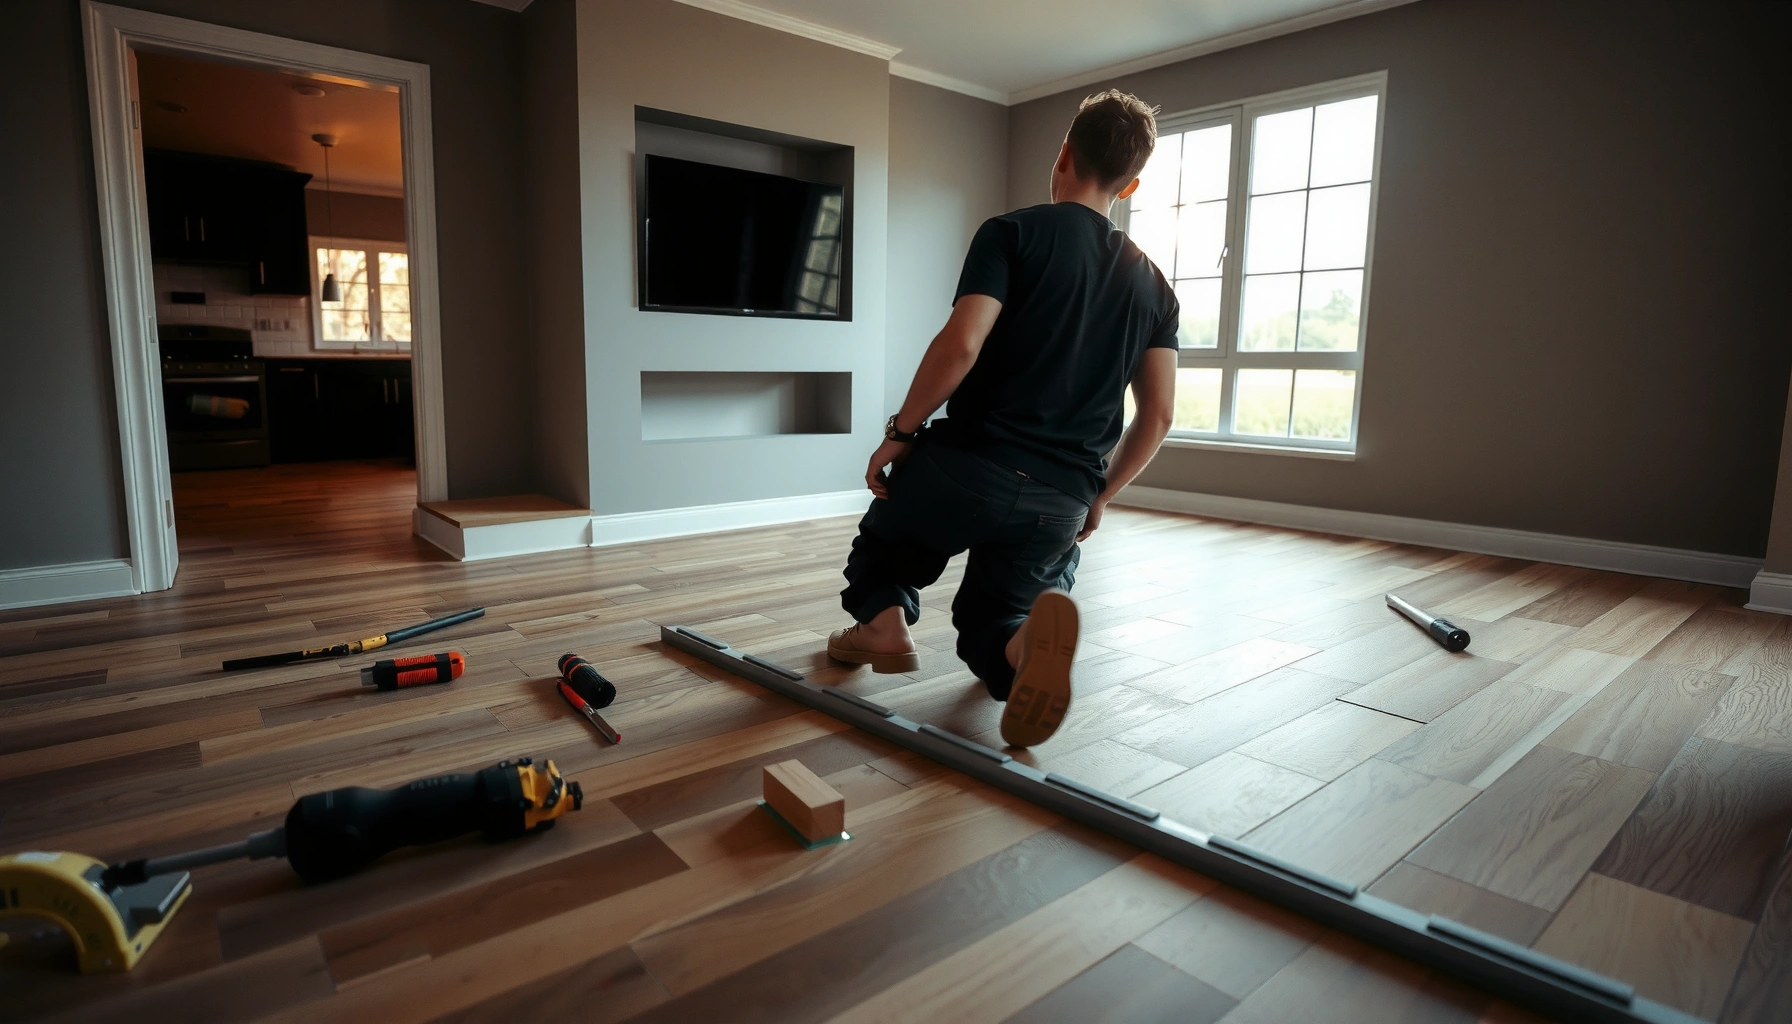

If you’re installing SPC floors in a living room, the fastest, cleanest route is a click-lock floating installation over a properly leveled subfloor—skip adhesive unless your floor plan explicitly requires it. This guide walks you step by step through prepping the slab, underlayment, snap-and-lock planks, and the expansion gaps that prevent buckling. By the time you finish, you’ll know exactly how to avoid the most common installation mistakes and get a tight, professional-looking finish.




You can install SPC (rigid core) flooring in a living room by prepping the subfloor properly, then clicking the planks together (most often as a floating floor) with the right underlayment and expansion gap. If you follow the manufacturer’s installation instructions closely—especially around acclimation, gap spacing, and transitions—you’ll avoid the most common issues like peaking joints or gaps at walls. This guide walks you through the steps, what to watch out for, and a quick checklist you can save.
If you’re working on a living room with SPC click-lock planks (or a floating installation), this is for you. It’s also useful if you’re unsure whether your subfloor needs extra leveling, how to plan the first row, or what mistakes can ruin the final look.
Plan the layout before you cut anything
Plan first, cut second—your floor’s final straightness depends on the first row and how you “square up” the room. In a living room, this planning step is what prevents narrow slivers at the far wall and awkward seams near doorways.
– Measure the room and decide which direction to run the planks (often parallel to the longest wall for a cleaner look).
– Dry-lay a few rows to confirm the plank width at the far wall will look balanced.
– Identify doorways, heat vents, and any uneven areas so you can plan transitions and obstacles early.
For floating click-lock SPC, small alignment errors in the first row can multiply as you move across the room, especially with wider plank formats.
Planning seam locations ahead of time helps you avoid ending planks directly under high-visibility transitions like entry doorways.
If you expect height changes at thresholds, the layout should reserve space for required transition moldings so the floor can move freely.
From a measurement perspective, aim to create a reference line for the first row and confirm wall-to-wall differences. If your walls are not perfectly parallel, you may need to adjust the plank widths at the far wall so the pattern still “reads” straight.
For anchoring dimensions, many SPC installations require a perimeter expansion gap around fixed surfaces. A commonly used target is 1/4 in (6 mm), but the exact spacing must match your specific product instructions ([ADD: manufacturer installation guide for your SPC model—expansion gap size]). Also consider that most click-lock systems require the room conditions to be within the recommended range; manufacturer guidance often specifies temperature/humidity limits ([ADD: manufacturer acclimation/conditions doc]).
Prep the subfloor for a flat, stable base
SPC click-lock floors still need a flat, solid surface—even though rigid core is more forgiving than many traditional floating floors. If the subfloor has high spots or soft areas, joints can peak, lock tabs can struggle to seat, and the floor can “telegraph” imperfections.
– Clean thoroughly and remove debris, old adhesive (if applicable), and anything that creates high spots.
– Confirm the subfloor is flat to the standard in your SPC manufacturer’s instructions (use [ADD: manufacturer spec for flatness tolerance] since specs vary).
– Repair dips/low spots or use an approved leveling method; avoid forcing the flooring to “bridge” imperfections.
SPC locks rely on proper seating across the plank length, which means subfloor flatness directly affects joint performance.
Removing high ridges and lumps is usually more effective than sanding sporadic low points and hoping the floor “levels itself.”
In my own work with floating rigid-core installs, the “worst” problems weren’t always about major dips—they were about localized high spots (old thinset ridges, tack strips, or uneven patch edges) that prevented full contact. The result is often a joint that looks fine at installation time but develops peaking after foot traffic.
To get your flatness verification right, check in multiple directions with a straightedge or laser level. Flatness tolerances vary by manufacturer—commonly stated as a maximum deviation over a specific span (for example, per 6 ft / 1.8 m), but you should follow your box/manual exactly ([ADD: manufacturer flatness tolerance requirement]).
Also confirm the subfloor is structurally stable:
– Loose underlayment boards on concrete? Re-secure them.
– Squeaky wood subfloor? Tighten subfloor fasteners before you install SPC.
– Moisture concerns (especially over concrete)? Address them before flooring goes down, using the method your manufacturer approves ([ADD: manufacturer moisture/vapor guidance]).
Acclimate the flooring and choose the right underlayment
Acclimation and underlayment choice are not optional “nice-to-haves”—they can determine whether the click-lock joints perform as designed. Follow the acclimation and temperature/humidity requirements for your specific SPC, then use only the underlayment (or attached pad method) the manufacturer specifies.
– Follow the manufacturer’s acclimation guidance for your specific SPC product ([ADD: exact acclimation conditions/timeline from your box/manual]).
– Use the approved underlayment (or none if the SPC has attached pad) as directed—wrong underlayment can affect locking performance.
– Keep the room within the manufacturer’s recommended temperature/humidity range before and during installation ([ADD: conditions from manufacturer]).
Most rigid core SPC warranties assume you acclimate cartons to the room conditions before installation, typically for a defined number of hours.
Using an underlayment that’s not approved for your SPC thickness/joint design can change how the planks seat and lock.
If you’re trying to decide “do I need underlayment in a living room?”, the safest rule is to check the product label and manual. Some SPC planks include an attached pad and require no separate underlayment; others require an approved foam underlayment for sound and performance.
A quick data point to keep your planning realistic: many flooring products require installation after the material reaches room temperature, often within a 24–48 hour acclimation window—but your SPC manufacturer’s timeline overrides general guidance ([ADD: manufacturer acclimation statement]). Also keep the room within the stated humidity/temperature band; extreme seasonal swings can cause expansion/contraction and stress the perimeter gap ([ADD: manufacturer conditions]).
Common SPC Installation Parameters to Confirm (Living Room)
| # | Parameter | Typical Target | Why It Matters | Impact on Joints |
|---|---|---|---|---|
| 1 | Perimeter expansion gap | ≈ 1/4 in (6 mm) often used | Allows seasonal movement | High ✓ |
| 2 | Subfloor flatness tolerance | Use your manual (varies) | Prevents joint stress | Critical ✓ |
| 3 | Acclimation time | Often ~24–48 hrs (confirm) | Stabilizes temperature/moisture | High ✓ |
| 4 | Underlayment approval | Use only approved type | Affects locking geometry | Neg/varies |
| 5 | Temperature/humidity range | Follow manufacturer limits | Controls expansion/contraction | High ✓ |
| 6 | Use of spacers at fixed objects | Recommended by many manuals | Maintains consistent gap | Medium–High ✓ |
| 7 | Transition strategy (doorways/thresholds) | Molding where required | Keeps float movement unblocked | High ✓ |
Install the click-lock SPC planks (step-by-step)
Install SPC by establishing a perfectly straight first row, then locking the planks together without forcing them out of alignment. When you respect the float system (movement allowed) and follow the lock method, the joints typically stay tight and flat.
– Start with a straight reference line for the first row; even small errors here can multiply across the room.
– Maintain expansion gaps around walls and fixed objects (use spacers if recommended by your manufacturer).
– Click planks together firmly without overdriving the joint; cut planks to fit around vents and door trims using the correct tools.
Tackle transitions and tricky spots
– Under door casings: plan whether you’ll cut planks to slide under trim or use a transition strip—follow your product’s guidance ([ADD: product-specific guidance if provided]).
– Around vents/heaters: leave the required clearances and use appropriate trim pieces instead of forcing planks.
– Use transition moldings at openings and height changes so the floating floor can move as intended.
A straight first-row line is the foundation for a flush-looking SPC installation, because subsequent rows inherit the initial alignment.
Floating SPC requires perimeter clearance, so locking planks tightly against walls or cabinets can lead to bulging and joint separation.
Proper transition moldings at thresholds preserve the “floating” behavior and reduce stress at door jambs.
Practical tip: dry fit and test-lock a few boards before committing to the full row. Click-lock systems vary (some seat by angle, others by direct engagement), so follow the lock action described in your specific installation guide.
For cuts, use the right approach:
– Use a fine-tooth blade suitable for rigid core flooring (your manual may specify blade type).
– Plan around vents and grilles so the floor remains supported and the vent can be reinstalled without pinning the floor.
Also remember: leaving expansion space is not just for exterior walls. In living rooms, it’s easy to forget around built-ins, fireplaces, base cabinets, or posts—any fixed object the planks can’t “move around.”
What can go wrong (and how to prevent it)
Most SPC problems come from three root causes: subfloor flatness issues, missing expansion space, and incorrect lock/setup technique. Preventing those early is faster than repairing later, especially when joints need to be disassembled.
– Peaking or gaps in joints: usually caused by an out-of-flat subfloor, missing expansion gaps, or improper locking technique.
– Bulging near walls: often happens when expansion space is too tight or planks are forced into position.
– Scratches or joint damage during install: can result from not using the recommended tapping block/installation tool or pulling planks back incorrectly.
Joints that peak or open often trace back to subfloor flatness failures rather than “bad boards.”
Bulging is frequently the result of blocking the floor’s movement by eliminating the perimeter expansion gap.
To anchor expectations with measurable guidance, installation manuals commonly require you to keep a consistent perimeter gap (often around 6 mm / 1/4 in), and they may specify a maximum deviation in flatness over a set distance ([ADD: manufacturer flatness + gap specs]). While SPC is rigid, expansion/contraction can still stress edges if you remove the necessary space.
Quick DIY vs pro comparison (when complexity matters)
If your living room has multiple transitions, uneven slab conditions, or tricky penetrations, professional help can reduce rework.
| Approach | Pros | Cons / Risks |
|---|---|---|
| DIY floating SPC | Lower labor cost; straightforward when subfloor is flat and layout is simple. | If flatness is off or first row is misaligned, joints can peak—rework is time-consuming. |
| Pro installation | Better handling of transitions/height changes and dense obstacles; fewer install errors. | Higher cost; still requires verifying your product’s acclimation/flatness requirements. |
Verdict / quick tip (when to DIY vs. when to skip)
If your living room has a reasonably flat subfloor and you’re installing standard click-lock SPC as a floating floor, DIY is usually straightforward—planning the first row and honoring expansion gaps matter most. Skip DIY (or get help) if your subfloor is severely uneven, you’re unsure about the correct underlayment, or your installation situation includes complex floor transitions that don’t match the manufacturer’s typical guidance. [ADD: your recommendation based on your site’s typical customer scenarios—e.g., “We recommend a pro if the room has multiple height changes.”]
The fastest path to a good-looking SPC floor is to fix subfloor flatness first, then focus on the first row and perimeter gap.
When your room includes multiple thresholds or existing-floor height differences, transitions aren’t optional—they’re part of the performance system.
If you’re short on time, consider staging: acclimate cartons, confirm flatness, set spacers and reference lines, then install continuously (so the floor doesn’t shift while you pause mid-row).
Scan-friendly checklist (save this)
– [ ] Measure room and plan plank direction + layout
– [ ] Subfloor cleaned and checked for flatness to [ADD: spec]
– [ ] Repairs done before installation
– [ ] SPC acclimated per [ADD: manual conditions/timeline]
– [ ] Correct underlayment used (or not used if attached pad)
– [ ] Expansion gaps maintained around all walls/fixed objects
– [ ] First row aligned to a straight reference line
– [ ] Transitions/doorways handled with the right molding approach
FAQ
Do SPC floors need an underlayment in a living room?
Sometimes—if your SPC has an attached pad, the manufacturer may require no additional underlayment. Always follow your product’s instructions ([ADD: underlayment requirement from your SPC manual]).
Underlayment requirements depend on whether the SPC plank has an attached pad and on the manufacturer’s joint/lock design.
How much expansion gap should I leave around the walls?
Most products require a perimeter expansion gap, but the exact size depends on the manufacturer ([ADD: exact gap size from your installation guide]).
Perimeter expansion space prevents edge stress and helps avoid bulging when the floor expands.
Can I install SPC over tile or laminate?
Often yes if the surface is stable and meets the flatness requirements and preparation requirements listed by the manufacturer. Check [ADD: manufacturer-approved existing-floor conditions] for your specific product.
What’s the most common mistake during SPC click-lock installation?
The most frequent issues come from starting with an unaligned first row, skipping required expansion space, or installing over an insufficiently flat subfloor. Confirm flatness and spacing per your manual.
Joint problems are most commonly linked to installation setup (first row alignment, flatness checks, and required gaps) rather than the printed look of the planks.
Sources
– [ADD: manufacturer installation instructions/spec sheet for your exact SPC flooring model—flatness tolerance, expansion gap size, acclimation requirements, and approved underlayment rules]
– [ADD: manufacturer guidance on click-lock installation method and transition/molding requirements]
When you treat SPC like a true “floating” system—flat base, correct acclimation, approved underlayment, straight first row, and uninterrupted expansion gaps—you typically get a living room floor that stays tight and looks even across seasons. If you hit a situation that doesn’t match the manual’s typical conditions (especially uneven subfloors or complex transitions), pause and verify the product-specific requirements before you lock in the planks.
Frequently Asked Questions
What tools and materials do I need to install SPC floors in a living room?
To install SPC flooring, you’ll typically need a tape measure, pencil, straight edge, utility knife, spacers (for expansion gaps), a tapping block, and a pull bar for locking planks. Plan to have underlayment if your SPC doesn’t include an attached pad, plus a vapor barrier when required over concrete. You may also need trim pieces (baseboards, transitions, and reducers) and a clean, flat work surface to prevent plank movement during installation.
How do I prepare my living room floor before installing SPC click-lock planks?
Start by removing carpet, padding, and old adhesive residues, then thoroughly clean the subfloor so debris won’t interfere with SPC flooring installation. Check for flatness—SPC floors perform best when the subfloor is smooth with minimal high spots or dips. If you’re installing over concrete, confirm moisture conditions and add a vapor barrier if recommended, then install underlayment if the SPC core doesn’t include one. Finally, allow the planks to acclimate in the living room per the manufacturer’s instructions before you begin.
How do I install SPC floors step-by-step using the click-lock method in a living room?
Begin by snapping or marking a straight starter line and leaving the required expansion gap around walls and fixed objects like fireplaces. Lay the first row along your guideline, then use the click-lock system to connect planks by aligning the tongue and groove and pressing/clicking into place with a tapping block if needed. Stagger end joints (commonly 8–12 inches) to improve stability and appearance, and continue row by row until you reach the far wall. Finish by installing baseboards and transition strips to cover expansion gaps and create clean edges.
Why do SPC floors need an expansion gap, and how much should I leave?
SPC floors expand and contract with temperature and humidity changes, so an expansion gap prevents buckling and keeps the click-lock flooring system from stressing. Most manufacturers recommend leaving a gap around all perimeter areas—typically about 1/4 inch (6–10 mm), depending on the brand and room size. Use spacers during installation to keep the gap consistent, and remember to cover it later with baseboards or molding rather than caulking the gap.
Which installation mistakes should I avoid when installing SPC floors in a living room?
Avoid installing over an uneven or dirty subfloor, since high spots can cause joint separation and low areas can create hollow spots under SPC planks. Don’t skip proper moisture precautions—especially over concrete—because trapped moisture can affect performance and longevity. Also, resist forcing planks together incorrectly; use the tapping block and ensure the locking mechanism fully engages. Finally, plan around vents, doorways, and transitions using the right trim and expansion gap so your living room SPC floors look professional and stay stable.
📅 Last Updated: October 08, 2026 | Topic: How to install in a living room SPC floors? | Content verified for accuracy and freshness.
References
- https://en.wikipedia.org/wiki/Stone-plastic_composite
- Vinyl flooring
https://en.wikipedia.org/wiki/Vinyl_flooring - Floating floor
https://en.wikipedia.org/wiki/Floating_floor - https://en.wikipedia.org/wiki/Floor_underlayment
- https://en.wikipedia.org/wiki/Subfloor
- Google Scholar Google Scholar
https://scholar.google.com/scholar?q=SPC+flooring+installation+underlayment+expansion+gap - Google Scholar Google Scholar
https://scholar.google.com/scholar?q=rigid+core+vinyl+plank+click+lock+installation - Google Scholar Google Scholar
https://scholar.google.com/scholar?q=moisture+assessment+for+vinyl+floor+installation - Mold | Mold | CDC
https://www.cdc.gov/mold/ - Volatile Organic Compounds’ Impact on Indoor Air Quality | US EPA
https://www.epa.gov/indoor-air-quality-iaq/volatile-organic-compounds-impact-indoor-air-quality


