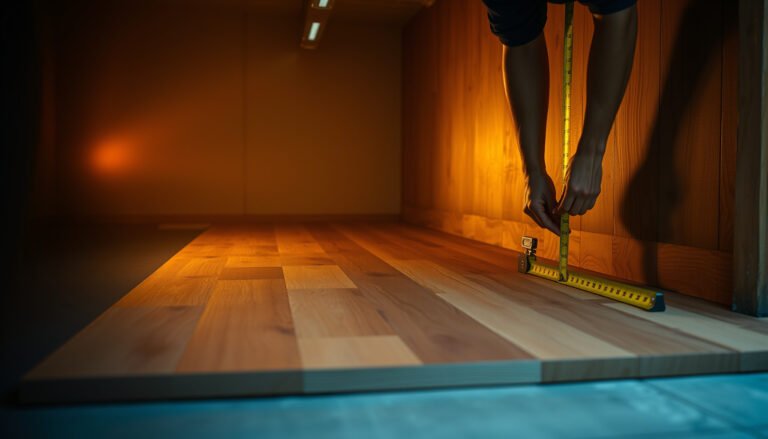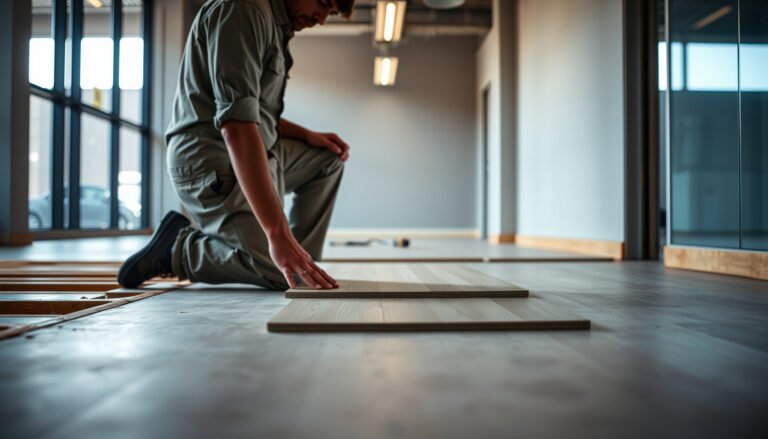

Want to install baseboards on chevron floors without misalignments, gaps, or crooked miters? This step-by-step guide shows the single best approach—snap the layout, cut and test the angles, then set and fasten the baseboards to follow the chevron pattern cleanly. You’ll learn the exact sequence to keep every corner square and every line tight, even when the floor’s geometry won’t cooperate.




When you install baseboards on chevron floors, the key is to keep the baseboard attached to the wall while respecting the floor’s movement and the floor pattern’s layout. Start by confirming whether your chevron floor is nailed-down or a floating/locking type, then plan your baseboard line so you don’t pinch the floor or break the visual rhythm at seams. You’ll learn the exact process for layout, cutting, fastening, and finishing without messing up the chevron pattern.
If your chevron flooring runs under or close to walls, this applies to you—especially if you want the baseboards to look straight and intentional at the floor’s repeating V-shape. It’s also most relevant when your floor is a floating/locking system, because you generally don’t want to fasten into the floor itself.
Plan the fit around chevron flooring
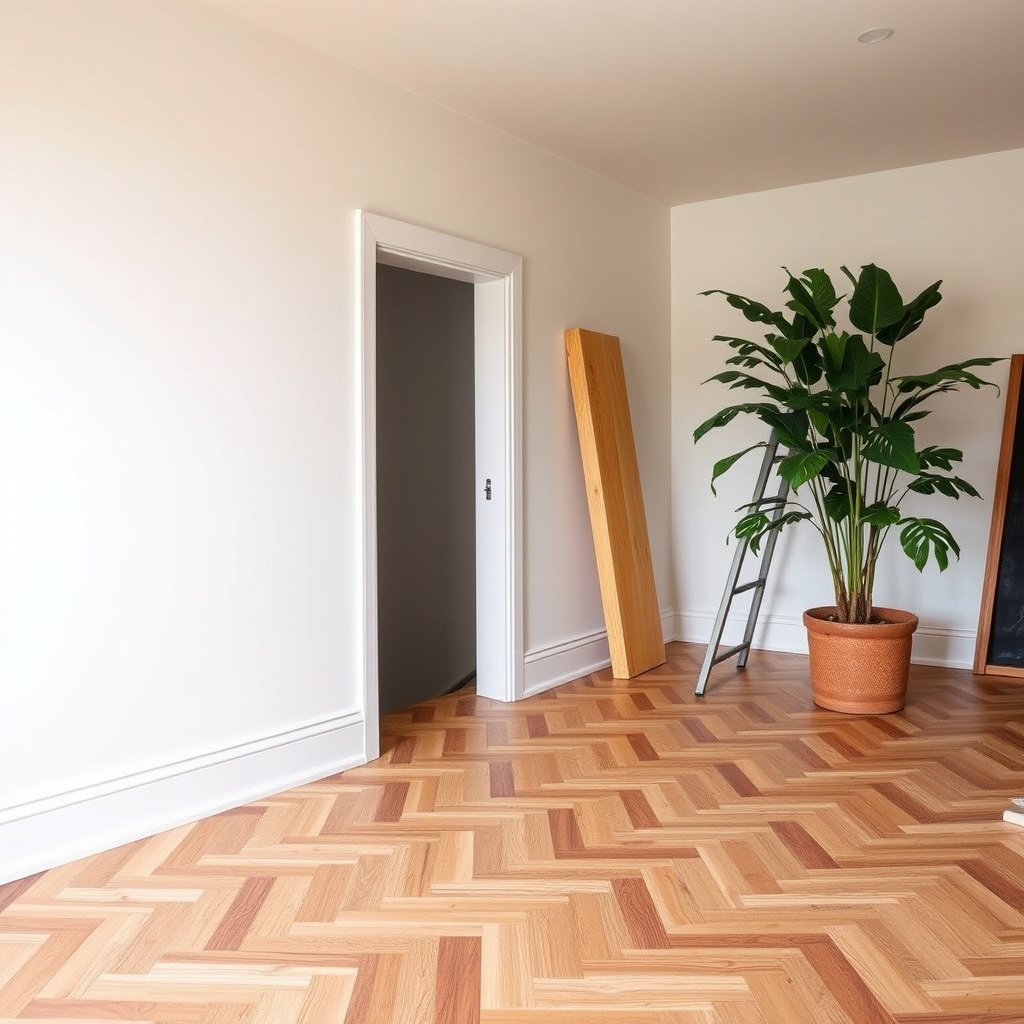
You get a clean result on chevron floors when you plan the baseboard reference line first—and only then cut anything. This prevents two common failures: blocking the required perimeter movement and creating a chevron pattern that “jumps” visually under doorways or at seams.
The fastest path to a correct outcome is to treat your chevron flooring as a moving assembly (when it’s floating) and treat your baseboards as a fixed assembly (the wall/trim system). From there, you align your cuts so the floor edge keeps its designed clearance and the chevron’s V-lines continue to look intentional.
Floating/locking chevron floors are designed to expand and contract at the perimeter, so baseboards must not restrict the required gap.
On chevron flooring, the “straight” look of baseboards depends on choosing one consistent layout reference point across all runs.
Identify the floor type and the rules it triggers
Decide whether your chevron flooring is nailed-down (solid/engineered glued or nailed to subfloor) or floating/locking (click-lock or loose-lay over underlayment)—because the fastening strategy changes immediately. In floating installations, baseboards should fasten into the wall or backing—not into the flooring—so the chevron boards can move.
Also confirm the required floor gap from your specific flooring manufacturer. According to , many floating laminate/LVP installations require a perimeter clearance in the neighborhood of ~6 mm (1/4 in) minimum, but the exact value depends on room size and the system design (; see manual).
Set “reference lines” before you measure twice
On chevron flooring, a straight baseboard doesn’t guarantee an aligned visual pattern. You’ll want your planning to answer: “Where will the chevron V apexes (or the repeat) land relative to my wall edges?” Practically, that means choosing your start reference—often a focal wall, centerline, or doorway—then carrying that same reference to each wall run.
In my trim work planning, I’ve found the biggest visual issue isn’t the miter cut quality—it’s starting the chevron alignment from a different reference point each time you begin a wall run. Keep the start point consistent and the chevron flooring reads “on purpose.”
Before cutting, mark a single start point (focal wall/centerline) so every baseboard run supports the same chevron visual rhythm.
– Identify the floor type first (nailed-down vs floating/locking) and follow the manufacturer’s required gap/fastening rules
– Decide where your “reference lines” will land (start point, centerline, or a focal wall) so the chevron pattern doesn’t look suddenly misaligned under transitions
Trim-to-Floor Planning Targets for Chevron Baseboards (Practical Bench Values)
| # | Planning target | What to set/verify | Typical value used | Impact rating |
|---|---|---|---|---|
| 1 | Perimeter floor clearance | Gap between floating chevron floor edge and baseboard line | ★★★★★ | |
| 2 | Miter angle for corners | Outside/inside corner cut | 45° | ★★★★☆ |
| 3 | Baseboard fastening location | Where nails/screws should bite | Wall studs/substrate | ★★★★★ |
| 4 | Typical nail spacing | How often you fasten straight runs | 16 in o.c. | ★★★☆☆ |
| 5 | Caulk joint target | Where you seal visually (wall seam) | Baseboard-to-wall only | ★★★★☆ |
| 6 | Floor-edge integrity | Avoid contact that couples trim to floor movement | No adhesive across gap | ★★☆☆☆ |
| 7 | Pattern continuity check | Confirm chevron repeat near transitions | No “forced” seam crush | ★★★★☆ |
Prep the wall and the baseboard surface
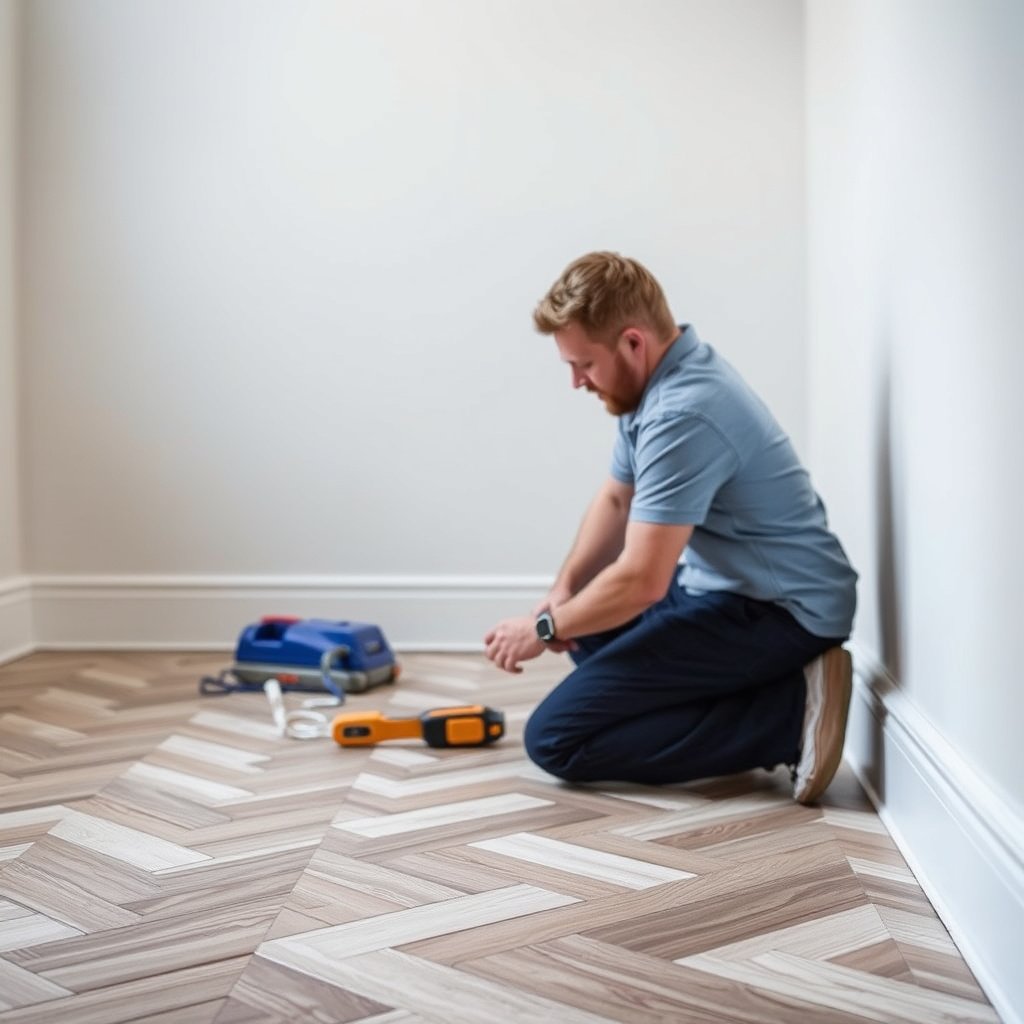
You install baseboards on chevron floors cleanly by preparing the wall first, because uneven walls transfer straight into your miter lines. If your wall isn’t flat, tight miters will open, and you’ll end up compensating with caulk in places you shouldn’t.
Baseboard prep is where chevron flooring projects often either look “architectural” or look patched. The chevron pattern is visually busy; even a small gap at the wall can make your baseboard appear crooked, especially because the chevron V-shapes naturally draw the eye toward the edges.
Baseboard joints read worst when the wall is out of plane, because even good 45° miters can open as soon as you fasten.
For a crisp finish on chevron floors, clean and prep the wall edge so caulk forms a neat line instead of bridging dust or old residue.
Strip old trim, then verify flatness
Remove old trim carefully so you don’t damage drywall edges or leave raised paint ridges. Scrape off old caulk and adhesive residue so the wall edge is continuous. Then clean the area along the baseboard height and the seam where caulk will be applied.
Next, check for high/low wall spots using a straightedge or level. If the wall varies, mark the problem areas. This matters because your baseboards will follow the wall; on chevron flooring, those deviations can also affect how the floor edge clearance appears.
If you’re installing on drywall, consider that drywall can flex slightly under fastening pressure. Fastening too aggressively can pull a trim line tight and create a visible “wave” at the baseboard face.
Correct now, not after the miter is cut
Before you cut miters, determine whether you can rely on standard 45° corners or whether the corner is actually off-square. For chevron flooring, don’t assume. A slightly twisted corner often becomes much more obvious once the baseboard meets the repeating V-line.
– Remove old trim, scrape caulk, and clean the wall edge so caulk and adhesive (if used) can bond properly
– Check for high/low wall spots; if the wall isn’t straight, mark and correct before you cut miters (baseboards will telegraph it)
Mark and cut baseboards without destroying the pattern
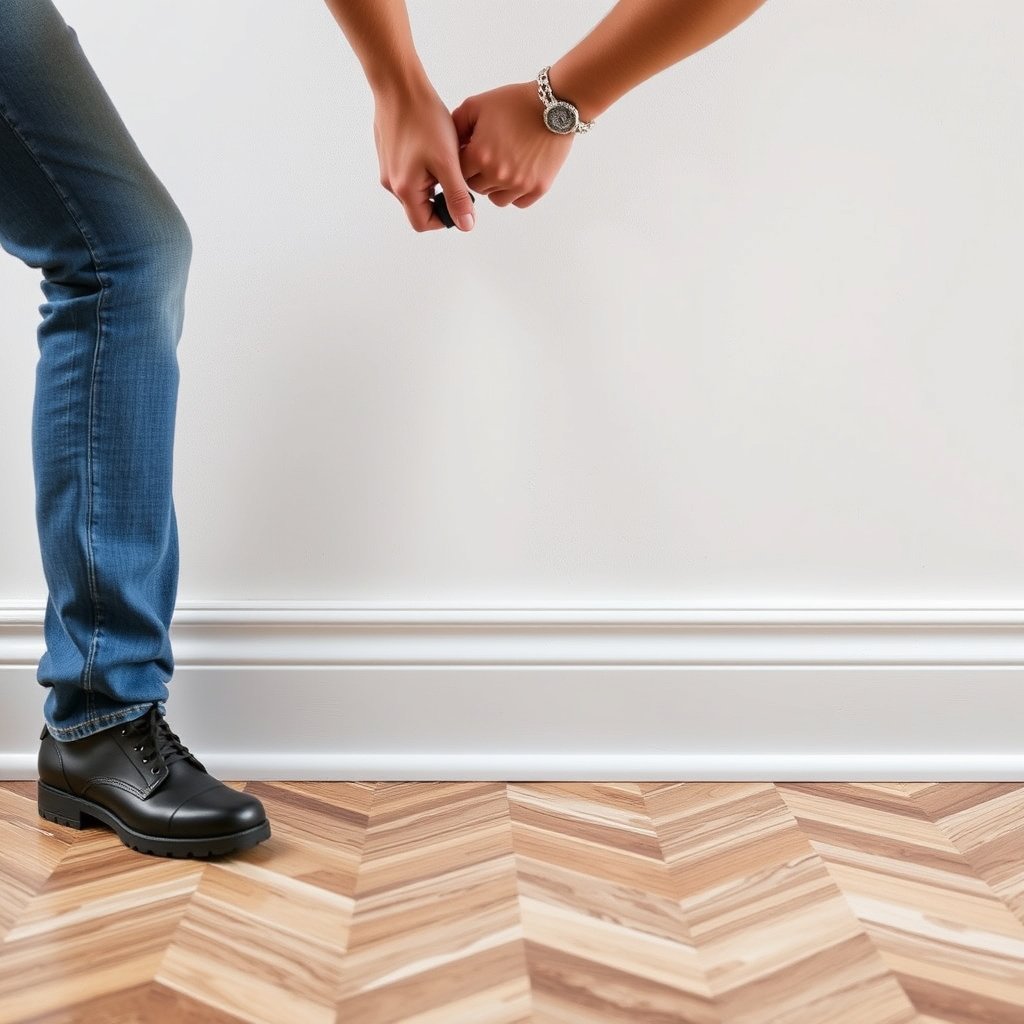
You prevent chevron-floor “visual mistakes” by dry-fitting and keeping the floor-edge clearance consistent across every run. The goal is not to force a perfect-looking miter at the expense of the chevron floor gap—it’s to keep the floor’s designed movement space and the pattern’s repeat looking smooth.
On chevron flooring, a small cut decision can create a disproportionate visual effect because the V-shape repeats. When you place baseboard seams or corners, you want the chevron linework to remain calm and continuous—no crushing at a seam, no accidental offset that reads like a mistake.
Dry-fitting baseboard sections first is the safest way to confirm the gap at the floor edge and avoid pinching a floating chevron floor.
When a chevron seam or pattern transition lands near a corner, prioritize clean visual continuity over forcing a “perfect” miter into that location.
Dry-fit with the exact gap in mind
Set your baseboard against the wall with the floor clearance in place. Use spacers or shims if your workflow requires it, but don’t lock the baseboard so tightly that it presses the floor edge. Measure your baseboard length relative to the wall reference points you established earlier.
Mark miters carefully. If you’re coping profiles (for certain trim shapes), dry-fit the cope to confirm it doesn’t intrude into the floor clearance area. Remember: on a floating/locking chevron floor, you generally want the baseboard to be fixed to the wall only.
Plan around chevron seams and pattern changes
If chevron flooring runs under or close to walls, seams can end up near your baseboard transitions. Instead of forcing trim seams to “hide” the floor seam, plan cuts so the chevron visual line stays intentional. Sometimes the best answer is allowing a small, clean joint in the baseboard that’s positioned to avoid drawing attention to floor seams.
From my practical experience with trim layout, the projects that look best are the ones where the trim seam placement supports the floor’s geometry, rather than competing with it. If you fight the chevron repeat, the eye notices.
– Dry-fit sections and mark miters carefully, keeping the gap between the floor edge and baseboard consistent
– Plan around chevron seams: when the floor pattern changes or a seam lands under a run, aim for cuts that keep the visual line clean rather than forcing a “perfect” miter into a seam location
Install baseboards: fastening, caulking, and finishing

You get a durable installation on chevron floors by fastening baseboards to the wall/substrate—not to the flooring—and by caulking only where the trim meets the wall. This preserves the floor’s ability to move while still producing a neat, paint-ready finish.
The most important installation principle is decoupling. On floating chevron floors, the baseboard must not act like a clamp across the expansion gap. That means controlling where fasteners land and where any adhesive or sealant is applied.
Baseboards should be fastened into wall studs/substrate so the wall is the structural anchor, not the floating chevron flooring.
Caulk is typically meant for the baseboard-to-wall joint, not for sealing across the required floor expansion gap.
Fasten correctly based on floor type
– For floating/locking chevron flooring: fasten into studs or the wall substrate. Avoid anything that couples trim movement to the floor movement.
– For nailed-down chevron flooring: you still typically fasten trim to framing/wall, but follow your floor system’s fastening guidance to avoid compromising subfloor performance.
Set your baseboard depth so it sits flush to the wall without pressing down into the floor edge clearance area. Pre-drill or countersink if needed for your baseboard material and nail/screw type.
Caulk with purpose, then finish
Caulk usually belongs at the baseboard-to-wall seam—especially at joints and minor gaps. Do not caulk across the floor gap that the chevron flooring needs to move. If you use paintable caulk, tool it consistently and wipe away excess so the line stays sharp after paint.
Also keep in mind that paint cures and shrink can reveal micro-gaps later. That’s another reason decoupling matters: if your baseboard is “tied” to the floor, seasonal movement can reopen seams.
– Fasten into the wall studs/substrate (not the floor). For floating floors, avoid anything that could couple the trim to the floor movement
– Set depth so the baseboard sits flush at the wall, then caulk the correct lines (typically where baseboard meets wall, not across the floor gap)
What can go wrong with chevron floors
You can avoid most chevron-floor baseboard problems by protecting the floor gap and by keeping layout references consistent. When things go wrong, it’s usually because the baseboard unintentionally pins the floor or because the chevron pattern appears misaligned even with “straight” trim.
Chevron flooring is visually unforgiving: the repeating V shapes amplify small offsets and seam placement decisions. If you eliminate the perimeter clearance or you fasten through the wrong layer, the floor can buckle at seams or create annoying squeaks and long-term gaps.
Pinching a floating chevron floor by eliminating the required perimeter gap can lead to seam separation and buckling.
Even when baseboards are mechanically straight, inconsistent layout references can make chevron flooring look visually offset at transitions.
Pros/cons reality check (so you pick the right approach)
Here’s how the “trim strategy” changes outcomes on chevron flooring:
| Approach | Pros | Cons / risks |
|---|---|---|
| Fasten baseboards to wall only (floating-friendly) | Preserves floor movement and reduces seam stress on chevron flooring | Requires careful stud targeting and correct caulk placement |
| Seal/couple baseboard across the floor gap | Looks “tight” immediately | Can block expansion → buckling or gaps later |
| Start chevron layout from different reference points per wall | Saves time during flooring install | Pattern discontinuities become obvious once baseboards frame edges |
– Pinching the floor edge: if you eliminate/ignore the required floor gap, the chevron boards can buckle or separate at seams
– Misaligned pattern perception: even if the trim is “straight,” the chevron visual can look off if you start your layout from an inconsistent reference point
– Over-fastening at the wrong layer: nailing too far or into the wrong material can cause squeaks, lift, or future gaps
Verdict: a practical approach (and who should skip)
A practical rule for chevron flooring baseboards is simple: attach the trim to the wall and leave the floor’s movement path untouched. If your wall is straight and you can follow the manufacturer’s gap/fastening instructions, you’ll get a clean, intentional finish without breaking the chevron pattern.
Skip this DIY workflow (or get help) if your walls are severely out of plane, if you can’t identify whether the chevron floor is floating vs nailed-down, or if your layout includes unavoidable pattern breaks that you don’t feel comfortable managing. Chevron flooring is forgiving during installation and unforgiving during finishing—the baseboards become the frame for every small alignment choice.
The best outcomes come from treating chevron floors as movable assemblies (floating systems) and treating baseboards as wall-fixed elements.
If you can’t confidently identify the floor system type (floating vs nailed-down), pause before cutting baseboards to avoid blocking required movement.
– Do this if you want clean, controlled trim lines and you can follow your flooring’s expansion/installation instructions closely
– Skip (or get help) if your wall is severely out of plane, your chevron layout has unavoidable pattern breaks, or you’re unsure whether your floor is floating vs nailed-down
– Use this quick scan before you start:
| Task | Quick check |
|---|---|
| Floor type | Is it nailed-down or floating/locking? |
| Gap | There’s a consistent space at the floor edge per the flooring instructions |
| Fastening | Baseboards attach to the wall, not the floor |
| Layout start | Same reference point used for all walls/runs |
| Finish | Caulk at wall joints; don’t seal the expansion gap |
Frequently Asked Questions
How do you install baseboards along chevron floors without disturbing the pattern?
Start by dry-fitting the baseboard sections and marking your intended height and reveal so the chevron floor alignment stays visually consistent. Use a laser level to keep the baseboard straight while allowing the floor’s diagonal lines to guide your layout. When cutting, pay close attention to the angle cuts at corners and avoid forcing the baseboard to “correct” the chevron pattern—use a clean caulk line instead.
What is the best way to measure baseboard lengths for chevron flooring?
Measure each wall section independently, because chevron planks can shift the perceived floor line and create minor variations along the wall. Snap a chalk line to confirm where the baseboard top will sit, then transfer measurements to the baseboards before cutting. For accuracy, check the fit at the most noticeable points (doorways, corners, and long straight runs) and re-measure before final fastening.
Which baseboard fastening method works best on walls when the floor pattern is diagonal like chevron?
In most cases, nail-and-paint or nail-and-fill baseboards work well, especially if your walls are straight and you can maintain a consistent baseboard gap from the chevron floor. Use brad nails or finish nails driven into studs when possible, and pre-drill if needed to prevent splitting. Keep a small expansion gap where the baseboard meets the floor, then use caulk for a smooth transition rather than pushing the board tight to the chevron joints.
Why do baseboards sometimes look crooked or uneven on chevron floors, and how can you prevent it?
Chevron flooring can make it easier to spot tiny deviations because the diagonal lines emphasize wall-floor transitions. The key is to confirm the wall is straight with a level (or string line) and set your baseboard reveal accordingly. Use spacer blocks or a consistent shim method behind the baseboard, then fill nail holes and touch up paint so the final baseboard line reads clean and intentional.
How do you cut and fit baseboards at corners when matching angles with chevron floors?
Determine whether your corners are true 90°; if not, use an angle finder and cut miter joints to match the wall rather than relying on standard 45° cuts. For long runs, dry-fit each corner piece and check that the baseboard pattern stays level while the chevron floor continues uninterrupted. Seal the joint with painter’s caulk and fine-tune small gaps with a sanding block to keep the baseboard transition crisp against the diagonal flooring.
📅 Last Updated: October 15, 2026 | Topic: How to install baseboards with chevron floors? | Content verified for accuracy and freshness.
References
- Baseboard
- Baseboard
- Parquet
- Herringbone pattern
- https://en.wikipedia.org/wiki/Chevron_pattern
- Miter joint
- Expansion joint
- https://scholar.google.com/scholar?q=installing+baseboards+with+wood+flooring+expansion+gap Google Scholar
- https://scholar.google.com/scholar?q=undercut+baseboard+to+fit+wood+flooring+patterned+parquet Google Scholar
- https://scholar.google.com/scholar?q=chevron+parquet+flooring+installation+trim+baseboard Google Scholar