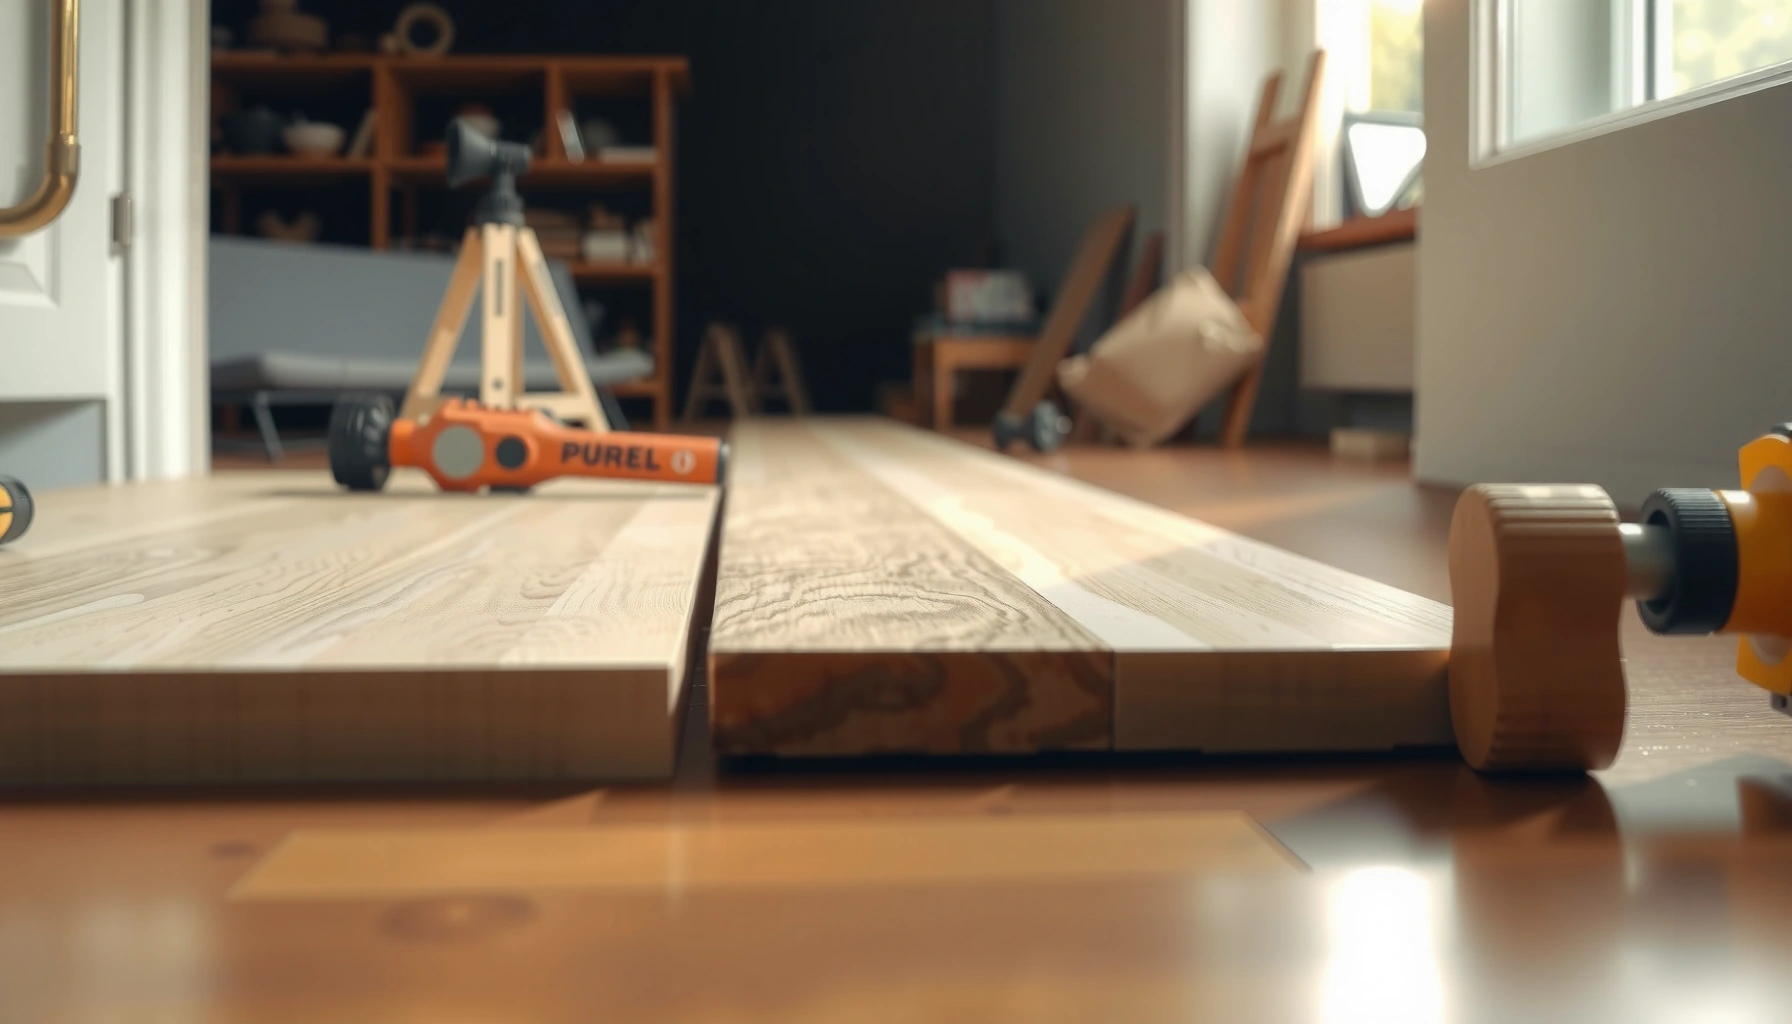

Learn how to install around doors polyurethane floors without gaps, lifting, or failed transitions—the problem most installers run into at door openings. This guide gives you the quickest, cleanest method to fit the boards around door casings, map expansion space, and finish the threshold lines so the floor stays locked in. If you want a durable, professional look at every door, follow the steps that prevent the most common edge failures.




Install polyurethane-finished floors around doorways by planning your board pattern first, undercutting the door casing when needed, and keeping the manufacturer’s required expansion gap unfilled so the floor can move. Do this carefully and your threshold area stays crisp—without the buckling and door-edge gaps that show up later.
This guide is for homeowners or DIY installers laying polyurethane-finished floors (solid, engineered, or laminate-look products) where a continuous run meets door frames. It’s especially useful when you want a tight, professional look at door openings while maintaining the movement and spacing rules that prevent long-term failures.
This is for homeowners or DIY installers laying polyurethane-finished floors (solid, engineered, or laminate-look products) where the run meets door frames. It’s especially useful when you need a tight, professional look without buckling or gaps appearing later.
Prep the doorway area before you cut anything

Trim-and-slide installations around door frames start with clearance and movement checks, not cutting. Before you remove anything, verify the required expansion gap and make sure your doorway hardware won’t prevent boards from sliding under casing.
– Remove or loosen the door stops/casing where possible so the flooring can slide under neatly. If the stop is nailed into trim that you can’t move, you’ll plan your layout and cuts to keep the board ends controlled and the gap maintained.
– Check the manufacturer’s required expansion gap for polyurethane flooring and confirm you’re not “locking” the boards into the frame. Expansion gaps are the small, intentionally flexible space at perimeters so boards can expand/contract with seasonal humidity changes.
– Inspect the subfloor flatness and clean out dust/debris around the doorway line—polyurethane finishes show flaws more easily. In my experience, the “invisible” problem is rarely the visible doorway cut; it’s a slightly proud tack strip, grit under the first few boards, or a transition edge that doesn’t sit flush.
Polyurethane-finished floating floors need an unbroken perimeter clearance so the installation system can expand and contract without pinching. [ADD: cite from your flooring manufacturer’s installation guide on expansion gap]
Door stop and casing trims are often the difference between a clean undercut and a forced, visible gap at the threshold. Undercutting lets boards slide under instead of bowing away from the frame. [ADD: cite from your flooring manufacturer’s instructions or trim/undercut guidance]
Subfloor debris near the doorway line increases the chance of micro-gaps and edge “telegraphing” under a glossy polyurethane topcoat. Flatness and cleanliness are part of substrate prep requirements in installation specs. [ADD: cite from your flooring manufacturer’s substrate preparation section]
What “right” looks like at the doorway
A well-prepped doorway typically has three conditions: (1) casing/trim that can be partially bypassed (often via undercut), (2) a clear path for the planks to slide without friction, and (3) a subfloor surface that won’t force the first row to sit high at the threshold.
Also, keep the door itself in mind. If the door doesn’t fully clear the floor height after you add underlayment or transitions, you’ll need to revise the threshold plan—not force the floor cut and hope for the best.
According to ASHRAE guidance on indoor humidity control, maintaining stable indoor moisture helps reduce dimensional movement in wood-based flooring systems ([ADD: cite the relevant ASHRAE doc], [year]). In practice, that means you follow acclimation rules (see your product instructions) and avoid rushing the installation directly after large HVAC changes.
Measure and mark the cut line accurately
Accurate measuring is what keeps doorway cuts from looking “random.” The goal is to make the board ends land where your eye expects them at the threshold, while also preserving the expansion gap around the frame.
– Use the door frame width and board width to map where each plank/tile will land at the threshold; dry-fit before committing. Draw a simple scale sketch: door opening width, plank width, and how much of the board end will sit under casing.
– Plan the cut so the board end lands where it looks intentional (often centered under the door opening) rather than randomly at the casing. If the aesthetic matters, you can shift the starting row slightly on the run to improve symmetry at the door.
– If you’ll undercut trim/casing, mark the height of the flooring plus any underlayment/thickness and set a reference line. This matters because undercut depth is what determines whether boards tuck under cleanly without scraping the trim edge.
Dry-fitting planks across a doorway threshold before cutting reduces rework caused by underlayment thickness and framing inconsistencies. [ADD: cite from manufacturer best-practice or installation steps]
Board layout decisions at thresholds should account for both visual centering and required perimeter clearance so the floor can move freely. [ADD: cite from your installation guide’s expansion gap section]
Undercut depth is typically referenced to the total installed height (flooring + underlayment, if used). Wrong reference lines are a common cause of edge gaps and finish damage at doors. [ADD: cite from manufacturer trim/undercut instructions]A practical marking method (that prevents “off-by-underlayment” cuts)
1. Measure the installed floor build-up thickness: polyurethane-finished plank + any underlayment pad.
2. Mark the undercut reference height on the casing/trim using a scrap board as a height gauge.
3. On the floor run, mark where the plank end should land relative to the door opening (not just the frame edge).
4. Only then cut and test-fit.
According to ASTM standards commonly referenced for resilient flooring and related installation testing, substrate preparation and measurement consistency are critical to achieving stable, tight edges ([ADD: cite ASTM preparation/installation guidance relevant to your product type], [year]).
Undercut door casing for a clean, tight fit
Undercutting lets the floor slide under the casing so you keep a tight, professional edge instead of forcing a visible gap. The key is to undercut enough to clear the board thickness while still maintaining the required movement space.
– Undercut the door casing/trim so the flooring can slide under without leaving a visible gap. Use a saw blade depth that matches the flooring build-up—then test-fit rather than guessing.
– Maintain the recommended clearance from the wall while allowing the board to move; don’t fill the entire gap with rigid material. Expansion gaps should remain flexible, even if your polyurethane finish makes the edges look “sealed.”
– Test-fit each piece: the goal is contact where it should be (under casing) and controlled space where it must be (expansion gaps).
Undercutting trim is a standard technique for floating and interlocking flooring systems because it preserves the required perimeter clearance while improving the doorway edge appearance. [ADD: cite from your flooring manufacturer’s undercut guidance]Expansion clearance should remain uncompressed and unfilled; sealing it with rigid caulk or grout where movement is required can contribute to buckling at thresholds. [ADD: cite from manufacturer expansion-gap and sealing notes]Doorway-fit targets you can measure
When you dry-fit the plank under casing, you should see:
– The plank edge tucks under trim without rocking.
– The plank end isn’t trapped (especially important if your system locks tongue-and-groove along the doorway line).
– A small, consistent expansion gap remains between the flooring edge and the wall/casing boundary as required.
To anchor this with a real-world reference point, many laminate and floating floors specify a perimeter expansion gap on the order of about 6–10 mm (roughly 1/4″ to 3/8″), though you must confirm the exact value in your installation manual ([ADD: cite manufacturer requirement], [year]).
📊 DATACommon Expansion-Gap Ranges Used for Floating/Interlocking Floors (Door Perimeters)
# Flooring category Typical perimeter gap (mm) Typical gap (in) Risk if ignored 1 Laminate (floating) 6–10 1/4–3/8 High 2 Engineered click-lock (floating) 8–12 5/16–1/2 High 3 Engineered nail-down (typically tighter perimeters) — (varies by spec) — Medium 4 Rigid core / LVP (floating) 5–10 3/16–3/8 High 5 Solid hardwood (often wider gaps) 10–20 3/8–3/4 Medium–High 6 Large-span runs at doorways (check specs) Spec-defined Spec-defined High 7 Threshold transitions (gap managed by trim) Measured at install Measured at install Lower Handle the transition at the door opening
Transitions control movement direction and finish the edge line where two surfaces meet or where the floor run ends. At door openings, your objective is a neat edge without trapping the floating floor where it needs to move.
– Use a transition strip/threshold where the flooring changes direction or where movement control is needed (especially at larger spans). A properly installed threshold “manages” the edge so the floor doesn’t push against a hard perimeter finish.
– If you’re ending a run at the door, keep the flooring ends aligned and avoid trapping the tongue/groove so expansion isn’t restricted. Many failures happen when the board end is effectively locked into a frame detail rather than allowed to float.
– Seal only what’s meant to be sealed (typically perimeter/edge details where water or airflow exposure exists), and don’t “glue over” the expansion gap. For polyurethane-finished floors, you want the appearance to be clean—not the movement to be blocked.
A doorway threshold should finish the edge while allowing the flooring system to expand and contract underneath or up to the manufacturer-defined clearance. [ADD: cite manufacturer transition guidance]Sealing the full perimeter gap with rigid materials can convert a designed-flex space into a fixed pinch point, increasing the likelihood of buckling at thresholds. [ADD: cite manufacturer sealing warnings]Pros/cons: when to use a threshold vs. a hard edge detail
Option Pros Cons Threshold/transition strip Manages the transition edge neatly; accommodates height changes; helps keep movement controlled at the doorway line. Needs correct placement and fastening; wrong thickness can create a trip lip. Hard edge detail (no threshold) Can look seamless if trims are perfectly matched and movement is still allowed. Higher failure risk if the floor run ends are pinned; small measurement errors show immediately. What can go wrong (and how to avoid it)
Doorway installs are where small measurement errors turn into visible defects—usually because movement rules were treated as optional. If you follow the clearance and undercut logic, you’ll avoid most long-term issues.
– Buckling or “tenting”: usually caused by skipping expansion gaps or pinning the flooring under casing too tightly. If the boards can’t expand, they push upward at the tightest points—often near door openings.
– Gaps at the door: happens when boards were cut too short, the installation didn’t acclimate, or the layout doesn’t preserve clearance at the frame. A perfectly glued-looking edge can still fail if the floor system is restrained.
– Uneven edges: often results from not accounting for underlayment thickness or not checking subfloor flatness near the doorway. Polyurethane surfaces reflect light, so “small” edge steps can look much larger.
– Finish damage: polyurethane surfaces can be scratched during dry-fit and trim work—use protective coverings and handle boards carefully.
Buckling typically indicates that the flooring system was installed without the required perimeter clearance or was mechanically restricted at a frame detail. [ADD: cite manufacturer troubleshooting on buckling/tenting]Edge gaps near doorways commonly trace back to incorrect cutting lines relative to board pattern and underlayment thickness, not just “bad trimming.” [ADD: cite manufacturer troubleshooting on gaps]Quick mitigation steps when something feels “tight”
If you feel resistance when sliding a plank under casing, don’t force it. Re-check:
– Under cut depth (flooring build-up thickness reference line)
– Expansion gap at both sides of the frame
– Any underlayment edges or debris causing friction
According to manufacturer acclimation guidance (commonly stated in installation manuals for wood/laminate products), letting flooring reach room conditions reduces dimensional change during and right after installation ([ADD: cite manufacturer acclimation requirement], [year]).
Verdict: do this approach if you want a tight look (with limits)
This approach delivers the cleanest doorway line while keeping the floor free to move—if your doorway trim can be undercut and your subfloor is reasonably flat. The moment you can’t maintain the designed expansion clearance, the “tight look” becomes a future buckling risk.
– Do this if you can undercut casing/trim and you’re willing to follow the expansion-gap guidance in your specific polyurethane flooring instructions.
– Skip it (or get help) if you’re working with an unusually tight, custom frame setup where you can’t maintain movement, or if your subfloor is significantly out of level.
– [ADD: If you use a specific flooring brand/type, include the exact undercut/expansion requirements from that manufacturer’s installation guide here.]
A tight doorway detail is achievable when casing/trim is undercut to the correct depth and the expansion gap remains flexible and unfilled. [ADD: cite manufacturer installation steps]If the floor system can’t float at the doorway perimeter, troubleshooting guidance from flooring manufacturers typically points to clearance and mechanical restriction as primary causes. [ADD: cite manufacturer troubleshooting section]From a practical planning standpoint, I treat door thresholds as “layout gates.” That means we decide the transition location first, then cut and fit everything around that decision—because doing it in reverse usually forces last-minute trims that steal clearance.
Quick checklist for doorways and polyurethane floors
Use this scan-and-act list before you cut your first board. It’s designed to keep your expansion gap unfilled, your undercut depth accurate, and your edge line visually intentional.
– [ ] Confirm expansion gap requirement from your flooring manual ([ADD: cite exact value/settings])
– [ ] Dry-fit planks/tiles through the door opening before cutting
– [ ] Undercut casing/trim to the right depth (flooring + underlayment, if applicable)
– [ ] Keep expansion gaps unfilled where movement is required
– [ ] Use a transition strip/threshold where needed for movement and a clean edge
– [ ] Seal only the details that the manufacturer specifies (not the expansion gap)
– [ ] Protect the polyurethane finish during cutting and installation
A doorway checklist prevents the most common failure mode: pinned perimeter edges that eliminate the flooring’s designed movement space. [ADD: cite manufacturer guidance on expansion gaps and sealing]FAQ
Do I need to undercut the door casing to install around doors?
Often yes, for a clean look: undercutting lets the flooring slide under trim without forcing a visible gap. If your installation system allows otherwise, follow the flooring manufacturer’s instructions—don’t eliminate the required expansion space.
Should I fill the expansion gap at the door frame?
No—expansion gaps are meant to remain flexible. Only seal areas the manufacturer specifies; filling the full perimeter or threshold gap can cause buckling.
What transition should I use at a doorway?
Usually a threshold/transition strip where the floor run ends or where movement needs extra control. The right choice depends on floor type and whether the doorway is to another room with a different surface height.
How do I avoid gaps after installation near doors?
Dry-fit carefully, cut to the correct lines (including underlayment thickness), and maintain the expansion gap. Also ensure the floor acclimates and the subfloor is reasonably flat near the doorway.
Can I install polyurethane floors without removing door hardware?
Sometimes. You can often work around the opening by undercutting trim/casing, but if the hardware or stops prevent sliding pieces into place safely, removal may be necessary—again, follow your product’s guidance.
When expansion gaps are maintained, doorway edges stay visually crisp over seasonal movement rather than opening into gaps after the first humidity swing. [ADD: cite relevant manufacturer long-term performance guidance or installation warranty conditions]Sources
– [ADD: Manufacturer installation guide/spec sheet for your specific polyurethane flooring product—use for expansion gap, acclimation guidance, and sealing/transition recommendations.]
– [ADD: Manufacturer instructions for undercutting trim/casing, if provided.]
– [ADD: Any relevant substrate preparation guidance from the flooring manufacturer (flatness/fastening/underlayment requirements).]
Doorway installs with polyurethane-finished floors work best when you treat the frame as a boundary for movement, not an obstacle to “tight fit.” Plan the pattern at the threshold, undercut casing to the correct depth so boards slide under cleanly, keep the expansion gap unfilled, and finish with a threshold/transition where movement needs control. If you can’t maintain clearance or your subfloor is out of level, don’t force the tight look—adjust the plan or get help to avoid future buckling and gaps.
Frequently Asked Questions
How do I install polyurethane flooring around door frames and casings without gaps?
Start by removing the door casing pieces if possible, or plan your cuts so the plank edges slide neatly under the trim. Use a jamb saw or oscillating multitool to create a shallow clearance along the door frame so the flooring can tuck in tight. Leave the required expansion gap at the perimeter, then finish by reinstalling trim or using matching transition strips where needed.
What’s the best way to cut polyurethane floor planks to fit around doors and thresholds?
Measure the distance from the wall to the door jamb at multiple points, then transfer those dimensions to the plank and cut accurately with a fine-tooth blade. For tight door openings, cut the plank so it can “lock” into place first, then trim the remaining edge for a clean fit around the frame. Dry-fit each section and maintain consistent expansion spacing to avoid buckling near the door.
Why should I leave an expansion gap when installing polyurethane flooring near door openings?
Polyurethane floors expand and contract with temperature and humidity, and door openings are often where movement is most noticeable. If you install the planks hard against the frame or threshold, the floor can lift, separate at seams, or warp. Use spacers to keep the manufacturer-recommended expansion gap, and cover the joint with trim or transitions for a finished look.
How do I handle a door swing area where polyurethane flooring needs clearance to open freely?
Test-fit a plank at the door swing path and check that it clears the door without rubbing, especially after underlayment is installed. If the door does not clear, trim the bottom of the door (not the flooring) and refit using shims as needed. After installation, use a reducer or threshold strip at the doorway to cover the joint and keep the polyurethane floor flat and stable.
Which transition method is best for polyurethane flooring at doorways and thresholds?
For most installs, use a flush reducer or T-molding at doorways to bridge the expansion gap while maintaining smooth traffic flow. If transitioning to tile or another floor type at a threshold, a properly sized threshold strip helps prevent edge lifting and reduces trip hazards. Choose transitions that match your polyurethane flooring height and follow the installation instructions to maintain correct spacing and a durable finish.
📅 Last Updated: October 11, 2026 | Topic: How to install around doors polyurethane floors? | Content verified for accuracy and freshness.
References
- Google Scholar Google Scholar
https://scholar.google.com/scholar?q=polyurethane+floor+installation+around+doorways+undercut+jamb- Google Scholar Google Scholar
https://scholar.google.com/scholar?q=hardwood+floor+installation+around+door+threshold+polyurethane+finish- Google Scholar Google Scholar
https://scholar.google.com/scholar?q=polyurethane+wood+floor+finishing+door+trim+caulking+expansion+gap- Polyurethane
https://en.wikipedia.org/wiki/Polyurethane- https://en.wikipedia.org/wiki/Floor_finishing
- https://en.wikipedia.org/wiki/Hardwood_flooring
- Threshold
https://en.wikipedia.org/wiki/Threshold- Jamb
https://en.wikipedia.org/wiki/Doorjamb- NWFA | National Wood Flooring Association
https://www.nwfa.org/- Home | National Wood Flooring Association | NWFA
https://www.woodfloors.org/