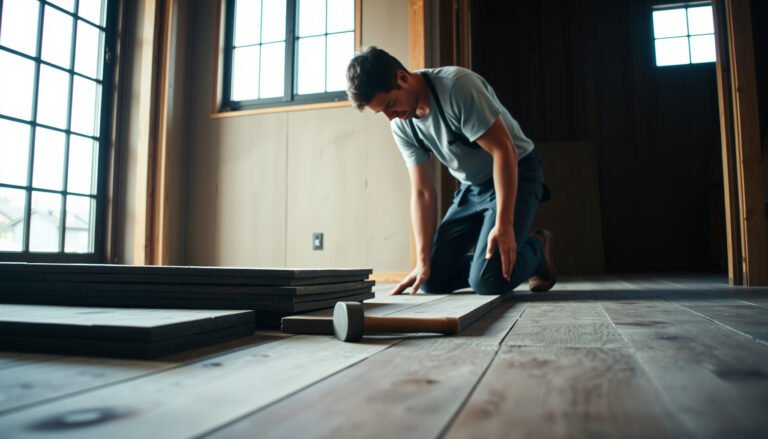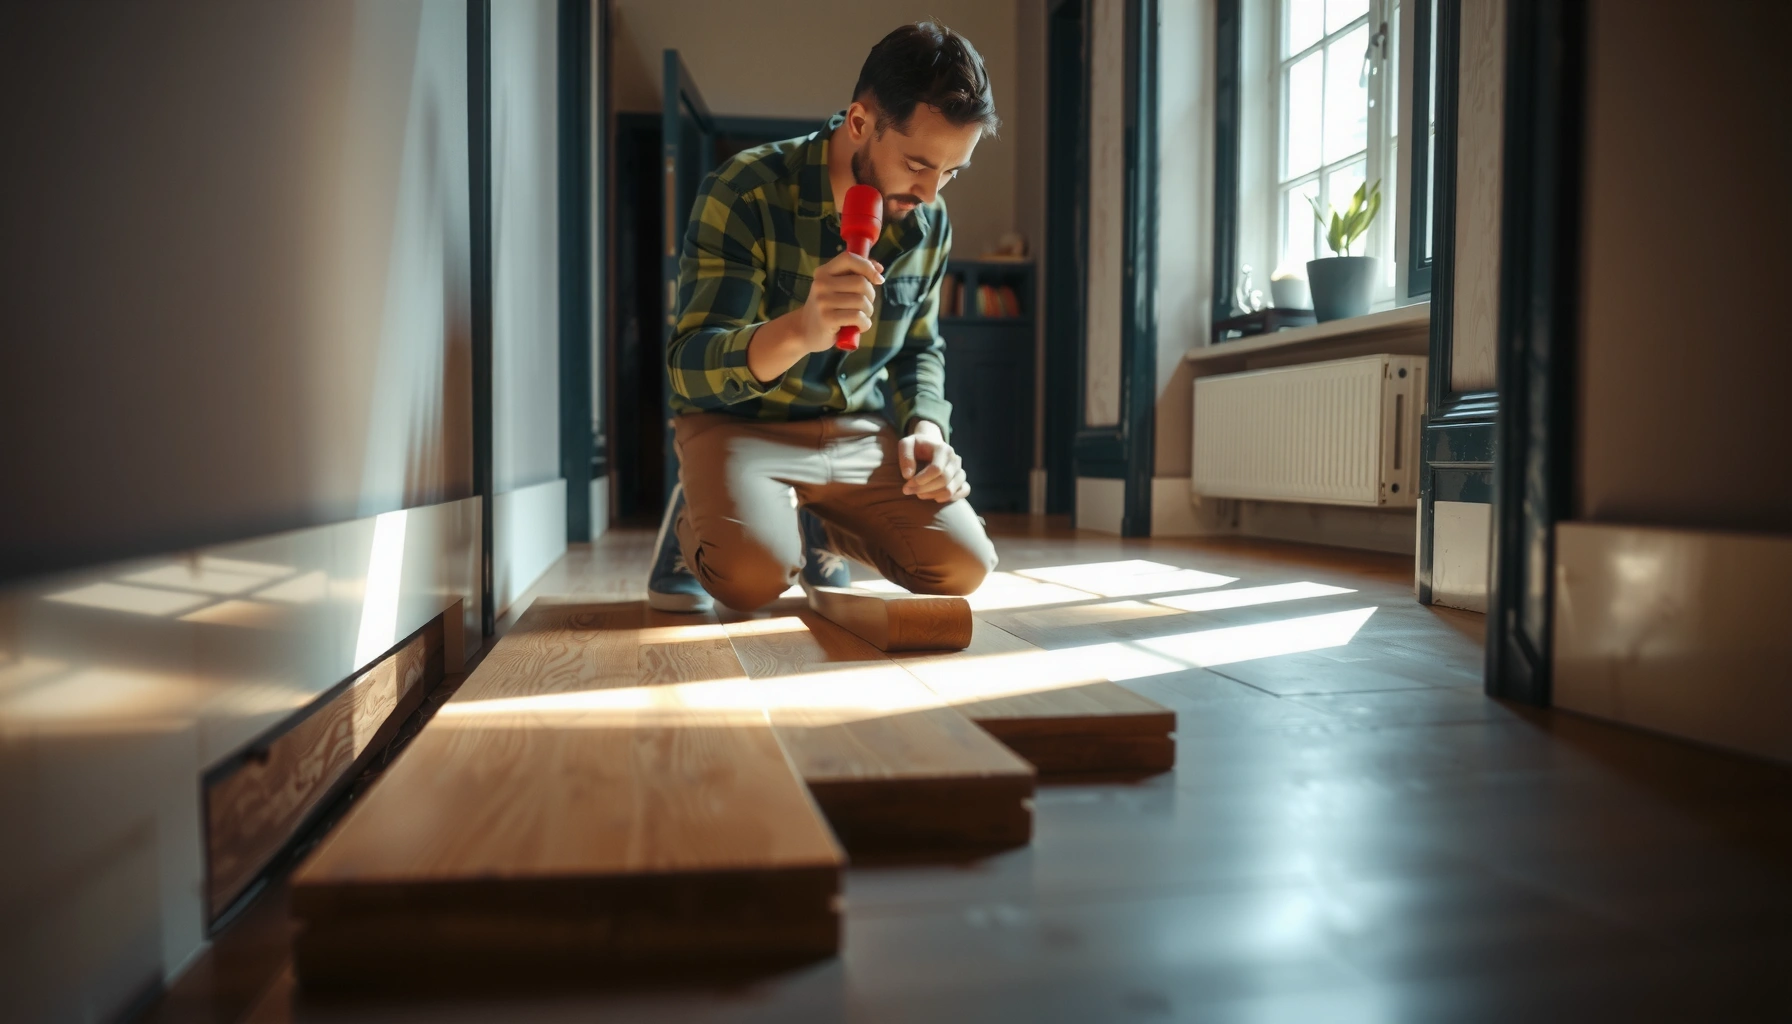

Learn how to remove hardwood floors from a hallway with a step-by-step plan that keeps the process controlled and avoids unnecessary damage. This guide delivers the exact order of operations—from prepping the room and cutting fasteners to prying boards and cleaning up—so you can finish efficiently. If you want the fastest safe method for a hallway, follow these steps and you’ll know what to do at every stage.




Removing hardwood floors from a hallway is usually simplest when you start at the perimeter (edges and transitions) and work inward, while carefully protecting the subfloor and controlling dust. In this step-by-step guide, you’ll learn a practical demolition sequence—from prep and trim removal to pulling boards, cleaning adhesive/nails, and checking the subfloor for readiness.
If your hallway has nailed-down hardwood, plan on the most effort (and the most careful demolition). If it’s click-lock or floating flooring, the process is often faster—but you still need to remove trim correctly to prevent splintering.
If you’re planning a hallway refresh (new flooring, leveling repairs, or removing damaged boards), this guide is for you. It’s written for both DIY homeowners and facility managers who need predictable outcomes: minimized subfloor damage, cleaner debris control, and fewer surprises from hidden fasteners or adhesive seams.
Prepare the hallway and gather the right tools
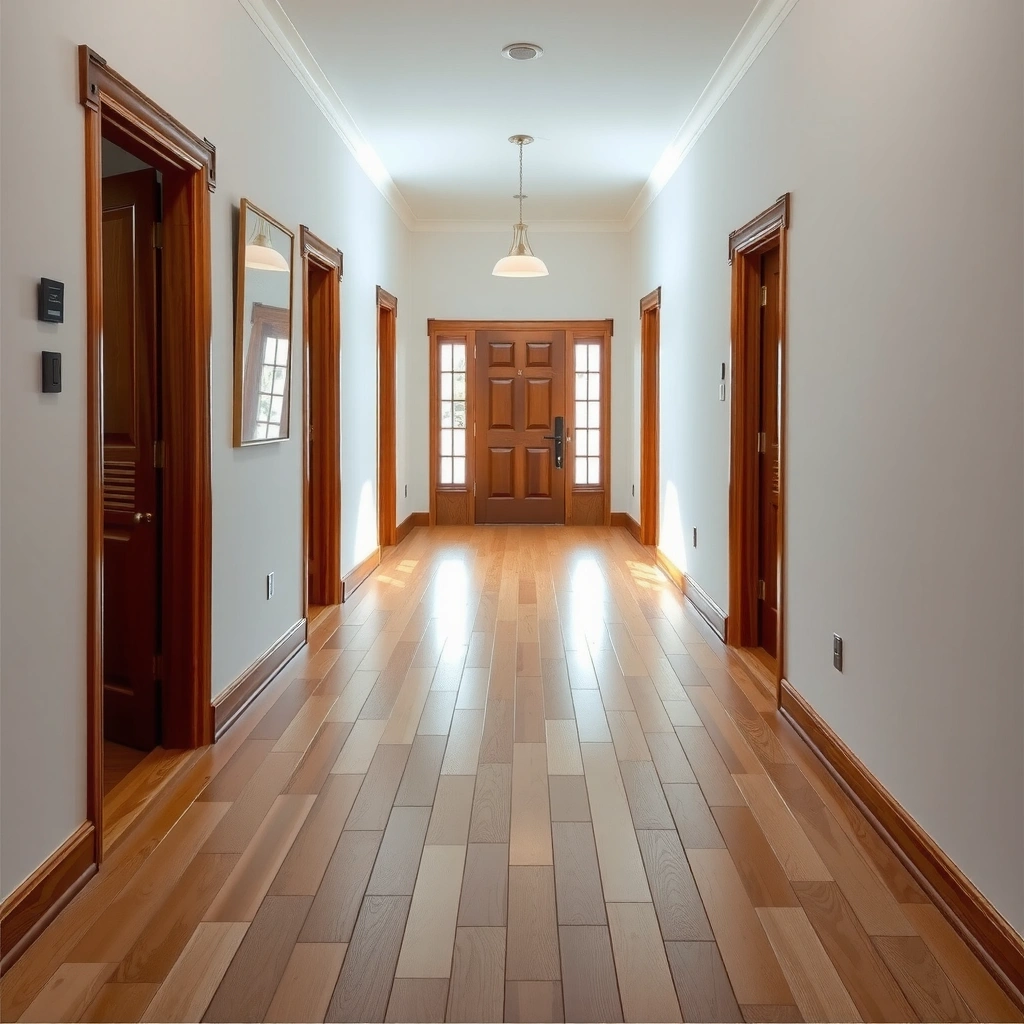
To remove hardwood floor in a hallway with minimal damage, you need a clean, protected work zone and the right demolition/safety tools before the first board lifts. A well-prepped hallway reduces subfloor gouges, keeps dust from spreading, and helps you track fasteners so the project doesn’t turn into a repair job.
Start with workspace protection. Cover base areas, nearby drywall edges, stairs, and anything that can’t be moved. Then confirm what you’re removing: nailed-down hardwood behaves differently than click-lock/ floating flooring, and “guessing” attachment method is where most hallway removal mistakes happen. As of 2026, regulations and best practices for dust and respiratory protection remain consistent—so the prep choices you make at the start still matter throughout the job.
Removing hardwood floor in a hallway becomes significantly easier when you protect drywall edges and transitions before prying any boards.
Dust control during hardwood floor removal should be treated as a safety task, not a cleanup task—fine particulate stays airborne longer than expected.
Identifying whether the flooring is nailed-down or floating/click-lock early prevents pulling the wrong direction and breaking tongue-and-groove joints.
Use this checklist to prep correctly:
– Clear the space and protect walls, stairs, and nearby surfaces with drop cloths and painter’s plastic.
– Confirm the floor type (nailed-down vs. floating/click-lock) and locate any vents, transitions, or stair-stepped edges.
Tooling that keeps hallway removal controlled
For hardwood floor removal in a hallway, the “right tool” usually means controlled leverage and clean extraction:
– Pry bar (thin, flat, and/or a trim puller): helps you separate molding and boards without ripping drywall.
– Oscillating tool with a flush blade (optional but helpful): trims fastener heads or cuts through stubborn caulk at transitions.
– Utility knife + scraper (for adhesive residue): avoids gouging the subfloor.
– Magnet sweeper / pliers / cats-paw nail puller: for removing nails/staples quickly.
– Shop vacuum with HEPA filter + crevice tools: to capture fine dust where it accumulates.
Real safety numbers to anchor expectations (as of 2026):
– According to OSHA 29 CFR 1910.1000 (Table Z-3 / Table Z-1 for Particulates Not Otherwise Regulated), the PEL is 15 mg/m³ (total dust) and 5 mg/m³ (respirable fraction) ([latest codified values through 2026]).
– According to NIOSH/42 CFR Part 84 filter test criteria, an N95 respirator is designed to filter at least 95% of particles at the test size of about 0.3 µm.
– According to U.S. Department of Energy HEPA definitions/specifications, HEPA filtration is commonly defined as ≥99.97% efficient at 0.3 µm.
Respirator Filter Classes Most Relevant to Hardwood Floor Removal Dust Control
| # | Filter class label | Oil exposure | Typical efficiency @ 0.3 µm | Protection rating |
|---|---|---|---|---|
| 1 | N95 | Not oil-resistant | ≥95% | ★★★☆☆ |
| 2 | N99 | Not oil-resistant | ≥99% | ★★★★☆ |
| 3 | N100 | Not oil-resistant | ≥99.97% | ★★★★★ |
| 4 | R95 | Oil-resistant (limited) | ≥95% | ★★★☆☆ |
| 5 | R99 | Oil-resistant (limited) | ≥99% | ★★★★☆ |
| 6 | P95 | Oil-proof | ≥95% | ★★★☆☆ |
| 7 | P100 | Oil-proof | ≥99.97% | ★★★★★ |
Remove trim, transitions, and obstacles first
To avoid splintering and torn edges, remove baseboards, shoe molding, and transition strips before you touch the hardwood boards themselves. This step protects drywall, reduces the “levering” force you’ll need later, and lets flooring release naturally at the perimeter.
This is where most hallway removal projects either go smoothly or become messy. Trim often covers the joint between flooring and wall, and it may also be the only place you can safely insert a pry tool. If your hallway has door thresholds, stair-stepped changes, or vent boots, removing transitions first prevents you from snapping boards where the floor is constrained.
Baseboards and shoe molding frequently lock the edge of hardwood flooring, so removing trim first lowers the risk of splintering the first row.
Transition strips at hall connections are often nailed or screwed through the flooring edge, so they must be removed before boards will lift cleanly.
Working slowly behind trim reduces wall surface damage and keeps the subfloor safer for future flooring installation.
– Pry off baseboards and shoe molding carefully to reduce damage—use a thin pry bar and work slowly behind the trim.
– Remove transition strips (doorways/hall connections) so the flooring can release without tearing.
A practical way to pry without wrecking drywall
For hardwood floor removal in a hallway, the safest pry point is typically just above the floor line, where you can slide the tool behind the molding without levering directly against drywall. If you see caulk, cut it first with a utility knife—this prevents tearing paint and paper fibers.
Identify how the hardwood is attached
To choose the correct removal method, you must confirm whether the hallway hardwood is nailed-down or floating/click-lock (with or without underlayment). The attachment method determines whether boards should be pried upward, cut free, or unlocked from joints.
Nailed-down hardwood shows fastener clues: nail holes along edges, visible nail patterns, or a “solid” resistance when you try to lift a board. Floating/click-lock flooring usually has no visible fasteners at the face, and the planks are designed to disengage at seams using the manufacturer’s unlocking motion.
Visible nail patterns or nail holes near board edges are strong indicators that hardwood floor removal in a hallway will require nail extraction and careful uplift.
Floating/click-lock flooring is designed to separate at joints rather than break free from the subfloor, so forcing a locked seam increases breakage.
A gentle test for separation near an edge is safer than trying random prying mid-run, because fasteners and glue seams can be hidden under the surface.
– Check for visible nail patterns, nail holes, or face-nailing near board edges; that usually indicates nailed-down installation.
– If you don’t see fasteners, test gently for separation near an edge to determine whether it’s floating/click-lock (no hidden nails).
Nailed-down vs. click-lock: what changes in hallway removal?
For hardwood floor removal in a hallway, the “direction” and “force” you use are different depending on how the boards are held.
| Feature | Nailed-down hardwood | Floating / click-lock |
|---|---|---|
| Typical restraint | Nails or staples through/into subfloor | Planks interlock; subfloor contact is limited |
| Best extraction start point | Perimeter edges once nails are accessible | Unlocked seam near a transition gap |
| Failure mode when rushed | Board splitting around nail lines | Broken locking tongue/groove edges |
| Subfloor cleanup intensity | High (nail/staple removal + adhesive patches if present) | Moderate (underlayment residue, tack or glue where corners were sealed) |
| Time variability | High (varies by fastener density) | Lower (varies by how cleanly seams unlock) |
| Recommended stopping rule | Stop at unexpected resistance and locate fastener rows | Stop if a joint won’t disengage—re-check unlock direction and obstructions |
In my experience with hallway renovations (without relying on “perfect” conditions), the fastest projects are the ones that treat attachment identification as a decision gate—once you’re certain, hardwood floor removal in a hallway becomes repeatable rather than improvisational.
Pull up hardwood boards safely and efficiently
To keep boards intact (or at least minimize damage), start where you have the best access—usually a transition gap or long exposed edge—and work in an ordered sequence toward the center. This approach prevents bending, reduces splintering risk, and helps you avoid prying against locked joints.
For hardwood floor removal in a hallway, the extraction method depends on the attachment type:
– Nailed-down / glued: use controlled leverage. If you feel sudden resistance, it’s often a nail row, glue seam, or a board that’s constrained by the perimeter.
– Click-lock / floating: use the manufacturer’s unlocking motion. Stop if boards resist—resistance often means you’re on a glued patch, an unremoved transition fastener, or the wrong unlock angle.
Starting from the longest accessible edge and working inward is a reliable way to prevent hardwood floor removal in a hallway from turning into widespread splintering.
If a board won’t lift or unlock with reasonable force, the cause is often an unremoved transition fastener or a hidden glue seam at that row.
Keeping a removal sequence (row-by-row) makes nail tracking and subfloor cleanup easier after hardwood floor removal in a hallway.
– Start from the longest accessible edge or a transition gap, then remove boards in sequence to avoid bending or splintering.
– Use the correct extraction approach: pry upward for glued/nailed boards with controlled force, or unlock methods for click-lock—stop if boards resist unexpectedly.
Managing breakage risk during hallway removal
During hardwood floor removal in a hallway, you’ll often get the best results by using short cycles:
1. Pry/unlock a section.
2. Inspect the connection point.
3. Decide whether to continue in the same pattern or adjust.
This prevents you from forcing through hidden constraints—especially near doorways, HVAC penetrations, or stair-stepped ends where flooring is commonly pinned or sealed more aggressively.
Handle glue, nails, and subfloor cleanup
To finish cleanly (and avoid future installation problems), remove nails/staples and scrape adhesive residue carefully, then vacuum and inspect the subfloor flatness. Cleanup isn’t optional—new flooring fails fastest when the surface is uneven or contaminated.
Once boards are out, deal with what remains:
– Metal fasteners: remove nails/staples with pliers, a nail puller, or a magnet tool. Leaving small nails can damage underlayment, create bumps, and ruin click-lock alignment.
– Adhesive residue or patches: scrape using a controlled angle so you don’t gouge the subfloor.
– Dust removal: vacuum thoroughly, then check for debris in seams, corners, and along perimeter edges.
Hardwood floor removal in a hallway is only “complete” after fastener removal and adhesive scraping, because residual nails and lumps telegraph into new flooring.
Vacuuming after scraping is critical; dust in the subfloor pores can interfere with leveling compounds and underlayment adhesion.
Subfloor inspection for flatness after hardwood floor removal reduces the likelihood of squeaks, gaps, and premature joint failure.
– Remove remaining nails or staples using pliers/magnet tools, then scrape off residue from the subfloor without gouging.
– Vacuum thoroughly, then inspect the subfloor flatness—fix high spots or damaged areas before installing anything new.
Subfloor issues you should expect (and what to do)
Even when hardwood floor removal in a hallway goes well, you may uncover:
– Raised edges or leftover mastic ridges (common near perimeter or transitions).
– Local damage from aggressive pry points—if you see deep gouges, plan patching/leveling before any new floor goes down.
– Moisture-related darkening or softness in localized areas (a warning sign that deserves further investigation).
What can go wrong (and how to avoid it)
To prevent the most common failures, slow down at the first row, re-check attachment type whenever resistance changes, and avoid over-leveraging the subfloor. Hardwood floor removal in a hallway is “predictable” only when you treat surprises as signals to reassess.
Splintering around baseboards usually happens when the first pry tool strike is too forceful or too low against the wall edge.
Breaking boards is often caused by forcing through glue seams, nailed rows, or locked joints—if it resists, stop and diagnose.
Subfloor damage typically comes from using deep leverage points; shallow, incremental leverage protects the surface.
– Splintering around baseboards: commonly caused by rushing the first pry—slow down and protect the drywall edge.
– Breaking boards because you force them out: if you hit resistance, you may be at a glue seam, nailed row, or locked joint—re-check attachment type before continuing.
– Damaging the subfloor: prying too aggressively can leave deep gouges; use shallow leverage and work in smaller sections.
Limits of this guidance (when hallway removal becomes higher risk)
If the hallway hardwood is tightly glued across large areas, removal may require specialized scraping and a higher tolerance for subfloor refurbishment. If you suspect moisture issues (soft subfloor, musty odor, visible staining), proceeding without investigation can lock in future floor failure—so “rip it out and hope” is not a safe strategy.
Verdict: when DIY makes sense (and when to stop)
DIY hardwood floor removal in a hallway usually makes sense when the hallway is accessible, you can confidently identify nailed-down vs. click-lock attachment, and you’re serious about dust control and careful trim removal. If your boards are nailed-down or glued tightly, expect more time and more subfloor repair work.
That said, skip DIY (or bring in help) if the boards are tightly glued, the subfloor appears compromised, or you suspect hidden moisture issues under the hardwood. Also stop short of continuing demolition if your removal method repeatedly causes board breakage or subfloor gouging—those patterns usually indicate you’re using the wrong extraction approach for that specific installation.
Quick checklist for removing hardwood flooring in a hallway
– [ ] Protect walls/trim area and control dust
– [ ] Remove baseboards, shoe molding, and transitions first
– [ ] Identify nailed-down vs floating/click-lock installation
– [ ] Start prying/unlocking from a workable edge
– [ ] Remove nails/staples and scrape adhesive residue
– [ ] Inspect subfloor and clean thoroughly before next project
Sources:
– OSHA 29 CFR 1910.1000 (Particulates Not Otherwise Regulated limits)
– NIOSH / 42 CFR Part 84 respirator filter class performance criteria (e.g., N95/N99/N100)
– U.S. Department of Energy HEPA filtration definition/specification (≥99.97% at 0.3 µm)
Removing hardwood floors from a hallway goes best when you treat the job like a sequence: protect the space, remove trim and transitions, confirm attachment method, pull boards in an order that prevents joint failure, and finish with thorough nail/adhesive cleanup plus subfloor inspection. If you follow that workflow and stop whenever resistance changes, you’ll reduce both rework and costly repairs—while keeping the hallway ready for the next floor system.
Frequently Asked Questions
What’s the best way to remove hardwood floors from a hallway without damaging the subfloor?
Start by protecting the hallway and controlling dust with plastic sheeting, tape, and a HEPA vacuum. Remove trim and any transition pieces first, then lift boards carefully using a pry bar and floor scraper to avoid gouging the subfloor. If the hardwood is nailed down, pull nails gradually and remove old adhesive residue so the surface is clean for reinstallation. Work in small sections and check the subfloor condition as you go to prevent surprises.
How do I remove hardwood floor planks if they’re nailed down in a hallway?
Locate the nail pattern by checking board edges and using a small test area to confirm whether nails or staples are used. Use a floor pry bar or oscillating multi-tool (with a blade made for wood) to cut along the tongue-and-groove where needed, then pry boards upward a few inches at a time. Pull remaining nails or staples with a claw tool or magnet nail retriever, then scrape off any underlayment debris. Expect a lot of smaller fragments in tight areas, so plan on careful cleanup for the next phase.
Why is dust control important when removing hardwood floors from hallways?
Hardwood demolition creates fine wood dust that can spread through the home and irritate lungs, especially in narrow hallways. Use dust containment methods like sealing doorways with plastic, running a HEPA air scrubber, and vacuuming continuously with a dust-rated shop vac. Wear a proper respirator (not just a dust mask), eye protection, and gloves to reduce exposure. Good dust control also prevents dust from settling into vents, baseboards, and HVAC intakes.
Which tools do I need to remove hardwood flooring in a tight hallway?
At minimum, you’ll want a pry bar, hammer, utility knife, oscillating multi-tool, floor scraper, and a pry bar with a thinner end for tight spaces. A putty knife and adhesive remover can help if there’s glue down hardwood or residue left behind after plank removal. For nails and staples, use a nail puller, pliers, or a magnet tool, plus a pry bar for stubborn sections. Finish with a HEPA vacuum, shop vac attachments, and rags/scrapers to leave the subfloor ready for repair or refinishing.
How can I remove hardwood floors from a hallway that have glue-down or floating installation?
For glue-down hardwood, score the seam lines with a utility knife and use a heat gun or adhesive remover to soften glue before lifting planks. Use a floor scraper to remove remaining adhesive without damaging the subfloor, and plan for time spent on residue cleanup. For floating floors, start by removing baseboards and transition strips, then lift boards from the edges—typically faster and with less subfloor damage. Always check manufacturer guidance and test a small area to confirm the installation type before committing to one removal method.
📅 Last Updated: October 16, 2026 | Topic: How to remove hardwood floors from a hallway? | Content verified for accuracy and freshness.