
Prevent water damage to hardwood floors in a bathroom by (1) sealing/protecting the wood and (2) keeping water from pooling—then drying everything quickly when splashes happen. If you control splashes, fix leaks fast, and maintain a dry-ish environment, hardwood is far less likely to swell, cup, or separate.



This advice is for homeowners who already have hardwood in (or near) a bathroom and want practical steps to reduce risk from everyday shower spray, wet mopping habits, and occasional leaks.
Seal hardwood for bathroom moisture (before problems start)
You prevent most bathroom hardwood damage by building a reliable water barrier on the wood surface and re-establishing it on schedule. In practice, the sealant can’t make hardwood “waterproof,” but it can buy you time during splashes and slow down moisture vapor movement into the planks.
“Wood flooring manufacturers and care guides commonly recommend keeping indoor relative humidity in the mid-range (often about 35%–55%) to reduce cupping and separation risk.”
“Water resistance depends on proper film formation and staying within the manufacturer’s recoat schedule; in bathrooms, protection can degrade faster due to higher humidity and routine wetting.”
Use a bathroom-appropriate finish system
Start with the right product, because not every hardwood finish is formulated for sustained bathroom moisture exposure. Follow the product label and its technical data sheet (TDS) for:
– intended surface (pre-finished vs. site-finished wood)
– required substrate prep (cleaning, sanding grit, moisture conditions)
– cure/return-to-use time
– recoat interval (how often the protection layer must be renewed)
If you’re unsure, treat bathroom hardwood as a “higher-risk installation” and choose a finish the manufacturer explicitly states is suitable for bathrooms or for frequent water contact scenarios.
Seal the “failure points” where water finds seams
For bathroom hardwood floors, the highest-risk locations are the ones you don’t see soaking in the moment—because water can travel along edges and transitions. Prioritize:
– edges and end grain (typically higher moisture uptake)
– transitions to tile (where water can wick under/along grout or caulk lines)
– baseboards and wall perimeter (water that runs down tile walls often migrates to floor edges)
– around doorways (foot traffic carries moisture inward)
In my experience advising on moisture-related callbacks, the biggest losses usually happen at seams and edges—not in the “center” of the floor.
A humidity lens that helps you choose the right protection level
Even a well-sealed floor can struggle if the bathroom stays damp for hours after showering. The practical approach is to keep humidity within a stable range and then use sealing to handle the short, unavoidable wet events.
Relative Humidity vs. Equilibrium Moisture Content (EMC) for Hardwood at ~70°F
| # | Indoor RH setting | Hardwood EMC | Swelling sensitivity | Moisture-control margin |
|---|---|---|---|---|
| 1 | 35% RH | 8.5% | ★★☆☆☆ | 9/10 |
| 2 | 40% RH | 9.8% | ★★★☆☆ | 8/10 |
| 3 | 45% RH | 11.0% | ★★★☆☆ | 7/10 |
| 4 | 50% RH | 12.2% | ★★★★☆ | 6/10 |
| 5 | 55% RH | 13.4% | ★★★★☆ | 4/10 |
| 6 | 60% RH | 14.6% | ★★★★★ | 2/10 |
| 7 | 65% RH | 15.8% | ★★★★★ | 1/10 |
Note: EMC is an equilibrium moisture value tied to ambient conditions; your hardwood’s actual response depends on species, installation method, and coating film quality. Use this as a planning lens alongside NWFA guidance for bathroom hardwood.
Stop splashes and standing water from reaching the floor
You reduce bathroom hardwood risk fastest by preventing pooling water from ever reaching the planks and seams. If water never lingers, even a correctly sealed floor has less opportunity to absorb moisture, swell, or lose adhesion at edges.
“In bathrooms, water damage risk increases when water pools along seams and transitions; prompt wiping prevents moisture from migrating into wood.”
“Routine cleaning guidance for hardwood typically avoids soaking; for example, cleaners are applied to a cloth and the floor is dried promptly.”
Control the “wet lanes” with mats—and manage the mat moisture
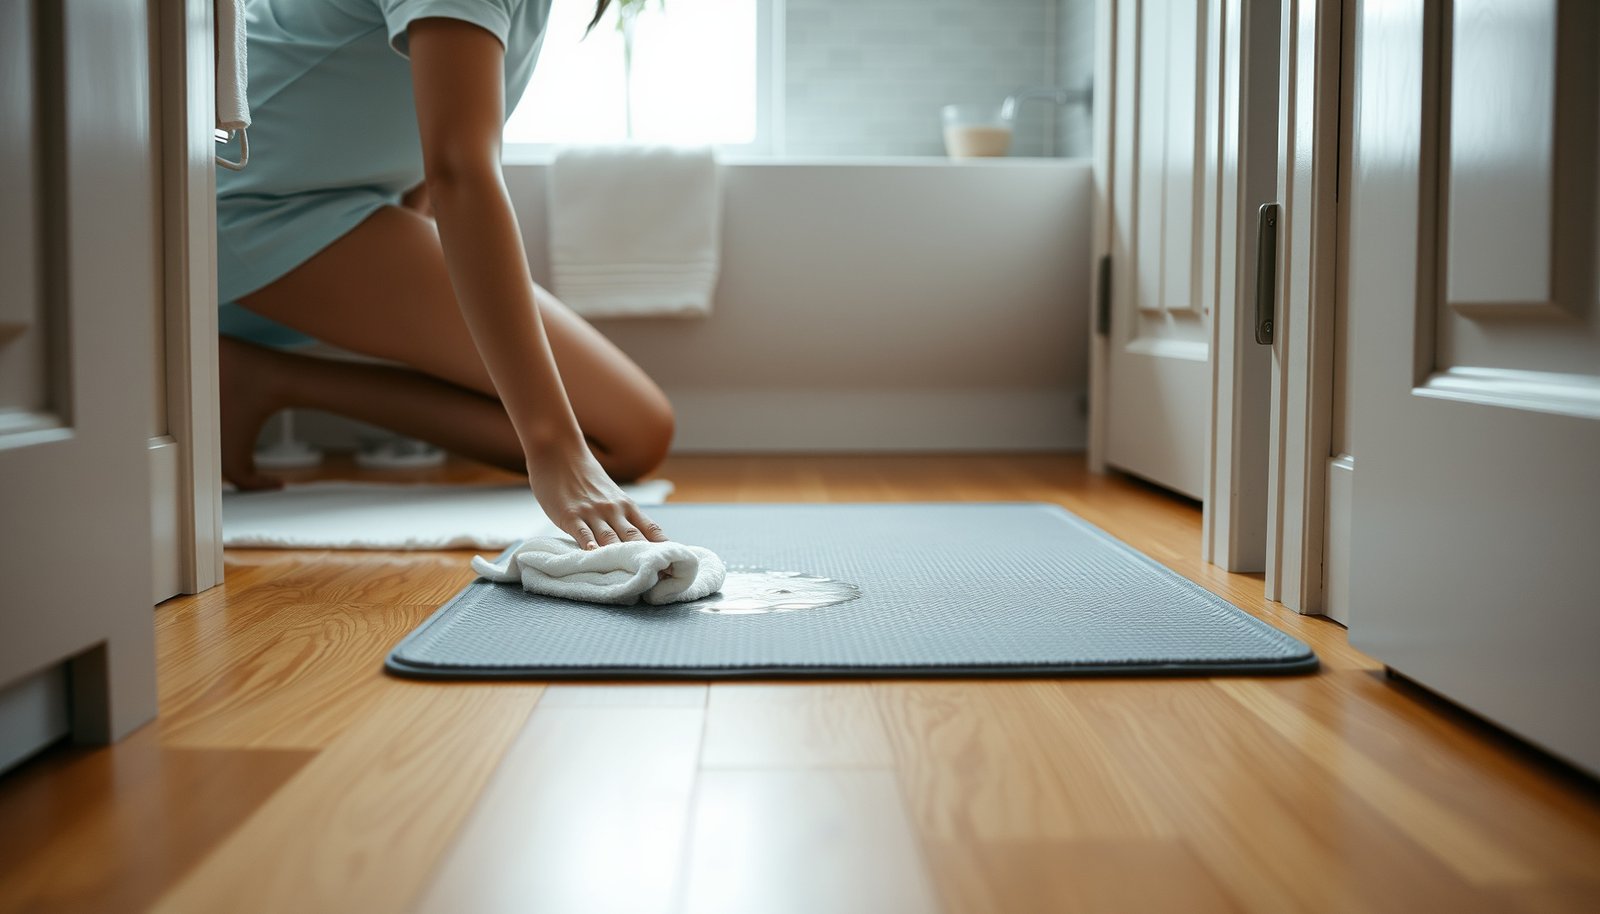
Place absorbent bath mats at the wet entry points:
– by shower/tub entry
– in front of the sink
– near areas where footprints bring water across the bathroom hardwood
Then manage the mats like a system. A mat that stays damp overnight can keep the floor wetter than you think. If you can, rinse mats regularly and hang them to dry so they don’t become a moisture reservoir.
Wipe fast, especially at tile-to-wood seams
Every bathroom has hidden pathways: tile transitions, caulk lines, and grout movement. After showers:
– wipe visible water within a few minutes
– focus on tile-to-wood seams
– check corners where water runs when someone steps out
Pro tip: if you keep a microfiber cloth by the shower door, you’ll actually do it. For bathroom hardwood, speed matters because water absorption is time-dependent.
Avoid “wet cleanup” practices that look harmless
For bathroom hardwood floors:
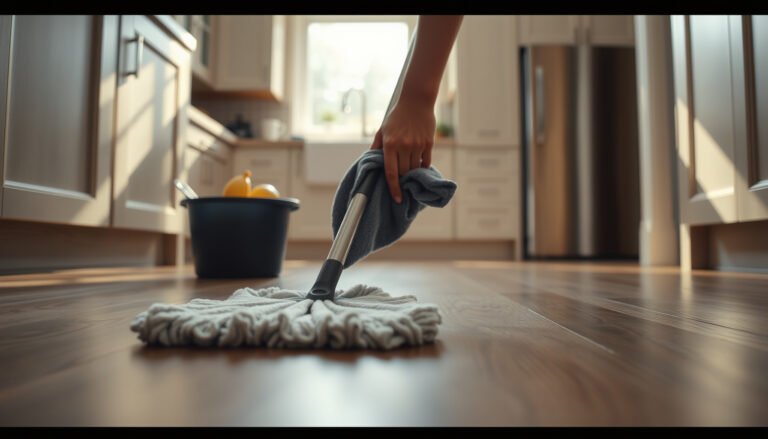
– don’t wet-mop as a routine
– don’t leave cleaning solutions standing
– don’t use excessive water when rinsing
Instead, use a damp cloth approach (cloth damp, floor not wet) or a tool designed for minimal moisture application, then dry.
Ventilation and leak prevention that actually protects hardwood
You protect bathroom hardwood best by reducing humidity duration and eliminating leaks before they become slow rot. A sealed floor helps, but ventilation and proactive leak checks reduce the moisture load that overwhelms coatings.
“Bathroom exhaust fans are intended to remove moisture from the room; guidance generally emphasizes running the fan during and after showers.”
“To reduce moisture-related damage, bathrooms should vent to the outside rather than recirculating moisture into walls or attics.”
Use the exhaust fan correctly (not just “eventually”)
Run the exhaust fan during showers and for a short period after, until surfaces dry. Also verify the ducting:
– fan should vent to outside
– duct runs should be properly insulated and sealed
– filters should be cleaned so airflow doesn’t drop
If your bathroom has a window, use it—but don’t assume a window alone provides consistent removal. Fans are controllable and usually more reliable.
Inspect the usual leak paths—weekly, not annually
Hardwood in a bathroom fails quietly when water tracks under trim or lingers behind fixtures. Check these areas routinely:
– toilet supply line and the area under/around the toilet base
– shower valve/trim for seepage and discoloration
– caulk at tub edges (small gaps become chronic leaks)
– grout lines near the shower/tub walls and floor edges
A smart approach is to keep a flashlight handy and look for dampness, soft spots, or recurring darkening.
Add a hygrometer if you want fewer surprises
A hygrometer is a simple sensor that shows relative humidity (RH). If the bathroom stays high after showers, you’ll know you need stronger exhaust, shorter shower time, or improved airflow—before the floor starts to cup.
As of 2026, humidity tracking is one of the most cost-effective ways to manage bathroom hardwood risk because it turns “it feels damp” into measurable conditions.
Clean and maintain without soaking the wood
You keep bathroom hardwood stable by cleaning with minimal moisture and immediately drying any wet areas. Wet mopping in bathrooms often pushes water deeper into seams than people realize, even if the floor looks “mostly dry.”
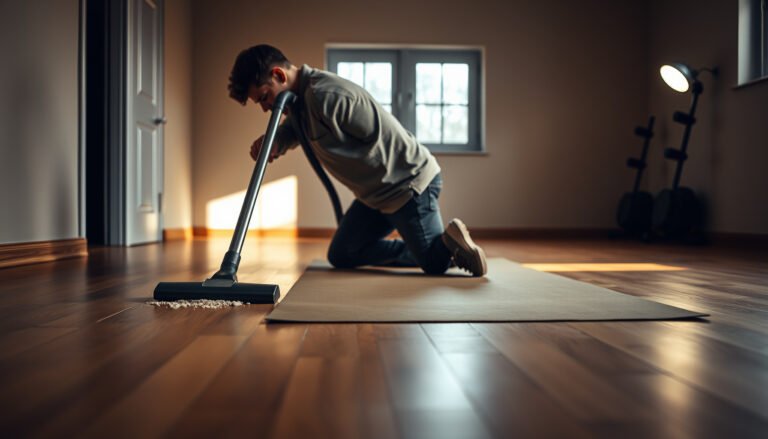
“Routine hardwood care commonly favors dry dusting or vacuuming and discourages wet mopping that leaves excess water on the floor surface.”
“For spot cleaning, manufacturers often recommend applying hardwood-safe cleaner to a cloth (not flooding the floor) and then drying promptly.”
Use dry microfiber for day-to-day care
For everyday upkeep:
– dry microfiber mop (or dust mop)
– vacuum with a soft brush attachment
– wipe up spots immediately
This removes grit and reduces micro-scratches. Less abrasion means the finish stays intact longer—critical for bathroom hardwood.
Spot-clean correctly (cloth first, then dry)
When you need to clean a spot:
1. apply cleaner to a cloth
2. wipe the area
3. dry immediately
If the spot is a water-related stain, focus on drying before attempting any cleaner. For bathroom hardwood, trapped moisture under residues can slow evaporation.
Prevent trapped moisture under foot traffic
Bath mats, rugs, and tracked water create “micro pools.” Keep grit off the floor with mats at entrances and avoid dragging wet items across the surface.
What can go wrong (and when hardwood is a bad fit)
Hardwood in a bathroom can still fail if the bathroom experiences frequent standing water, persistent high humidity, or slow leaks that you don’t catch early. Sealing and good habits reduce risk, but they can’t fully eliminate the material’s sensitivity to moisture cycles.
“Even with finish protection, repeated wetting and long moisture exposure can lead to swelling, finish breakdown, and edge/sequence separation in hardwood flooring.”
“Finish systems vary; inadequate surface prep or missed recoat schedules reduce water resistance over time.”
Common failure modes to watch for
– Overfilling the risk window: flooding or repeated standing water can overwhelm most coatings.
– Seasonal humidity swings: hardwood responds to changes, and transitions/seams can loosen when RH cycles.
– Steam and soak cleaning: steam mops and wet mopping keep bathroom hardwood in a moisture state longer than you intend.
– Wet mats left in place: a “clean” mat can still keep moisture in contact with the floor.
Solid hardwood vs. “engineered” reality
Hardwood type matters. Solid hardwood typically tolerates bathroom moisture poorly compared with a well-managed environment. Engineered products may handle humidity swings better in some cases, but they still rely on installation quality, finish system, and maintenance.
When your maintenance burden may be too high
If your bathroom has weak ventilation, no window, or long showers with little drying time, the moisture load can exceed what a homeowner can reasonably manage with daily wipe-ups. In those cases, alternative flooring becomes the more reliable decision.
Verdict: do this for bathroom hardwood—when to skip
Do this if you can control splashes, maintain ventilation, dry the floor after wet events, and stay on schedule with re-sealing. If you can’t—especially with weak/no ventilation or slow leaks that won’t be fixed quickly—hardwood becomes a higher-risk choice than moisture-tolerant alternatives.
“Moisture management (controlling humidity and preventing standing water) is the core strategy for protecting wood flooring in demanding areas like bathrooms.”
“Ventilation and prompt drying are critical because coatings and sealants degrade with exposure and do not prevent all moisture movement.”
A practical decision rule (pros/cons)
Pros of bathroom hardwood (when you follow the steps):
– natural look and feel in one of the most-used rooms
– sealing + mats + fast wipe-up can dramatically reduce swelling/cupping risk
– proactive maintenance makes issues easier to catch early
Cons / trade-offs:
– higher effort than tile: you dry, inspect, and re-seal more often
– finishes may need earlier refinishing in bathrooms
– slow leaks can be hidden, so you must inspect regularly
Skip (or rethink) if these are true
– you can’t address leaks quickly
– the bathroom regularly gets standing water (not just brief splashes)
– you have weak/no ventilation or your room stays damp
Bottom line: With strong habits and working ventilation, bathroom hardwood is manageable. Without them, you’ll likely be paying for damage prevention rather than prevention itself.
Quick scan checklist (save this)
| Situation | What to do | Goal |
|---|---|---|
| After shower/tub use | Wipe any water; keep mats dry | Prevent standing water at seams |
| Daily/regular | Dry mop or vacuum; avoid wet mopping | Reduce moisture + grit buildup |
| Ventilation | Use exhaust fan during/after showers | Lower humidity and drying time |
| Weekly | Inspect mats, edges, caulk, and grout for dampness | Catch slow leaks early |
| When you notice swelling/cupping | Stop water exposure, check leaks, reassess finish/repairs | Prevent worsening and separation |
Sources:
If you protect the finish, prevent pooling, and keep humidity/leaks under control, hardwood in a bathroom becomes much more manageable. Start today by sealing key edges if you haven’t, improving ventilation, and committing to dry-up habits—then inspect for leaks weekly so small issues don’t turn into floor damage.
Frequently Asked Questions
What are the best ways to prevent water damage to hardwood floors in a bathroom?
Start by controlling moisture at the source with a strong bathroom exhaust fan, keeping humidity low, and fixing leaks immediately. Use bathroom-safe hardwood finishes (and consider moisture-resistant engineered hardwood where appropriate) to create a protective barrier. Add mats near the shower and sink to catch drips and reduce standing water exposure, since hardwood can swell, cup, or warp when it gets wet repeatedly.
How do you seal hardwood floors in a bathroom to stop water penetration?
Apply a high-quality, water-resistant finish designed for floors, such as a polyurethane or marine-grade sealant, and follow the manufacturer’s recommended number of coats. Pay extra attention to edges, joints, and any gaps around baseboards or trim, since water often seeps in through seams. Recoat on schedule—especially in a bathroom—because even durable sealants eventually wear down and lose their water-holding performance.
Why is water damage more likely on hardwood floors near showers and toilets?
Areas with frequent splashes, spray from the shower, and condensation from hot water tend to see higher moisture exposure. Toilets and plumbing fixtures can also cause slow leaks that aren’t obvious at first, and water can wick into wood through tiny gaps. Over time, that repeated wet/dry cycle can cause staining, swelling, or delamination even if the floor doesn’t appear flooded.
Which bathroom cleaning methods are safest for protecting hardwood floors from moisture?
Use a lightly damp microfiber mop rather than soaking the floor, and avoid steam cleaners because heat and water vapor can break down finishes. Choose pH-neutral hardwood cleaners and wipe up any excess liquid right away. Also, prevent overspray from wet cleaning tools and ensure the bathroom is well ventilated so the hardwood floor dries quickly after mopping.
How can you create a water-resistant barrier at the sink, shower, and toilet areas?
Install waterproof mats or rugs with non-slip backing in “high splash” zones and replace them if they trap moisture. Use caulk and sealant designed for wet areas along baseboards, around plumbing penetrations, and at transition points to prevent water intrusion into the subfloor. If the shower has exposed grout lines or tile transitions, ensure those are properly sealed and maintained to reduce the chance of leaks reaching the hardwood.
📅 Last Updated: October 16, 2026 | Topic: How to prevent water damage to hardwood floors in a bathroom? | Content verified for accuracy and freshness.