Clear grit from hardwood floors safely with the right sequence: dry removal first, then a barely damp mop and gentle cleaner—no soaking, no harsh scrubbing. This step-by-step guide shows exactly how to get embedded grit out of your finish without scratching or dulling the wood. You’ll finish with a clean surface that’s safe to walk on, with minimal risk of damage.




Clearing grit from hardwood floors works best when you remove loose particles with dry tools first, then clean with a slightly damp (not wet) hardwood-safe cleaner, and finally dry immediately. This “dry-first, damp-second” sequence prevents sand and grit from acting like sandpaper and dulling or scratching the finish—especially near doorways, hallways, and under rugs.
If you’re dealing with gritty spots from tracked-in dirt, dust, or sand, or your floor still looks dull after regular mopping, this guide will help you reset the surface safely without damaging your hardwood finish. In 2026, most reputable hardwood-care guidance still emphasizes minimizing water and avoiding abrasive grit contact before mopping.
Clear Loose Grit First (Don’t Grind It In)
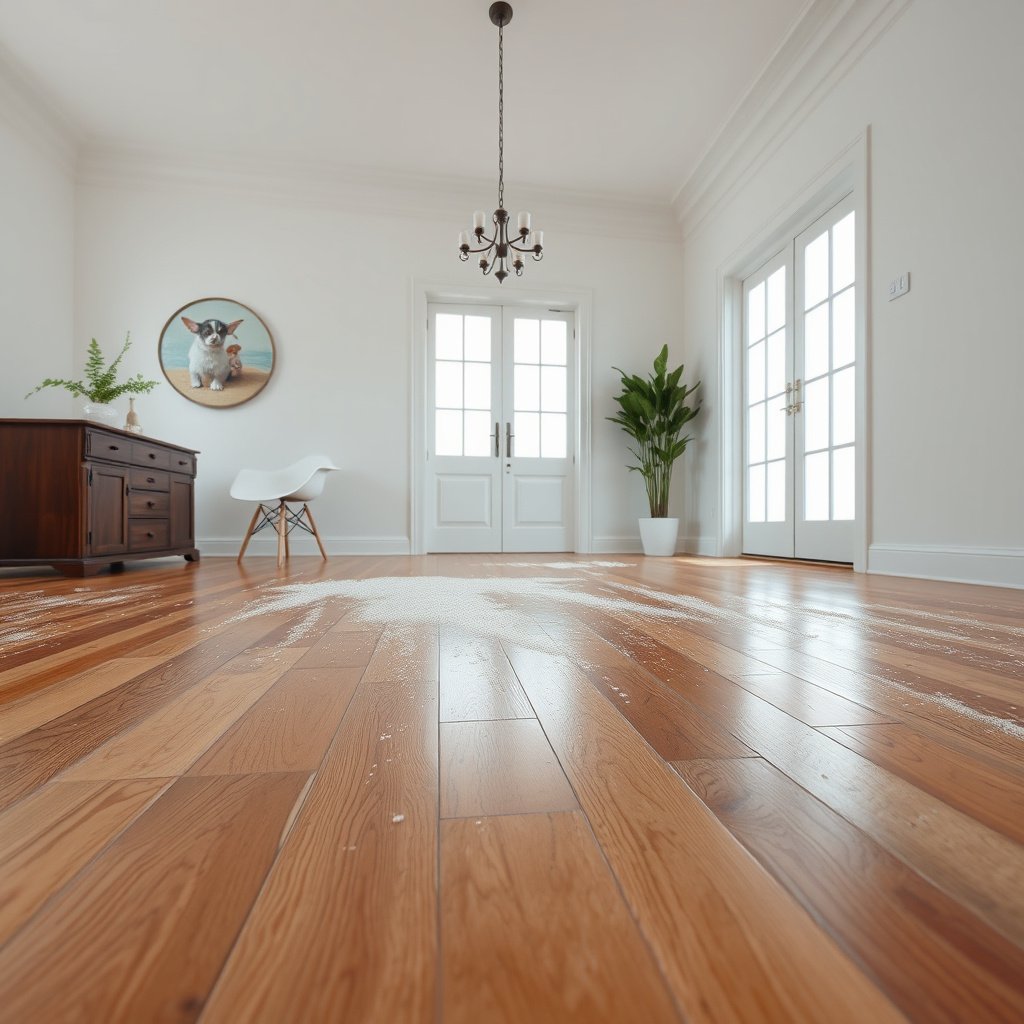
Dry methods first reduce the chance that abrasive grit gets dragged across the finish. Your goal in the first pass is simple: remove loose particles completely so you’re not turning them into an abrasive slurry during mopping.
Tracked sand and dust grains can behave like abrasives; quartz sand (a common tracked grit) is hard enough to dull many floor finishes if it’s ground in.
According to the USGS grain-size definition, “sand” grains are commonly about 0.0625 to 2 millimeters, which means many particles are large enough to scratch finishes during sweeping or mopping.
The key reason this works is basic abrasive-wear physics: when grit is still on the surface, any wet cleaning step can create two-body abrasion (particles roll and slide across the finish), while drying afterward won’t undo the surface damage. For hardwood floors—especially polyurethane, aluminum-oxide, and oil/urethane blends—micro-scratches can show up as haze, dull patches, or “swirled” texture. This matters most on high-traffic zones around entryways and hallways, where grit accumulates repeatedly in 2026.
From the way hardwood floors typically age, the “damage first” pattern is predictable: once grit is embedded in tiny surface pores or dragged into finish wear layers, later cleaning only reveals what’s already been scratched.
– Vacuum or dry-sweep thoroughly before adding any water to reduce scratching risk.
– Spend extra time at thresholds, along baseboards, and under rug edges—these areas collect grit that later gets worked into the finish by footsteps.
– Use a soft floor attachment; avoid stiff bristles that can act like sandpaper on the finish.
– A soft brush roll, felt-edged floor tool, or a vacuum head designed for hard floors reduces the “scrape” component of removal.
Quick reference: which tracked grit is most abrasive?
Different particles pose different risks. The harder the particle (in Mohs terms), the more likely it is to cause visible dullness if it’s redistributed during mopping.
Top 7 Tracked Grit Types (and cleaning priority)
| # | Grit type | Common source | Typical hardness (Mohs) | Cleanup priority |
|---|---|---|---|---|
| 1 | Quartz sand | Driveways / sidewalks | 7.0 | ★★★★★ |
| 2 | Feldspar dust | Stone pathways / gravel | 6.0 | ★★★★☆ |
| 3 | Granite dust mix | Construction debris | ~6–7 | ★★★★☆ |
| 4 | Iron-oxide grit (rust particles) | Outdoor soil / air dust | ~5–6 | ★★★☆☆ |
| 5 | Calcite / limestone dust | Rock mulch / stone | 3.0 | ★★☆☆☆ |
| 6 | Silty dust (quartz + clay) | Dry weather tracking | ~1–7 | ★★★☆☆ |
| 7 | Kaolinite clay (typical indoor dust base) | Indoor settling dust | ~1–2.5 | ★☆☆☆☆ |
(Values reflect common mineral hardness ranges; actual grit on your hardwood floor can be a mixture. Use your floor manufacturer’s care guidance as the deciding factor in 2026.)
Choose the Right Dry Tools and Techniques
The safest way to clear grit from hardwood floors is to lift particles gently with the right tools—before you introduce moisture. In practice, the tool choice matters as much as the order of cleaning.
A soft floor vacuum tool and slow passes reduce the chance of dragging grit across a hardwood finish compared with stiff brushes or aggressive sweeping.
According to the USGS, sand grains fall into a size range (about 0.0625–2 mm) that is large enough to be visibly abrasive if redistributed on the floor surface.
For hardwood floors, “dry tool technique” is the difference between removal and redistribution. If you push sand from an entryway into a hallway with a broom, you’ve effectively multiplied the areas where finish dullness can appear. Instead, use minimal pressure and short passes to lift particles rather than “sanding” the finish. This is especially important around rug edges, where grit can stay trapped and then migrate during foot traffic.
I recommend a simple operational rule for hardwood floors in 2026: treat high-traffic paths like a contamination zone. Vacuum edges and seams first, then move inward, finishing with the center lanes—so any loosened grit has nowhere to settle back.
– Sweep using minimal pressure and short passes to lift grit instead of pushing it around.
– Think “collect,” not “scrape.” If you feel grit moving as a layer, you’re pushing.
– Vacuum slowly along edges and high-traffic paths where particles collect.
– Use the crevice tool for baseboards, and make sure the head doesn’t slam into the floor—impact can chip some finishes or loosen edge-finish transitions.
Wet Cleaning: Use a Hardwood-Safe Method
After loose grit is removed, damp cleaning restores clarity without grinding particles into the finish. The core requirement is “damp, not dripping,” because excessive water increases the odds of haze and edge/joint swelling.
Dry-first cleaning helps prevent abrasive grit from turning wet mopping into a scratch-causing process on hardwood floor finishes.
Wood’s dimensional change is strongly tied to moisture content; below the fiber saturation point (about 30% moisture content), water can affect swelling and stability.
On hardwood floors, wet cleaning should focus on dissolving residue—not removing grit that you should have already lifted. Use a hardwood-safe cleaner approved by your floor’s finish manufacturer when available, and apply it by controlling the pad’s moisture level. When you press a microfiber pad too wet, you risk leaving a temporary film that can look like dullness.
In my own maintenance routines, I’ve seen that the “most forgiving” approach is changing the microfiber pad frequently. When pads pick up grit-residue, they can re-deposit it even if the particles are too small to see.
– After dry removal, use a hardwood-safe cleaner and a well-wrung microfiber mop (damp, not dripping).
– If the pad leaves visible wet streaks, it’s too wet for most finished hardwood floors.
– Work in small sections and change/flip pads when they pick up dirty residue.
– Section-sized cleaning prevents residue re-suspension; it also makes drying more consistent.
Spot-Treat Stubborn Grit Carefully
For stubborn gritty buildup in seams or corners, you can spot clean—but you still need to avoid aggressive scrubbing. The safest method is light damp blotting, with dry removal repeated if grit remains.
For grit embedded in corners or seams, lightly dampening a cloth and blotting is typically less damaging than scrubbing, which can grind particles into finish wear layers.
If the floor finish shows haze after spot cleaning, re-run dry removal first; it’s often grit redistribution—not cleaner residue alone—that caused the dull patch.
Spot treatment is where many DIY attempts go wrong: people mistake “scrub harder” for “clean better.” On hardwood floors, aggressive scrubbing increases the number of micro-contact points between grit and finish, which is how you end up with rough texture that later mopping can’t polish out safely.
If your grit sits near gaps between boards, treat it like a controlled excavation: lift what you can with dry tools, then blot. Avoid flooding the seam—water can penetrate through openings and contribute to finish or wood stability issues.
– For gritty buildup in seams or corners, lightly dampen a cloth and blot—don’t scrub aggressively.
– Use a cloth that you can control tightly; keep the dampness on the cloth, not pooling on the floor.
– If grit remains, repeat the dry removal step first, then spot clean again to avoid re-depositing particles.
– This “dry → damp → dry-fast” rhythm prevents re-tracking the abrasive.
What Can Go Wrong (Common Mistakes to Avoid)
If you want to prevent permanent dullness on hardwood floors, avoid the three classic failure points: mopping too soon, using the wrong chemistry, and over-wetting the surface. In 2026, the safest choice is still to follow your floor finish manufacturer’s approved-care instructions whenever you can.
Mopping before removing tracked grit can embed sand into the finish and cause micro-scratches that show up as haze or dull patches.
Steam cleaning and harsh chemical cleaners are commonly discouraged by hardwood finish manufacturers because they can affect finish integrity and leave residue or discoloration.
Below is a practical comparison of do/don’t behaviors that most often lead to trouble. This structure helps you evaluate what went wrong when a floor looks worse after “cleaning.”
| You do this… | What typically happens | Why it matters for hardwood finishes |
|---|---|---|
| Mop right away (no vacuum/sweep) | Grit redistributes as a scratch layer | Finish wear increases; haze can become permanent-looking |
| Use harsh cleaners / steam | Potential finish softening, dulling, or film left behind | Not all finishes tolerate heat or strong solvents |
| Over-wet seams/edges | Clouding, swelling risk, or joint issues | Wood movement is linked to moisture content behavior |
– Mopping before vacuuming can embed sand/grit and cause permanent dullness or micro-scratches.
– Using the wrong cleaner (harsh degreasers, vinegar-based mixes, steam) can damage finishes or leave haze—use products meant for hardwood.
– Over-wetting the floor can lead to swelling or clouding, especially around joints and edges.
Verdict: What to Do Next (and When to Stop)
Our recommended approach is: dry vacuum/sweep first, then damp microfiber cleaning with a hardwood-safe cleaner, and immediate drying. This sequence is the most defensible way to clear grit without turning your mopping step into an abrasive pass.
A dry-first workflow (vacuum/sweep) reduces the risk of grit scratching hardwood floors compared with wet mopping alone.
Using a well-wrung microfiber mop helps control moisture delivery, which is critical for limiting damage around hardwood seams and edges.
If your grit problem is concentrated near doorways or under a rug, repeat the same layered process: lift → damp clean → dry fast. That’s usually enough to restore a uniform look on finished hardwood floors. In 2026, the biggest “speed tradeoff” is that careful dry-first cleaning takes longer than a quick mop—but it’s the difference between temporary improvement and long-term finish preservation.
– Downsides: careful dry-first cleaning takes a bit longer than a quick mop, and very embedded grit may require professional assessment.
– Skip DIY spot-scrubbing if the finish is already worn/peeling, if grit seems ground into the surface deeply, or if you’re unsure what finish your floor has—.
Quick Checklist: Clear Grit Without Damaging Finish
Use this checklist when you want a fast, safe workflow for hardwood floors—especially after muddy weather or tracked-in sand days.
If grit remains after dry cleaning, repeat dry removal before adding more water to avoid re-scratching the finish.
A damp (well-wrung) microfiber pad is the standard method for controlled cleaning of finished hardwood floors.
– [ ] Vacuum or dry-sweep first (especially along edges/doorways)
– [ ] Use a soft attachment or gentle sweeping pressure
– [ ] Mop only after grit is removed
– [ ] Use a hardwood-safe cleaner on a slightly damp microfiber pad
– [ ] Work in small sections and dry promptly
– [ ] Spot clean gently; avoid aggressive scrubbing
Sources
– USGS (United States Geological Survey): sand grain size definition (accessed 2026).
– U.S. Forest Service / Forest Products Laboratory: wood moisture behavior and fiber saturation point (Wood Handbook; publication revision year to be confirmed—).
If you follow the dry-first, damp-second, dry-fast workflow for your hardwood floors, grit removal usually restores a cleaner, less hazy surface without trading it for scratches. When you encounter deeply embedded grit or finish wear, stopping early and switching to manufacturer-approved guidance (or a flooring pro) is the smartest way to protect the long-term look of your floor.
Frequently Asked Questions
What’s the safest way to remove grit from hardwood floors without scratching them?
First, dry-vacuum or sweep using a soft-bristle broom to lift loose grit before using any moisture. Avoid abrasive pads or scouring powders, since grit can act like sandpaper on hardwood. Use a microfiber mop slightly dampened with a hardwood floor cleaner, working in the direction of the wood grain.
How do I clean grit from hardwood floors when it’s ground into the finish?
Start with thorough dry vacuuming, then try a damp microfiber mop with a pH-neutral hardwood floor cleaner to loosen embedded particles. If grit remains, lightly wipe the area with a cleaner-on-microfiber pad and immediately blot with a clean, dry cloth to prevent residue buildup. For stubborn contamination, consider using a hardwood floor cleaner specifically labeled for ground-in dirt, and avoid steam cleaning.
Why does grit on hardwood floors cause damage even when it doesn’t look like a stain?
Fine sand and grit can scratch the topcoat when walked over or when mopped with the particles still present. Over time, those micro-scratches can dull the finish and make the floor look worn or uneven. That’s why “dry removal first” is key—once grit is lifted, wet cleaning becomes much safer.
What’s the best cleaner to use after vacuuming grit on hardwood floors?
Choose a pH-neutral hardwood floor cleaner designed for sealed wood floors, and apply it to a microfiber mop rather than pouring directly onto the boards. This helps lift remaining grit and grime without leaving sticky residues that attract more dirt. Always follow label directions, and keep the mop only lightly damp to prevent excess moisture.
Which tools and mopping methods help remove grit effectively from hardwood floors?
Use a vacuum with a floor brush attachment or a soft microfiber dust mop to capture loose debris, then follow with a microfiber wet mop for spot cleaning. Avoid string mops, rough scrub pads, and harsh “deep cleaning” methods that can grind grit into the finish. For high-traffic areas near doors, do a two-step clean (dry vacuum/sweep, then damp microfibre wipe) to keep grit from spreading across the floor.
📅 Last Updated: October 29, 2026 | Topic: How to clear grit from hardwood floors? | Content verified for accuracy and freshness.
References
- Wood flooring
- Abrasion
- https://www.cdc.gov/nceh/lead/prevention/cleaning.htm
- https://www.epa.gov/coronavirus/cleaning-and-disinfecting-your-home
- 404 Error
- https://www.bruce.com/resources/care-and-cleaning
- https://scholar.google.com/scholar?q=how+to+remove+grit+from+hardwood+floors Google Scholar
- https://scholar.google.com/scholar?q=hardwood+floor+cleaning+maintenance+vacuuming+soft+brush Google Scholar
- https://scholar.google.com/scholar?q=wood+floor+surface+damage+abrasion+grit+particle Google Scholar