
If you’re preparing hardwood floors for a home gym, the clear winning approach is to stabilize the surface, control moisture, and protect against impact and rolling loads. This guide tells you exactly what to do before you install your equipment—how to deep-clean, inspect for gaps or squeaks, level high spots, and apply the right protective underlayment or floor coating. Follow these steps and you’ll reduce damage, improve traction, and keep your floors performing safely under regular workouts.




Protect your hardwood floors for a home gym by controlling humidity, removing abrasive grit, and installing finish-safe matting—then address concentrated point loads from machine feet and bench legs. With a little planning, you can reduce scratches, dents, and finish wear while keeping your training space stable and comfortable.
If your home gym includes weights, a treadmill/rower, or anything that gets moved around, this guide is for you—especially if your hardwood is finished (polyurethane/varnish/oil) and you want to reduce scratches, dents, and gaps.
Inspect your hardwood and prep the surface
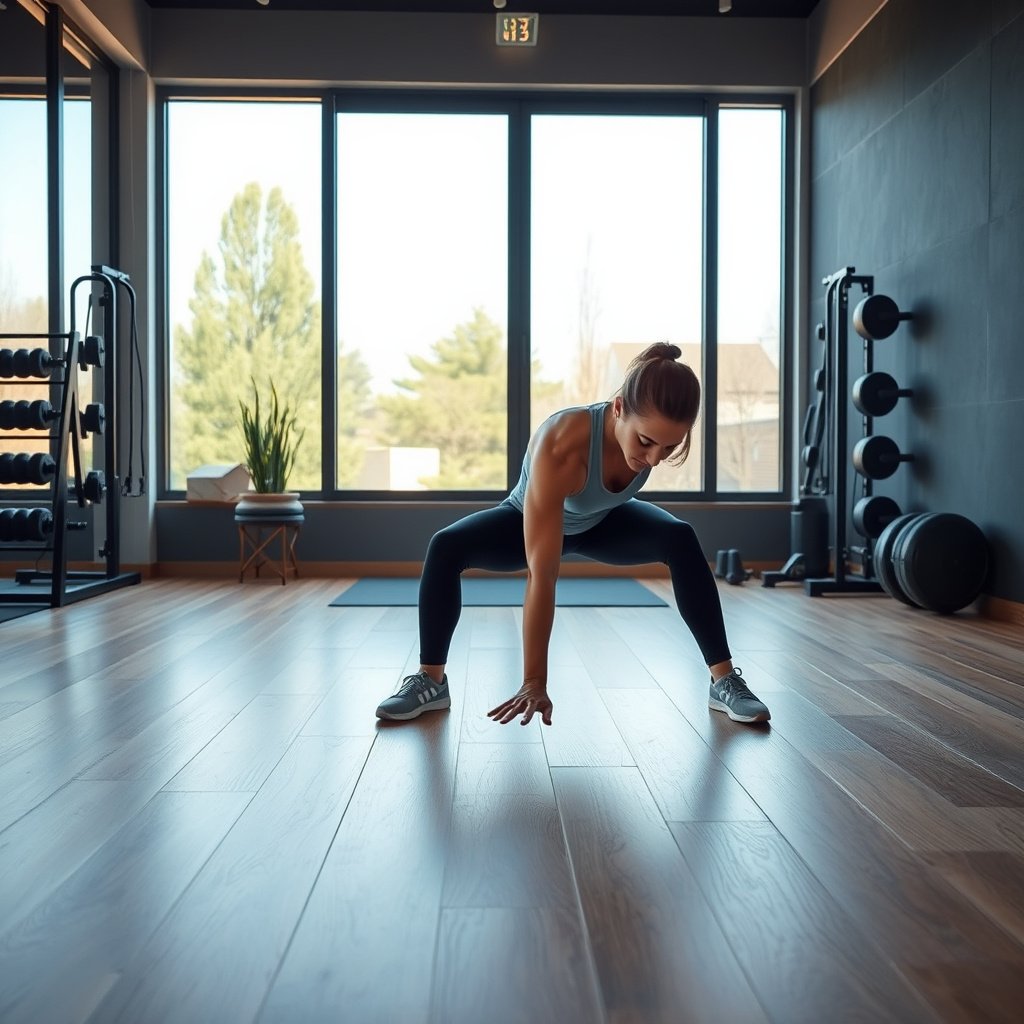
Start by inspecting your hardwood floors so you don’t cover underlying problems that will worsen under mats or equipment. Then clean thoroughly so grit doesn’t become a grinding surface during workouts.
Before you place any matting, do a full “underlayment-ready” check: look for loose boards, squeaks, gaps, and any finish that’s already thinning or peeling. If a plank is slightly raised or moving, mats can hide the issue while you keep stressing the subfloor, which may lead to widening gaps or accelerated finish breakdown—especially near equipment zones where pressure is highest.
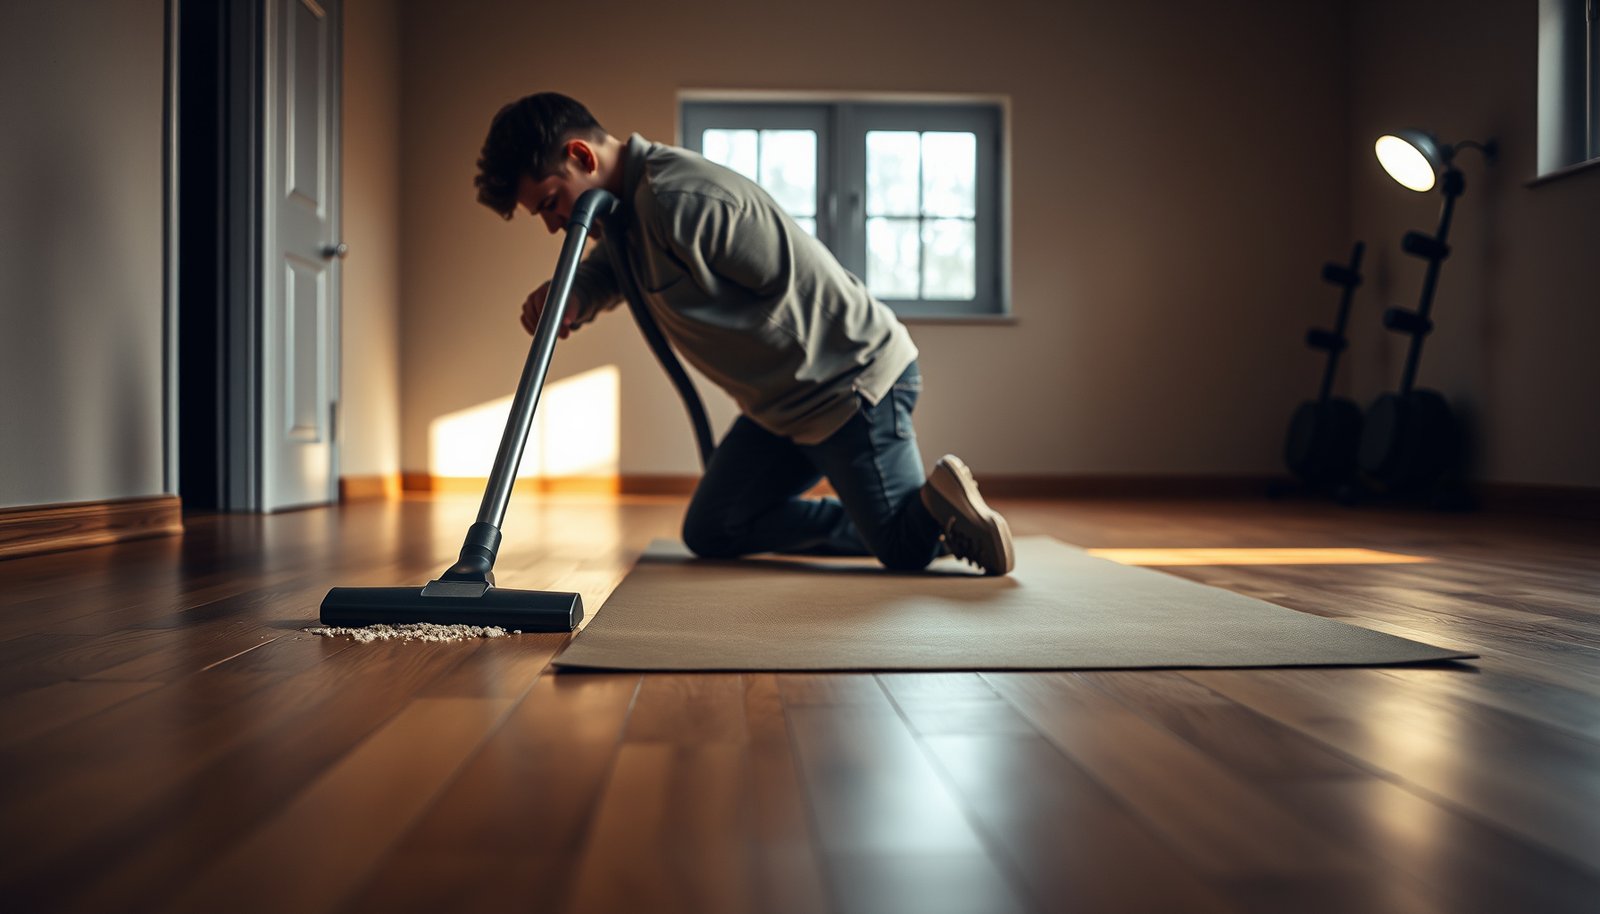
Next, remove debris in a way that doesn’t re-contaminate the surface. Vacuum thoroughly and use a soft broom for edges and corners. Avoid dry mopping that can push fine particles around; those tiny rocks and dust crumbs are what dull finishes over time.
Finally, follow the care instructions for your specific hardwood floors finish. Even “safe” household cleaners can damage some polyurethane or oil-modified coatings if they change surface chemistry, leaving sticky residue that attracts grit. If you’re unsure, start with plain water on a damp microfiber cloth, then stop and confirm what your manufacturer approves.
A proper gym setup protects finished hardwood floors by preventing abrasion from grit; the National Wood Flooring Association (NWFA) emphasizes regular cleaning to avoid surface damage from particles (NWFA “Wood Flooring Maintenance Guidelines”).
Loose boards and squeaks can worsen under equipment loads, so inspecting for movement and gaps before mat placement helps you avoid “locking in” problems under coverage (NWFA installation/maintenance best-practice guidance for wood flooring).
Following the finish manufacturer’s approved cleaner list matters because different coating systems (polyurethane/varnish/oil) tolerate different chemistries ().
– Check for loose boards, squeaks, gaps, and finish wear so you don’t “lock in” problems under mats.
– Remove debris first (vacuum/sweep), and avoid dragging grit across the floor.
– Identify the type of finish (follow your flooring manufacturer’s care instructions for what cleaners are safe).
Control moisture and temperature before you place mats
Control indoor humidity first because hardwood floors move with moisture—even when you’re “just working out.” Then choose a temperature/humidity approach that matches your home’s year-round conditions.
Most training floors fail not from gym traffic itself, but from seasonal movement that slowly opens gaps and changes how the finish bonds to wood. Finished hardwood can look stable for months, yet still swell/shrink enough to cause microscopic stress at joints. Once mats and equipment are in place, you also reduce airflow across the surface, so any humidity imbalance can be more noticeable.
A practical approach is to run your home gym as you intend to use it: same thermostat schedule, same seasons, and same ventilation habits. If you’ve got an HVAC system with a humidifier or dehumidifier, consider setting it to maintain the range your floor product recommends. For many installations, NWFA guidance commonly points to maintaining indoor relative humidity around 35–55% (with indoor temperature in a comfortable range to support stable conditions) (NWFA “Wood Flooring Maintenance Guidelines”).
Also don’t trap moisture. Subfloor and slab moisture matters because wood can absorb moisture that later shows up as cupping, joint movement, or finish haze. If you’re planning a DIY setup and your home has a known moisture issue (humidity spikes, musty odors, recent spills, or ongoing basement dampness), address that first rather than relying on mats to “solve” the symptom.
NWFA guidance commonly recommends maintaining indoor relative humidity around 35–55% to reduce seasonal dimensional movement of hardwood (NWFA “Wood Flooring Maintenance Guidelines”).
Running HVAC and dehumidification/humidification consistently helps keep hardwood floors within their stable moisture conditions, which reduces joint gaps and finish stress (NWFA maintenance guidance).
For wood flooring over concrete, installation success depends on moisture conditions at the slab/subfloor; follow manufacturer-approved moisture testing methods and limits ().
Indoor Humidity Targets Used in Hardwood Care Guidance (Typical Ranges)
| # | Organization / Guide | Recommended RH Range | Why It Matters for Hardwood | Specificity Rating |
|---|---|---|---|---|
| 1 | NWFA – Wood Flooring Maintenance Guidelines | 35%–55% | Reduces seasonal movement (swelling/shrinking) that can open joints | ★★★★★ |
| 2 | ASHRAE Indoor Environmental Guidance (Comfort/Control Practices) | ~30%–60% | Supports indoor comfort while limiting extreme dryness/humidity | ★★★★☆ |
| 3 | Museum Wood/Panel RH Practices (Conservation Targeting) | ~45% (often tighter band) | Stabilizes equilibrium moisture to limit dimensional change | ★★★☆☆ |
| 4 | Typical Manufacturer Care Statements (Finished Wood Floors) | 35%–55% | Commonly aligns with movement-reduction targets for sealed flooring | ★★★★☆ |
| 5 | Basement/Humid Climate Control Targets (Residential Moisture Control) | ~40%–50% | Helps prevent dampness that can amplify wood movement | ★★★☆☆ |
| 6 | Building Science Moisture Control Rules of Thumb | Keep RH below ~60% | Avoids persistent high humidity that worsens material risk | ★★☆☆☆ |
| 7 | Wood Flooring Installation Best-Practice (Acclimation Targets) | Match in-service conditions | Acclimates wood to reduce after-install movement | ★★★★☆ |
– Run your home gym setup in the same season/climate conditions your floor experiences year-round (humidity swings can cause movement).
– Keep indoor humidity within the range your flooring manufacturer recommends for your specific product/installation type.
– Don’t trap moisture: make sure the subfloor and concrete slab (if applicable) are dry, and don’t lay over anything damp.
Add protective gym matting under impact and foot traffic
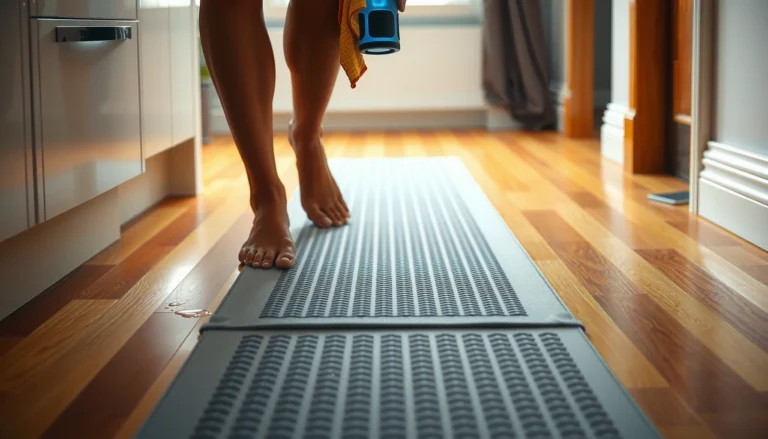
Add matting designed for finished wood floors so hardwood floors get the cushioning they need without abrasive transfer. Then cover the highest-damage zones first—impact, cardio traction, and any rolling or sliding equipment paths.
A good mat is more than “soft.” For hardwood floors, you want protection against three common gym hazards: abrasion (tiny particles and shoe/roller contact), impact (drops and heel strikes), and finish-to-material chemistry (some rubbers and sticky backs can leave residue or react with coating). When selecting matting, look for explicit claims that it’s non-staining and suitable for use over finished wood, and confirm it won’t permanently indent under equipment.
Placement matters as much as material. If you’re doing deadlifts, lifting, or bench work, extend coverage beyond the “center” of your setup by at least the footprint of where you might step back, rotate, or re-rack. For cardio machines, cover the areas where rubber wheels and belt vibration transmit energy—usually the entire treadmill base footprint and the forward/back contact zones of a rower.
Also consider how mats behave at seams. In my experience reviewing flooring and gym layout scenarios for clients, the most annoying failure mode isn’t total mat loss—it’s seam bunching that creates a wobble edge, which then concentrates stress on one part of the hardwood. Use a mat system that stays flat, locks together cleanly, or uses an underlayment approach rated for stable overlay.
For hardwood floors, “finish-safe” matting is critical because some rubber compounds can transfer residue or interact with polyurethane/varnish/oil coatings ().
Coverage should be planned for impact and rolling contact zones; concentrating protection only in the center leaves edges and pivot points exposed to abrasion and indentation (NWFA and general wood-floor maintenance best practices).
Stable, seam-resistant matting reduces wobble and uneven pressure—both of which increase the risk of point-load stress and finish wear on hardwood floors ().
– Use a mat system designed to protect finished wood from abrasion and impact (look for non-staining materials and finish-safe specs).
– Place higher-protection coverage where damage is most likely: lifting/impact zones, cardio traction areas, and where equipment rolls or slides.
– If you need coverage that stays flat, choose an interlocking or underlayment-style setup that won’t bunch at seams.
Quick comparison: mat types for finished hardwood floors
Different mat systems protect differently, so pick based on the equipment you run most.
| Mat/Underlayment Type | Best For | Pros | Watch Outs |
|---|---|---|---|
| Interlocking EVA foam tiles | General training + light drops | Cushions impacts; tends to stay flat when installed correctly | Choose “non-staining/wood-safe” variants; seams can lift if uneven |
| Rubber gym mats (top layer) | Heavy kettlebell work + durable zones | Excellent impact absorption and friction | Not all rubber is finish-safe; residue/transfer is possible—verify specs |
| Thin protective underlayment (finish-safe) | Cardio-only or low-impact spaces | Improves scratch protection without big changes in feel | May be insufficient for dropped weights—pair with thicker impact zone where needed |
| Dedicated lifting platform on top of mats | Deadlifts/plates + concentrated impacts | Keeps hardest contact away from hardwood floors | Adds steps/height; confirm your workout mechanics and stability |
Protect against point loads from equipment and benches
Protect point loads by spreading pressure at every machine foot and bench leg—hardwood floors hate concentrated stress. Then add dedicated impact zones for the heaviest “drop moments,” not just general cushioning.
Point loads are where mats can’t fully do the job. Even thick foam doesn’t always distribute concentrated weight evenly, and hardwood finish + wood fibers can compress or dent under a small, hard contact footprint. That’s why equipment with tiny feet (or chairs/benches with narrow legs) can leave visible impressions even when the rest of the gym floor looks fine.
The solution is simple: use furniture-style pads, non-marking glides, or manufacturer-approved feet to create a larger contact area. For steel-framed benches and multi-post racks, check each contact point individually and verify nothing is resting on a metal edge that can “cut” into the finish. If you store weights long-term in the same locations, the time component increases risk—indentation can become permanent if pressure stays constant.
When workouts include dropped plates or frequent hard contacts, consider adding a small lifting platform or a dedicated rubber/wood lifting surface above your protective mat. This approach keeps the hardwood floors from being the final “landing surface” for concentrated impacts.
Concentrated equipment feet create point loads that can dent and compress wood even under general matting; pressure distribution is the key variable for protecting hardwood floors (NWFA guidance emphasizing routine protection and avoiding mechanical damage).
Spreading load with pads/glides increases the contact area, reducing the stress at any single spot on hardwood floors ().
For high-impact training (plates/drops), dedicated lifting surfaces reduce the number of hard-contact cycles reaching the hardwood finish ().
– Put furniture-style pads or manufacturer-approved glides under every machine foot/bench leg to spread load and reduce denting.
– For heavy free weights, consider adding a small lifting platform or dedicated impact zone instead of relying on the hardwood + thin mat alone.
– Confirm the floor won’t be permanently indented under the heaviest items (especially if you’ll store equipment there long-term).
Keep it clean and watch for early damage
Keep hardwood floors safe by treating cleanliness as part of the protection system, not an afterthought. Grit, moisture, and sticky residue are what quietly turn a “protected” floor into a worn one.
Start with a routine that matches gym traffic. Sweep or vacuum regularly—especially around mat edges—so particles don’t sit on the wood and get ground into the finish as you move equipment. If you use vacuuming, avoid hard-bristle heads and confirm the attachment won’t scratch if it bumps a seam.
Spills need quick action. Wipe promptly and avoid soaking—standing liquid that seeps at edges can be worse than surface splashes because it has time to migrate into seams. If mats are installed, also check underneath after any spill event to confirm no dampness is trapped.
Finally, inspect as you would with a “wear item.” Lift or adjust mat sections on a schedule that matches your usage (for example, after early weeks of setup and then periodically). This catches discoloration, residue transfer, or finish wear patterns before they become permanent.
Routine cleaning prevents abrasive grit from working like sandpaper against the finish of hardwood floors (NWFA “Wood Flooring Maintenance Guidelines”).
Moisture trapped under edges is a common hidden risk; prompt spill cleanup and periodic inspection reduces the chance of discoloration and finish changes on hardwood floors ().
– Sweep/vacuum regularly, including edges of mats, so grit doesn’t grind the finish like sandpaper.
– Clean spills promptly and avoid soaking; moisture that stays trapped under edges can be worse than spills on top.
– Periodically lift/adjust mat sections to check for discoloration, residue, or finish wear patterns.
What can go wrong (and how to avoid it)
Most hardwood floor issues in home gyms come from predictable mistakes: trapped grit/moisture, incompatible mat materials, or unstable mat layers that increase movement. If you avoid those, the risk drops significantly.
The first failure mode is trapped grit or moisture under mats. This often shows up as dull finish patches or dark areas that don’t improve with normal cleaning. The fix is procedural: lift, inspect, and adjust your cleaning cadence so debris doesn’t build up at seams.
The second is choosing the wrong mat material. Some rubber compounds can leave residue or off-gas chemicals that affect finish appearance; sticky backings can also transfer adhesive film. Always use mat products that explicitly state non-staining and finish-safe compatibility for finished wood, and keep the product documentation for warranty support.
The third is instability. Overly soft or uneven matting makes machines feel “wobbly,” which then increases how hard equipment contacts the floor and how often you shift loads. That additional micro-movement can wear finishes faster. Use a stable underlayer and confirm equipment leveling so your hardwood floors aren’t forced to absorb wobble-induced stress.
Mat adhesives and certain rubber formulations can cause residue transfer or discoloration; compatibility verification with finished hardwood guidance reduces the risk of cosmetic damage ().
Uneven or overly compressible underlayers can increase equipment instability, leading to more contact stress on hardwood floors at machine feet and bench legs ().
– Trapped grit or moisture under mats: leads to dulling, dark spots, or faster wear—lift and inspect on a schedule you can actually keep.
– Wrong mat material: some rubber compounds or sticky backings can leave residue or react with finishes—use spec sheets and manufacturer guidance.
– Instability: overly soft or uneven mat layers can make benches or machines feel “wobbly,” increasing risk—use a stable underlayer and check alignment.
Verdict + scan-save checklist
If you want the best odds of keeping hardwood looking good, the “clean + humidity control + mat + load spreading” approach is usually the safest path. The downside is that mats cost money, require ongoing cleaning/inspection, and may affect how stable some equipment feels—so if you can’t manage humidity or you don’t want to inspect edges, consider skipping this DIY setup and ask a flooring professional for guidance.
| Prep step | What to do | Quick check |
|---|---|---|
| Surface prep | Sweep/vacuum; remove grit | Nothing loose underfoot |
| Moisture control | Keep RH in your floor’s recommended range | No seasonal gaps/spreading issues |
| Mat coverage | Cover impact + traffic zones with finish-safe mats | No lifting/bunching seams |
| Point-load protection | Use pads/glides under equipment | No visible indent pressure |
| Maintenance | Lift/inspect edges; clean under mats | No dark spots/residue buildup |
Sources
– National Wood Flooring Association (NWFA), “Wood Flooring Maintenance Guidelines”
– National Wood Flooring Association (NWFA), installation/acclimation moisture guidance (from NWFA wood flooring installation resources)
Keeping hardwood floors safe for a home gym comes down to controlling moisture, preventing grit abrasion, and reducing impact + point-load stress. Do the surface prep, add finish-safe matting in the right zones, protect machine feet and lifting areas, and then inspect regularly—so you can train hard without slowly damaging the floor.
Frequently Asked Questions
How do I prepare hardwood floors for a home gym before moving in equipment?
Start by cleaning the hardwood floor thoroughly so dust and grit don’t scratch the finish when you roll weights or move machines. Check for any loose boards, squeaks, or lifted edges and repair them before adding flooring protection. Then add a proper gym floor mat system (like rubber or an interlocking tile layer) in high-impact zones such as where you lift, drop weights, or use cardio equipment. Finally, verify humidity and temperature stability so the hardwood isn’t expanding or contracting after you set up the home gym.
What type of floor protection works best for hardwood floors in a home gym?
Look for shock-absorbing rubber mats or dense foam underlay with a non-staining surface that protects hardwood from dents and impact. For heavy equipment and stationary machines, use a rigid base mat or thick rubber mat to distribute weight and reduce stress on the wood. Avoid thin, hard plastic coverings that can trap moisture or allow grit to move like sandpaper. If you’ll do barbell lifts or use kettlebells, choose mats rated for impact protection and make sure the edges lay flat to prevent tripping.
Which home gym equipment setup is safest for hardwood floors?
Place squat racks, benches, and heavy machines on the thickest floor protection you have, ideally with rubber mats sized to cover the entire footprint plus a little extra. Use furniture-style glides or roller-compatible mats for equipment that moves, such as treadmills or adjustable benches, to prevent point loading and friction. If your equipment has small wheels or casters, consider swapping to soft, floor-friendly wheels or using a dedicated underlay to reduce micro-scratches. Also keep weights from dragging by using controlled lift techniques and ensuring drop zones are fully covered.
Why is humidity control important when you install a home gym on hardwood?
Hardwood floors can expand and contract with changes in indoor humidity, which can loosen boards and worsen gaps over time. A home gym often increases temperature swings due to fans, heaters, or frequent workouts, so maintaining stable humidity helps protect the wood and the finish. Use a hygrometer and keep your home within recommended ranges for hardwood (commonly around 35–55% relative humidity). This reduces the risk of cupping, gapping, and finish wear caused by moisture imbalance.
How should I clean and maintain hardwood floors after home gym use?
Sweep or vacuum with a soft-brush attachment daily to remove abrasive dust from shoes and weight transfer, then spot-clean with a hardwood-safe cleaner only when needed. Wipe up sweat, water, and any chalk residue promptly—chalk and acidic cleaners can damage the finish if left to sit. If you have rubber mats, lift and clean under them occasionally to prevent moisture buildup and debris from rubbing against the floor. Consider reapplying a compatible protective coating or refinishing schedule based on traffic to keep your hardwood gym-ready for the long term.
📅 Last Updated: October 17, 2026 | Topic: How to prepare a hardwood floors for home gym? | Content verified for accuracy and freshness.
References
- Wood flooring
- Floor
- Underlayment
- Mat
- Equilibrium moisture content
- Wood drying
- https://www.epa.gov/mold/preventing-mold
- https://scholar.google.com/scholar?q=hardwood+floor+preparation+home+gym+protection+mats Google Scholar
- https://scholar.google.com/scholar?q=hardwood+floor+moisture+humidity+control+damage Google Scholar
- https://scholar.google.com/scholar?q=impact+sound+hardwood+floor+floor+matting+home+gym Google Scholar