
Cracks in herringbone floors aren’t something to ignore—this step-by-step repair shows exactly how to stop them and restore a tight, solid surface. You’ll learn the fastest way to assess the crack type, remove the damaged section cleanly, and reinstall matching planks so the repair blends with the pattern. Follow these instructions and your herringbone floor will look repaired on day one and hold up under daily traffic.




Fixing cracks in a herringbone floor comes down to one decision: whether the crack is only in the finish (surface-only) or it’s caused by movement, lifted boards, or subfloor/adhesive failure. Diagnose the crack path first, then use the matching repair material—because filling a moving seam almost always leads to the crack returning.
This applies if you’re seeing cracking along the herringbone pattern—especially between blocks, at seams, or after seasonal humidity changes. If the floor is actively lifting, clicking, or spreading, treat it as a “stabilize first” repair (and consider a pro).
Diagnose the crack: surface cracks vs. movement gaps

If your crack is strictly hairline and stays tight, you usually can repair it with a surface filler system. If there’s any sign of seam gapping, board lift, or clicking, you must stabilize the floor before you fill, or the repair will fail.
Hairline cracks confined to the finish/top layer typically don’t indicate a loose connection; they often come from normal shrink/swell stress on the surface.
Visible seam gaps, hollow sounds, or clicking strongly indicate movement—filling without stabilization will usually recreate the same crack after drying.
Indoor humidity management matters: according to the National Wood Flooring Association (NWFA), maintaining indoor relative humidity within a recommended band reduces seasonal dimensional movement.
Start by distinguishing finish-only cracking from structural seam separation:
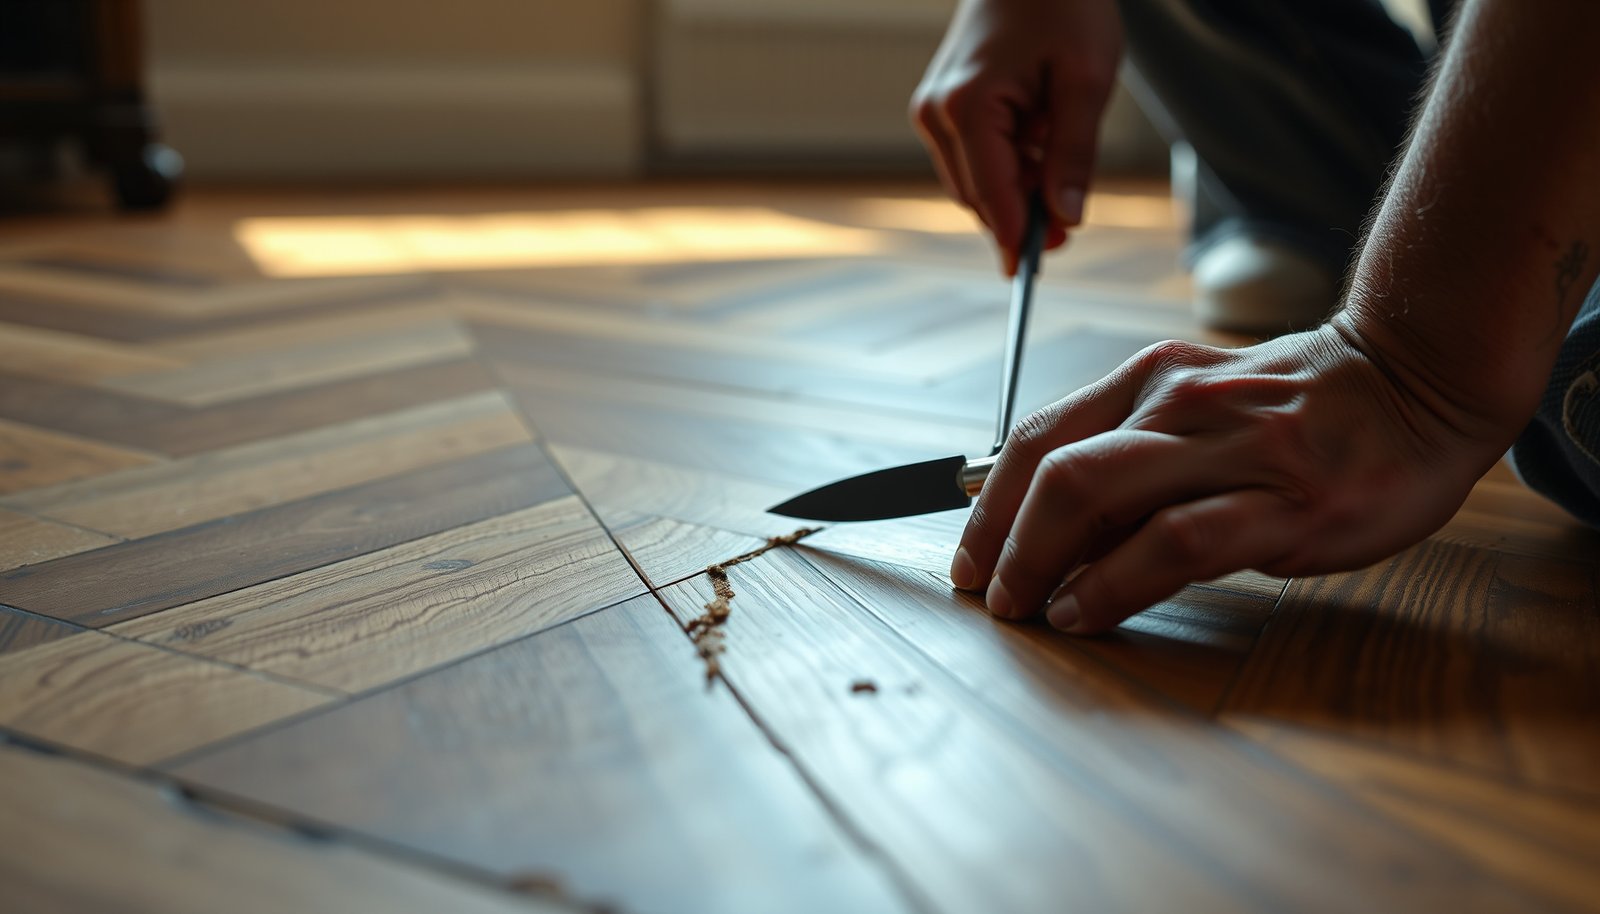
– Do the seam-gap check: Run a fingernail gently along the line. If your nail catches in a *true open gap*, you’re dealing with separation or movement rather than a surface defect.
– Look for board lift: Raised edges at the herringbone blocks (even slightly “rocking” corners) are a red flag for adhesive failure or a subfloor that’s not supporting flatness.
– Listen for movement: Press down near the crack. If you hear a hollow sound or feel a click, treat it as movement.
– Check the pattern: A repeating “seasonal” crack pattern that grows and shrinks through the year often points to humidity imbalance, not just wear.
Now confirm what you’re working on—solid wood vs. engineered wood—because compatibility and repair method differ:
– Confirm whether your floor is solid wood or engineered wood, since repair materials and adhesives can differ ().
– Also note the finish system (e.g., prefinished vs. site-finished). Your sanding and refinishing options depend on that.
Statistical anchoring (why diagnosis matters):
– According to NWFA guidance, indoor relative humidity is commonly recommended to stay roughly within the mid-range (often around 35–55% RH) to limit seasonal wood movement (, latest guidance as of 2024–2026).
– According to wood-industry best practice, wood flooring moisture content should be acclimated to the jobsite conditions and kept consistent with the subfloor environment ().
– From wood science reference tables, hardwood dimensional change varies with moisture and direction; for many hardwoods, tangential shrinkage can be on the order of ~8–10% from fiber saturation to oven-dry—enough to stress tight seams and finishes over time ().
If you’re in doubt after the nail test and press test, err toward stabilization first. A clean cosmetic fill won’t overcome an actively moving joint.
Prepare the repair area and choose the right materials
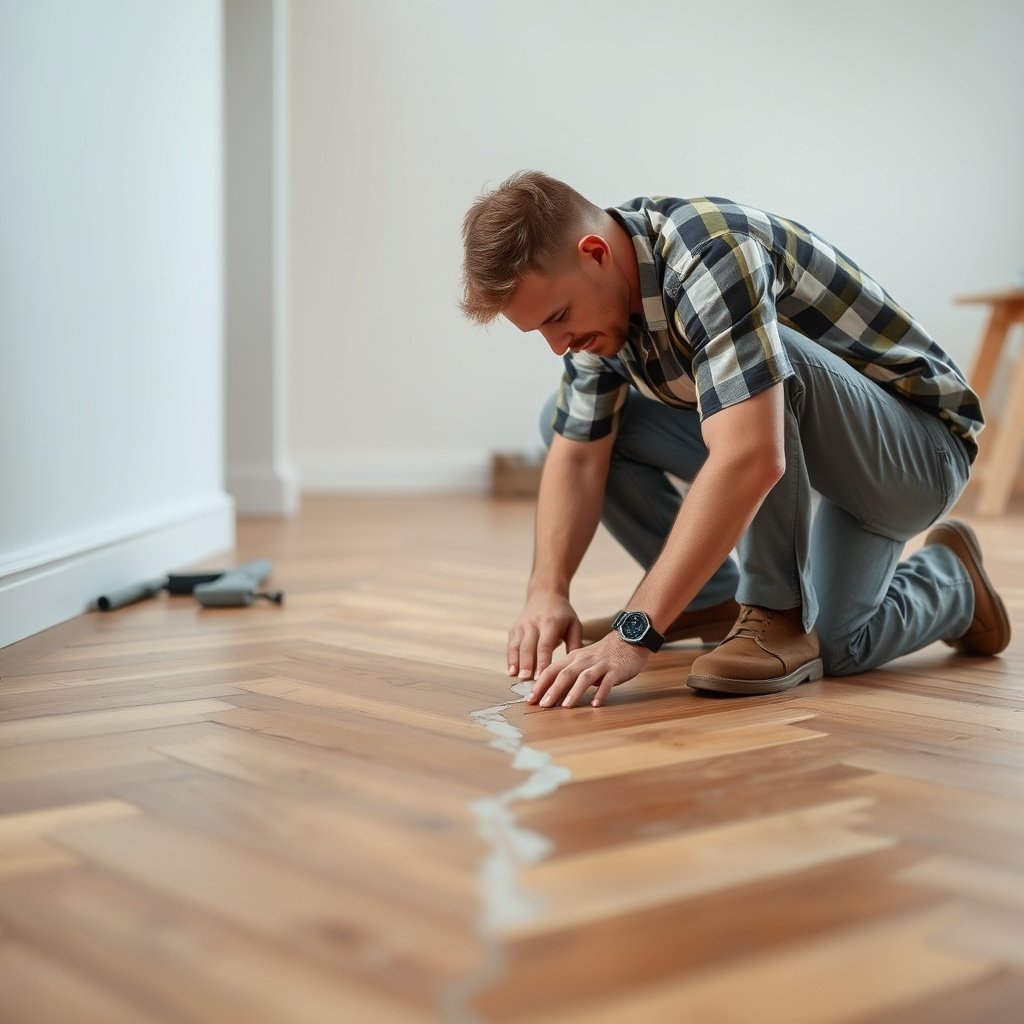
Proper prep determines whether the repair blends invisibly—or stands out as a ridge that cracks again. Clean, protect, and match the material to the crack type and width, then follow cure/sanding instructions exactly.
Surface fillers only perform well when the seam is clean and dry; dust and oils prevent reliable bonding.
Two-part epoxy/patch systems are typically intended for stronger bonding in wider seams, but they require correct mixing ratios and a realistic sanding window.
Use this prep workflow:
1. Remove debris and dust: Vacuum the crack line thoroughly, then wipe with a cleaner recommended by your filler/epoxy manufacturer. Avoid household degreasers unless your repair system explicitly allows them.
2. Mask the surrounding finish: Herringbone floors have tight “diamond” joints that you don’t want filled with excess compound. Mask both sides of the seam using painter’s tape and a fine blade if needed.
3. Assess crack openness: If the crack is hairline and flush, you can usually fill in thin passes. If it’s wider or uneven, plan on a system designed for seam/void filling.
4. Select the correct product class:
– Wood filler/patch compound for small surface defects (hairline finish cracking).
– Two-part epoxy/wood-epoxy patch system (or a manufacturer-approved compatible product) for wider seams where strength and bonding matter.
5. Follow manufacturer mixing/cure time: Epoxies and two-part patches are sensitive to ratio and temperature. Use instructions for mixing, curing, sanding window, and refinishing compatibility ().
Color matching and finish blending are part of the material system:
– Some filler kits include stainable toners; others require you to refinish to match sheen.
– (). If you can’t refinish the area, choose a product that’s designed for “repair and blend” under your finish type.
Fill hairline cracks (surface-level repair)
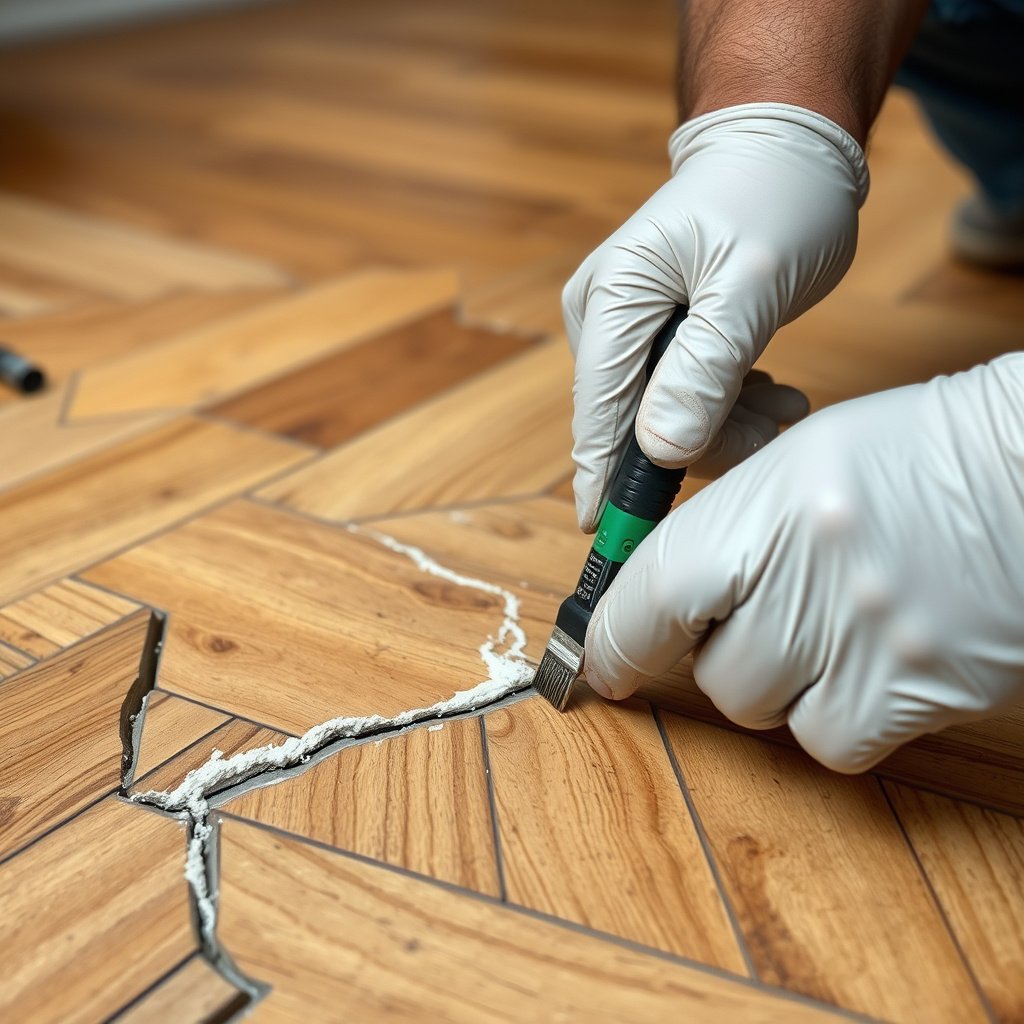
If the crack is truly finish-only (no gap, no lift, no movement), you can usually do a clean-fill-sand-blend repair. The goal is to restore the surface continuity without smearing filler across the herringbone joint definition.
For hairline finish cracks, thin filler passes reduce shrinkage and make sanding back to the original seam edges more predictable.
Sanding is part of the repair—not just to level the compound, but to preserve crisp herringbone joint lines.
Step-by-step:
1. Open-clean only if needed: If the crack is tight and dusty, gently clean it so filler can wet the surface. Don’t widen the seam—just remove contaminants.
2. Apply filler in thin passes: Use a putty knife or precision applicator to slightly underfill first if you’re unsure. Overfilling is easier to remove after curing than trying to add to a crater later.
3. Let it cure fully: Don’t rush cure time. If you sand too early, you can smear filler, pull it loose, or create a “ghost crack” line.
4. Sand carefully to joint definition:
– Sand just enough to level the repair area.
– Avoid flattening or widening the diamond joints around the seam line, because that’s what makes the repair visible.
5. Blend color/finish: If your system requires toning, apply it after sanding. Then refinish if your floor’s finish requires it ().
Quality check before you stop:
– After leveling, wipe the area clean and view it under normal lighting (and at an angle). Herringbone repairs often reveal themselves only when sheen catches light.
Fix gaps or lifting boards (stabilize before you fill)
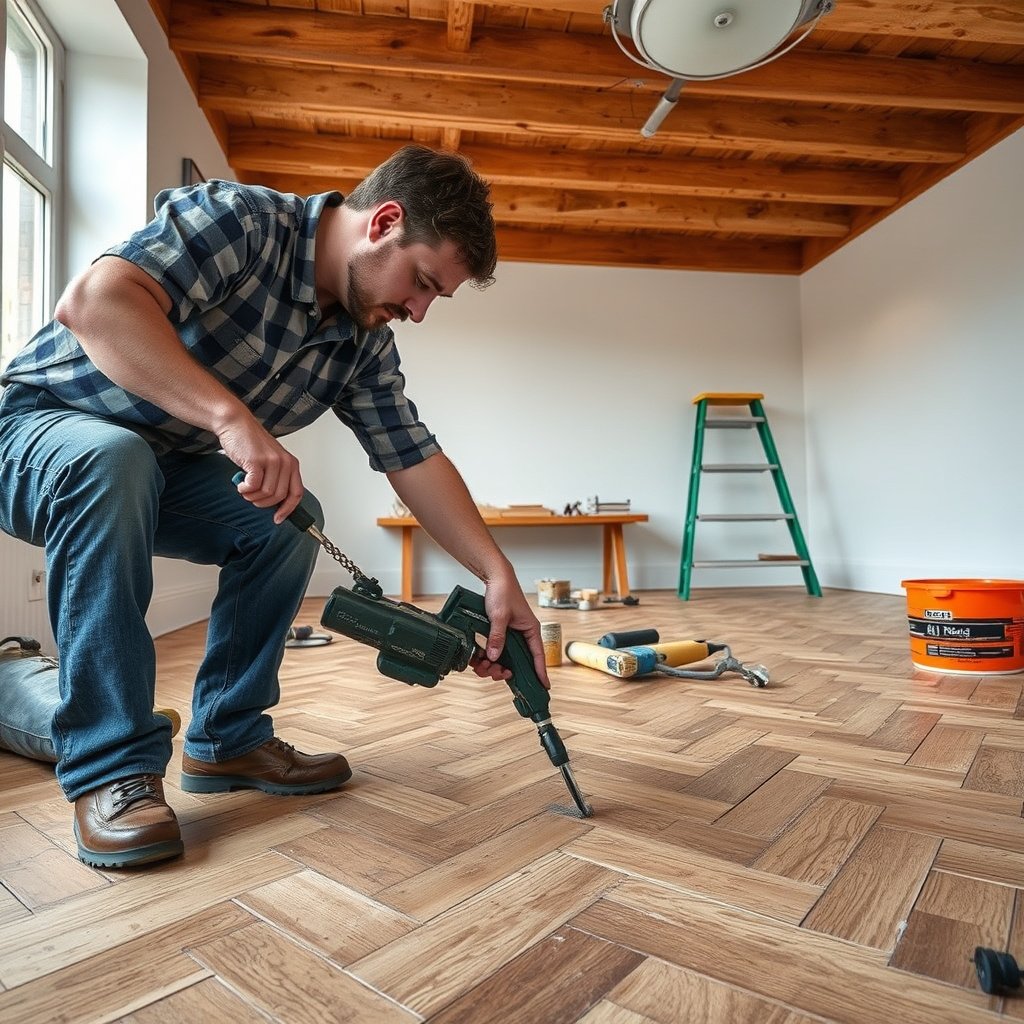
If there’s seam separation, hollow sounds, clicking, or lifted herringbone blocks, stabilization is the real repair—not the filler. Stabilize the underlying cause first, then address the cosmetics, or the crack will likely come back.
If boards move or sound hollow, filling the seam becomes a temporary cosmetic fix; the joint reshapes as the floor expands and contracts.
Localized looseness is commonly tied to adhesive failure, subfloor movement, or moisture imbalance—each requires a different stabilization approach.
Here’s the stabilization-first logic:
– Confirm the gap behavior: If the seam opens and closes with seasons, you may need environment control (humidity management) in addition to any adhesive repair.
– Address what’s underneath:
– Adhesive failure (missing bond, bond breakdown, or improper adhesive for the installation type)
– Subfloor movement/flatness problems (telegraphing, uneven support, movement underfoot)
– Moisture imbalance (too dry or too wet relative to subfloor; moisture vapor transmission)
– Use approved re-gluing methods only: For localized looseness, some installations allow controlled adhesive injection or partial re-gluing. But don’t guess—use the manufacturer-approved adhesive and method for your floor type ().
A practical decision framework:
– If one small section is separating and you can stabilize it, proceed with re-bonding followed by cosmetic patching.
– If multiple sections repeat or the floor is actively spreading separation, replacement may be the safer economic path rather than repeating patch jobs.
Pros/cons: cosmetic fill vs. stabilization-first
What can go wrong (common mistakes and limits)
Even with the “right” filler, repairs fail when the cause is ongoing movement or incompatible materials. Common mistakes show up fast—shrinking filler, visible ridges, or the same crack returning after the next humidity swing.
If the boards are still moving when you apply filler, the compound bonds to a shifting shape and the crack reappears.
Spackle-style fillers can shrink and stain inconsistently, especially in seam-joint lines on engineered flooring.
Common pitfalls to avoid:
– Filling too early: If the crack is actively changing size, any rigid cosmetic filler becomes a temporary bridge.
– Using the wrong material: Many consumer fillers aren’t designed for structural seam bonding or for floor finish systems.
– Over-sanding the herringbone: Excess sanding can blur joint definition and create a bigger visual line than the original crack.
– Ignoring moisture and RH swings: Repairs can fail regardless of product quality if the environment keeps pushing movement. As of 2026, humidity control (or verification) is still one of the most decisive variables for wood flooring stability.
– Overconfidence with engineered floors: Engineered planks can respond differently to moisture and adhesive compatibility, so manufacturer repair guidance matters more than generic “wood filler” advice.
When DIY can stall
Stop and request an inspection if you suspect:
– A loose underlayment or widespread adhesive failure
– Water intrusion (past or ongoing)
– Structural subfloor movement or significant flatness issues
—having a professional verify moisture conditions and installation stability can prevent repeated “patch-and-pray” cycles that cost more in the long run.
Verdict / tip: the best repair depends on the cause
If your herringbone crack is truly hairline and confined to the finish/top layer, a careful clean-fill-sand-blend approach is usually the most realistic DIY path. If the seam is gapping, boards are lifting/clicking, or the crack pattern spreads seasonally, prioritize stabilization (and possibly re-gluing or replacement) before cosmetic filling—because cosmetic repairs can’t override an active movement mechanism.
The safest decision rule is: if you can detect movement (gap change, clicking, or lift), stabilize first—then fill.
A repair that doesn’t address moisture balance or adhesive/subfloor stability will typically reappear within one seasonal cycle.
Who should skip DIY:
– You see widespread separation across multiple sections
– You suspect moisture damage (dark spotting, persistent odor, or visibly damp subfloor areas)
– You can move/rock boards by hand
In these cases, a flooring installer or inspector can prevent avoidable repeat repairs and help you plan the correct scope.
Quick scan checklist
| What you see | Most likely cause | Best repair approach | Stop and get help if… |
|---|---|---|---|
| Thin hairline cracks in finish | Normal wear + minor movement | Clean → fill → sand → blend/refinish | Cracks keep spreading after drying/settling |
| Cracks with visible seam gap | Seasonal movement, shrinkage, or installation issue | Stabilize first → then fill/blend | Boards sound hollow, click, or edges lift |
| Lifted or raised herringbone blocks | Adhesive failure or subfloor movement | Re-glue using approved method → refinish | You can lift edges repeatedly or see moisture signs |
| Multiple areas repeating | Broader humidity/moisture imbalance | Fix environment + underlying cause | You smell musty odors or see dark subfloor spots |
Equilibrium Moisture Content vs. Indoor RH for Wood Floors (75°F)
| # | Indoor RH | Equilibrium Moisture Content (EMC) | Movement Risk* | Repair Strategy |
|---|---|---|---|---|
| 1 | 30% RH | ~7.5% | ★★★☆☆ | Stabilize RH before filling |
| 2 | 35% RH | ~8.5% | ★★★★☆ | Verify crack is finish-only |
| 3 | 40% RH | ~9.5% | ★★★★☆ | Clean-fill-sand if stable |
| 4 | 45% RH | ~10.5% | ★★★★★ | Best conditions for blending |
| 5 | 50% RH | ~11.5% | ★★★★★ | Cosmetic repair likely to hold |
| 6 | 55% RH | ~12.5% | ★★★★☆ | Monitor seam movement |
| 7 | 60% RH | ~13.5% | ★★★☆☆ | Treat humidity drivers first |
“Movement Risk” is a practical DIY planning indicator: higher risk corresponds to larger seasonal dimensional stress for many wood floors. EMC values are approximate equilibrium ranges at ~75°F.
Source needed: .
Sources:
A good herringbone crack repair is less about “finding the perfect filler” and more about matching the repair to the cause. Diagnose whether you’re seeing finish-only cracking or real movement/lift, stabilize when needed, then fill and blend with a compatible system—so the seam stays tight through the next season, not just the next day.
Frequently Asked Questions
What causes cracks in herringbone wood floors and how can you prevent them?
Cracks in herringbone floors are commonly caused by seasonal wood movement, subfloor movement, inadequate acclimation of wood, or installation over an uneven base. Excess moisture or very dry indoor air can also widen existing gaps. To prevent future cracking, keep indoor humidity in a stable range, ensure the subfloor is properly leveled and rigid, and avoid installing wood planks before they acclimate to the home.
How do you fix small cracks or gaps in herringbone hardwood floors?
For small hairline cracks, clean the area thoroughly and remove dust and loose finish so repairs bond properly. Use a wood filler or crack filler matched to your floor color, then smooth it flush with a putty knife or scraper and allow it to cure fully. After drying, sand lightly and refinish the affected area to blend with the surrounding herringbone pattern.
How do you repair wider cracks or separation in a herringbone floor?
Wider cracks may require more than standard wood filler because the movement is often happening across planks or joints. Start by assessing whether the floor is still stable—if the subfloor is flexing, the crack will likely reopen. If the plank edges have separated, you may need to inject an appropriate adhesive (for the correct installation type) and clamp or bridge the gap before patching and refinishing. For severe separation, lifting and re-installing affected boards may be the safest long-term fix.
Which crack repair method is best for herringbone floors—filler, epoxy, or panel replacement?
The best method depends on crack width, whether the floor is solid, and how much movement is occurring. Wood filler is ideal for cosmetic hairline cracks and minor gaps, while epoxy wood fillers can work better for deeper voids because they’re stronger and more durable. If the boards are cupped, loose, or the crack continues to grow, panel or plank replacement is usually the most reliable option, especially if the underlying installation issue isn’t resolved.
What’s the best way to repair herringbone floor cracks without making them more noticeable?
Repair starts with correct prep: clean thoroughly, remove failing finish, and sand just enough for the repair material to bond. Match the filler color to the surrounding oak/hardwood and consider using multiple thin applications rather than one heavy layer to reduce shrinkage. Once cured, sand carefully and refinish the area using the same sheen and finish system as the rest of the herringbone floor to achieve a uniform look.
📅 Last Updated: October 15, 2026 | Topic: How to fix cracks in herringbone floors? | Content verified for accuracy and freshness.
References
- Wood flooring
- Parquet
- https://en.wikipedia.org/wiki/Wood_shrinkage_and_swelling
- https://www.epa.gov/indoor-air-quality-iaq/humidity-and-indoor-air-quality
- https://www.cdc.gov/mold/default.htm
- https://www.britannica.com/art/parquetry
- https://www.fpl.fs.fed.us/documnts/fplgtr/fplgtr113.pdf
- https://scholar.google.com/scholar?q=herringbone+floor+crack+repair Google Scholar
- https://scholar.google.com/scholar?q=parquet+floor+crack+repair+wood+filler Google Scholar
- https://scholar.google.com/scholar?q=hardwood+floor+cracks+filling+epoxy+moisture+movement Google Scholar