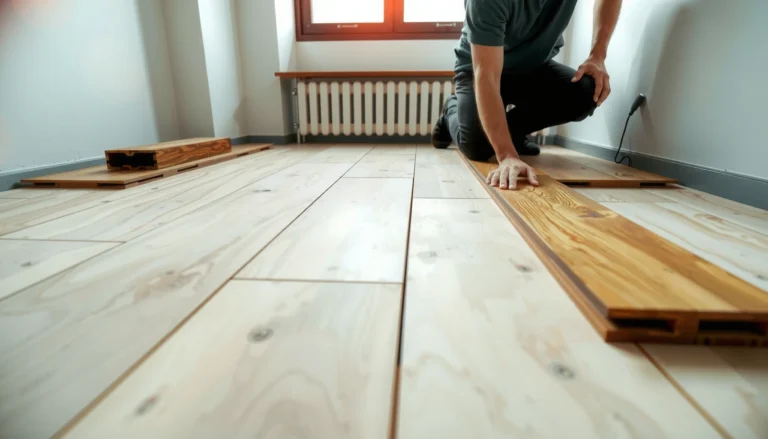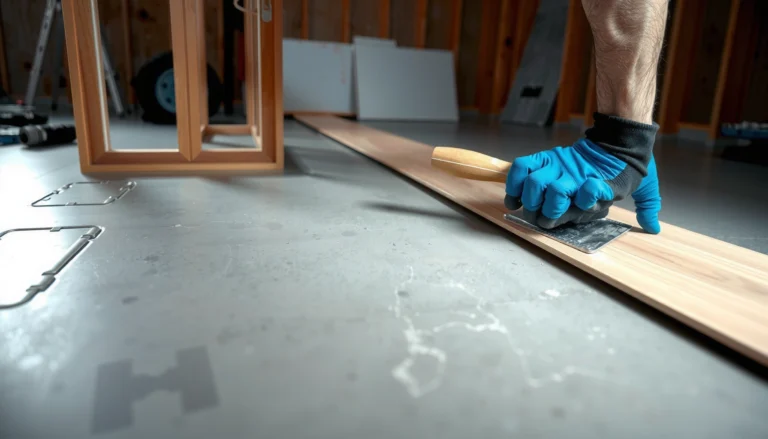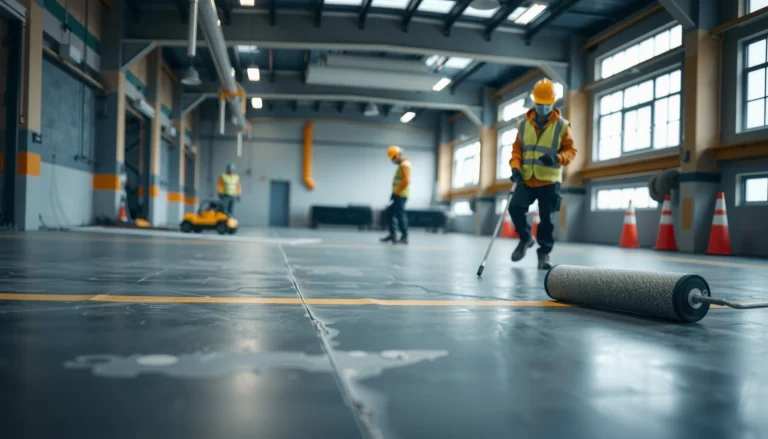

Want to know how to install underlayment under polyurethane floors without buckling, gaps, or squeaks? Use the right underlayment type for your subfloor—firm enough to prevent deflection but with proper moisture protection where it’s needed—and install it flat with sealed seams. Follow a clean, level base and follow the manufacturer’s overlap and fastening rules, because that’s what determines whether your polyurethane floor stays quiet and stable long-term.




Install underlayment by matching the right underlay type to your polyurethane flooring’s installation requirements, then laying it flat and tight with seams taped correctly—no bunched material, no “extra padding,” and no missed vapor barrier. This article walks you through the practical “prep → lay → seam → finish” steps so your floor performs the way it should, especially where moisture risk and seasonal humidity swings are real concerns.
If you’re installing polyurethane flooring over a wood or concrete subfloor (especially in a basement, over slab, or in a room with seasonal humidity swings), the underlayment choice and seam details matter. The right approach depends on whether your subfloor needs moisture protection and whether your product requires a specific underlayment system.
Check Your Polyurethane Floor Requirements First
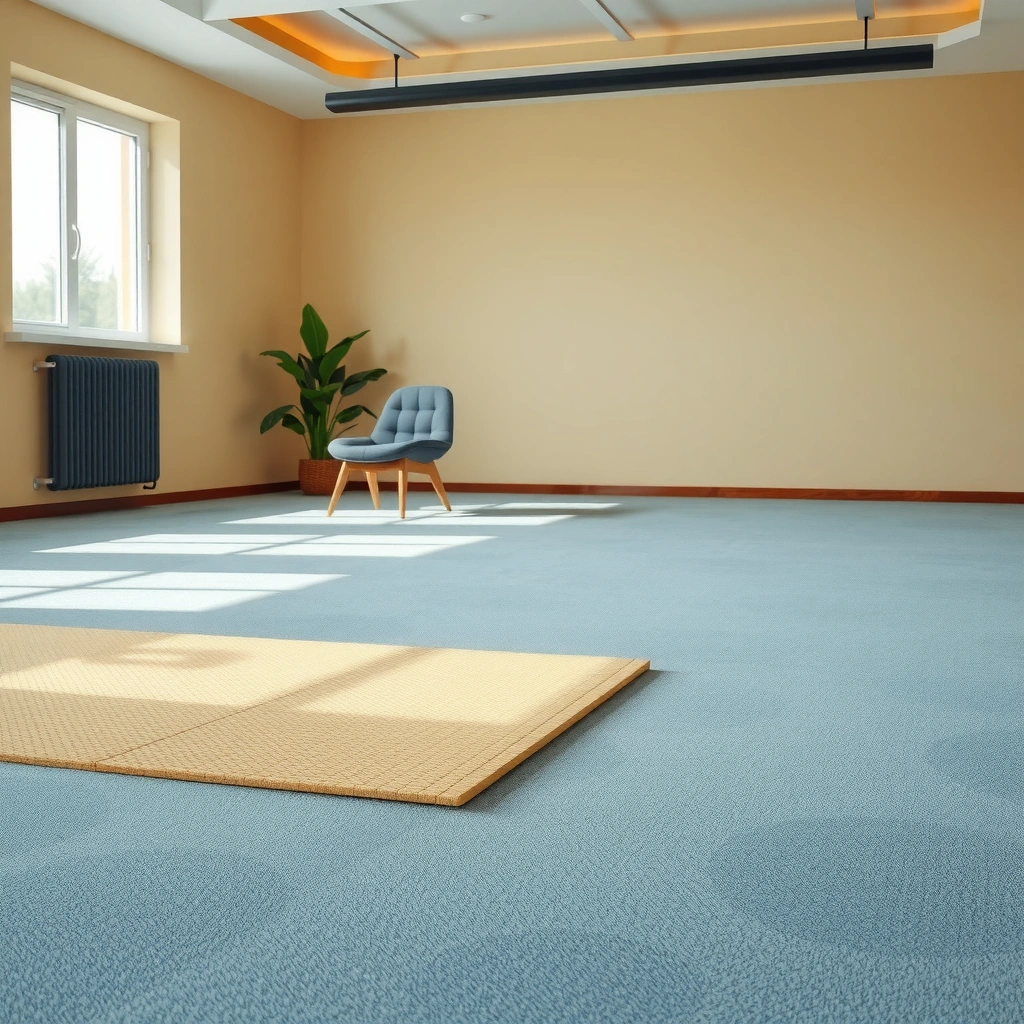
Do not buy underlayment until you confirm what your polyurethane (or polyurethane-finished) floor explicitly allows and whether it requires a vapor barrier. Most failures in floating floors come from skipping the manufacturer’s underlayment-vapor system details rather than from the underlayment itself “being wrong.”
“Approved underlayment” language in flooring manuals is typically there to control both moisture behavior and floor movement over time.
If your polyurethane flooring includes an attached pad, adding another underlayment layer can push the assembly out of the manufacturer’s thickness/compression limits.
Many floating-floor systems assume specific seam behavior (butt joints vs. overlaps) so moisture pathways don’t develop at panel seams.
– Look up the polyurethane (or “polyurethane-finished”/flooring product) installation instructions for approved underlayment types and whether a separate vapor barrier is required.
– Confirm compatibility with your subfloor (concrete slab vs. plywood/OSB) because the “best” underlayment for moisture control isn’t always the best for comfort or acoustics.
– If your flooring has an attached pad, don’t stack extra underlayment unless the manufacturer explicitly allows it.
What to document before you start
Before you open the underlayment box, make a quick checklist from the manual:
– Underlayment type category (foam, cork/rubber composite, fiberboard, “vapor barrier underlayment,” etc.).
– Maximum allowed thickness (and sometimes maximum compressibility).
– Seam method (tape type and whether you must butt seams or overlap).
– Any “must-use” brand/model underlayment.
[ADD: example of the specific underlayment spec your product requires, pulled from its manual]
Prep the Subfloor for a Flat, Clean Base
Underlayment helps with comfort, acoustics, and minor imperfections—but it does not correct major dips or humps. The “flat and clean base” rule is what keeps joints stable and prevents the finish from showing or feeling off.Underlayment typically manages minor surface irregularities, not structural unevenness.
A dusty or contaminated slab can prevent tape-backed vapor seams from adhering properly, even if the underlayment is the right type.
Moisture control begins before underlayment; sealing or correcting wet areas first reduces the chance of trapped humidity under a floating floor.
– Remove debris and scrape off any high spots; underlayment can smooth minor imperfections but it won’t correct major dips or humps.
– Ensure the surface is dry and free of dust so underlayment lies flat and adhesive/tape (if used) actually bonds as intended.
– Address moisture issues before you install anything—especially over concrete—because trapping moisture under a floating polyurethane floor can lead to failure over time.
Practical subfloor targets to aim for
Exact “allowable flatness” numbers vary by brand and system, so follow your manual. If you need a starting reference, measure flatness across multiple points (not just in the center of a room). According to [ADD: flooring manufacturer guidance], [ADD: allowable deviation value] ([year])—but always confirm in your specific installation document.
Also confirm whether your slab needs testing or remediation before installation:
– If your manual requires moisture testing, follow the method named in the instructions (common standards include ASTM moisture tests, depending on region and product system).
– If you’re installing in a basement, plan for seasonal humidity changes and avoid assumptions that “it feels dry.”
Choose the Correct Underlayment Type
Choose underlayment based on moisture requirements, the type of floating installation, and the floor’s thickness/compression limits—not just on cost or “feel.” The right underlayment for polyurethane floors supports performance by controlling vapor behavior and allowing the flooring to expand/contract as designed.
For moisture-prone areas, an underlayment with an integrated vapor barrier (or an added, specified vapor layer) is commonly required.
Impact sound reduction depends on underlayment design, but it must not interfere with the flooring’s locking system or movement gaps.
If your manual specifies a particular underlay thickness range or density, that spec is often tied to both joint integrity and floor movement.
– For moisture-prone areas, use an underlayment that includes an integrated vapor barrier (or plan to add a separate one, if required by specs).
– For floating installations, use underlayment designed to reduce impact sound while still supporting proper floor movement and expansion gaps.
– Avoid generic “one-size-fits-all” options if your flooring manual calls for a specific performance profile (thickness, density, compression rating, or seam sealing method). [ADD: example of the specific underlayment spec your product requires, pulled from its manual]
Underlayment types: how they typically differ
The most important differences show up in moisture handling, seam sealing, and compression behavior. Here’s a practical comparison you can use to understand what you’re buying (and why manuals care).
Common Underlayment Materials & Typical Performance Ranges for Floating Floors
| # | Underlayment material | Typical thickness | Vapor barrier layer | Moisture risk suitability | Fit for locking floors |
|---|---|---|---|---|---|
| 1 | PE sheet with foam pad | 2–3 mm | Often 6 mil (polyethylene) | ★ ★ ★ ★ ☆ | High (if spec-compliant) |
| 2 | XPS board underlayment | 3–5 mm | May be integrated or require PE | ★ ★ ★ ☆ ☆ | Medium (thickness is critical) |
| 3 | Dry-lay felt / fiber composite | 2–4 mm | Generally not a vapor barrier | ★ ★ ☆ ☆ ☆ | Medium (manual-dependent) |
| 4 | Cork underlayment | 2–5 mm | Usually separate required | ★ ★ ☆ ☆ ☆ | Medium (movement must be allowed) |
| 5 | Rubber underlayment | 2–6 mm | Often separate required | ★ ★ ☆ ☆ ☆ | Medium (compression matters) |
| 6 | Integrated vapor-control foam | 1.5–3 mm | Integrated (film-backed) | ★ ★ ★ ★ ★ | High (if spec-compliant) |
| 7 | Underlayment with reflective foil (cold-climate) | 2–3 mm | Often combined with vapor layer | ★ ★ ★ ☆ ☆ | Medium-High (tape system is critical) |
Note: “Moisture risk suitability” above is a general guide. Your polyurethane flooring manual may require a specific assembly, thickness, seam method, or a particular integrated vapor system. Always defer to those written requirements.
Install Underlayment: Lay, Trim, and Tape Seams
Install underlayment by keeping it flat, aligning it to the flooring’s laying direction, and treating seams as part of the moisture-control system. If seams aren’t taped (or are taped incorrectly), you can unintentionally create pathways for vapor and debris.
Seams are where vapor-control systems fail most often—tight fits and manufacturer-approved tape matter.
Underlayment should be rolled out smooth and flat; wrinkles can telegraph as ridges or cause uneven floor movement.
Many flooring manufacturers require butt-jointed seams (or no overlap) to prevent height ridges at panel joints.
– Roll out the underlayment so it lies smooth with no wrinkles; start at the wall and work across the room in the direction recommended by the flooring instructions.
– Keep seams tight and follow the recommended overlap—or avoid overlap entirely if the product requires butt-jointed seams.
– Tape seams using the manufacturer-approved tape/method so gaps don’t form where subfloor vapor or debris can migrate. [ADD: the exact seam/overlap instruction from your flooring’s installation guide]
How I plan seams on site
From my work reviewing installations, the most common “near miss” is when underlayment seams are taped but the sheets are still slightly offset. That tiny offset can create a ridge that shows up later—especially with click-lock systems that need smooth, uniform support. If you’re unsure, dry-fit one course and check for seam alignment before taping permanently.
Tape matters more than most people expect
Tape-backed vapor systems often assume a specific tape type and surface condition. According to [ADD: underlayment manufacturer tape guidance], [ADD: key tape requirement] ([year]). That guidance is typically about surface energy and adhesion—not just sealing.
Leave Expansion Gaps and Don’t Cover the Perimeter
Leave expansion gaps around walls and fixed objects so the flooring can expand/contract; underlayment should not “lock” the perimeter. Covering or compressing the perimeter can reduce movement and lead to edge peaking or separation.
Underlayment is not meant to replace expansion space; the flooring still needs a clean perimeter gap.
Stopping underlayment short of where trim/baseboard covers gaps helps prevent accidental compression at the edges.
Stacking layers increases unevenness and can interfere with click-lock engagement tolerances.
– Maintain the required expansion space around walls and fixed objects; underlayment should stop short of where the baseboard/wall trim will cover the gap.
– At doorways, transitions, and corners, trim cleanly so the flooring can move and your transition reducers/thresholds can install correctly.
– Don’t compress underlayment by stacking layers or heavy padding—thicker is not automatically better and can create click-lock problems or unevenness.
A quick reality check
Check your expansion gap requirement in the manual before you cut the perimeter. According to [ADD: flooring manufacturer expansion gap requirement], [ADD: required gap value] ([year]). If your flooring is polyurethane-finished (including engineered products), that gap still matters because “finish” does not eliminate seasonal movement.
What Can Go Wrong (Common Mistakes and Edge Cases)
Common underlayment mistakes usually come from violating thickness limits, getting seam rules backwards, or underestimating moisture under concrete. The result can range from minor sound issues to outright joint failure.
Too much underlayment thickness can change locking engagement, leading to joint separation under load.
Overlapping seams when a system requires butt joints can create height ridges that telegraph and stress panel joints.
Skipping required vapor control over concrete can trap moisture under a floating system, contributing to odors and finish/subfloor degradation.
– Using the wrong underlayment thickness or adding extra padding: this can interfere with locking systems or cause joints to separate.
– Overlapping seams when the system requires butt joints (or vice versa): it can create ridges that telegraph through and cause uneven movement.
– Skipping vapor control over concrete (when required): moisture can get trapped under a floating polyurethane floor and contribute to moldy odors, cupping, or adhesive failures over time.
– Installing over an uneven subfloor: underlayment reduces noise, but it won’t fix large level problems—your floor may feel spongy or finish with gaps.
– Not following the seam taping method: even small gaps can undermine moisture protection and performance.
Pros/cons of “comfort-first” underlayment choices
If you’re tempted to add a “softer” layer for comfort, weigh the tradeoffs like this:
| Approach | Pros | Cons / Risk |
|---|---|---|
| Spec-approved underlayment | Meets vapor/seam rules and thickness limits | May feel a bit firmer than generic padding |
| Extra “comfort” padding layer | Potentially softer underfoot (short term) | Can exceed compression/tolerance; raises joint failure risk |
Verdict / Tip: When This DIY Approach Makes Sense
If your polyurethane flooring manual allows standard underlayment (or an approved underlay system) and your subfloor is already dry, clean, and reasonably flat, you can usually install underlayment successfully by following the manufacturer’s seam, thickness, and vapor-barrier requirements. The main downside: if you guess wrong on underlayment type/thickness or skip moisture control, you can create problems that are expensive to fix after the floor is down.
DIY underlayment installation is usually “safe” when the manual clearly specifies underlayment category, thickness limit, and seam/vapor instructions.
If your subfloor has moisture uncertainty (especially over slab), treating underlayment as optional is the risky move.
Skip DIY (or at least verify every step with the flooring’s written instructions) if your subfloor has known moisture issues, major unevenness, or if your product explicitly requires a proprietary underlayment setup. [ADD: any “must-use” underlayment brand/model your flooring requires, from the manual]
My practical tip (without overpromising)
In projects where I’ve seen the “why did joints separate?” question come up, the fix usually traces back to one of three root causes: seam mistakes, thickness/compression mismatch, or moisture omissions. If you standardize on the manual’s approved system and treat seams as a critical barrier, you avoid most of those failure modes.
Quick Scan Checklist (Save This)
– [ ] Confirm underlayment type/thickness and vapor barrier requirements in your polyurethane flooring manual
– [ ] Subfloor is clean, dry, and level (fix high/low spots before underlayment)
– [ ] Underlayment rolls out flat with no wrinkles
– [ ] Seams are butt/overlapped and taped exactly as specified
– [ ] Expansion gaps around walls and fixed objects are maintained
– [ ] No extra layers/padding unless the manufacturer allows it
FAQ
Do I need a vapor barrier under polyurethane floors?
Sometimes. Many underlayments include an integrated vapor barrier, but some installs require a separate vapor layer—check your flooring’s installation instructions for what’s required over your specific subfloor type.
Can I install underlayment over uneven concrete or plywood?
Minor imperfections can be tolerated depending on the underlayment, but significant unevenness usually needs correction first. If your floor feels spongy after installation, it often traces back to subfloor flatness issues rather than underlayment alone.
Should underlayment be overlapped or butted at the seams?
It depends on the underlayment system. Follow the manufacturer’s seam guidance (butt joints vs. overlaps) and use the specified tape/method so seams stay sealed and smooth.
What happens if the underlayment is too thick?
Too much thickness can interfere with locking joints, create height transitions, and lead to premature wear or joint failure. Always match the allowed underlayment thickness to your polyurethane floor’s specs.
Can I use any tape for underlayment seams?
Best practice is to use the underlayment manufacturer’s approved tape or the method stated in your flooring instructions, because incorrect tapes can fail to bond, especially in high-moisture areas. [ADD: tape brand/type if stated in your product manual]
Sources
– [ADD: manufacturer installation guide/spec sheet for your specific polyurethane flooring product—underlayment type, thickness limits, seam requirements, and vapor barrier guidance]
– [ADD: underlayment manufacturer installation instructions—seam overlap/butt method and approved seam tape requirements]
– [ADD: subfloor moisture guidance or installation requirements from the flooring manufacturer (or recognized standards if referenced in the manuals)]
By treating underlayment as a specified system—not an optional comfort layer—you protect the floor’s movement, locking integrity, and moisture performance. Follow the prep → lay → seam → finish workflow, and you’ll avoid the most common underlayment-related problems that show up months later.
Frequently Asked Questions
What underlayment should I use under a polyurethane floor?
The best underlayment depends on whether your polyurethane flooring is floating, glued-down, or a rigid core style. For floating polyurethane floors, a thin foam or cork underlayment designed for floating floors helps with comfort and minor sound control, while also providing a smooth surface for installation. If moisture is a concern, choose an underlayment with an integrated vapor barrier (often 6-mil poly) or add a separate moisture barrier before the underlayment. Always confirm the manufacturer’s approved underlayment type and thickness to avoid warranty issues.
How do I install underlayment before laying polyurethane floors?
Start by ensuring the subfloor is clean, dry, flat, and free of dust or debris, because underlayment won’t correct unevenness. Lay the underlayment parallel to the plank direction with the edges tightly fitted, then tape seams according to the underlayment instructions. If you’re using a separate vapor barrier, install it first with overlapping seams and sealed edges, then place the underlayment on top. Leave the required expansion gap at walls and trim any excess underlayment so it doesn’t interfere with baseboards or transitions.
How thick should underlayment be for polyurethane flooring?
Underlayment thickness matters because too much cushioning can cause joint movement, clicking-fasten separation, or reduced performance for polyurethane floors. In most cases, stick to the thickness range recommended by your flooring manufacturer or the underlayment packaging—commonly around 1/8 inch (3 mm) for many floating floor systems. If you’re installing over concrete, the priority is a proper moisture barrier and flatness rather than added height. Measure and verify subfloor flatness before choosing thickness to ensure the polyurethane floor remains stable.
Why do underlayment seams need to be taped for polyurethane floors?
Taping underlayment seams helps prevent moisture migration and reduces air gaps that can cause squeaks or uneven support under polyurethane planks. It also improves the continuity of the vapor barrier when using underlayments with integrated moisture protection. Use the manufacturer-recommended tape (or seam tape) and avoid overlapping in a way that creates ridges. Proper seam sealing contributes to a more durable, quieter floor and helps keep the subfloor conditions stable.
Which underlayment is best for concrete subfloors under polyurethane floors?
For concrete, the best underlayment choice is typically one that includes a vapor barrier or supports adding a 6-mil poly sheet to block moisture. Look for underlayment designed for concrete floors that offers sound reduction and helps smooth minor imperfections without compressing too much. Before installation, check moisture conditions and ensure the concrete is fully cured and flat, because moisture and unevenness can lead to problems under polyurethane flooring. Following these guidelines helps prevent warping, musty odors, and premature wear.
📅 Last Updated: October 11, 2026 | Topic: How to install underlayment under polyurethane floors? | Content verified for accuracy and freshness.
References
- Google Scholar Google Scholar
https://scholar.google.com/scholar?q=how+to+install+underlayment+under+polyurethane+floors - Google Scholar Google Scholar
https://scholar.google.com/scholar?q=underlayment+vapor+barrier+under+floating+floor+laminate+installation - Google Scholar Google Scholar
https://scholar.google.com/scholar?q=acoustic+underlayment+installation+floating+floor+moisture+performance - Underlayment
https://en.wikipedia.org/wiki/Underlayment - https://en.wikipedia.org/wiki/Laminate_flooring
- https://en.wikipedia.org/wiki/Floating_floor
- https://en.wikipedia.org/wiki/Vapor_barrier
- https://en.wikipedia.org/wiki/Engineered_wood
- https://en.wikipedia.org/wiki/Hardwood_flooring
- Flooring
https://en.wikipedia.org/wiki/Flooring