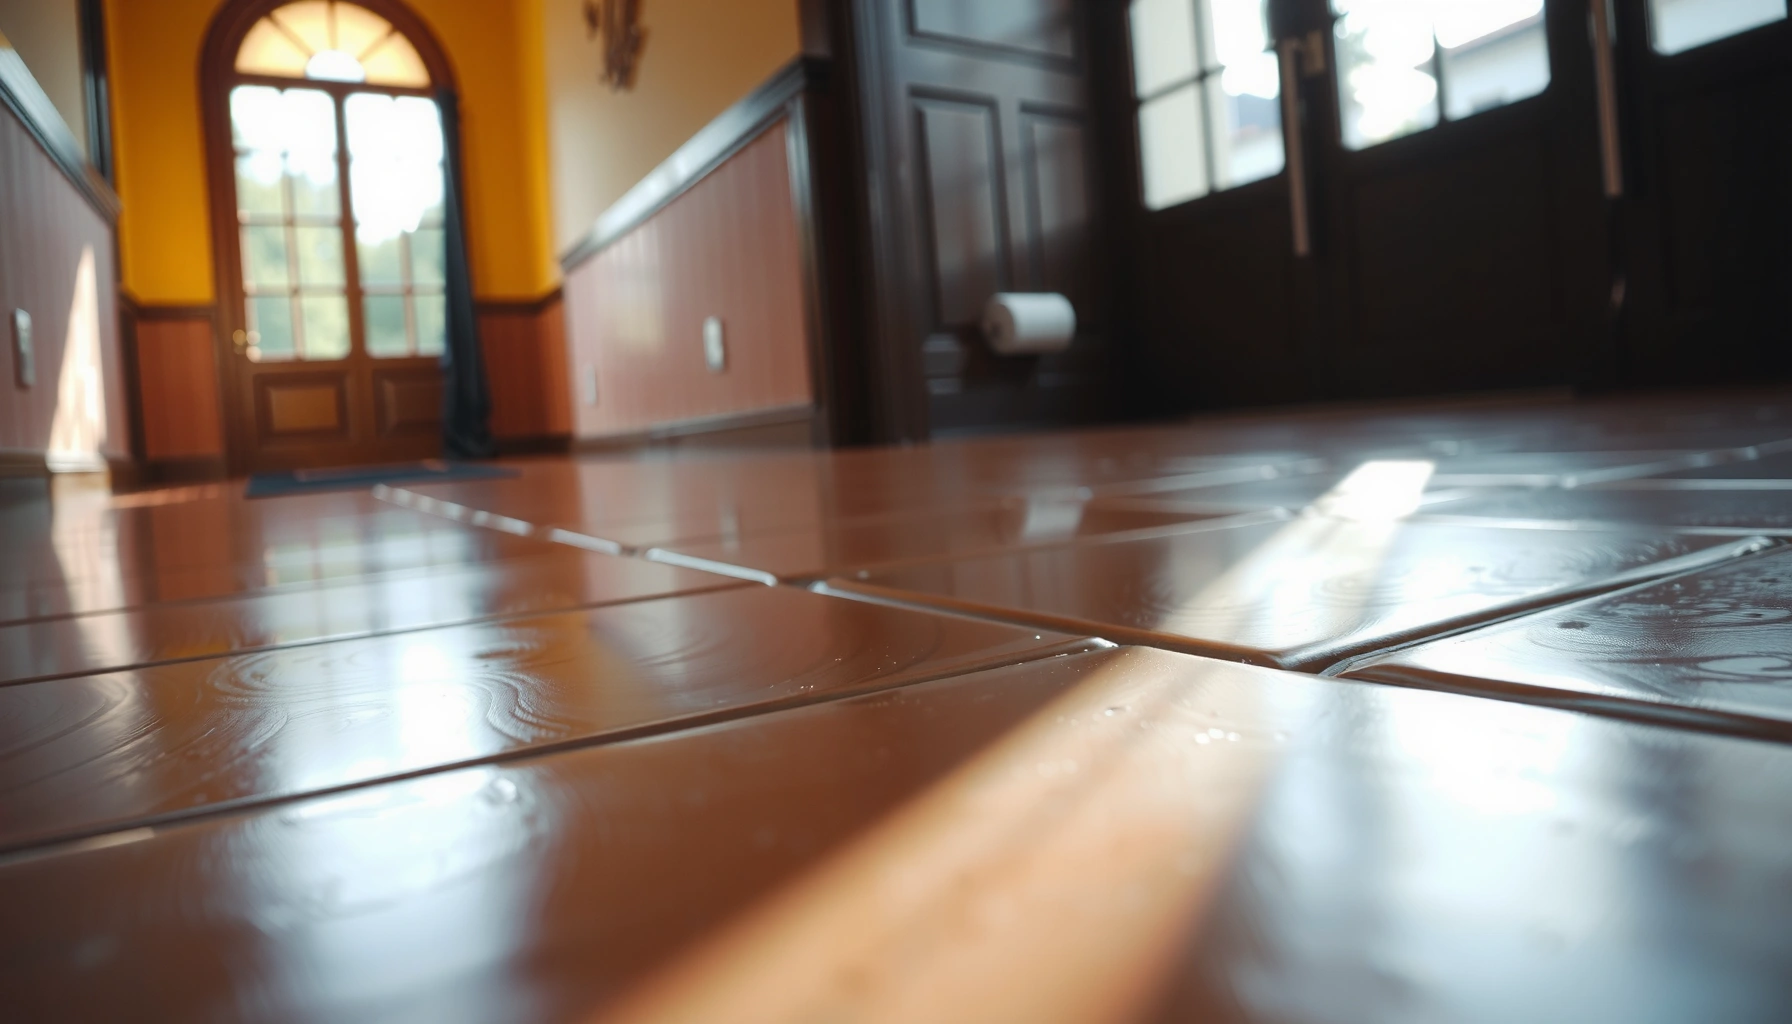

Wondering how to polish terracotta floors with a step-by-step refinishing process that actually restores shine? This guide walks you through cleaning, removing old buildup, sanding or etching where needed, and sealing for a durable, polished finish. If your tiles are dull from grime, wear, or an aging coating, follow these steps and you’ll get the high-gloss look terracotta can deliver.



Polish terracotta floors by cleaning thoroughly, letting the surface dry completely, then sealing/finishing in the right order—because rushing any step can trap residue or create a dull, blotchy sheen. The safest workflow is to first determine whether your terracotta is already sealed, then use a terracotta-appropriate cleaner and a finish system designed for porous tile/ceramic.
If your terracotta looks rough, dusty, or uneven, this guide is for you. It also helps when you’re refreshing an older floor and you want to avoid unnecessary stripping or guesswork.
Prep: Clean and determine if the terracotta is sealed
You usually get the best-looking polish by starting with dry removal of grit and then confirming whether the tile is sealed. If the floor is already sealed, you polish/maintain the existing finish; if it’s unsealed, you must rely on the correct sealer/finish for protection and sheen.
A porous ceramic like terracotta should be dry-mopped or vacuumed first so abrasive grit doesn’t grind into the surface during wet cleaning.
“Sealed vs. unsealed” testing can be done in a hidden spot by observing whether water beads (often sealed) or darkens/absorbs quickly (often unsealed).
Proper drying before polishing matters because many sealers and burnishable finishes only bond and level when the surface is fully dry.
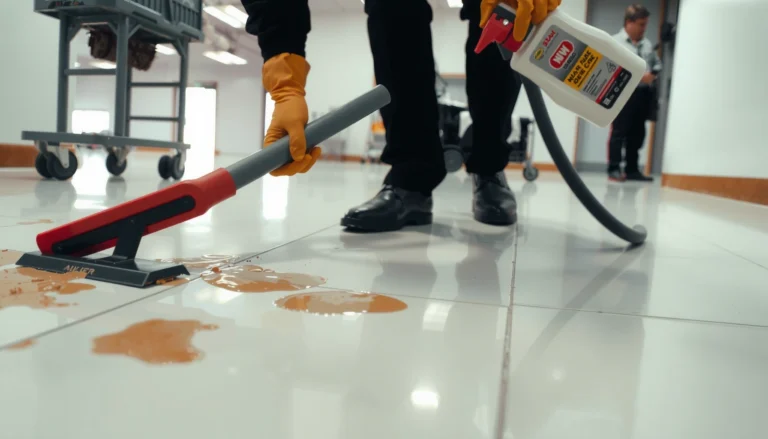
Start by removing loose dust and debris (dry mop or vacuum). Then wash with a terracotta-appropriate cleaner diluted exactly per label directions. Terracotta is porous, so even “light” residue can interfere with sealer adhesion and can also cause mottling under burnishing.
How to test for existing sealers (without damaging the floor)
Do a small, hidden test:
1. Choose a discreet area (under a rug or near a closet).
2. Apply a small amount of water (a few drops or a small damp cloth patch).
3. Wait for the water behavior to become obvious (beading suggests a topical sealer; absorption suggests unsealed or lightly sealed tile).
If water beads and stays beaded longer, treat the floor like “already finished.” If it darkens and absorbs quickly, treat it as unsealed and plan to apply a sealer/finish. In my experience with porous surfaces, this simple test prevents the most common failure mode: applying a finish over something incompatible, which later leads to hazing or peeling.
Important technical note: Standards-based testing for water absorption (often used to characterize porous masonry/ceramics) follows controlled specimen drying at 110 ± 5°C to constant mass. That isn’t something you replicate at home, but it explains why “absorbency” is a defining property of porous tile. According to ASTM C373, oven drying is performed at 110 ± 5°C until constant mass.
Deep clean and remove surface film
You usually fix uneven dullness by removing waxy residue and embedded grime before you ever think about applying a finish. If you polish over a surface film, you often “lock in” haze and leave streaks that burnishing can’t erase.
Waxy residue and grout haze can create a surface film that reduces sealer bonding and creates dull patches under burnishing.
Many porous-tile guides recommend avoiding harsh acids unless the manufacturer explicitly approves them, because acids can etch or alter the surface.
Repeat rinsing until the final rinse looks clean helps reduce dissolved soil that would otherwise remain in pores.
Start with a deeper cleaning pass if the floor shows any of the following:
– A waxy feel or greasy sheen
– Gray film from mopping water residues
– Grout haze (common after regrouting)
– Embedded dirt in traffic lanes
Use residue removers carefully
If you suspect wax or polymer film, use a dedicated residue remover formulated for porous tile/terracotta. Avoid aggressive acids unless the product label explicitly permits use on terracotta. Acid rinsing errors can cause uneven tone changes that look like blotches later—especially once you seal.
Rinse like you mean it
Because terracotta is porous, dissolved soil can cling in microscopic pores even after you feel “mostly clean.” Focus on thorough rinsing and repeat cleaning until the water rinse runs clear.
Protect the surroundings
Before any deep clean:
– Cover or protect baseboards if splashes happen easily.
– Move rugs and keep metal fixtures dry (some metal fasteners can react with cleaner residues).
– Use towels to catch runoff at edges.
Choose your polishing method (seal/burnish vs. restoration polish)
You typically choose between two strategies: (1) seal + burnish for a controlled sheen, or (2) restoration polish if you’re working with a compatible, already-finished surface. The right method depends on whether your terracotta is sealed and what “finish target” you want (matte/satin vs. higher gloss).
For porous terracotta, a sealer/finish system is often what creates a uniform, protected sheen—cleaning alone usually can’t provide lasting gloss.
Burnishing works best when the finish has cured to the manufacturer’s specified stage, because early burnishing can disturb leveling and cause streaking.
On unsealed terracotta, many “polishing compounds” behave differently than they do on glazed tile because terracotta absorbs liquids and can’t build a uniform film by itself.
Seal/burnish (most common route for a consistent look)
If you want a predictable sheen and easier maintenance, this is usually the most reliable approach:
1. Prep and clean thoroughly
2. Apply a terracotta-compatible sealer/finish (thin, even coats)
3. Allow full cure time
4. Burnish with the right pad/mop attachment
Restoration polish (only when compatible with your surface)
Restoration polishes can help if the floor already has a compatible finish layer (or you’ve confirmed it’s effectively sealed). If the terracotta is unsealed, restoration polish may produce only a mild, uneven improvement—often more matte-to-satin than glossy.
Comparison: which method fits your goal?
Practical planning checklist before you buy or apply anything
– Confirm sealed status with a water test in a hidden area
– Decide your finish target: matte/satin (often more forgiving) or higher gloss (requires higher control)
– Choose products specifically described for terracotta/porous tile and follow label instructions
Typical Sheen Outcomes When Finishing Porous Terracotta (Field Guidance)
| # | Finish approach | Sealed status | Expected appearance | Durability fit | User difficulty |
|---|---|---|---|---|---|
| 1 | Breathable sealer + soft burnish | Unsealed | Matte-to-satin, even tone | ★★★★★ | Medium |
| 2 | Polymeric sealer system + cure + burnish | Unsealed (or previously stripped) | Satin with controllable glow | ★★★★☆ | Higher |
| 3 | Restoration polish on compatible existing finish | Sealed (compatibility confirmed) | Refreshed satin; glare depends on product | ★★★☆☆ | Low–Medium |
| 4 | Wax-based polish (porous tiles) | Sealed or unknown prior treatment | Often mottled; can attract dirt | ★★☆☆☆ | Medium |
| 5 | Spray-and-wipe mist polish | Sealed with stable finish | Light sheen; may streak | ★★★☆☆ | Low |
| 6 | Glossy film finish over unsealed terracotta | Unsealed | Possible glare; risk of blotch if uneven | ★★☆☆☆ | Higher |
| 7 | Deep clean + full sealer system (manufacturer-coordinated) | Unsealed or stripped | Most consistent satin/controlled gloss | ★★★★★ | Higher |
Apply sealer/finish correctly for a smooth, even result
You usually achieve a smooth, even sheen by applying thin, uniform coats and respecting the manufacturer’s cure time. Terracotta’s porosity makes “too much product, too fast” a common cause of streaks, dull patches, and uneven tone.
Smooth application is about controlling coat thickness—thin, even layers reduce streaking and help finish level correctly.
Most finish systems require a full cure period before burnishing; polishing too early can disrupt leveling and create haze.
Working in manageable sections prevents edges from drying at different rates, which is a frequent driver of blotchy results.
Application mechanics that matter
1. Use the recommended applicator (often microfiber pad/mop or the tool specified by the sealer manufacturer).
2. Follow label coverage guidance; don’t “overload” the surface.
3. Apply thin, even layers—especially near grout joints and edges, where absorption can differ.
Cure time isn’t optional
Let each coat cure fully for the time stated on the product label before you burnish. “Touch-dry” often isn’t the same as cure-ready. If you burnish prematurely, you can:
– Capture dust in the still-tacky film
– Leave swirls or streaks
– Reduce long-term durability
Temperature and ventilation
Terracotta finishes are sensitive to application conditions. Use the product’s recommended room temperature range and ventilation instructions exactly as written.
Burnish and polish without scratching the surface
You get the cleanest-looking polish by burnishing only after full cure, using a soft, clean pad, and keeping pressure light. Terracotta can be forgiving visually, but abrasive pads or trapped grit can permanently dull the finish.
Burnishing should use soft pads designed for finished floors; abrasive pads can dull the film or leave visible marks.
A dirty burnishing pad can transfer grit and create micro-scratches that show up as dull patches under raking light.
Uniform dry maintenance (sweeping and doormats) prevents new grit from re-damaging the polished surface.
Use a burnisher attachment designed for floors and keep the pad clean:
– Replace or rinse the pad if it picks up debris.
– Maintain consistent, light pressure.
– Avoid looping back and forth over the same gritty edge without cleaning the pad first.
From my experience managing finish work on porous substrates, the fastest way to ruin a beautiful topcoat is usually “nothing to do with the finish”—it’s pad contamination and rushed burnishing while the surface is still settling.
Keep maintenance dry at first
For the first several days after finishing (follow your product label), minimize wet mopping and focus on dust control (sweep/vacuum with soft bristles).
What can go wrong (and how to avoid it)
You can avoid most failures by matching products to the existing floor condition and controlling drying and cure steps. Problems like blotches, hazing, and peeling usually trace back to incompatible chemistry, residue left in pores, or polishing too soon.
Blotchy sheen is commonly linked to incomplete drying, uneven sealer distribution, or burnishing before full cure.
Dull patches often come from residual cleaner film or a contaminated pad that abrades the finish.
Peeling or haze can happen when a finish is applied over unknown coatings that aren’t compatible with the new product.
Common issues and fixes
– Blotchy sheen:
Usually caused by incomplete drying or uneven coats. Fix starts with stopping and re-evaluating: if the sealer has already cured incorrectly, you may need careful correction per the manufacturer.
– Dull patches:
Often from dirty pads, leftover residue, or using a cleaner that interferes with bonding. The safer response is to switch to the label-approved cleaner system.
– Hazing / peeling:
Most often the result of coating incompatibility. Always test in a hidden area first, even if you used the same product family previously.
– Porous absorption surprises:
Terracotta varies by batch, age, firing, and prior treatments. One room may accept the finish evenly; another may show tone differences.
When to skip DIY and call a professional
Skip this DIY approach if:
– The floor is structurally damaged (cracked, loose tiles)
– You suspect extensive prior coatings you can’t identify
– You need a high-gloss finish and don’t have the right tools or controlled environment
A professional can also advise whether a stripping/neutralization strategy is required before any new sealer.
Quick checklist: polish terracotta floors
You can reduce failure risk quickly by following a strict order: dry remove → clean and rinse → fully dry → seal/finish (if needed) → cure → burnish with soft, clean tooling.
– [ ] Dry remove grit (vacuum/dry mop)
– [ ] Wash with terracotta-safe cleaner + thorough rinse
– [ ] Confirm whether it’s sealed using a small test area
– [ ] Fully dry the floor before any finish
– [ ] Choose finish/sealer designed for terracotta (not a random floor wax)
– [ ] Apply thin, even coats; cure fully as directed
– [ ] Burnish with a soft, clean pad/mop attachment
– [ ] Keep maintenance simple: sweep/dust regularly, use approved cleaner only
FAQ
Can I polish terracotta floors without sealing?
Sometimes you can improve appearance with careful cleaning and light burnishing, but protection and uniform sheen usually depend on a compatible sealer/finish because terracotta is porous.
What’s the best cleaner to use before polishing?
Use a terracotta-appropriate cleaner and follow label dilution and rinse instructions. Avoid aggressive acids unless the manufacturer explicitly approves them for terracotta or the specific sealer system you plan to use.
Why does my terracotta look streaky after polishing?
Streaks usually come from uneven product application, burnishing before full cure, or residue/grit interfering with leveling and bonding. Re-check drying time and ensure pads/applicators are clean.
Will polishing work on terracotta that was previously waxed or coated?
It can, but only if the existing coating is compatible or fully removed/neutralized per the finish manufacturer’s directions. If compatibility is unclear, test in a hidden area first to avoid hazing or peeling.
How do I keep the polished look longer?
Regular dust removal (sweep/vacuum with appropriate attachments), doormats, and using only approved, low-residue cleaners help prevent buildup and dulling.
Sources
– ASTM C373 — Standard Test Methods for Water Absorption, Bulk Density, Apparent Specific Gravity, and Apparent Porosity of Dimension Stone (for porous absorption test methodology and drying parameters).
– [ADD: Manufacturer technical data sheets (TDS) for your specific terracotta-safe cleaner and chosen sealer/finish, including coverage rate and cure/burnish timing.]
– [ADD: Manufacturer guidance for burnishing pads/mops and any compatibility warnings (especially if the floor may have prior sealers/waxes).]
Polishing terracotta floors works best when you respect the floor’s porosity: clean and rinse deeply, confirm sealed status, let everything dry and cure fully, then burnish with the right soft tools. If you’re dealing with unknown prior coatings or any structural damage, don’t force DIY results—test first and consider a professional assessment to avoid hazing, blotches, or peeling.
Frequently Asked Questions
What’s the best way to polish terracotta floors without damaging them?
Start by thoroughly cleaning the terracotta to remove dirt, wax, and any old sealers. Use a gentle, stone-safe cleaner and let the floor dry completely before polishing. For polishing, apply a low-speed polisher with appropriate buffing pads and avoid aggressive grinders that can erode the porous surface.
How do I polish terracotta floors that are dull or stained?
Begin with a deep clean using a pH-neutral cleaner, then tackle stains with targeted methods like poultices for mineral spots or appropriate stain removers for organic marks. Once the surface is clean and dry, polish in stages using progressively finer pads or powders designed for unsealed or sealed terracotta. Finish by applying a compatible sealer to help protect against future grime and to enhance the floor’s natural color.
Which polishing method works best for sealed versus unsealed terracotta?
Unsealed terracotta typically responds best to mechanical polishing with buffing pads designed for porous stone, followed by sealing to lock in the finish. Sealed terracotta may require stripping or using a cleaner compatible with that specific sealer before polishing, since the topcoat can limit shine or unevenly react to abrasives. If you’re unsure whether your floor is sealed, test a small inconspicuous area with water to see whether it beads (sealed) or absorbs (unsealed).
Why does my terracotta look streaky after polishing, and how can I fix it?
Streaking often comes from polishing too quickly, using the wrong pad for the floor condition, or leaving residue from cleaner or prior sealers. Make sure you rinse thoroughly if you used any cleaner, then let the terracotta dry fully before buffing. If streaks persist, you may need to re-clean the surface and then repeat polishing with the correct pads, finishing with a thin, even sealer application.
How can I achieve a high-gloss polish on terracotta floors safely?
To reach a brighter, more reflective finish, polish gradually using progressively finer pads and keep speeds moderate to prevent overheating or damaging the terracotta’s surface. Avoid harsh chemicals and abrasive compounds that can grind down the clay or leave a cloudy haze. After polishing, apply a high-quality penetrating sealer or floor finish suitable for terracotta to improve gloss while protecting the stone from stains and moisture.
📅 Last Updated: October 10, 2026 | Topic: How to polish terracotta floors? | Content verified for accuracy and freshness.
References
- Terracotta
https://en.wikipedia.org/wiki/Terracotta - https://www.britannica.com/technology/terracotta
- Google Scholar Google Scholar
https://scholar.google.com/scholar?q=how+to+polish+terracotta+floors - Google Scholar Google Scholar
https://scholar.google.com/scholar?q=terracotta+tile+floor+polishing+sealer+maintenance - Google Scholar Google Scholar
https://scholar.google.com/scholar?q=terracotta+floor+cleaning+burnishing+grinding - https://www.nps.gov/orgs/1739/assessing-cleaning-and-water-repellent-treatments-for-historic-masonry.htm
- Technical Preservation Services (U.S. National Park Service)
https://www.nps.gov/tps/how-to-preserve/preservation-briefs/preservation-briefs.htm - https://www.getty.edu/conservation/publications_resources/pdf_publications/pdf/notes.html
- https://pubmed.ncbi.nlm.nih.gov/?term=terracotta+surface+cleaning+wear+polishing
- https://www.cdc.gov/niosh/topics/ceramics/