
You can remove most stains from engineered wood floors in a playroom safely—start with the right cleaning method for the stain type rather than aggressive scrubbing. For water-based marks, a lightly damp microfiber with a pH-neutral cleaner usually lifts the discoloration without damaging the finish. If the stain is from grease, juice, or ink, you’ll need a targeted approach to avoid spreading it across the planks.




Blot the stain fast, then clean with a finish-safe, pH-neutral cleaner using a well-wrung microfiber—no soaking. For ink/markers or tougher spots, test a small hidden area first and use the gentlest method that lifts the stain without damaging the top finish.
This is especially important in playrooms where spills, crayon/marker smudges, and occasional pet accidents happen—on engineered wood, where the stain you see may sit on top of the finish rather than “in” the wood.
If you can answer one question before you start—“Is the spot fresh, or is it set?”—you can usually choose the safest method and avoid the two most common problems: permanent haze and a wider-than-needed discoloration.
Start with the safest stain-removal routine

If you want the highest chance of success on engineered wood, start with blotting and minimal moisture, then move to pH-neutral cleaning only as needed. That routine protects the wear layer (the clear protective top) and reduces the risk that water migrates into seams or beneath the finish film.
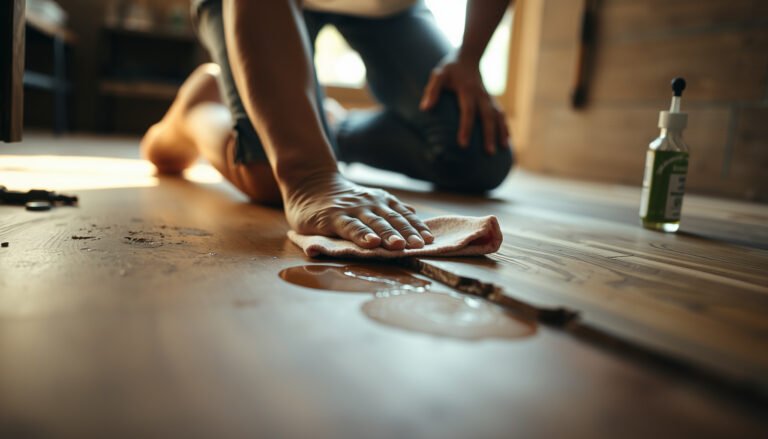
Blotting with a dry, clean cloth prevents you from grinding staining material across the topcoat on engineered wood floors.
“pH-neutral” typically refers to cleaners formulated close to pH 7, which helps reduce the chance of harsh chemical reactions with wood finishes. NIST, pH reference (neutral point)
What “safe” looks like on engineered wood
The engineered wood you have in a playroom usually has a hardwood veneer on top and a protective finish on the surface. When a spill happens, much of the visible staining can be confined to that finish layer—meaning you often don’t need (and shouldn’t use) soaking, steam, or strong solvents to fix the look.
From a practical standpoint, you’re managing two variables:
1) How much liquid you introduce, and
2) How aggressively you mechanically move residue across the finish.
On engineered wood floors, “safe” usually means: barely damp microfiber, light pressure, and immediate drying.
Use a simple, repeatable routine (fresh spots)
Follow this approach for most fresh spills in playrooms:
– Blot, don’t scrub: Use a clean cloth or paper towel and press lightly to absorb liquid, then stop and switch cloth sides as needed.
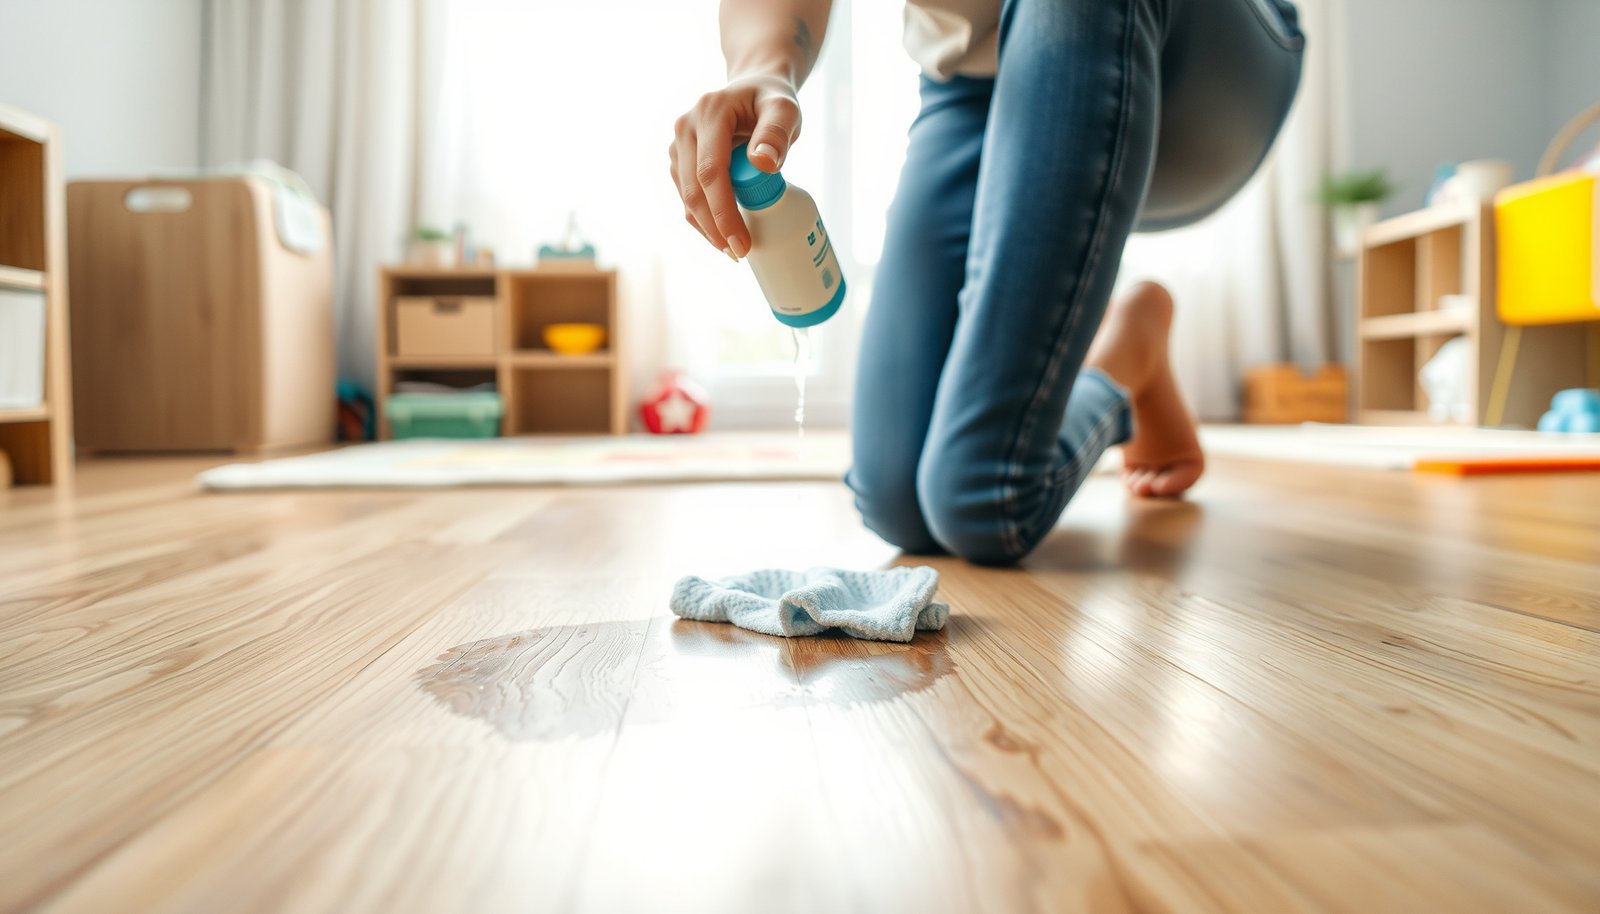
– Keep it barely damp: Use microfiber that’s lightly damp—then dry immediately after cleaning.
– Test first: Before using any cleaner or spot treatment, try it in an inconspicuous area to confirm it doesn’t dull or haze the finish.
A quick note on timing: the longer a marker, food dye, or pet-related residue sits, the more likely it becomes to “bond” to the finish or evaporate unevenly, leaving a shadow-like discoloration.
Figure out what kind of stain you’re dealing with
Match your method to the chemistry of the spill—on engineered wood floors, the “right” cleaner depends on whether the stain is mostly water-soluble, oily/greasy, or dye-like. If the spot smears under pressure, assume you’re dealing with residue that can be spread, and slow down.
If a stain smears when you apply light pressure, it’s signaling that residue is being redistributed across the finish rather than lifted.
Water, juice, and many food spills often leave visible rings because the moisture film evaporates unevenly on the top finish.
Water/food spills: rings and dull patches
If the stain looks like a ring, cloudy halo, or dull patch, start with pH-neutral cleaner and gentle wiping. Repeated light passes usually work better than one aggressive clean, because engineered wood finishes can be more sensitive to abrasion than you’d expect.
What to watch for:
– Ring enlarges or spreads → reduce pressure and re-blot.
– Cloudiness increases → you may be over-wetting or leaving residue; rinse lightly with a barely damp microfiber and dry immediately.
Grease, crayon, and unknown smears
Crayon smudges and many grease-related spots behave differently: they can transfer onto the microfiber and also smear if you press too hard. If you notice smearing under pressure, pause and switch approach—scrubbing can grind residue deeper into the finish.
A useful playroom mindset: treat crayon like a “solid-to-film” problem. First remove what will lift as a film; then clean lightly for the remaining haze.
Pet urine or organic stains: clean thoroughly, then follow manufacturer limits
Organic stains (including pet urine) can involve both staining and odor-causing compounds. The safe first step is thorough cleaning with a finish-safe, pH-neutral product (per your floor manufacturer’s care guide), followed by only the methods your manufacturer indicates are safe for the coating.
Because pet accidents are unpredictable, avoid “strong” chemistry by default. When finishes are altered, the result can be an uneven sheen patch that’s harder to hide than the original spot.
Playroom stain chemistry quick reference (pH-driven risk)
Because many common playroom liquids are acidic or alkaline, their pH deviation from neutral can correlate with finish stress. The table below uses typical pH midpoints reported for common liquids and a simple finish-risk proxy:
Finish-friendliness score (0–10) = `10 − |pH − 7|` (higher is generally safer for finish stability).
Typical pH of Common Playroom Spill Liquids (Midpoints) and Finish-Friendliness
| # | Spill liquid | Typical pH midpoint | Finish risk proxy (|pH−7|) | Finish-friendliness |
|---|---|---|---|---|
| 1 | Water (clear spill) | 7.0 | 0.0 | 10.0 ★★★★★ |
| 2 | Milk | 6.6 | 0.4 | 9.6 ★★★★★ |
| 3 | Sports drink | 3.5 | 3.5 | 6.5 ★★★★☆ |
| 4 | Grape/fruit juice | 3.3 | 3.7 | 6.3 ★★★★☆ |
| 5 | Ketchup | 3.6 | 3.4 | 6.6 ★★★★☆ |
| 6 | Cola | 2.5 | 4.5 | 5.5 ★★★☆☆ |
| 7 | White vinegar | 2.4 | 4.6 | 5.4 ★★★☆☆ |
Important: engineered wood floors aren’t just chemistry—they’re also finish film behavior and how much moisture gets introduced. Still, this pH-driven risk proxy helps explain why “vinegar-cleaned” floors can end up looking inconsistent in playrooms.
As of 2025, this “avoid strong chemistry + avoid soaking” guidance remains consistent across typical wood floor care frameworks and public care recommendations. For your specific engineered wood finish, follow the manufacturer’s approved-cleaner list.
Use playroom-appropriate tools and “finish-safe” cleaning
The safest cleaning tools for engineered wood stains are microfiber cloths and a wood-floor-safe pH-neutral cleaner used lightly. If you keep moisture low and dry right after, you usually prevent both lingering stains and the haze that comes from residue or over-wetting.
Microfiber cleaning cloths are commonly recommended because they lift grime with minimal abrasion compared with rough pads.
Steam creates heat and moisture that can stress wood-based flooring structures, so many floor care instructions recommend avoiding steam on finished wood floors.
Your go-to kit for engineered wood floors
For a playroom, keep your “finish-safe” kit simple:
– Microfiber pads/cloths (multiple so you can rotate sides)
– pH-neutral cleaner that is approved for wood floors (follow label directions)
– Dry towel(s) for immediate drying after cleaning
The reason this kit matters: engineered wood floors often fail aesthetically when a finish gets dulled or when water migrates into joints and seams. Microfiber and gentle cleaner reduce those risks.
How to apply cleaner without over-wetting
Use a method that feels “light” rather than “wet”:
1. Lightly dampen microfiber with the pH-neutral cleaner (or follow label dilution).
2. Wipe with the grain of the engineered wood surface.
3. Dry immediately with a separate dry towel.
If a stain is visible after one pass, repeat with fresh microfiber. This is slower than scrubbing, but it’s safer for the finish.
Avoid high-risk products (especially in kid-and-pet areas)
Skip bleach, ammonia, strong degreasers, and abrasive pads unless your engineered wood manufacturer explicitly allows them for your finish. These can strip or soften the clear coating, leaving a dull patch or irregular sheen—often more noticeable than the original stain.
Pros/cons at a glance for engineered wood floor cleaning choices:
- pH-neutral cleaner + microfiber
- Pros: Low chemical stress; controlled moisture; best match for finish protection.
- Cons: May take multiple gentle passes for marker dye or deeply set spots.
- Steam, bleach, or abrasive scrubbing
- Pros: Can sometimes remove surface residue quickly.
- Cons: Higher risk of haze, uneven sheen, or moisture-related edge issues.
For set-in stains: what to try next (without damaging the finish)
When the stain is set (crayon film hardened, ink dried, or pet residue already bonded), you need targeted steps—but still only after a hidden-area test. The goal is always the same for engineered wood floors: lift stain from the top finish without softening, dissolving, or scuffing that finish layer.
Once a dye-like stain dries on a finished floor, aggressive scrubbing can spread pigment into a larger visible area.
Water boils at 100°C (212°F) at standard atmospheric pressure, which is why steam cleaners can introduce more heat/moisture than “damp wiping” and can stress wood finishes. NIST, water phase change data (boiling point)
Ink/marker (the “topcoat dye” problem)
Ink and marker stains often look stubborn because the pigment/dye can sit on top of the finish and then bond as it dries. If gentle soap-and-water doesn’t lift it, use a finish-safe spot method only after a test patch.
Best practice for engineered wood floors:
– Work with a cotton swab or microfiber corner
– Use minimal pressure
– Re-dab rather than rub
– Stop as soon as transfer to the swab slows
If alcohol-based approaches are ever considered, confirm your floor’s finish compatibility first. Some coatings tolerate certain products; others lose sheen or soften.
Crayon/wax-like residue
Crayon often leaves both a solid residue and a film that can dull the surface. A safer sequence is:
1. Remove solids that are not bonded (carefully lift or scrape very gently).
2. Then clean remaining film with the mildest finish-safe approach.
In playrooms, crayon frequently “smears first.” If you see smearing, reduce pressure immediately and switch cloth sides often—engineered wood finishes don’t love abrasive action.
Persistent discoloration (when it’s not removable)
If the stain remains after multiple mild cleanings, the issue may be:
– discoloration of the finish itself, or
– penetration deeper than what surface cleaning can reach.
At that point, additional DIY spot attempts can make the area look worse. For engineered wood floors, refinishing or replacing affected planks may be the only path to a uniform look—especially in playrooms with frequent re-exposure.
What can go wrong (and why playrooms are tricky)
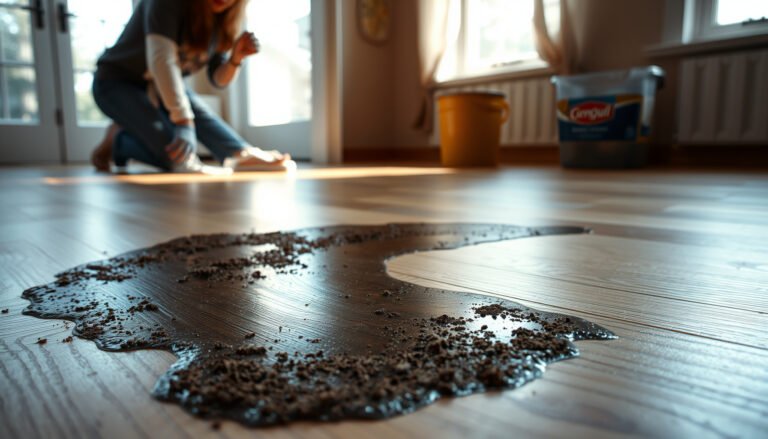
Even careful cleaning can backfire if you over-wet, use the wrong chemistry, or scrub too aggressively. In playrooms, the risks are amplified because the same spot may be cleaned repeatedly and re-soiled quickly.
Over-wetting increases the chance that moisture migrates into engineered wood seams and creates lasting haze or uneven appearance.
A finish can develop an “uneven sheen” when cleaning products or abrasive action change the surface-film texture without fully removing the stain.
Common mistakes on engineered wood floors
– Over-wetting: Too much moisture can seep at seams, cause swelling/edge lifting, or leave permanent haze.
– Wrong chemistry: Solvents, bleach, and ammonia can strip/soften the top coating, creating dull spots or irregular sheen.
– Too much scrubbing: Abrasives and vigorous rubbing can create a “polished” patch that becomes more noticeable than the original stain.
– Heat damage: Don’t apply heat directly. Household irons (even briefly) can warp finishes or leave spots if you ever attempt “heat-assisted” tricks—follow manufacturer guidance only if heat is explicitly recommended.
Expectation mismatch
Some stains—particularly those that have soaked through or reacted with the finish—may not fully come out without refinishing. When you’re trying to keep engineered wood looking consistent in a high-traffic playroom, “perfect stain removal” isn’t always realistic.
If the discoloration spreads or the cleaned area becomes more blotchy, stop and reassess. That’s not a sign you should try stronger chemicals; it’s a sign you may be altering the finish.
Verdict: best approach, downsides, and who should skip DIY
Start with blotting + minimal moisture + pH-neutral cleaner, then use targeted spot treatment only after a hidden test patch confirms the finish is safe. The downside is honest: some stains discolor the coating or penetrate deeper, and DIY spot attempts can permanently change the look of engineered wood floors.
A “test patch first” approach reduces the risk of finish dulling or haze when treating marker or ink stains on engineered wood floors.
Many wood floor care guides emphasize avoiding excess water and steam on finished floors to prevent moisture-related damage.
When DIY is worth it (and when it’s not)
DIY is usually worth it when:
– the stain is fresh or moderately set,
– the visible discoloration looks like surface residue/finish film,
– you can follow a careful, finish-safe routine.
Skip DIY (or stop early) if:
– the stain is spreading after gentle cleaning,
– you see lifted edges/gaps or the area becomes blotchier,
– your floor’s warranty/care guide restricts spot solvents or specialty cleaners.
If you’re unsure about your finish type (water-based urethane vs. other coatings), treat the situation like a compatibility issue. The right cleaner depends on the coating chemistry, and engineered wood floor manufacturers often publish “approved cleaner” lists for a reason.
Quick scan checklist (save this)
| Situation | First step | Avoid |
|---|---|---|
| Fresh spill | Blot + barely damp microfiber, then dry | Soaking, scrubbing |
| Dull ring/mark | pH-neutral cleaner, gentle wiping, dry right away | Bleach, abrasives |
| Marker/ink | Test patch first; minimal-pressure spot method | Rubbing hard, strong solvents without approval |
| Grease film | Mild cleaner passes, repeat gently | Degreasers unless manufacturer-approved |
| Pet/organic stain | Thorough finish-safe cleaning per care guide | Steam, ammonia/bleach |
Frequently Asked Questions
What’s the safest way to remove fresh stains from engineered wood floors in a playroom?
Start by blotting (not rubbing) the stain with a clean, dry microfiber cloth to lift as much of the spill as possible. If needed, use a slightly damp cloth with water or a manufacturer-approved wood floor cleaner, then dry immediately with a second cloth. Avoid soaking the engineered wood or letting moisture sit in the seams, which can cause edge swelling or cloudy marks.
How do I remove food, juice, or sticky drink stains from engineered wood in a kid’s room?
Scrape off any residue gently with a plastic scraper, then clean the area with a pH-neutral cleaner made for engineered wood floors. For sticky spots, lightly dampen a cloth and wipe until the film lifts, then dry thoroughly. If a faint discoloration remains, repeat cleaning in small steps rather than using harsh chemicals that can damage the finish.
Why do dark marks or stains keep coming back on engineered wood floors, even after cleaning?
Playroom spills can be a mix of dye, oils, and moisture that penetrate the finish or soak around the top layer, leaving a persistent discoloration. Also, repeated wiping with the wrong products (like ammonia, bleach, or steam) can dull the finish and make stains look worse. If marks keep returning, identify the source (e.g., tracked mud, pet-related residues, or frequent moisture) and use the right cleaner for engineered wood, drying immediately after any damp cleaning.
What’s the best way to remove pet accidents or urine stains from engineered wood without damaging the finish?
Blot first and use an engineered-wood-safe, enzymatic cleaner designed for urine odors and residues, following the label instructions closely. Apply it sparingly with a damp cloth rather than pouring directly, then blot and dry completely. Because urine can affect the finish and sometimes the core if moisture penetrates, act quickly and stop using non-recommended disinfectants that may strip or discolor the finish.
Which home remedies are safest for stain removal on engineered wood floors, and which should I avoid?
The safest DIY options are mild, pH-neutral soap solutions and clean water used sparingly with immediate drying; microfiber cloths and gentle blotting work best. Avoid abrasive pads, vinegar, baking soda pastes, bleach, and steam, since they can scratch the wear layer, disrupt the protective coating, or cause haze on engineered wood. If you’re unsure, test any method in a hidden spot first and use only cleaners specifically labeled for engineered wood floors.
📅 Last Updated: October 19, 2026 | Topic: How to remove stains from engineered wood floors in a playroom? | Content verified for accuracy and freshness.
References
- 404 Error
- https://www.armstrongflooring.com/support/care-and-cleaning.html
- https://www.bruce.com/support/care-and-cleaning/
- MohawkFlooring
- https://www.epa.gov/mold
- https://www.cdc.gov/mold/cleanup/index.html
- https://scholar.google.com/scholar?q=how+to+remove+stains+from+engineered+wood+floors Google Scholar
- https://scholar.google.com/scholar?q=urine+stain+removal+from+wood+flooring+finish Google Scholar
- https://scholar.google.com/scholar?q=hardwood+floor+spot+stain+removal+polyurethane+finish+cleaning Google Scholar