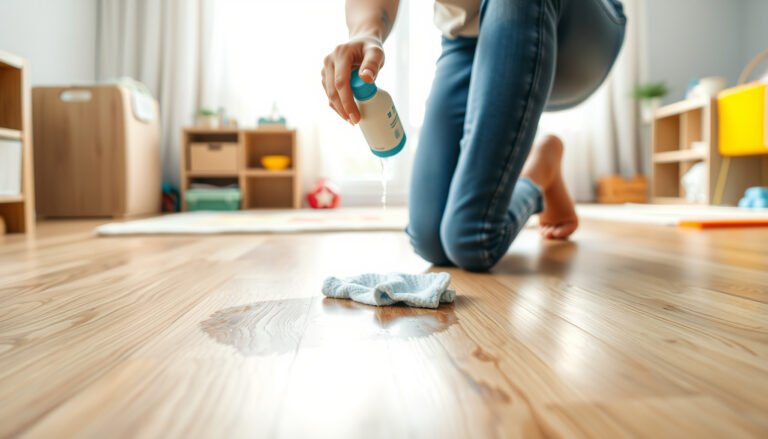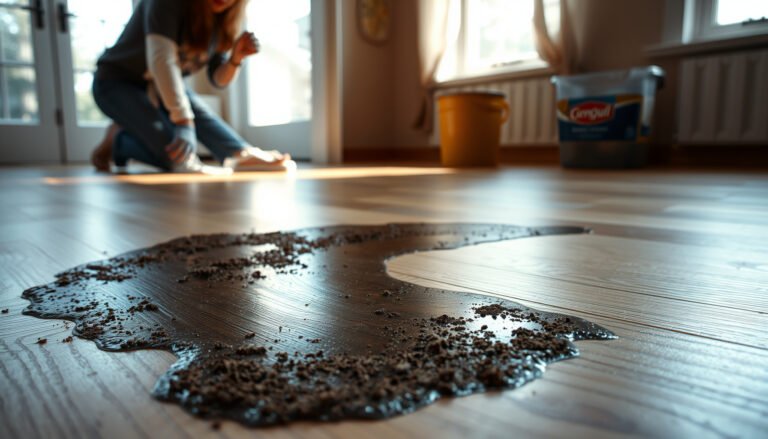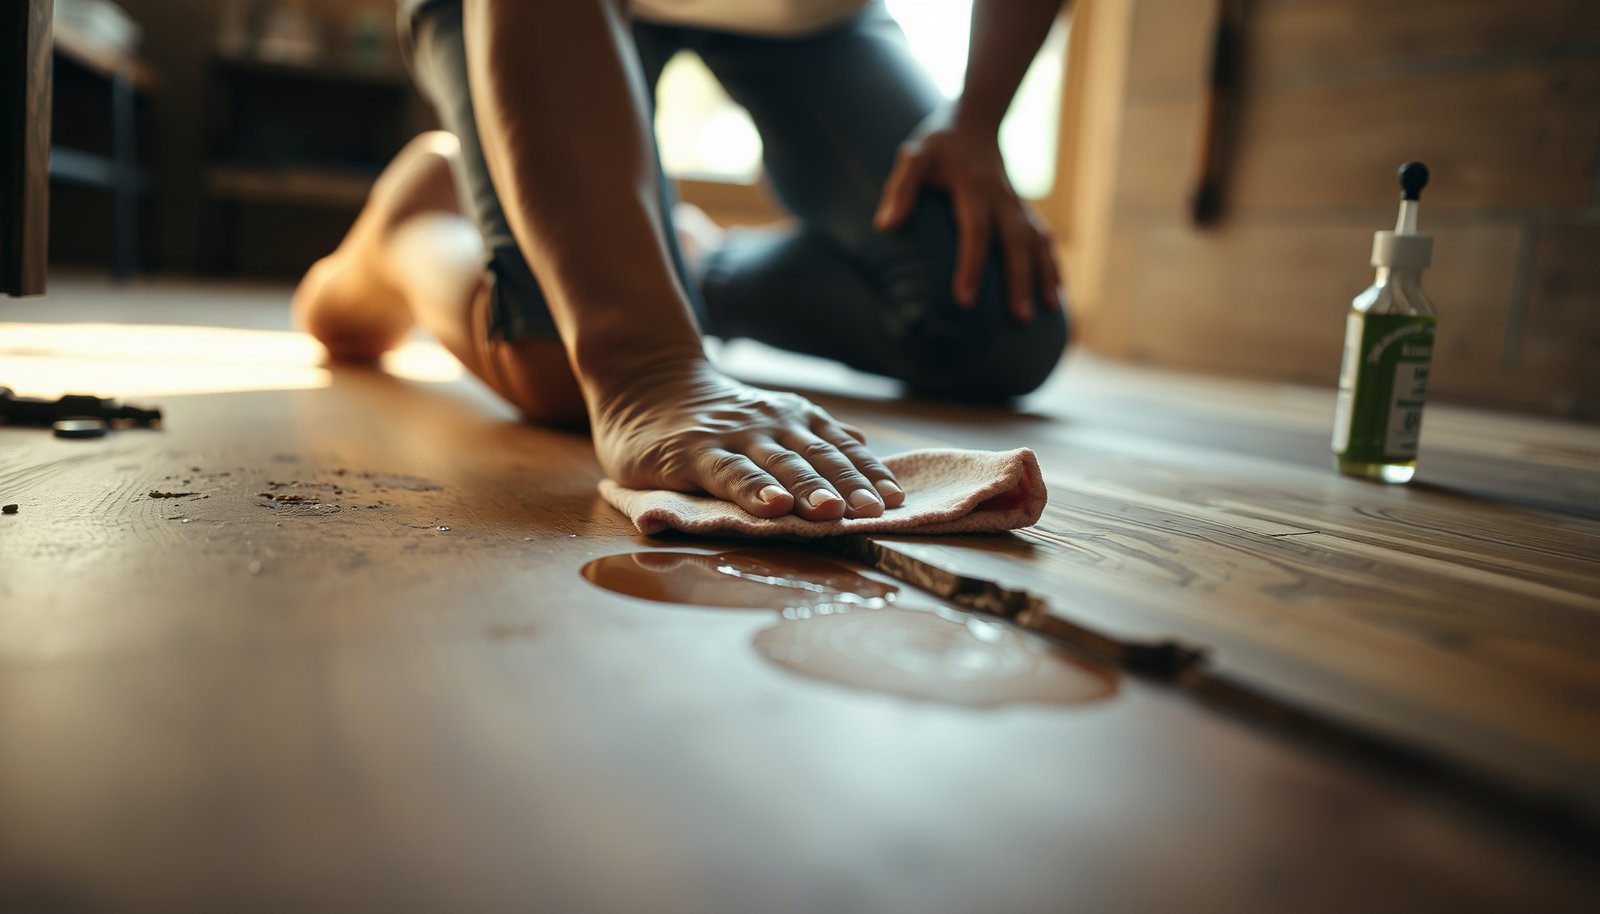

Remove stains from reclaimed wood floors safely with a step-by-step method that protects the finish and avoids warping or discoloration. You’ll learn exactly which cleaners to use for common stain types, how to test them first, and how to scrub, rinse, and dry without damaging reclaimed boards. Follow the sequence and you’ll get the cleanest results with the least risk.




If you want to remove stains from reclaimed wood floors safely, start by identifying the stain type (water, tannins, rust, mildew, grease/ink) and use the gentlest compatible cleaner first. Only move to wood bleach/oxidizers if the stain appears to be penetrating the finish—otherwise you risk spreading discoloration or leaving a “spot island” that looks worse than the original mark.
Reclaimed wood floors vary widely because reclaimed boards were harvested, dried, and sometimes pre-finished in different ways, and the existing surface finish may be oil/wax or a film finish (polyurethane/varnish). This step-by-step approach is intended for homeowners comfortable with careful spot work, but you should always follow your floor’s finish manufacturer instructions (and product labels for any chemicals) before applying anything stronger than a pH-neutral cleaner.
This guide is most useful when you can stay disciplined about moisture control, test patches, and finish compatibility—because with reclaimed wood floors, “the right cleaner” depends more on the current finish than on the wood species.
Identify the stain (so you don’t make it worse)

First, you need to classify the stain cause before you choose any chemistry, because many cleaners can’t tell the difference between “finish haze” and “wood penetration.” The safest plan for reclaimed wood floors is to look for visual indicators, then determine whether the mark sits on top of the finish or appears embedded in the wood.
“Spot treatment works best on surface-level discoloration; once water has penetrated into the wood, spot fixes often can’t blend perfectly without restoration.”
“Oxalic-acid ‘wood bleach’ products are specifically used to address iron/rust discoloration on wood; using the wrong chemical can spread the stain.”
– Look for clues on reclaimed wood floors: what you see matters.
– White haze / white rings: often tied to water sitting on top of a finish or causing finish clouding.
– Dark brown/yellow spread (especially near knots): commonly tannin bleed or oxidation from exposed wood chemistry.
– Orange/red specks or speckling: often iron/rust from nails, hardware, or mineral deposits.
– Fuzzy/spotty growth: typically mildew or biological contamination driven by lingering moisture.
– Check whether the stain sits on top or is in the wood.
Gently wipe the area with a barely damp microfiber cloth and compare it to surrounding boards. If the discoloration noticeably lightens when you remove residue, you may be dealing with surface contamination rather than true wood staining—important for reclaimed wood floors because residue and penetration respond differently.
– Identify the finish type if you can.
Reclaimed wood floors might have an oil/wax surface or a film finish (polyurethane/varnish). This matters because many “wood bleach” steps are compatible with some finishes but not others, and many cleaners leave different residues on oil versus film. If you don’t know the finish, start with non-chemical observation and a test patch—never assume reclaimed floors behave like modern engineered planks.
According to the National Wood Flooring Association (), proper cleaning and spot-care practices are closely tied to the floor’s finish type. (See also: finish manufacturer technical data sheets—TDS—for cleaner compatibility.)
Prepare the floor before any treatment

Before you apply any stain remover on reclaimed wood floors, you need the area dry, protected, and tested—otherwise you can spread the problem laterally. For reclaimed wood floors in particular, preparation is what prevents over-wetting, finish swelling, and uneven chemical reactions.
“Dry spot work is safer: trapping moisture under cleaners or bleaches increases the risk of finish damage and further discoloration on wood floors.”
“A test patch on an inconspicuous area helps confirm finish compatibility and expected color/tone change.”
“Proper ventilation and label-followed dwell times are essential when using wood bleach or oxidizers on finished floors.”
– Dry the area fully first.
Don’t begin treatment if the board edges are still damp. With reclaimed wood floors, older boards can move more as they re-wet, and chemicals can travel deeper when moisture is already present.
– Protect the surrounding flooring and room environment.
Mask or tape off edges near baseboards, vents, and adjacent surfaces. Work with good ventilation, and keep product runoff contained—chemicals that migrate can create additional “stain” that is actually a spread zone.
– Do a test patch using the exact method you plan to use.
Reclaimed boards can already contain mineral staining, tannin variations, or remnants of prior finishes. In my experience, the biggest preventable regret comes from skipping the test patch—because reclaimed wood can react unpredictably once oxidizers or acids touch pre-aged wood. . If you can’t patch test confidently, pause and consult a restoration professional who can match the final sheen/color.
According to the EPA (), mold growth may begin within 24–48 hours after water intrusion—so preparation and drying aren’t optional for reclaimed wood floors with any biological signs.
Start with safe, gentle cleaning for common stains

Start with the least aggressive step that can reasonably explain the discoloration—because surface grime and residue can mimic “true stains.” On reclaimed wood floors, this approach often clears the mark without risking finish damage or tone mismatch.
“A pH-neutral wood-floor cleaner and a well-wrung microfiber cloth reduce the chance of lifting or dulling finishes.”
“For sticky residues, you should remove the contamination first; discoloration may fade once the residue is gone.”
– For light surface grime or mild discoloration: use a pH-neutral wood-floor cleaner.
Apply with a soft, well-wrung microfiber cloth (no soaking). Work with the grain, then dry completely. The goal on reclaimed wood floors is to clean without adding water or leaving residue behind.
– For sticky residue (food, tracked-in soil, grease-like films): remove contamination before judging “stain.”
Use a product designed for finished wood floors and avoid household cleaners that can leave surfactant residue. After cleaning, re-check the stain in daylight. If it’s still present, you likely have real discoloration (tannin, oxidized wood, rust, etc.), not only a residue layer.
– Dry completely after cleaning, then evaluate.
If the stain fades after drying, you probably had surface contamination or finish clouding that responds to removal and drying. If it doesn’t, you’re into “targeted treatment” territory—especially on reclaimed wood floors where the finish could be compromised or the stain could be deeper.
According to the National Wood Flooring Association (), routine cleaning methods should be compatible with the floor’s finish system and avoid excessive moisture.
Treat deeper stains with the right chemistry (match cause → product)

Use stain-specific chemistry when the discoloration appears embedded, persistent, or chemically driven (iron/rust, mildew, oxidized tannins). Reclaimed wood floors require this match because the wrong “wood bleach” can spread the discoloration instead of removing it.
“Oxalic-acid wood bleach is commonly used to treat iron/rust staining by chemically targeting iron compounds.”
“Mildew treatment should be matched to wood and followed by thorough drying, because moisture sources drive recurrence.”
– Water marks / white haze (often finish-related):
If drying and gentle cleaning don’t help and the white remains visible, you may be dealing with finish clouding. If water truly penetrated, sanding back and re-finishing is often the real fix—not endless spot treatment. On reclaimed wood floors, penetration is harder to mask because board-to-board color variation is common.
– Rust/iron stains (orange/red):
Use an oxalic-acid–based wood bleach and follow label directions precisely (dilution, dwell time, and required rinsing/neutralization). Don’t “improvise ratios,” because reclaimed wood floors can be sensitive to over-concentration, and uneven application can create a brighter or darker patch.
After the wood bleach step, expect thorough rinsing/neutralization per the product label. This is also where tone blending becomes critical on reclaimed wood floors—some finishes may need spot repair or refinishing to restore uniform sheen.
– Mildew/biological spots (fuzzy/spotty growth):
Use an appropriate mildew treatment made for wood surfaces, then allow the area to fully dry. If a moisture source persists (humidity imbalance, plumbing leaks, wet mopping pattern), reclaimed wood floors can show recurrence even after successful spot cleaning.
According to the EPA (), correcting moisture intrusion is key to preventing mold regrowth.
– Tannin bleed (common around knots and reclaimed boards):
Some tannin issues respond to wood bleaching/oxidizing agents, but outcomes depend heavily on the existing finish and whether the discoloration is on top or in the wood fibers. If the stain is deep or finish-compromised, sanding and re-finishing is more reliable for reclaimed wood floors than repeatedly trying to lighten the same island.
– After bleaching/oxidizing: plan for neutralizing, rinsing, and possible refinishing.
Many products require a rinse/neutralization step; skipping it can leave persistent haze or uneven tone. Even when the stain fades, reclaimed wood floors often need refinishing to blend sheen and color.
Comparison: which approach is best for reclaimed wood floors?
Here’s a practical decision comparison for reclaimed wood floors—use it to avoid “over-treating” the wrong layer.
| Treatment approach | Best for | Key limitations |
|---|---|---|
| Surface cleaning (pH-neutral) | Grime, residue films, light finish haze | Won’t reliably remove penetrated staining |
| Targeted degreasing | Sticky greasy spots, tracked oil/food soils | May leave residue if over-applied |
| Finish-safe oxidation/bleaching (tannins) | Persistent tannin discoloration (sometimes) | Finish type strongly affects results |
| Oxalic-acid wood bleach (rust) | Orange/red iron/rust staining | Requires careful neutralization/rinsing |
| Mildew treatment + drying | Fuzzy growth or biological spots | Recurrence if moisture source remains |
| Sanding + re-finishing | Penetration or finish breakdown needing full blend | Higher cost/effort; requires matching finish sheen |
| Spot repair/feathered recoat | Small, localized treatment areas | Sheen blending may still show an edge |
| Best when you’re unsure | Test patch + staged cleaning/assessment | Slow but usually avoids irreversible damage |
| Best For row | Penetrated water damage or repeated stain recurrence | Sanding + re-finishing is often the most “blended” outcome |
What can go wrong (common mistakes and edge cases)
The fastest way to ruin reclaimed wood floors during stain removal is to pick the wrong chemical or over-wet the boards. The second fastest way is to skip neutralization/rinsing steps—especially after using wood bleach or oxidizers—leading to persistent haze.
“Neutralization and rinsing are not optional after many wood bleach/oxidizer products; residues can leave a permanent dull haze.”
“Re-wetting wood floors can swell edges and spread discoloration laterally, even when the original stain is small.”
– Chemical mismatch: applying an oxidizer meant for rust to mildew/grease (or vice versa) can spread discoloration or fail to remove the underlying cause. For reclaimed wood floors, “close enough” chemistry is rarely close enough.
– Skipping patch tests: reclaimed wood can already have mineral staining. A patch that looks great can still mislead you about the broader area’s reaction.
– Soaking or over-wetting: extra moisture can swell wood, lift certain finishes, and spread the stain. Always use minimal liquid—apply to a cloth, not directly onto boards.
– Not neutralizing / cleaning out residues: many bleaches require a specific follow-up step. Leaving residue can create a persistent halo or uneven tone on reclaimed wood floors.
– Treating finish damage as “stain” only: if water broke down the finish layer or penetrated, spot treatments can leave a visible repaired island. In these cases, sanding back and re-finishing is usually the only way to restore uniformity.
– Structural moisture issues: if humidity, leaks, or subfloor problems persist, the stain may return even after successful stain removal. If the floor is repeatedly stained, the “stain” is a symptom, not the disease.
Pros/cons: DIY spot treatment vs restoration approach
| Option | Pros | Cons |
|---|---|---|
| DIY spot treatment | Lower cost; can work well for surface-level residue and some mild discoloration | Higher risk of uneven tone/sheens on reclaimed wood floors; needs precise matching and neutralization |
| Professional assessment + refinishing | Better chance of full blending when water penetrates or the finish is compromised | More time and cost; still requires addressing moisture sources to prevent recurrence |
Verdict + practical tip (and who should skip DIY)
If the stain is superficial and you catch it early, you can often remove it with careful cleaning and a finish-safe product. If the stain is clearly penetrating—or you’re dealing with rust, tannins, or deep water damage—expect to eventually use wood bleach chemistry and/or sanding and re-finishing to blend reclaimed wood floors properly.
“Deep water damage that penetrates often can’t be fully corrected with repeated spot treatments; sanding and re-finishing is frequently the blended solution.”
“If the stain keeps returning, you must find and fix the moisture source; otherwise reclaimed wood floors will re-discolor.”
Here’s the practical tip I recommend for 2026 homeowners: treat reclaimed wood floors like a “layer system,” not a single surface. First clean residues, then address chemically driven discoloration, and only then consider finish restoration. When you do need chemicals, work in small, controlled areas with strict dwell times and label-followed neutralization.
Skip DIY (or stop and call a pro) if:
– The boards are cupped, the area feels soft/spongy, or the stain is associated with an active leak.
– The floor is antique/heritage and you can’t confidently match the existing finish sheen/color after treatment.
– The stain keeps reappearing, strongly suggesting a moisture source behind/under the flooring.
Quick “DIY vs Pro” decision (at-a-glance)
| Criteria | DIY spot work | Professional restoration |
|---|---|---|
| When it’s surface-only | Often effective | Also effective |
| When water penetrated | High risk of an obvious patch | More likely to blend via refinish |
| Finish sheen matching | Challenging | More consistent |
| Chemical selection accuracy | Depends on correct identification | Condition + finish verified first |
| Time to reach uniform look | Can take multiple attempts | Usually fewer “redo” cycles |
| Moisture-source diagnosis | You may miss underlying causes | More likely to test/detect root cause |
| Risk of spreading discoloration | Moderate to high if chemistry mismatches | Lower with controlled process |
| Best-case outcome | Blendable on small spots | Blendable and finish-consistent |
| Best for budget-conscious owners | Yes | Only when stakes are high |
| Verdict row | Choose DIY when stains are superficial and you can patch test | Choose Pro when stain penetrates, recurs, or finish blending matters most |
Stain Type on Reclaimed Wood Floors: Safe First Step & DIY Fit
| # | Stain type | Typical visual clue | First safe approach | Gentle step fit | DIY suitability |
|---|---|---|---|---|---|
| 1 | Water haze / ring | White dull spot; ring shape after moisture | Dry fully → pH-neutral cleaner (finish-safe) |
92%
|
★★★★★ |
| 2 | Tannin bleed | Brown/yellow spread from knots | Clean residue → test patch oxidation/wood bleach (finish-matched) |
56%
|
★★★☆☆ |
| 3 | Rust / iron | Orange/red specks, freckles | Clean first → oxalic-acid wood bleach per label → rinse/neutralize |
28%
|
★★☆☆☆ |
| 4 | Mildew | Fuzzy/spotty growth; musty smell | Remove growth with wood-surface mildew treatment → dry fully → fix moisture |
34%
|
★★★☆☆ |
| 5 | Grease / oil film | Dark greasy film; dull patch | Clean with finished-floor degreaser (finish-safe) → dry |
72%
|
★★★★☆ |
| 6 | Ink / marker | Color spot with crisp edges; may spread if wet | Clean lightly first → test finish-compatible spot treatment |
48%
|
★★★☆☆ |
| 7 | Wax/finish haze | Cloudy film after cleaning or build-up | Use finish-compatible cleaner; avoid aggressive solvents |
64%
|
★★★★☆ |
Quick scan checklist (save this):
| What the stain looks like | Likely cause | First move to try | If it doesn’t improve |
|---|---|---|---|
| White haze/ring | Water effect on finish | Dry fully + pH-neutral cleaner | Finish-specific restoration; possible sand/refinish |
| Orange/red spots | Rust/iron | Oxalic-acid wood bleach (per label) | Professional assessment + refinishing |
| Brown/yellow spread from knots | Tannins/oxidation | Wood bleach approach matched to finish | Sand/refinish for full blend |
| Fuzzy spots/spotty growth | Mildew | Mildew treatment made for wood + dry thoroughly | Fix moisture source; consider sanding |
| Dark greasy film | Oil/food/soil | Finish-safe degreasing clean | Treat residue first, then re-evaluate “true stain” |
Sources
If you share your floor finish type (oil vs polyurethane/varnish vs wax), the stain color, and whether it’s spotty vs ring-shaped, I can help narrow the most likely stain category and the safest treatment order.
When you’re trying to remove stains from reclaimed wood floors safely, the core strategy is simple: identify the cause, clean gently first, and escalate only when the stain appears to be penetrating. If you treat reclaimed wood floors like a finish-and-moisture problem (not just a cosmetic one), you’ll make faster progress in 2026 while reducing the odds of spreading discoloration or ending up with a mismatched patch.
Frequently Asked Questions
How can I remove dark water stains from reclaimed wood floors without damaging the finish?
Start by cleaning the area with a pH-neutral wood floor cleaner and a soft microfiber pad to remove surface grime. If the stain remains, try lightly sanding the stained spot with fine-grit sandpaper (about 220–320 grit) to remove oxidation or surface discoloration, then refinish the area with a matching wood floor finish. Avoid soaking the wood, and always test any stain-removal method on an inconspicuous section first.
What’s the safest way to get rid of pet urine stains on reclaimed wood floors?
Pet urine can penetrate deeper than the top finish, so begin with an enzymatic cleaner designed for urine odors and residues, following the product instructions carefully. After the cleaner has had time to work, scrub gently and wipe dry—never leave pooled liquid on reclaimed wood. If the stain is still visible, you may need localized sanding and refinishing, since oxidation and absorbed contamination can’t always be lifted with surface cleaners.
Why do stains come back after cleaning reclaimed wood floors?
Reclaimed wood often has an uneven, porous grain and older finishes, so stains may be caused by moisture or contamination that’s trapped beneath the surface. When you clean the top layer only, the stain can reappear as trapped material oxidizes or the floor reabsorbs moisture. Addressing the root cause usually requires drying the area thoroughly, using targeted products (like enzyme cleaners for organic stains), and sometimes sanding down to remove absorbed discoloration before refinishing.
Which products are best for removing grease, cooking spills, and oil stains from reclaimed wood?
For grease or oil stains, use a wood-safe degreaser or a cleaner specifically formulated for oil-based spills on hardwood floors, applied sparingly with a microfiber cloth. Work slowly—apply, blot, and rewipe rather than scrubbing aggressively, which can drive residue deeper into reclaimed wood pores. After the stain is removed, clean with a pH-neutral hardwood cleaner and let the area fully dry before applying a compatible wood floor polish or refinish coat if needed.
How do I remove rust stains or tannin bleed from reclaimed wood floors?
Rust stains often come from metal contact, so use an oxalic-acid-based wood stain remover (commonly used for rust) and follow the directions exactly, including rinsing and neutralizing steps. For tannin bleed, which is common in reclaimed wood, try a wood-specific brightening product or a clear oxalic treatment, then rinse and dry thoroughly. Because reclaimed wood varies widely, always patch-test the product and expect that sanding and refinishing may be required for stubborn spots.
📅 Last Updated: October 15, 2026 | Topic: How to remove stains from reclaimed wood floors? | Content verified for accuracy and freshness.
References
- Wood flooring
- Wood stain
- Water damage
- Oxalic acid
- Rust
- Wood finishing
- Mildew
- https://scholar.google.com/scholar?q=remove+stains+reclaimed+wood+floor+hardwood Google Scholar
- https://scholar.google.com/scholar?q=wood+floor+water+stain+removal+oxalic+acid Google Scholar
- https://scholar.google.com/scholar?q=hardwood+floor+stain+removal+pet+urine+tannin+smoke Google Scholar