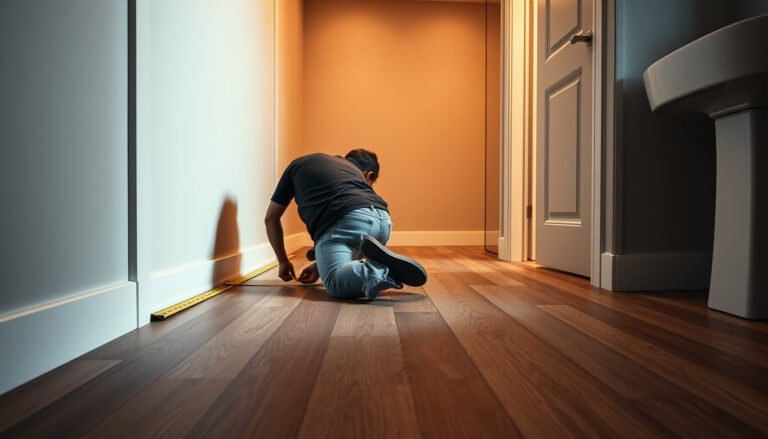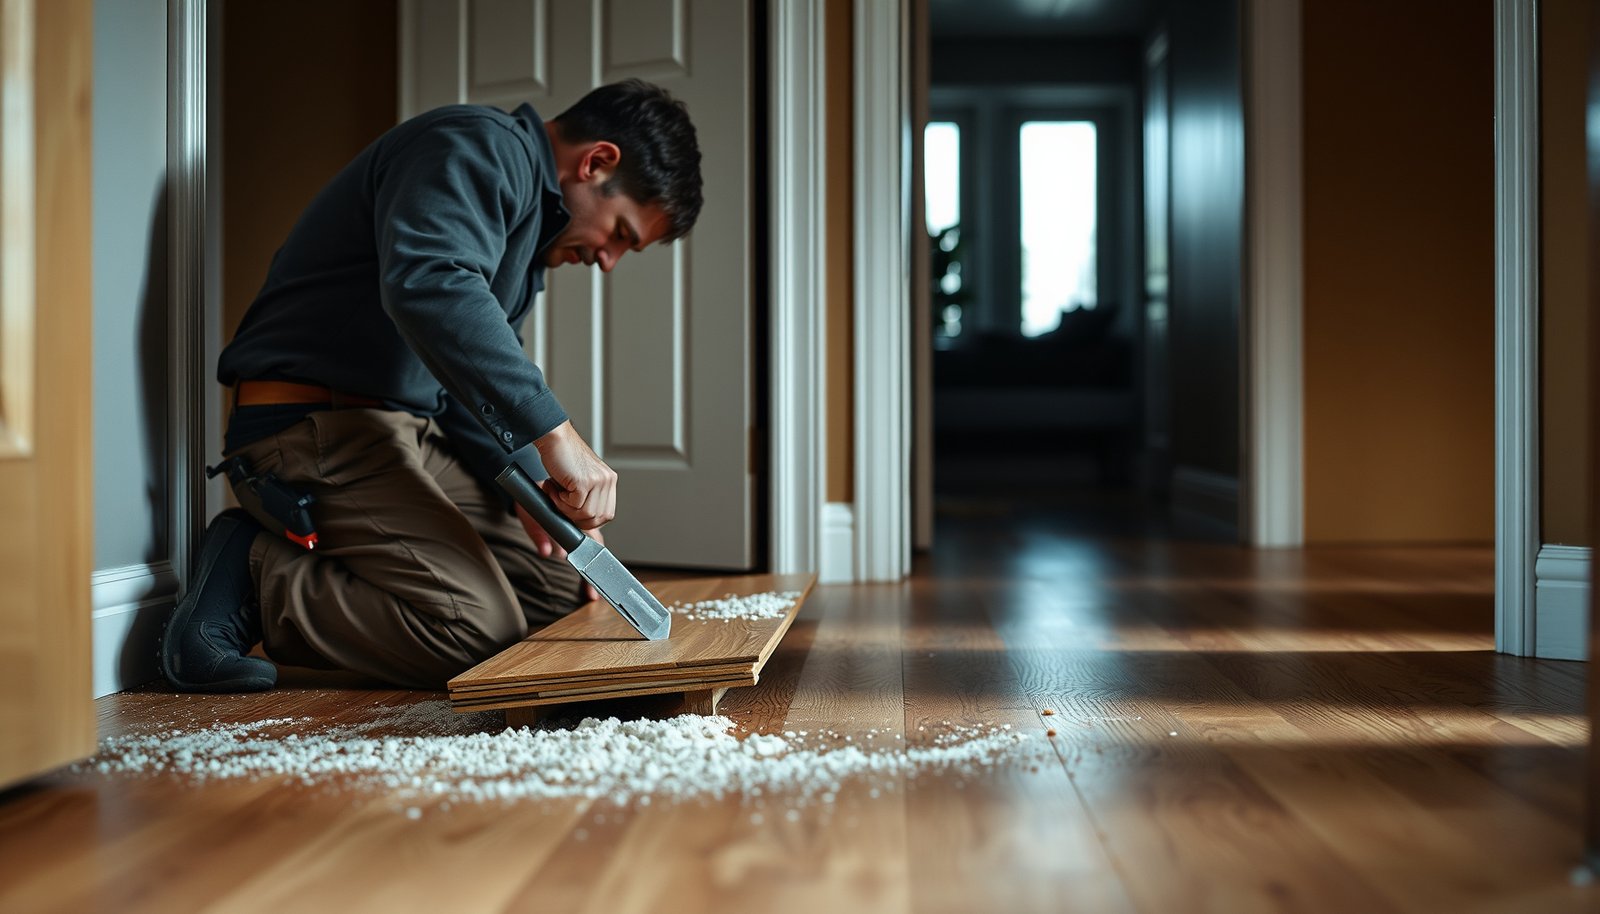

Removing hardwood floors from an entryway is a straightforward weekend job—if you know what kind of installation you’re dealing with. This guide tells you the fastest, lowest-risk way to lift planks, handle nails or staples, and keep subfloor damage to a minimum so you can move on to repairs or new flooring. You’ll get the exact steps and what to watch for in high-traffic entryways where wear and old adhesives complicate the work.
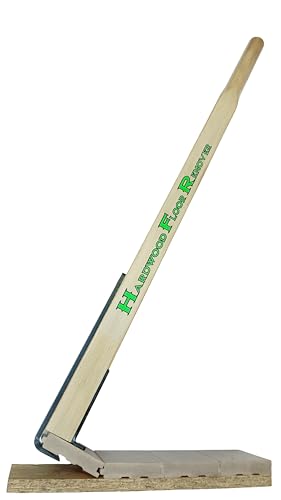



If you want to remove hardwood floors from an entryway, the safest approach is to start by identifying whether the boards are nailed or glued, then remove the trim/moldings and work board-by-board without forcing the subfloor. Expect dust and possible damage to finish trim—so plan for protection, a proper pry/cut strategy at the edges, and careful cleanup. Below is a step-by-step way to do it methodically so you can reuse the area (or prep it) with minimal surprises.
This guide is for homeowners tackling a single entryway section where you need the hardwood removed for replacement, repairs, or an updated floor plan. It also helps if you’re unsure where to begin and want to understand the main differences between nailed vs. glued hardwood removal.
Gather the right tools and protect the entryway
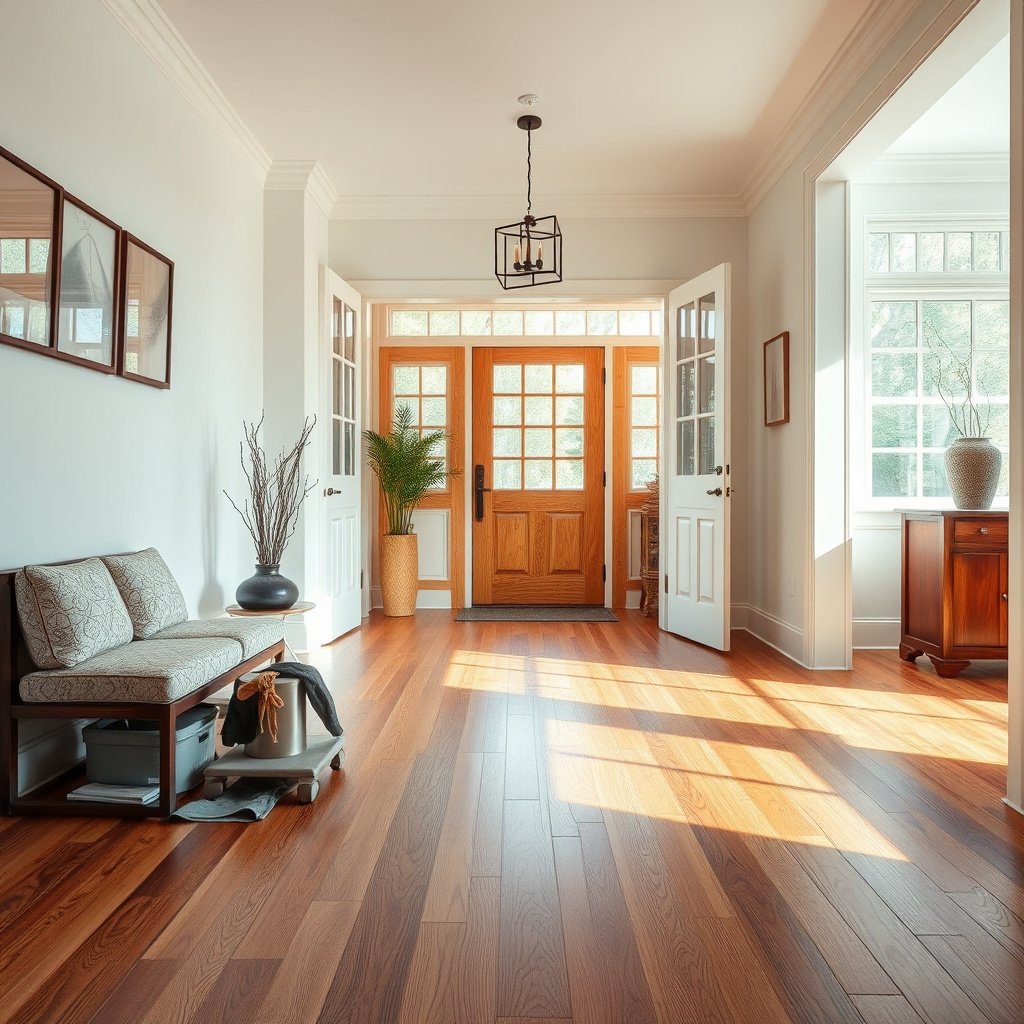
You remove entryway hardwood faster and with fewer surprises when you protect surfaces first and stage tools before you pry or cut. As of 2026, dust control and edge protection are still the two biggest “make-or-break” factors because entryways create tight access and high foot-traffic paths.
A true HEPA vac is designed to capture very fine particulate; for example, true HEPA filters are rated to capture 99.97% of 0.3 µm particles (U.S. Department of Energy/HEPA filter guidance).
OSHA regulates wood dust exposure; respirable hardwood wood dust has a permissible exposure limit of 5 mg/m³ (respirable fraction), making containment and filtration a real safety consideration (OSHA 29 CFR 1910.1000 Table Z-3).
What to protect before the first board comes up
Cover the entryway itself so you don’t spread debris into adjacent rooms. Use 6-mil (or thicker) plastic sheeting to seal off doorways, then tape seams with painter’s tape or duct tape (don’t rely on masking tape alone for dust). Lay drop cloths where you’ll set offcuts, and protect any nearby wall finishes and doors with cardboard + plastic.
Entryways also tend to have more transitions than “flat room” installs—thresholds, baseboards, shoe molding, and sometimes tile or vinyl at the landing—so plan for those touchpoints before you start. I’ve found that most “oops” moments happen when people remove floor sections but forget to protect the trim lines they need to keep.
PPE and dust control that actually matches the job
Entryway removal generates airborne particulate from sanding, scoring, cutting, and scraping. Wear eye protection, gloves, and a properly fitted respirator. If you’re unsure what respirator class to use, matching the filter rating to wood dust is a practical approach.
NIOSH Respirator Classes for Wood-Dust Demolition
| # | Respirator class (NIOSH) | Min. efficiency @0.3 µm | Test particle size | Demolition suitability |
|---|---|---|---|---|
| 1 | N95 | 95% | 0.3 µm | ★★★☆☆ |
| 2 | R95 | 95% | 0.3 µm | ★★★☆☆ |
| 3 | N99 | 99% | 0.3 µm | ★★★★☆ |
| 4 | R99 | 99% | 0.3 µm | ★★★★☆ |
| 5 | N100 | 99.97% | 0.3 µm | ★★★★★ |
| 6 | R100 | 99.97% | 0.3 µm | ★★★★★ |
| 7 | P100 | 99.97% | 0.3 µm | ★★★★★ |
The tool list that keeps the process controlled
You’ll typically need:
– Pry bar(s) and a floor scraper
– Oscillating multi-tool (very useful for glue lines and undercutting edges)
– Utility knife with extra blades
– Hammer, nail puller (if nails are accessible), and putty knives
– Shop vac with a HEPA filter (preferred) and disposable or cleanable dust bags
– Trash bags and a few sealed containers for nails/screws/trim fasteners
– Painter’s tape + markers for labeling board stacks if reuse is possible
Identify how your hardwood is attached (nail-down vs. glue-down)
You decide the removal method by confirming whether the boards are nail-down (fastened mechanically) or glue-down (bonded with adhesive). Your goal is to avoid prying against glue, because that’s what turns “a controlled demo” into “subfloor repairs.”
If you see fastener indicators along seams—such as nail holes, nail heads, or consistent resistance to lifting—nail-down installation is likely (flooring manufacturer installation manuals—use your exact system).
Glue-down flooring typically behaves like it’s bonded across the face; in practice that means boards resist peeling and you often need to cut joints before scraping adhesive (adhesive manufacturer technical data sheets (TDS)).
What to look for at seams, edges, and patches
Start at the edges where you can see the interface between hardwood and trim/threshold. Nail-down floors usually show:– Small nail holes or dark fastener spots near board edges
– Sections that lift in a “seam-first” pattern once a starter board is freed
– Resistance that changes as you move along nail lines
Glue-down installs often show:
– Floors that feel “solid” when you try to lift a corner
– Signs of adhesive at seams (sometimes a thin residue line)
– Prior patch areas where the installer used different adhesive or prep
Quick comparison: nail-down vs. glue-down removal approach
You’ll save time when you match the tool strategy to the attachment method—not the marketing name of the flooring.
| Factor | Nail-down hardwood | Glue-down hardwood |
|---|---|---|
| Primary bond | Nails/staples/cleats mechanically fasten boards | Adhesive bonds boards to subfloor |
| Best first move | Free the edge by removing overlapping trim, then pry at seams | Undercut/cut along joints before attempting lift |
| Main risk | Splinters and pulled subfloor patches near fasteners | Subfloor gouging from scraping, plus adhesive cleanup |
| Mess profile | Dust + tiny wood chips; usually less adhesive residue | Dust + visible glue residue that must be removed carefully |
| Reuse potential | Better odds if boards lift cleanly and nails aren’t torn out | Lower odds; adhesive residue often prevents clean reuse |
A small “test area” is the professional move
Entryways often have mixed attachment behavior—for example, nail-down around walls and glue-down in the field, or different methods near a doorway. Before committing, test in an inconspicuous edge area near a transition and stop if you detect unexpected bonding.
As of 2026, it’s also worth remembering that older homes may include additional materials under floors (for example, mastics in older glue-down systems). If you suspect anything hazardous, pause and consult local guidance before demolition.
Remove trim, transition pieces, and starting rows
You get cleaner results when you remove trim first because it frees the hardwood edges without tearing finished surfaces. This step is also what gives you proper access for prying or cutting without binding at baseboards, shoe molding, and thresholds.
Baseboards and shoe molding often lock the edge of the flooring in place, so removing them first reduces splintering and edge damage (manufacturer installation guidance—use your specific trim overlap details).
Transition strips at doorways prevent boards from lifting freely; removing them early helps boards come up in sequence instead of fighting the adjoining flooring (typical hard-surface transition install practices).
The sequence that prevents damage
1. Remove shoe molding and baseboards overlapping the floor edge. Use a pry bar with a wood block behind it to limit surface gouging.
2. Remove threshold pieces, transition strips, or reducer bars between rooms (especially where hardwood meets tile, carpet, or another floor type).
3. Clear the work zone so you can stand/box the area where boards lift.
Where you should start
Start from the “best exit point,” often near a threshold or the least constrained edge. In many entryways, that’s where you can:
– Get a flat tool angle
– See seams and fasteners more clearly
– Work with consistent leverage without wrestling around corners
If you hit a row that won’t move, don’t force it—recheck for hidden fasteners (common near doorways) or adhesive “islands” (common after repairs).
Lift nail-down hardwood without damaging the subfloor
You can often remove nail-down entryway hardwood with minimal subfloor harm by working seams first and removing fasteners gradually. The key is controlled leverage: pry at board joints, then pull/cut nails instead of yanking boards upward.
Using a floor scraper or pry bar at seams helps reduce splintering because force concentrates at the joint rather than ripping the board face (general flooring demolition best practices).
If nails are present, slow nail removal (or careful cutting) reduces the chance of tearing the subfloor when the board releases (flooring removal guidance from manufacturers and adhesive/fastener industry manuals—use your system docs).
A pry/cut strategy that respects the subfloor
– Start at a freed edge or starter board and lift just enough to insert a scraper.
– Work board-by-board:
– Pry at the seam
– Lift slightly
– Remove fasteners you can access
– Repeat
If nails are rusted or embedded near the joint, consider cutting nails with the right tool rather than pulling aggressively. This keeps the board from “snapping” and helps you avoid dragging wood fibers that can stick to subfloor patches.
Labeling matters in visible entryways
If you plan to reuse any boards, label stacks by:
– Row number (or starting wall)
– Width/board ID
– Orientation (tongue/groove direction)
Entryways are visible; mismatched boards look obvious even months later once the project is finished.
Control the splinters
– Use gradual leverage (short pry moves, not a single “big pop”).
– Back your pry tool with a thin wood block to spread load.
– Expect small chips—especially near threshold edges where the board is often mechanically stressed.
Remove glue-down hardwood using controlled cutting and scraping
Glue-down hardwood usually won’t lift cleanly, so your safest method is to cut the joints and then scrape adhesive slowly. This approach protects the subfloor because adhesive removal is where most damage happens.
Glue-down removal typically requires separating along board-to-board joints before lifting because adhesives bond more uniformly across the board surface (adhesive manufacturer removal guidance—use your adhesive TDS).
Aggressive scraping can gouge plywood/OSB; controlled, shallow passes reduce the chance of scoring the subfloor (adhesive and subfloor preparation recommendations).
Cut first, lift second (work in sections)
A controlled sequence usually looks like:
1. Score/cut along seams where boards meet.
2. Free a small section (not the entire entryway at once).
3. Lift gently until you can access the adhesive line.
4. Scrape residual adhesive in stages.
For tools, an oscillating multi-tool blade is often ideal for cutting along joints. Keep the blade depth conservative—your goal is to separate boards, not cut into subfloor.
Adhesive residue cleanup: slow down near the subfloor
Residual adhesive can be stubborn, and entryways often have repaired subfloors from previous owners. If you see a patch, stop and assess before continuing scraping. Subfloor gouges can:
– Create low spots for the replacement floor
– Require patch/leveling compounds
– Add extra cure time before you install anything new
In mixed installations, it’s possible that only part of the entryway is glue-down. Treat each zone as its own attachment method and repeat the correct process.
What can go wrong (and how to avoid it)
Most problems during entryway hardwood removal come from skipping edge prep, forcing boards, or misunderstanding mixed attachment points. If you avoid those three issues—and recognize when to stop—you’ll usually end with a cleaner subfloor for the replacement phase.
Splintering is most common when trim isn’t removed first and when pry force is applied to the board face instead of the seam (general flooring demolition best practices).
Subfloor gouging happens when scraping continues after the tool contacts plywood/OSB rather than backing off and re-checking for adhesive pockets or fasteners (adhesive removal and subfloor preparation TDS).
Pros/cons reality check: what each method costs you
Here’s a practical contrast you can use to set expectations before you start:
– Nail-down:
– Pros: often less adhesive residue cleanup; better chance of board reuse
– Cons: nails can pull subfloor patches; rusted fasteners can tear boards
– Glue-down:
– Pros: straightforward “cut and scrape” approach once you find the seam lines
– Cons: more mess and time cleaning adhesive; higher risk to the subfloor surface if scraping is aggressive
Common failure modes to watch for
– Splintering at the edges: If shoe molding or baseboards stay in place, the first pry move can chip hardwood.
– Subfloor damage: If you see deep scoring lines in plywood/OSB, stop—your blade/scraper is likely too aggressive.
– Hidden fasteners near thresholds: Entryways often have extra fastening around doorframes, thresholds, or under transitions.
– Mixed installation types: Some entryways have nail-down perimeter areas and glue-down field sections. Switch methods when you detect resistance patterns change.
When you should not DIY
Skip DIY removal (and consider a pro) if you suspect asbestos-containing materials, if the subfloor appears delaminated, or if the entryway is a complex multi-material area with unclear attachment points. This is especially relevant when demolition includes cutting adhesives or unknown underlayment layers—both can increase exposure risk.
Verdict / tip
For most entryways, you’ll have the best chance of a clean result by first confirming whether the flooring is nailed or glued, then using the right removal method (pry/pull for nail-down, cut/scrape for glue-down). The upside of this approach is control: it reduces subfloor surprises and makes replacement prep more predictable.
The downside is realistic: nailed removal can still splinter boards and pull up subfloor patches if nails are rusted or close to joints; glue-down removal is messier and can leave adhesive that takes extra time to clean. As of 2026, that preparation time matters—plan a day for removal and another block for adhesive/subfloor prep unless your installation is unusually cooperative.
If you’re working in a high-traffic entryway with limited access or you suspect mixed attachment methods, it’s often worth spending time on the first test area rather than trying to “power through” the whole section.
Quick removal checklist (scan/save)
– [ ] Cover nearby surfaces and protect entryway traffic paths
– [ ] PPE: eye protection + dust mask/respirator + gloves
– [ ] Remove trim/transition pieces before touching floor boards
– [ ] Determine nail-down vs. glue-down attachment near an edge
– [ ] Start at threshold/accessible edge and remove in small sections
– [ ] For nail-down: pry at seams; pull/cut fasteners carefully
– [ ] For glue-down: cut joints; scrape residue gently
– [ ] Vacuum frequently and inspect subfloor as you go
Sources
– OSHA 29 CFR 1910.1000 Table Z-3, “Air Contaminants” (wood dust permissible exposure limits). OSHA
– U.S. Department of Energy guidance on HEPA filtration performance (99.97% @ 0.3 µm for true HEPA). U.S. DOE
When you remove entryway hardwood using the correct attachment-specific method—plus dust control and trim removal—you reduce the two biggest risks: damaging the subfloor and creating avoidable finishing problems. Confirm nail-down vs. glue-down early, work from a good starting edge, and treat adhesive or fasteners as “slow details” rather than obstacles.
Frequently Asked Questions
What’s the safest way to remove hardwood floors in an entryway without damaging the subfloor?
Start by clearing the entryway and protecting surrounding surfaces with plastic sheeting and painter’s tape. Carefully remove shoe molding and transition strips first, then loosen boards using the right tools so you don’t gouge the subfloor. As you lift sections, inspect for nails or staples and pull them as you go to avoid damage before removing hardwood flooring completely.
How do I remove hardwood floors from an entryway if the boards are nailed down with nails or staples?
Look for nail lines near the edges and use a pry bar or floor scraper to lift plank sections gradually, working from the seams outward. A hammer and tapping block can help loosen nailed hardwood without cracking tongue-and-groove joints. If the boards won’t release, use a oscillating multi-tool to cut nails or pry at the correct angle, then remove remaining fasteners from the subfloor.
Why is it important to control dust and debris when removing hardwood flooring in a high-traffic entryway?
An entryway removal creates dust and debris that can spread throughout the home, making it harder to prep for new flooring. Use a shop vacuum with a dust shroud or HEPA filtration, keep plastic barriers at doorways, and wet-sweep only when appropriate to reduce airborne particles. Containing debris also helps protect baseboards and reduces cleanup time during hardwood floor removal.
Which tools do I need to remove hardwood floors from an entryway efficiently?
Common DIY-friendly tools include a pry bar, floor scraper, tapping block, utility knife, hammer, oscillating tool, and a pry bar for transitions and trim. A nail puller or magnetic sweep helps locate fasteners after you remove planks, and a heavy-duty trash bag system keeps debris under control. For larger entryways, a dust containment setup and shop vac make hardwood floor removal faster and cleaner.
What’s the best way to handle adhesive or old finish when removing hardwood floors in an entryway?
Identify whether the hardwood is nail-down, staple-down, or glued down, because adhesive removal requires different techniques. For glued hardwood floors, soften residues with an appropriate floor adhesive remover or scraper method, then clean the subfloor thoroughly before installing new materials. If you’re removing hardwood floors to refinish the subfloor area, sand and vacuum completely so the next floor installation adheres properly.
📅 Last Updated: October 16, 2026 | Topic: How to remove hardwood floors from a entryway? | Content verified for accuracy and freshness.