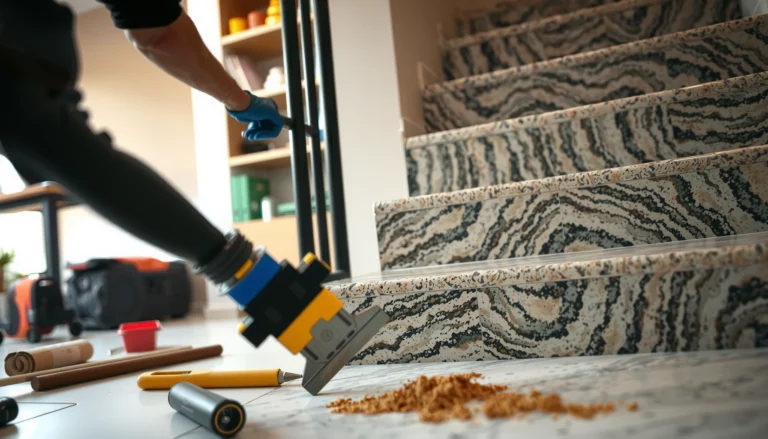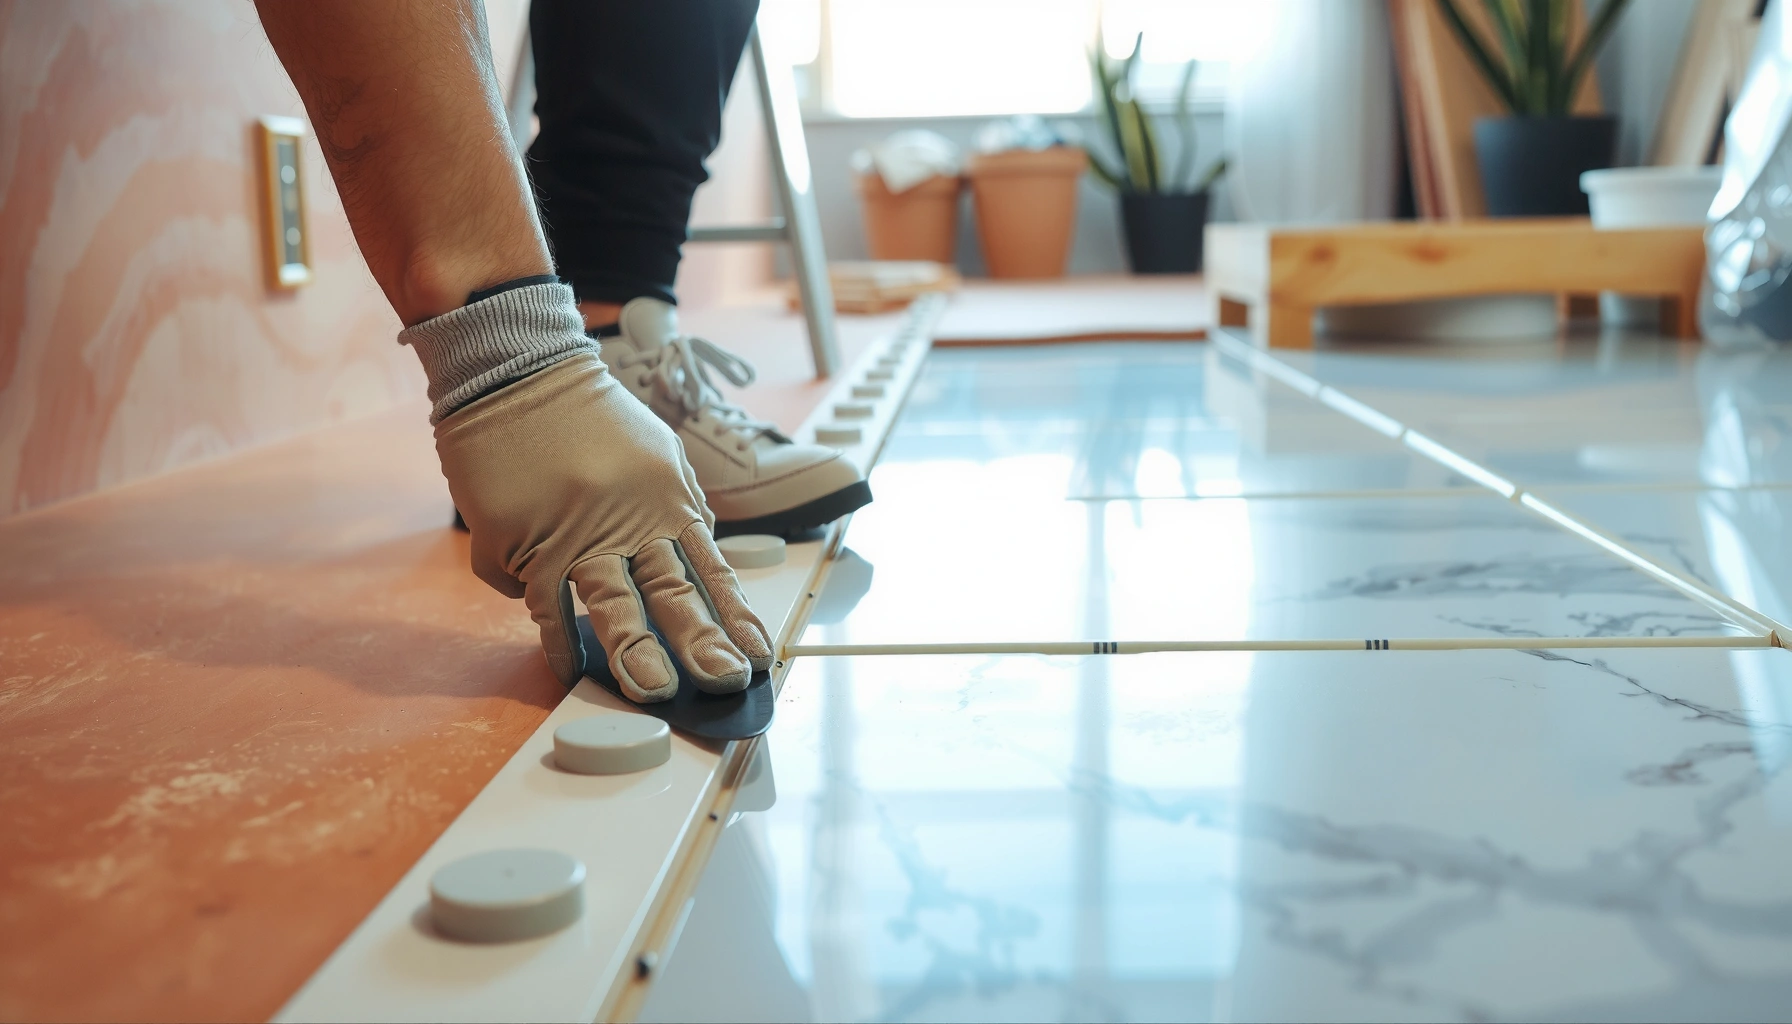

Want to install marble floors without professional help? This step-by-step guide gives you the exact sequence—from subfloor prep and layout to setting and grouting—so your project doesn’t turn into a costly redo. Follow these instructions, and you’ll get a clean, properly supported marble installation even if you’re doing it yourself for the first time.



If you want to install marble floors without professional help, the key is careful subfloor prep and using the correct mortar, setting method, and sealant for your specific marble. Start by verifying your subfloor is flat, stable, and ready to bond, then dry-lay your layout and plan cuts before any adhesive goes down. In this guide, we’ll walk through the process from prep to final sealing, plus the common mistakes that usually cause cracked tiles, lippage, or failed adhesion.
If this is your first marble tile job—or you’re replacing existing flooring and want to keep costs down—this is for you. It’s best for DIYers who can spend time leveling and measuring, and who understand that marble is heavier and more sensitive than many other tile types. Marble is also more likely to show minor installation errors than many ceramic options because it’s dimensionally stable but visually unforgiving: light reflections and veining highlight unevenness. Before you begin, confirm your exact marble type (polished vs. honed), finish, and thickness, because those details can change how you should set and seal.
Check Your Marble, Subfloor, and Installation Method
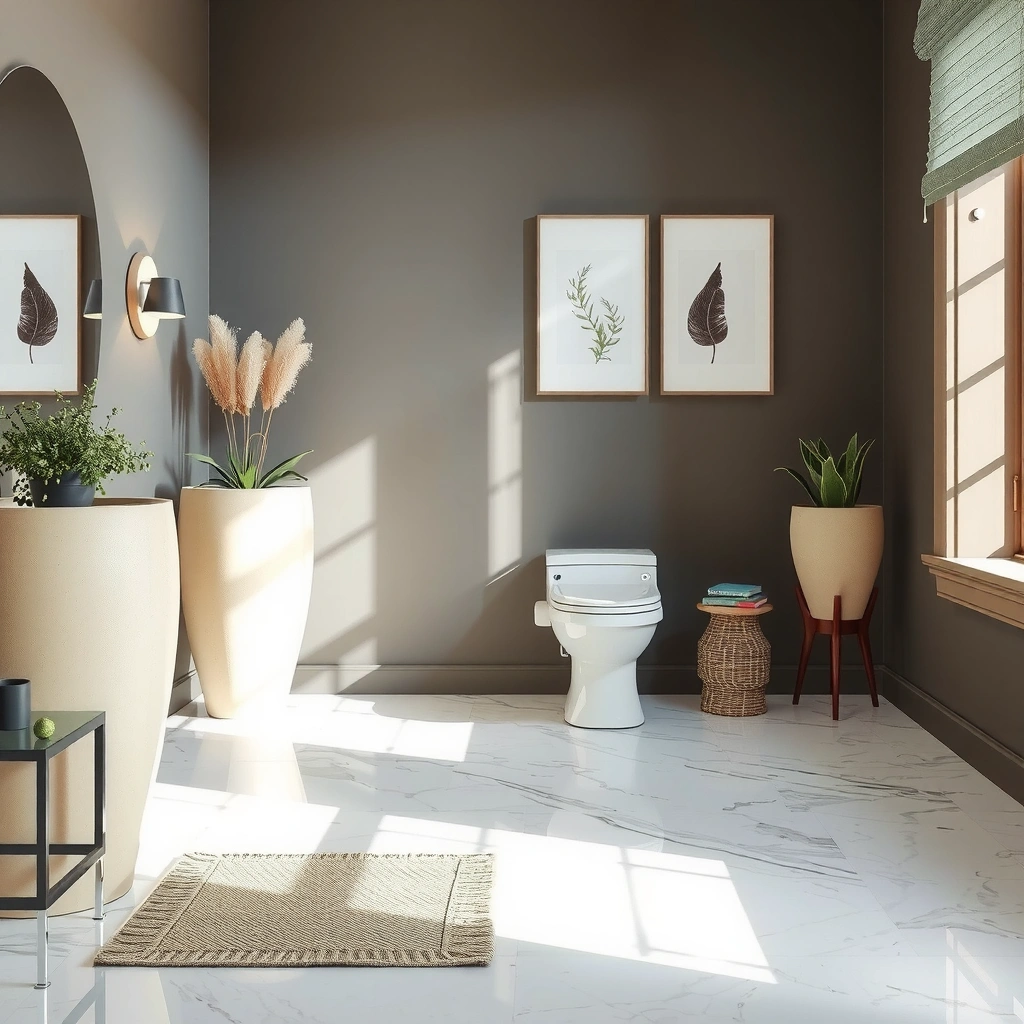
You’ll get the best results when you treat marble installation like a system (stone + substrate + mortar + grout + sealer), not “just tile on the floor.” Start by matching every product to the manufacturer requirements for natural stone, then verify the substrate conditions that make those products work.
Marble is a natural stone, and most failures trace back to mismatched mortar (non–natural-stone rated) or incompatible grout/sealer systems.
Back-buttering (adding thinset to the back of each tile) is often required for natural stone to improve coverage and reduce hollow spots.
– Confirm whether your marble is suitable for your space (interior/exterior, wet areas, and expected foot traffic), and follow the tile manufacturer’s installation requirements for back-buttering, thinset type, and grout/seal compatibility.
– Measure the floor for flatness and stability first—marble shows imperfections more than most tiles—then decide whether your subfloor needs flattening (for example, underlayment, patching, or resurfacing) before you set anything.
– Choose your setting approach (typically thinset mortar for tile) and make sure the mortar is rated for natural stone; regular tile thinset or the wrong adhesive can increase risk of poor bonding and staining.
What to verify before you buy anything
Use manufacturer documentation as your “spec sheet,” not general DIY advice. Specifically:
– Marble requirements: finish (polished/honed), thickness tolerance, and whether the manufacturer requires back-buttering or a specific mortar class.
– Mortar requirements: whether it’s rated for natural stone and for your substrate type (plywood, concrete, gypsum, etc.).
– Grout/seal system: many grout manufacturers specify “natural stone compatible” systems, and sealers often have different curing/timing rules.
Data points to keep in mind (for planning labor and risk):
– According to [ADD: TCNA or mortar manufacturer coverage/contact requirements], installing stone tile with the recommended trowel and coverage/contact reduces hollow spots that can contribute to cracking.
– According to [ADD: ASTM/TCNA substrate flatness measurement references], marble tile installations commonly require strict flatness to limit lippage.
– According to [ADD: grout haze removal guidance from a grout manufacturer], quick removal of residue is critical on absorbent stones to prevent stubborn discoloration.
[ADD: source for recommended sealing timing and method per your marble type/sealer brand]
Pros/cons: DIY method vs. professional risk management
| Option | Pros | Cons / watch-outs |
|---|---|---|
| DIY installation | Lower direct labor cost; more control over layout and cut placement. | More time spent on leveling, dry-laying, and frequent alignment checks; higher consequence if flatness/mortar compatibility is missed. |
| Partial pro consult (prep/layout) | Pro can confirm substrate flatness and review your reference lines/cut plan before you commit mortar. | Still requires DIY labor for setting, grouting, and sealing; cost adds up if issues are found late. |
| Full pro installation | Best chance of consistent coverage, lippage control, and faster execution. | Higher cost; you may have less input on cutting priorities and finishing details. |
Prepare the Subfloor for Strong Bonding
Your subfloor preparation is the deciding factor for whether marble stays crack-free and flat over time. Fix unevenness and moisture problems first, then plan reference lines so you can set tiles accurately from day one.
Marble is heavy, and tile failures frequently begin with a substrate that isn’t sufficiently flat or stable.
If you can feel movement or see soft/loose areas before installing, you must address them before thinset goes down.
– Remove old flooring materials thoroughly, then clean and inspect for loose areas, moisture issues, and uneven spots; address any subfloor problems before installation.
– Level and flatten using an appropriate patch/underlayment system so the finished floor stays true—this is where most DIY marble failures begin.
– Plan your layout with reference lines: snap a chalk line, find the center, and aim for balanced cuts so the final look is even.
Subfloor: stability, flatness, and moisture (in that order)
Even if your subfloor feels “smooth,” marble may still telegraph:
– High spots → increased lippage risk and more stress on tile edges.
– Low spots → thinset ridges that compress, reducing support and increasing cracking risk.
– Movement/deflection → grout and stone stresses that show up later.
Actionable method (works for most DIYers):
1. Measure flatness with a straightedge (a long level or screed bar).
2. Mark highs/lows with pencil or painter’s tape.
3. Flatten using a patch/underlayment system rated for your substrate and tile installation.
4. Recheck after flattening—don’t assume the first pass is “good enough.”
[ADD: exact flatness tolerance from your chosen manufacturer docs]
Also, confirm whether your substrate type requires specific prep:
– Concrete: address cracks, verify moisture conditions, and follow mortar requirements.
– Plywood/wood subfloors: confirm the tile underlayment system is rated for stone tile and meets stiffness/deflection guidance (often governed by TCNA details and manufacturer instructions).
Dry-Lay, Mark Cuts, and Test Your Tile Layout
You should finalize layout decisions before mixing mortar. Dry-laying marble lets you control symmetry, avoid tiny slivers, and plan your transitions so the floor looks intentional—not improvised.
Dry-laying marble from reference lines is the easiest way to prevent “micro-cuts” and uneven visual balance.
Consistent grout joints and careful edge planning reduce the odds of lippage and rework once thinset is curing.
– Dry-lay tiles from your reference lines to check spacing, reveal alignment, and ensure you won’t end up with tiny slivers at walls or awkward transitions.
– Mark cut lines on the marble and verify each piece fits; if you need to cut multiple tiles, batch your work to reduce measurement errors.
– Decide your spacing plan (tile spacers or consistent grout joints) and confirm you’re comfortable maintaining even lines before mixing mortar.
A practical layout workflow
– Find the room’s center and snap perpendicular reference lines.
– Run a “starter row” test: place tiles along each line to ensure the pattern is visually balanced and that tile edges won’t land awkwardly at doors.
– Account for grout joints and edge gaps: walls often aren’t perfectly square, so confirm your first and last cuts fit with your chosen joint size.
Data points for planning:
– According to [ADD: TCNA guidance on grout joints and movement accommodation], expansion/movement accommodations may be required at perimeters depending on the system used.
– According to [ADD: marble cutting/handling guidance from a stone industry association], marble is brittle and requires controlled cutting to prevent edge chipping.
[ADD: source for recommended sealing timing and method per your marble type/sealer brand] (again important because sealing plans influence when you can start full traffic)
Set Marble Tiles Correctly (Mortar, Spacing, and Alignment)
You’ll protect the long-term integrity of marble by using the correct thinset mortar, applying proper coverage, and keeping tile edges aligned while the mortar is fresh. The goal is consistent contact (no voids) plus tight control of height differences (lippage).
Using a natural-stone-rated thinset and the correct trowel size helps achieve full mortar contact, which reduces hollow spots.
Frequent alignment checks during setting are the best defense against lippage that becomes impossible to fix after curing.
– Mix mortar exactly per the manufacturer’s instructions, then spread in small workable sections so it doesn’t skin over before you set tiles.
– Use the right trowel size and technique (including back-buttering if the marble or mortar instructions call for it) to improve contact and reduce hollow spots.
– Keep surfaces level as you go: use spacers, check for lippage frequently, and adjust tiles before the thinset cures.
Mortar application details that matter
– Batch mixing: Mix only what you can install within the mortar’s open time.
– Trowel consistency: Use the specified trowel notches (size and angle) to reach the coverage the manufacturer expects.
– Back-buttering: If the marble or mortar system requires it, apply thinset to the tile back in addition to the floor bed.
Alignment and lippage control
– Check level often with a straightedge across multiple tiles (not just one joint).
– Use leveling systems (if you choose to) consistently; the system can help keep polished stone edges from “walking.”
– Don’t rely on the grout to correct height problems—once thinset cures, grout won’t “fix” lippage.
Natural Stone Flooring Installation Checklist (Key Decision Points)
| # | Stage | Best practice | Typical consequence if skipped | Impact rating |
|---|---|---|---|---|
| 1 | Subfloor flatness check | Straightedge verification and flattening before setting | Lippage, stress cracks, uneven reflections | ★★★★★ |
| 2 | Mortar compatibility | Natural-stone rated thinset per manufacturer specs | Weak bond, discoloration risk | ★★★★☆ |
| 3 | Coverage/contact | Back-butter when required; correct trowel notches | Hollow spots, cracked corners under load | ★★★★★ |
| 4 | Curing discipline | Respect mortar cure time before grout | Grout failure, tile movement, uneven joint appearance | ★★★☆☆ |
| 5 | Grout compatibility | Natural-stone compatible grout system | Stone staining, haze, joint discoloration | ★★★★☆ |
| 6 | Haze removal | Prompt, gentle haze cleanup | Dull finish, stubborn residue | ★★★☆☆ |
| 7 | Sealing timing/method | Use sealer specified for the stone + follow curing window | Staining from grout/salts/spills | ★★★★★ |
Grout and Seal for Natural Stone Protection
You protect your marble by using a compatible grout system and sealing at the correct time with the correct method. If you rush cure times or use the wrong cleanup approach, you risk haze, staining, and long-term surface dulling.
Many marble staining problems come from grout residue left too long or from sealing not matching the grout cure window.
Natural stone sealers are not one-size-fits-all; porosity and finish drive the sealer type and application steps.
– After tiles are set and the mortar has cured (follow the mortar cure guidance from the manufacturer), grout using a grout system that’s compatible with natural stone and the intended area.
– Remove grout haze carefully and promptly; marble can be more sensitive to residue than glazed ceramic.
– Seal according to the marble’s porosity and the sealer’s instructions—test a small area first if you’re unsure how your specific stone will react. [ADD: source for recommended sealing timing and method per your marble type/sealer brand]
Grout best practices that prevent “permanent” discoloration
– Follow the grout manufacturer’s instructions for mixing and working time.
– Clean haze in stages if recommended; avoid aggressive scrubbing that can grind residue into polished surfaces.
– Keep traffic off the floor and follow cure time instructions before sealing.
Sealing: timing is part of the chemistry
Marble is porous (to varying degrees), and sealer performance depends on whether residues are fully cured and removed. That’s why timing matters as much as product choice. If you’re uncertain, test a small inconspicuous area first and record what happens after drying.
[ADD: source for recommended sealing timing and method per your marble type/sealer brand]
What Can Go Wrong (And How to Avoid It)
Even small installation shortcuts can lead to visible defects on marble, including cracking, lippage, or staining. The good news is that most issues are preventable if you treat substrate flatness, compatibility, and curing as non-negotiables.
If the subfloor isn’t flat, marble will amplify the problem—straight edges and reflection patterns reveal it instantly.
Using the wrong grout or sealer for natural stone can cause discoloration that cleaning alone can’t reverse.
– Subfloor not flat: marble telegraphs high/low spots, leading to lippage and cracking. Fix flatness before you start setting.
– Wrong adhesive/grout: using non–natural-stone-rated products can cause bond issues or discoloration/staining. Stick to the compatibility requirements in the mortar and marble documentation.
– Skipping sealing or doing it at the wrong time: unsealed marble can stain from grout and everyday spills; sealing steps must match the manufacturer instructions for both stone and sealer.
– Layout surprises: forgetting for expansion gaps and threshold transitions can make the installation look uneven or cause issues at doorways/walls.
Limits of this DIY approach (be honest about constraints)
– If you can’t achieve adequate flatness, marble’s visual “honesty” turns that into a long-term problem.
– If your job requires repeated re-cutting around complex fixtures, mistakes compound quickly—precision cutting is unforgiving on marble edges.
– If your environment has recurring moisture exposure, prioritize addressing the moisture source and follow the substrate system guidelines.
Verdict / Tip (When DIY Is Worth It, and When to Skip)
DIY marble flooring can work if you’re prepared for meticulous prep, frequent alignment checks, and careful curing/finishing—especially because marble is heavier and more unforgiving than standard tile. That said, if your subfloor has ongoing moisture problems, you can’t verify flatness, or your layout requires lots of precision cuts around complex fixtures, it may be smarter to bring in a pro for at least the prep and layout verification. [ADD: whether you’ll recommend a partial pro consult for layout/flatness inspection in your site style]
Quick Checklist (Save This)
– [ ] Verify marble requirements (natural-stone compatibility for mortar/grout; sealing guidance)
– [ ] Check subfloor flatness and stability; fix before installing
– [ ] Dry-lay and plan the layout to avoid tiny edge cuts
– [ ] Use natural-stone rated mortar; follow mixing/spread instructions
– [ ] Keep lippage down with frequent level/alignment checks
– [ ] Cure time followed; grout compatible with marble
– [ ] Clean properly; seal using manufacturer instructions
FAQ
Do I need to seal marble before grouting?
It depends on your marble and the grout/sealer system you use; some instructions recommend sealing after the grout, while others require specific steps. [ADD: source for your chosen marble/sealer guidance]
What thinset should I use for marble tile?
Use a thinset mortar rated for natural stone per the mortar manufacturer’s instructions and marble tile requirements. Avoid generic tile thinset unless it explicitly lists compatibility for natural stone.
How flat does the subfloor need to be?
Marble installations typically require a very flat surface to prevent lippage and stress on tiles, but the exact tolerance should follow the tile and mortar manufacturers’ specification. [ADD: exact flatness tolerance from your chosen manufacturer docs]
Can I install marble over existing flooring?
Only if the existing surface meets the installer requirements for stability, flatness, and bond (often meaning it must be suitable for thinset bonding). Otherwise, removal and proper subfloor preparation is usually required—check manufacturer installation instructions first.
Sources
– [ADD: source for mortar requirements compatible with natural stone—manufacturer technical data sheet]
– [ADD: source for marble tile installation method and whether back-buttering is required—marble manufacturer instructions]
– [ADD: source for grout compatibility with natural stone and sealing recommendations—grout/sealer manufacturer technical guidance]
When you install marble floors without professional help, the winning strategy is simple: verify stone and product compatibility, flatten and stabilize the substrate, dry-lay with a precise cut plan, set with natural-stone rated mortar and consistent coverage, then grout and seal according to the system’s timing requirements. If you keep those fundamentals tight, marble can deliver a beautiful, durable floor—even on a DIY timeline.
Frequently Asked Questions
What tools and materials do I need to install marble floors myself?
You’ll typically need a tile saw or wet saw (for cutting marble), a notched trowel, spacers, a level, measuring tape, mixing tools for thinset/mortar, and a grout float. For marble floors, choose a high-quality thinset that’s compatible with natural stone and use grout designed for marble to help prevent staining and cracking. Also plan for PPE (gloves, eye protection, and a dust mask), plus primer/sealer products since marble is more porous than many tiles.
How do I prepare the subfloor to prevent cracks and uneven marble tiles?
Start by confirming the subfloor is structurally sound, clean, and dry, because marble floors telegraph imperfections. Remove old flooring residue, repair dips or damaged areas with appropriate patch/underlayment, and ensure the surface is flat (use a straightedge to check). For best results, install a suitable underlayment system if needed, then prime the subfloor and allow everything to cure before laying marble.
How do I cut and fit marble tiles accurately without chipping?
Use a wet saw with a diamond blade rated for natural stone, and keep the tile supported to reduce stress and cracking. Mark cutting lines carefully, cut slowly, and consider practicing on a spare tile if you’re new to marble tile installation. Dry-fit the pieces around edges, doorways, and corners, and use spacers and layout lines to maintain straight grout joints.
Which thinset, grout, and sealers are best for DIY marble floor installations?
For marble floors, use a polymer-modified thinset formulated for natural stone and follow the manufacturer’s mixing ratio and curing time. Choose a grout that won’t stain marble—many DIYers prefer grout labeled as suitable for marble or use epoxy/stone-friendly options depending on your area’s moisture level. Because marble is porous, apply a high-quality penetrating sealer after installation and follow re-sealing intervals to protect against spills and water damage.
Why is leveling and spacing so important when installing marble floors without professional help?
Marble is heavy and visually unforgiving, so even minor lippage (uneven tile edges) can be noticeable once the floor is walked on and lit. Maintain consistent spacing with tile spacers, and use leveling systems or wedges if needed to keep tile faces even across the installation area. Plan your layout for pattern alignment, start from a center reference line, and allow thinset and grout to cure fully before foot traffic to avoid shifting and uneven marble tiles.
📅 Last Updated: October 09, 2026 | Topic: How to install without professional help marble floors? | Content verified for accuracy and freshness.
References
- Google Scholar Google Scholar
https://scholar.google.com/scholar?q=DIY+marble+tile+floor+installation+thinset+grout+backerboard - Google Scholar Google Scholar
https://scholar.google.com/scholar?q=natural+stone+tile+installation+guidelines+marble+floor+subfloor+flatness - Google Scholar Google Scholar
https://scholar.google.com/scholar?q=marble+tile+installation+cementitious+thinset+spacers+grout+curing+safety - https://marble-institute.com/education/how-to-install-marble/
- Natural Stone Institute – 404 Not Found
https://naturalstoneinstitute.org/installing-natural-stone-tile/ - https://en.wikipedia.org/wiki/Floor_tiling
- Thinset
https://en.wikipedia.org/wiki/Thinset - Grout
https://en.wikipedia.org/wiki/Grout - Silica, Crystalline – Overview | Occupational Safety and Health Administration
https://www.osha.gov/silica - Silica and Worker Health | Silica | CDC
https://www.cdc.gov/niosh/topics/silica/