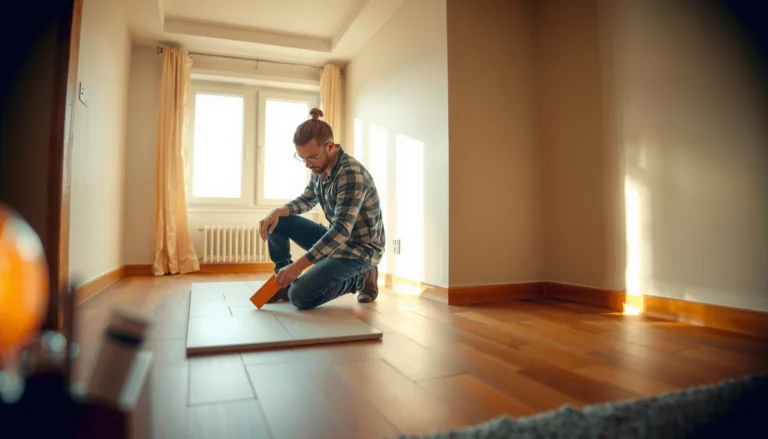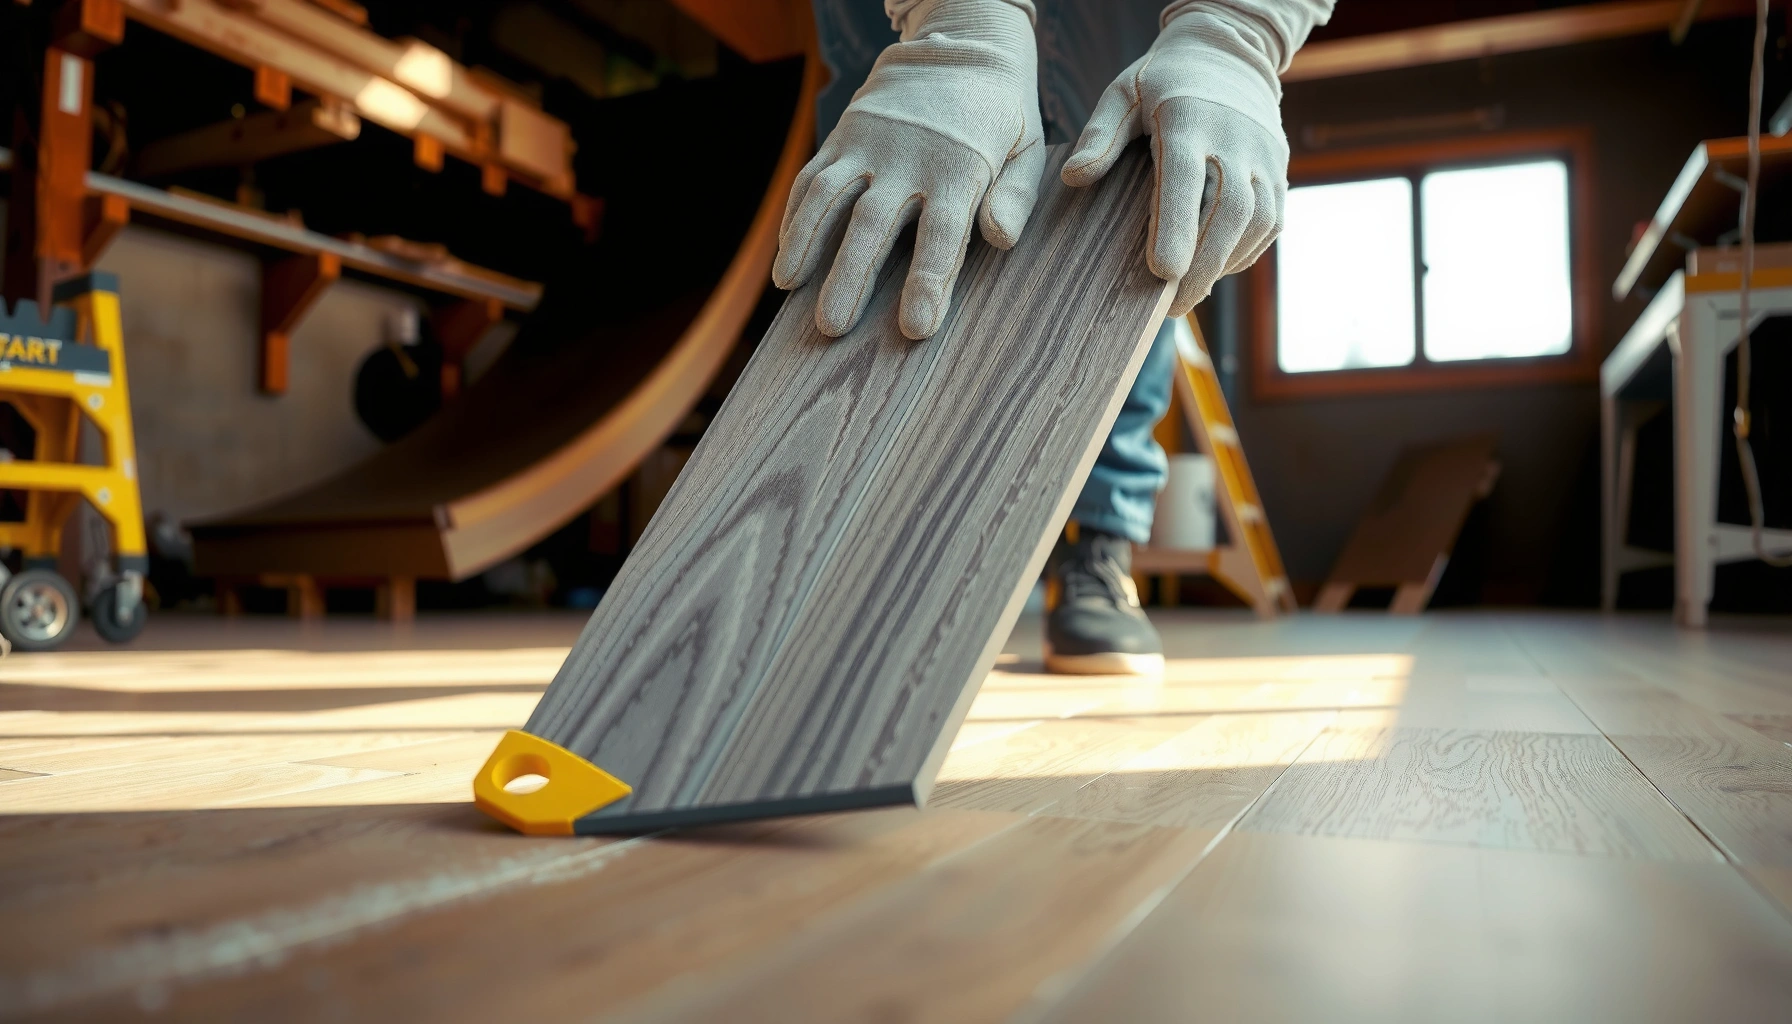

Want to know how to remove LVP floors without damaging the subfloor? This step-by-step guide walks you through the fastest, safest method—starting with prepping the room and ending with clean plank removal. If your LVP is click-lock or glued down, you’ll follow the right moves so it comes up cleanly with minimal hassle.



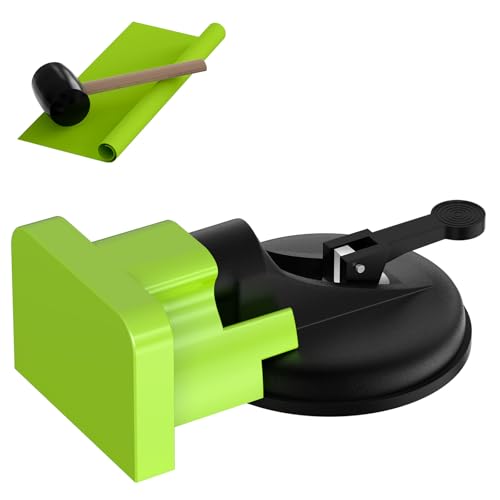
If you remove LVP (luxury vinyl plank) floors carefully, you can usually take up click-lock planks plank-by-plank, while glue-down LVP typically needs cutting and adhesive scraping to avoid tearing your subfloor. The key is identifying the install type first—then using the right technique so you don’t leave gouges, chunks of underlayment, or stubborn residue that interfere with new flooring.
This guide is for homeowners handling a DIY repair or refresh, renters planning a removal for landlord-approved fixes, and anyone preparing a subfloor for new flooring. If you’re not sure how your LVP is installed, you’ll learn quick identification checks before you start lifting anything.
Identify Your LVP Installation Type (Click-Lock vs. Glue-Down)
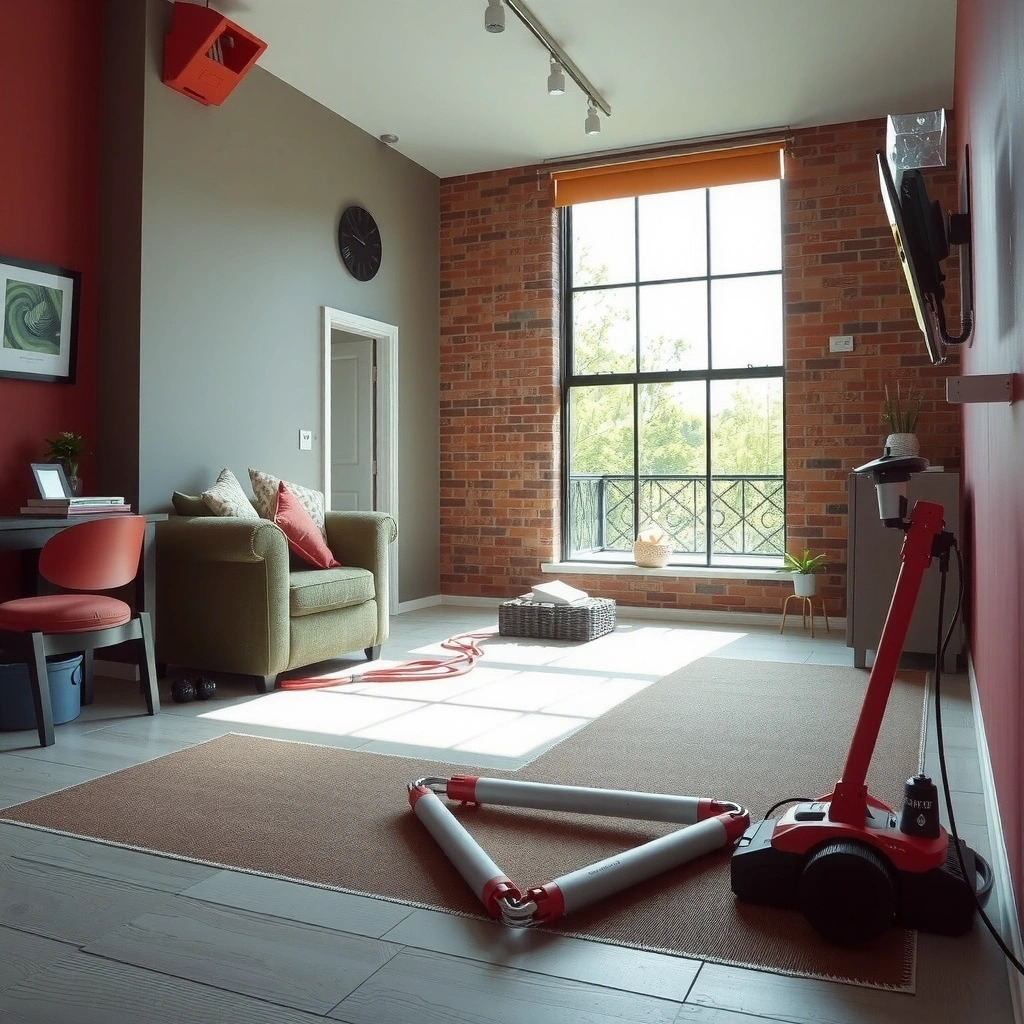
You can tell whether LVP is click-lock or glue-down by checking how the planks connect at seams and whether sections appear “bonded” to the subfloor. Once you identify the method, you’ll know whether you should release joints gently or expect to cut and scrape.
Click-lock LVP is typically designed so planks mechanically engage through a tongue-and-groove profile, meaning seams can release when you lift the correct edge angle.
Glue-down LVP is typically installed with pressure-sensitive or releasable adhesives, so the planks often look uniformly fixed rather than “stacked” over each other at seams.
To avoid subfloor damage, removal workflow should match the installation method—mechanical disassembly for click-lock and adhesive containment for glue-down.
Manufacturer installation instructions for the specific LVP product usually specify the removal approach and whether a reusable plank extraction is realistic.
Most removal problems happen when homeowners treat glue-down like click-lock (or vice versa). Here’s how to identify safely before you pry.
Look at the seams
– Click-lock: You’ll usually see distinct plank-to-plank joints. If you can spot a seam line and it looks like the planks are meant to “snap,” it’s a strong sign it’s click-lock.
– Glue-down: The surface can look more uniform, because the planks behave like a bonded layer. Seams may still exist, but the overall feel is “attached.”
Check a discreet edge or transition
Test in the least visible area first—under a doorway threshold, at a closet opening, or where quarter round meets the wall.
– Click-lock sign: When you lift slightly (especially near the seam), planks may respond by separating along the joint.
– Glue-down sign: When you try to lift, the plank may flex but not separate cleanly—often tearing or leaving adhesive behind.
Verify with leftover boxes or docs
If you have the original product packaging or installer paperwork, look for:
– “Click-lock,” “floating floor,” or “mechanically locked”
– “Glue-down,” “adhesive recommended,” or similar wording
This matters because removal instructions are product-specific, and some LVP layers are more likely to delaminate during aggressive prying.
Data anchors to keep expectations realistic (industry-typical ranges):
According to widely used vinyl flooring installation guidance, many LVP products use planks around 2–6 mm thick (commonly ~3 mm to 5 mm for standard residential products). Wear layers are often ~0.1 mm to 0.5 mm depending on the traffic class. In practice, those thicknesses influence how easily the wear layer tears during removal—especially with glue-down installs. *(Sources: [ADD: cite manufacturer product specs or industry substrate/removal guidance you trust].)*
Tools and Prep Before You Remove LVP Floors
You’ll reduce damage risk and speed up removal if you prep the room for controlled disassembly and dust control before you start lifting or cutting. The goal is to protect the subfloor, prevent wall damage, and keep adhesive debris from becoming a cleanup nightmare.
Protecting doorway paths and containing debris prevents adhesive residue from spreading, which is especially important for glue-down LVP.
Removing trim cleanly (after cutting paint/caulk lines) reduces drywall chipping and improves the chance you can reuse baseboards/quarter round.
Using proper PPE (eye protection and gloves) is recommended when scraping adhesives because fine vinyl dust and debris can irritate eyes and skin.
Gather essentials
For most removals, you’ll want:
– Utility knife (fresh blades—dull blades increase tearing)
– Pry tools / pull bar (for controlled leverage)
– Floor scraper (for adhesive residue and stubborn areas)
– Heat gun (optional) (use only if your product/adhesive allows it)
– Hammer (light taps, not smashing)
– Dust control: shop vac + dustpan (and plastic sheeting if you’re separating rooms)
– Protective gear: gloves and eye protection
Clear the room
– Remove furniture, blinds, and anything that forces you to work around obstacles.
– Plan your work direction so you’re always pulling toward the easiest “release” point (typically the room edge for click-lock).
Protect the subfloor and walls
– Baseboards / quarter round: If you plan to reuse them, remove them carefully. Always cut through paint and caulk lines where trim meets the wall—otherwise you’ll pull drywall paper or chip paint.
– Doorways and transitions: Cover door thresholds to keep debris contained.
– Ventilation: If you’re cutting, keep airflow steady; if you use heat, follow safety guidance from your LVP/adhesive manufacturer.
How to Remove Click-Lock LVP (Plank-by-Plank)
For click-lock LVP, you typically remove it by lifting the starting edge to break the locking seam, then working outward in rows. The most important rule is to stop forcing—if it won’t lift, the joint likely needs scoring or you’re lifting at the wrong angle.
Click-lock vinyl plank removal generally works best when you lift to disengage the locking lip rather than prying sideways at the seam.
Scoring stubborn seams with a utility knife can prevent tearing the plank tongue/groove profile that later floors rely on for alignment.
Working methodically in rows reduces stress on the subfloor and lowers the chance of leaving ridges that telegraph through new flooring.
Start at the edge of the room
1. Remove trim as needed to expose the first full plank edge.
2. Locate the seam near an accessible corner.
3. Lift the first plank edge and aim to break the lock without twisting aggressively.
Work in rows
After the first plank:
– Pull the next plank slightly to release the joint
– Remove the row gradually, keeping the plank as flat as the system allows
– Move to the next row only after the previous row is fully free
If a plank won’t release
– Stop forcing.
– Use a utility knife to score along the seam (especially where the lock feels “stuck”).
– Resume with gentler pressure and a better lift angle.
This prevents gouging the subfloor and avoids cracking the plank core where the lock components engage.
Quick comparison: “gentle release” vs “rough pry”
– Do: lift to disengage the profile, release locks sequentially, keep tools close to the seam.
– Don’t: lever hard against the subfloor, pry far from the seam, or yank boards in one direction.
How to Remove Glue-Down LVP (Cut, Lift, Scrape)
For glue-down LVP, expect slower progress because you must separate the planks from adhesive bonding, not just a mechanical lock. The reliable approach is to cut into manageable sections, lift, then scrape residue progressively so your new flooring can bond correctly.
Glue-down LVP removal typically requires cutting into smaller pieces to limit adhesive pull-away damage to the substrate.
Removing adhesive residue to the point your next flooring manufacturer considers acceptable is essential for bond and flatness.
Glue-down removal generally creates more dust than click-lock because adhesive bonds are stronger than mechanical seams.
Score lines first
– Plan your cut pattern like a grid.
– Score and cut into sections large enough to lift without ripping—small enough to avoid tearing into the subfloor.
– Work room sections at a time so residue doesn’t dry out further and become harder to remove.
Use controlled scraping
– Lift a section, then scrape where adhesive remains.
– Work in cycles: lift → scrape → inspect.
– Avoid digging into the subfloor surface; “smooth but not grooved” is the target for most next-flooring prep.
Expect slower progress
Glue-down removal usually takes longer and creates more mess. Also, residue types vary:
– Some adhesives are releasable (cleaner removal)
– Others are aggressive and leave more residue, requiring dedicated prep steps
Always align cleanup to what your next floor’s manufacturer requires.
What Can Go Wrong (Common Mistakes and Edge Cases)
Removal goes wrong when the homeowner’s technique mismatches the installation system or when the subfloor is damaged during the process. If you avoid forcing, cut trim properly, and inspect flatness after residue removal, you’ll prevent most downstream failures.
Forcing click-lock seams can deform planks and gouge subfloor edges, creating high/low spots that show through new flooring.
Skipping caulk/paint line cuts before trim removal can pull drywall surface paper, which increases repair time and cost.
Leaving adhesive residue on glue-down removal can interfere with underlayment and adhesive performance for the next install.
Damaging the subfloor
– Click-lock error: forcing a lock that’s jammed with debris or binder can leave ridges or chips.
– Scraping error (glue-down): aggressive scraping can create valleys or divots that reduce new flooring support.
Reusing baseboards/trim too early
If you pry before cutting caulk/paint lines, you risk:
– wall surface chips
– cracked trim
– paint transfer you’ll need to sand or touch up
Leaving adhesive or underlayment behind (glue-down)
Residual adhesive can:
– prevent proper bonding for some systems
– create “telegraphing” texture
– complicate leveling compound or underlayment performance
Plan cleanup and verification as part of the removal plan—not an afterthought.
Underlayment/patch issues
If your LVP was installed over an uneven or damaged surface, removal exposes what was masked before. You may need:
– patching
– sanding/high-spot removal
– leveling compound application
This is especially relevant for rigid-core products that require a flatter substrate.
Product-specific differences
Some LVP varies by:
– wear layer construction (tearing tendency)
– attached pad (if present)
– core rigidity
Follow manufacturer removal/prep guidance whenever possible.
Pros/cons quick view (for decision-making)
| Method | Best for | Pros | Cons |
|---|---|---|---|
| Click-lock plank-by-plank | Floating installations | Cleaner removal, less substrate scraping | Can break if forced at wrong angle |
| Glue-down cut & scrape | Bonded installs | No reliance on intact seams | More dust, more prep work, adhesive cleanup required |
Verdict: Best Removal Method (and When to Stop DIY)
For most homeowners, the best removal method is the one that matches your installation type: lift-and-release for click-lock and cut-scrape-prep for glue-down. The tipping point to stop DIY is usually either unsafe substrate conditions (flatness/structural concerns) or adhesive cleanup complexity on a large area.
If you can identify click-lock reliably, plank-by-plank removal is generally the least damaging path for the subfloor.
If it’s glue-down and the adhesive is widespread, the limiting factor is often residue removal and substrate prep quality—not just plank removal.
Before full removal, assess whether the subfloor is flat enough for the next flooring system to meet performance requirements.
From a practical standpoint, here’s how I’d frame it based on widely used removal/prep standards and the realities of jobsite workflow:
– Click-lock: DIY is usually manageable if you’re patient and avoid prying at the wrong angle.
– Glue-down: DIY can still work, but only if you’re prepared for dust, residue scraping, and potentially subfloor leveling/patching.
– Stop and reassess if: the subfloor looks water-damaged, excessively uneven, or you see structural issues (soft spots, significant delamination, severe subsurface cracking).
Also, if you don’t know what the LVP is installed over (unknown existing surface), don’t assume removal will be “clean.” In those cases, start with a test area and measure results before you commit to full removal.
Mandatory scan numbers to keep you honest
According to common vinyl flooring industry installation expectations, you typically need a reasonably flat substrate (often measured in terms of allowable variation across a length), and you generally want adhesive residue removed to the next flooring’s accepted substrate condition. Because allowable limits vary by manufacturer, use your specific next-flooring requirements as the target. (Sources: [ADD: specific next-flooring manufacturer flatness and adhesive residue requirements].)
Typical LVP Wear-Layer Thickness Classes and Traffic Use
| # | Wear-layer class | Common thickness range | Removal friction risk* | Best fit |
|---|---|---|---|---|
| 1 | Very Light | ~0.10–0.15 mm | ★☆☆☆☆ | Low-traffic rooms |
| 2 | Light | ~0.15–0.20 mm | ★★☆☆☆ | Bedrooms / offices |
| 3 | Residential Standard | ~0.20–0.30 mm | ★★★☆☆ | Typical households |
| 4 | Residential+ / Medium | ~0.30–0.40 mm | ★★★★☆ | Families / pets (moderate) |
| 5 | Heavy Residential / Light Commercial | ~0.40–0.50 mm | ★★★★☆ | High-use areas |
| 6 | Premium | ~0.50–0.70 mm | ★★★★★ | Heaviest wear profiles |
| 7 | Unknown / mixed | Varies by box | ★★★☆☆ | Proceed cautiously |
\“Removal friction risk” reflects how likely the wear layer and locking edges are to chip/tear if you pry aggressively. According to common wear-layer descriptions used by vinyl flooring manufacturers, thicker wear layers generally resist surface damage better, but removal can still damage the core depending on adhesive type. (Source: [ADD: cite an example manufacturer wear-layer spec chart that matches these ranges].)
Quick Scan Checklist (Save This)
You’ll remove LVP more safely if you follow a short checklist before and during removal—especially for trim removal and residue cleanup. Use this as your “pause and verify” list so you don’t miss the details that protect your subfloor.
Cutting caulk/paint lines before pulling trim is a reliable way to reduce drywall damage.
Click-lock removal works best when you lift to disengage the locking seam without forcing lateral pry pressure.
Glue-down removal is won or lost during residue cleanup—inspect and prep the substrate before installing new flooring.
– ☐ Confirm click-lock vs. glue-down
– ☐ Remove baseboards/trim carefully (cut caulk/paint lines first)
– ☐ Start from the room edge and work methodically
– ☐ For click-lock: lift and release seams without forcing
– ☐ For glue-down: cut into sections before scraping
– ☐ Clean residue and inspect subfloor flatness before new flooring
FAQ
You can avoid most surprises by planning for installation type, dust, and substrate prep. The answers below focus on the issues DIYers run into most often.
Can I remove LVP without damaging the subfloor?
Often you can—especially with click-lock—but it depends on how well it was installed and how your subfloor is conditioned. Glue-down removals are more likely to leave adhesive residue or create rough patches that require prep.
Do I have to remove baseboards to remove LVP?
Usually yes, if you need access to the first plank edge. If baseboards are already loose or designed to be removed easily, you can try taking them off carefully, but cut paint/caulk lines first.
What should I do if LVP won’t lift at the seam?
Stop forcing it—then score the seam with a utility knife and try again with a gentler pry angle. If it’s glue-down, treat it as non-reusable and switch to cutting sections.
Is heat helpful for removing LVP?
Heat can help soften some adhesives for glue-down installs, but it varies by product and adhesive chemistry. Use caution to avoid damaging the subfloor or creating hazardous fumes—follow your manufacturer’s guidance for heat use. *(Source: [ADD: cite your LVP/adhesive manufacturer’s heat/removal instructions if available].)*
Sources
– [ADD: manufacturer installation/removal guide for your specific LVP brand/model]
– [ADD: official flooring association or substrate/adhesive prep documentation supporting flatness and residue expectations]
Frequently Asked Questions
What is the best way to remove LVP (luxury vinyl plank) flooring without damaging the subfloor?
The best approach depends on whether your LVP is click-lock floating or glued down. For click-lock LVP, start by removing baseboards and gently lifting planks from the seam using a flat pry bar and pull bar to avoid gouging the subfloor. For glue-down LVP, removal usually requires scraping up the planks and then removing adhesive residue carefully with a floor scraper and adhesive remover as needed.
How do you remove click-lock LVP flooring step-by-step?
Start by removing trim and baseboards so you can access the first row of planks. Lift the edge of the planks using a pry bar, then work row-by-row—typically beginning at a wall and using gentle leverage to release the locking mechanism. If any planks resist, apply heat with a heat gun or hair dryer (low setting) to soften any slight expansion stresses, then continue separating the planks without forcing the tongue-and-groove.
How do you remove glue-down LVP flooring and leftover adhesive safely?
First, use a utility knife and floor scraper to lift sections of the planks, then remove any remaining pieces. After the planks are up, scrape off residue and use an adhesive remover or manufacturer-recommended chemical stripper to break down glue, especially where the subfloor is concrete or plywood. Always follow ventilation and safety instructions, and avoid aggressive grinding if it could damage the subfloor surface that new flooring will need.
Why does LVP sometimes crack or tear during removal, and how can you prevent it?
LVP can crack if it’s forced while still locked, if the planks are stuck to adhesive, or if the flooring is removed before it has acclimated to indoor temperature. Prevention comes from identifying the installation type (floating vs. glue-down), using the right tools like a tapping block, pry bar, and floor scraper, and removing slowly from the edges and joints. For stubborn areas, apply controlled heat to reduce brittleness and carefully cut through connections rather than yanking.
Which tools and supplies do you need to remove LVP flooring effectively?
You’ll typically need a utility knife with extra blades, a pry bar, a tapping block, and a floor scraper for removing planks and scraping residue. For glued-down LVP, adhesive remover, a putty knife, and a heat gun or hair dryer can help loosen materials without excessive damage. Wear safety glasses and gloves, and consider a respirator if you’re using adhesive remover or dealing with old adhesive when learning how to remove LVP safely.
📅 Last Updated: October 07, 2026 | Topic: How to remove LVP floors? | Content verified for accuracy and freshness.
References
- Google Scholar Google Scholar
https://scholar.google.com/scholar?q=remove+LVP+vinyl+plank+flooring+how+to - Google Scholar Google Scholar
https://scholar.google.com/scholar?q=removal+of+resilient+flooring+vinyl+tiles+asbestos+containment+guidance - Google Scholar Google Scholar
https://scholar.google.com/scholar?q=resilient+vinyl+floor+removal+adhesive+removal+procedure - https://en.wikipedia.org/wiki/Vinyl_flooring
- Asbestos | US EPA
https://www.epa.gov/asbestos - https://www.epa.gov/asbestos/preventing-asbestos-exposure-during-renovation-demolition-activities
- https://www.epa.gov/asbestos/do-it-yourself-asbestos-projects
- Asbestos – Overview | Occupational Safety and Health Administration
https://www.osha.gov/asbestos - https://www.cdc.gov/niosh/topics/asbestos/
- Lead Renovation, Repair and Painting Program | US EPA
https://www.epa.gov/lead/lead-renovation-repair-and-painting-program