
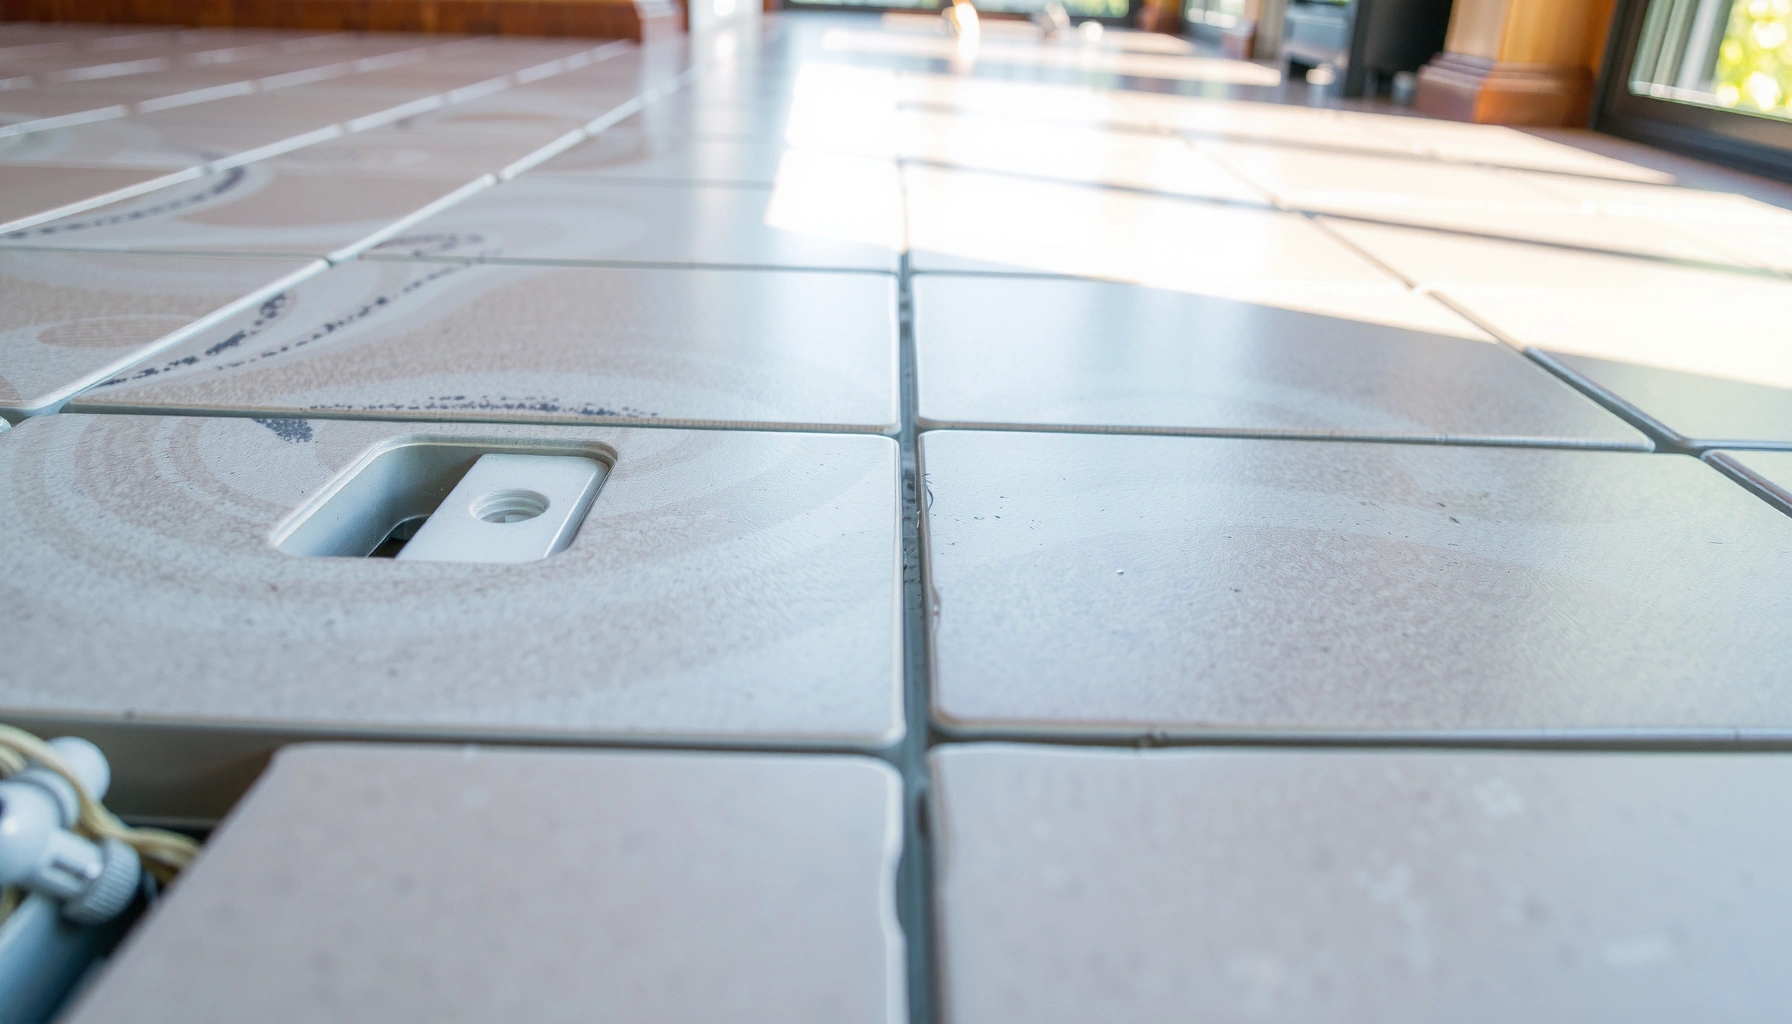

To prevent mold under mosaic tile floors, focus on stopping moisture before it reaches the mortar and backer board. The fastest, most reliable approach is correct subfloor prep plus a high-quality waterproofing membrane and well-planned drainage that keeps the floor consistently dry. If you handle installation gaps, grout sealers, and humidity control as part of the system, you’ll shut down the conditions mold needs.




To prevent mold under mosaic tile floors, you have to stop moisture from entering—and stop it from staying—in the subfloor, mortar/thinset, grout, and waterproofing system. In practice, that means building a continuous waterproofing barrier with correct detailing at edges/seams, then controlling indoor humidity and drying fast after any water exposure.
To prevent mold from gaining a foothold under mosaic tile, treat the tile assembly as a sealed “system,” not a collection of individual products. When water gets trapped behind tile, mold growth can begin even if the grout surface still looks intact. In my experience advising homeowners, the most common failure pattern is localized: a perimeter caulk gap, a corner transition, or a penetration (like a toilet flange or vent) that was not detailed correctly during installation—then moisture finds the path and stays there.
Who this is for / when it applies:
This is for homeowners, DIYers, and remodelers installing or maintaining mosaic tile floors in bathrooms, kitchens, entryways, laundry rooms, and other damp-use areas. It’s especially relevant if you’ve noticed musty odors, dark spots in grout, or discoloration near baseboards or edges—signs that water may be migrating under the tile assembly.
Start with a moisture-management plan (not just “good grout”)

Moisture prevention starts before you pick tile, grout, or caulk: you need a plan for every place water can travel and every material that water can reach. The best mold-resistant mosaic floors manage water paths across the entire build-up—from substrate to waterproofing to grout and transitions.
A tile floor only becomes mold-resistant when the entire assembly prevents trapped moisture, not just when grout looks intact.
Water commonly enters tile floors at edges, corners, and penetrations; these “details” often fail before the middle of the field tile.
Continuous waterproofing requires correct prep, correct overlaps/seams, and correct cure time before tiling or finishing.
A moisture-management plan is essentially a map of risk. For mosaic tile floors, the small format increases grout lines and creates more surface area where water can sit—so the assembly needs to be especially consistent. Start by auditing these layers and interfaces:
– Subfloor condition and type: wood subfloor, concrete slab, backer board, or cement board each has different water tolerance and detailing needs. Mold risk increases when there’s movement, soft spots, or poor flatness that can stress waterproofing.
– Underlayment and setting materials: the thinset/mortar and any underlayment must be compatible with the waterproofing system you choose.
– Waterproofing membrane layer: choose a tile-approved waterproofing method and install it according to the manufacturer’s surface prep and cure time requirements.
– Grout and caulking strategy: grout is not designed to be your primary waterproof layer; caulk and movement joints handle changing dimensions and perimeter gaps.
– Transitions and movement points: control joints, expansion joints, and “termite-size” cracks that open slightly over time can become hidden water entry points.
Where moisture paths actually run
Most trapped-moisture problems are not “mysterious”—they follow predictable routes:
– Perimeter edges: where tile meets drywall, baseboards, or cabinetry.
– Control joints and movement joints: where the building moves and the tile assembly must accommodate it.
– Penetrations: toilet flanges, plumbing lines, electrical conduit penetrations, and floor vents.
– Cracks and weak spots: substrate shrinkage, patch repairs, and transitions between floor materials.
[ADD: If you want, share your floor build-up (subfloor material + underlayment + waterproofing type + grout type), and we can help you identify the highest-risk water paths.]
Use proper waterproofing and seal the “risk seams”
Proper waterproofing is the difference between a tile floor that sheds water and one that traps moisture. Your goal is to create a continuous waterproof barrier with correctly detailed seams, corners, and wall-to-floor transitions—especially around mosaic grout lines.
Tile-appropriate waterproofing systems must be installed and detailed per the manufacturer’s instructions to perform as intended.
Perimeter and corner detailing are common failure points because water is directed toward edges by gravity and capillary action.
Membrane seams typically require the specified overlaps and pre-planned transition details to remain watertight.
Membrane vs. liquid-applied (and why “either” isn’t the whole answer)
You’ll see two broad approaches:
– Sheet membranes (typically rolled sheets bonded in place): require careful overlap/seam execution and attention to corners.
– Liquid-applied waterproofing (a coating system built in coats): requires correct thickness, correct coverage, and—critically—proper cure time before tiling.
Either can work, but they’re not interchangeable without matching details. The same principle applies to mosaic: seams and corners matter more because there are many grout lines and edges within a small area.
Seal the transitions you’re most likely to miss
Even a high-quality waterproofing layer can leak at the “last mile” if these areas aren’t detailed:
– Corners and wall-to-floor junctions
– Perimeter gaps under baseboards/trim interfaces
– Penetrations around pipe penetrations and toilet flanges
– Overlaps at seams and where layers meet
– Changes in plane (e.g., ramps, thresholds, and transitions between materials)
A practical rule: if it’s hard to see after tiling, it must be correct before tiling.
A moisture-risk “scorecard” (what failures correlate with)
The table below is a data-oriented way to prioritize your inspection. It’s not a lab test of your specific floor—think of it as a practical risk ranking based on common wet-area failure patterns in tile assemblies.
Common Mold-Related Leak Paths in Wet-Area Tile Floors (Priority Ranking)
| # | Leak path to inspect first | Why it matters | Risk rating | Typical “what failed” |
|---|---|---|---|---|
| 1 | Perimeter edge / wall base junction | Water is directed to edges; trim/corners often have gaps | ★★★★★ | Caulk failed or not detailed at waterproofing termination |
| 2 | Corners (inside/outside) | Corners concentrate stress and are detail-heavy areas | ★★★★☆ | No corner reinforcement / wrinkled membrane |
| 3 | Pipe/plumbing penetrations | Annular gaps wick water into the assembly | ★★★★☆ | Penetration not sealed with the correct details |
| 4 | Control joints / movement joints | If joints aren’t honored, cracks become hidden channels | ★★★☆☆ | Wrong joint fill or rigid grout at movement points |
| 5 | Underlayment seams/overlaps | Improper overlaps allow micro-leak paths | ★★★☆☆ | Insufficient overlap or incomplete embedment |
| 6 | Field grout micro-cracking | Cracks can allow surface water to migrate | ★★☆☆☆ | Inadequate curing or wrong grout for conditions |
| 7 | Overwatering/standing water from cleaning | Raises time-of-wetness under grout and edges | ★☆☆☆☆ | Soaking mops, no drying, repeated wet mopping |
Get the subfloor right before tile goes down
The most reliable mold prevention begins with a subfloor that can’t hold water and won’t flex excessively. Before you ever set mosaic tile, you need a sound substrate that’s clean, dry, and within the moisture limits required by your tile setting and waterproofing system documentation.
Tile assemblies require substrate flatness and soundness; flex or damaged surfaces can compromise waterproofing and allow water pathways to develop.
Do not tile over damp wood or deteriorated materials; trapped moisture becomes a long-term mold risk under tile.
Following the manufacturer’s moisture limits for the substrate and the waterproofing system reduces the risk of incomplete curing and future leaks.
What “getting it right” actually means
From a prevention standpoint, subfloor quality affects both immediate performance and long-term durability:
– Repair soft or water-damaged sections: replace rot, remove compromised materials, and correct any lingering moisture sources.
– Eliminate “water traps”: ridges, low spots, and poor patch feathering can direct water into seams.
– Stabilize movement: bounce and flex can stress the waterproofing and cause micro-cracks that later become leak entry points.
– Verify dryness before waterproofing: wood subfloors must be dried properly; concrete slabs typically need appropriate drying and readiness checks (per system instructions).
[ADD: If you specify your subfloor type (e.g., plywood, OSB, tongue-and-groove, or concrete) and the intended waterproofing type (sheet vs liquid), I can list the exact prep items to check from typical manufacturer guidance.]
Quick, practical build quality checks
These checks reduce the chance of moisture returning later:
– Flatness within the tile system’s requirements (mosaic tiles telegraph variations).
– No loose fasteners, delamination, or spongy spots.
– Clean, dust-free surface before thinset and before waterproofing coats.
– No active leaks elsewhere in the building envelope.
Choose grout and caulk wisely—and maintain them
Grout is part of the waterproof strategy, but caulk and joints usually control where movement happens and where water should (and shouldn’t) go. Using the right grout and maintaining perimeter caulk and movement joints prevents the small openings that let moisture reach the subfloor.
Perimeter caulk and movement joints are designed to accommodate building motion; failed caulk can allow water to migrate under the tile assembly.
Grout selection should match the use conditions (wet areas vs occasional splash) and follow the grout manufacturer’s installation method.
Re-sealing failed caulk before water intrusion begins is generally cheaper than remediating mold after it takes hold.
Match grout type to the environment
– Wet-use areas (showers, frequent splash zones, laundry areas): choose grout systems intended for wet-area performance and properly install them (proper mixing, filling, and cure).
– Occasional-splash areas: you may have more flexibility, but mosaic floors often experience frequent cleaning and traffic, so maintenance still matters.
Caulk is not “set and forget”
Perimeter caulking and movement joint sealing should be treated like maintenance, not a one-time step:
– Inspect caulk lines periodically, especially after seasonal building movement.
– Replace caulk that has pulled away, cracked, or separated.
– Don’t fill movement joints with rigid grout unless your waterproofing and joint system explicitly directs it.
Keep the area dry after installation (humidity + airflow)
Drying is the second half of waterproofing. Even with correct waterproofing, controlling humidity and improving airflow reduces the chance that residual moisture becomes persistent enough to support mold growth.
According to the U.S. Environmental Protection Agency (EPA), moisture is the key factor in mold growth; controlling indoor moisture helps prevent mold.
According to the Centers for Disease Control and Prevention (CDC), mold growth can occur when humidity is high and materials remain damp.
Using ventilation during and after wet activities helps shorten the time surfaces stay wet, lowering the risk of mold under grout lines.
Use practical humidity targets
Environmental control is straightforward and measurable:
– Aim for indoor relative humidity around 40–60% where feasible; comfort and mold risk both benefit from avoiding chronic high humidity. (For standards-based guidance, see ASHRAE indoor humidity recommendations.) [ADD: source for ASHRAE indoor humidity guidance—e.g., ASHRAE Handbook/Standard]
– Watch for persistent dampness after showers or mopping; quick drying matters because mold needs moisture time-of-wetness.
Cleaning habits that prevent “slow-water” problems
A common pattern is not a dramatic leak, but repeated wet cleaning:
– Prefer damp mopping over soaking.
– Dry the floor promptly after any cleaning that introduces extra water.
– Improve airflow after wet activities (bath fan use is a big deal).
What can go wrong (common mistakes and edge cases)
Even a well-planned mosaic floor can develop mold risk if details are missed or if the assembly traps moisture. The highest-impact mistakes are usually installation-process errors or misunderstanding what grout and caulk can—and cannot—do.
Skipping waterproofing at edges and perimeter junctions can undermine an otherwise correct tile installation.
Premature tiling over incompletely cured waterproofing can trap moisture or interfere with system performance.
If the room is chronically humid, you may see discoloration even without an active plumbing leak—humidity control still matters.
Common mistakes
– Skipping waterproofing at edges/perimeter: Many “almost waterproof” floors leak at the seam where the membrane terminates or where caulk gaps exist.
– Tiling over insufficiently cured waterproofing: If the coating/membrane isn’t fully cured per its technical data, you can trap volatiles or compromise adhesion and continuity.
– Assuming mold means grout failure: In many cases, grout can look intact while caulk has failed or seams weren’t detailed.
– Wrong joint strategy: Filling control joints with rigid materials or ignoring movement points increases cracking risk and hidden water pathways.
– Cleaning habits: Excess water and infrequent drying can raise the moisture level beneath grout over time.
Edge cases that confuse homeowners
– Condensation vs. leak: Condensation comes from humidity and temperature differentials; a leak comes from a water source. Both can produce mold, but the fix differs.
– Small leaks behind baseboards or under transitions: You can’t always see the source from the mold spot.
– Historic subfloor moisture: If the subfloor is already compromised, “new grout” won’t solve the underlying dampness.
Verdict / tip (honest recommendation + who should skip)
The best way to prevent mold under mosaic tile floors is to treat waterproofing, detailing, and ventilation as one system: waterproof correctly, seal the perimeter and seams, and keep indoor moisture low. The downside is that correct waterproofing depends on careful surface prep and strict cure times—cutting corners here often costs far more later.
If you’ve found active water intrusion, significant subfloor rot, or repeated moisture at the same area, skip a “quick DIY grout fix” and start diagnosing the water source (often behind baseboards, under transitions, or at penetrations). [ADD: source for professional remediation best practice—if applicable] Also, if the problem is recurring after repairs, hire a qualified tile/waterproofing contractor to assess the assembly and detailing instead of repeatedly re-grouting.
Quick checklist: mold prevention under mosaic tile
– [ ] Subfloor is sound, dry, and prepped per waterproofing/tile system instructions
– [ ] Waterproofing membrane/liquid system installed correctly (including required cure time)
– [ ] Perimeter, corners, and seams sealed with the right products and methods
– [ ] Grout installed properly for the area; joints/caulk maintained over time
– [ ] Humidity controlled; ventilation used during/after wet activities
– [ ] Cleaning avoids soaking/standing water; floor is dried when needed
FAQ
Can mold under mosaic tile be cleaned without removing tiles?
Sometimes you can address surface mold if you fully stop the moisture source and the assembly is dry throughout. In many real-world cases, mold returns unless you open the affected area to confirm dryness and remediation depth.
Why does mold show up even when grout looks fine?
Mold often starts at the edges, seams, penetrations, or micro-cracks where water travels under the tile assembly. Grout can remain intact while perimeter caulk or waterproofing detailing has failed.
What’s the most common cause of moisture under tile floors?
The most common cause is water intrusion that reaches the underside—typically at perimeter transitions, damaged/failed caulking, penetrations, or cracks where the assembly wasn’t detailed to handle movement. Improper waterproofing installation or insufficient cure time can also trap moisture.
Does humidity control prevent mold under tile?
It helps significantly. Even with a well-built tile assembly, reducing indoor humidity and improving airflow lowers the chance that residual moisture becomes sustained enough to support mold growth.
Sources
– [ADD: Manufacturer installation requirements for your specific waterproofing system (membrane or liquid-applied), including surface prep and cure time—use the product’s official technical data sheet/installation guide]
– [ADD: Manufacturer guidance for tile grout and caulking systems appropriate to wet areas—use the official technical documentation]
– [ADD: Official guidance from a major tile/waterproofing organization on wet-area waterproofing best practices, including document title—e.g., ANSI/TCNA or equivalent]
– [ADD: EPA guidance on moisture control for mold prevention—use EPA’s official mold/moisture page]
– [ADD: CDC guidance on mold and dampness—use the CDC’s official mold/dampness materials]
– [ADD: ASHRAE indoor humidity recommendations (relative humidity targets)—use the ASHRAE Handbook or relevant standard section]
Mosaic tile floors can be very durable, but they only stay mold-resistant when moisture management is engineered end-to-end. Focus on continuous waterproofing and correct seam/perimeter detailing, confirm the substrate is dry and stable, and keep indoor humidity and cleaning practices from extending the time surfaces remain wet. If you suspect an active leak or repeated moisture, prioritize diagnosis first—then repair the full water path, not just the visible grout.
Frequently Asked Questions
How can I prevent mold under mosaic tile floors?
To prevent mold under mosaic tile floors, control moisture at every layer: start with a dry, properly cured subfloor and use a waterproofing system designed for tile. Install a quality underlayment and seal penetrations (like toilet flanges, drains, and fixtures) so water can’t migrate under the tiles. Also choose grouts and adhesives rated for wet areas, and keep indoor humidity low with proper ventilation or a dehumidifier.
What causes mold to grow beneath mosaic tile floors?
Mold under mosaic tile typically grows when moisture gets trapped, usually from leaks, high humidity, or water migration through grout cracks and damaged sealant. Common culprits include failed waterproofing, improper thinset coverage, pinholes in membranes, and curing problems that leave the mortar too wet for too long. Even clean-looking tile can conceal mold because the organism feeds on moisture within the substrate and mortar bed.
How do I waterproof a mosaic tile floor to stop moisture from getting underneath?
Use a continuous waterproofing membrane or liquid-applied waterproofing system that covers the entire wet area and overlaps seams and transitions. Pay special attention to edges, corners, and any wall-to-floor transitions, and apply the system according to manufacturer wet-area installation requirements. After installation, test or inspect the waterproofing (when applicable) and ensure you use compatible thinset, grout, and sealers to maintain a durable barrier.
Which grout and sealant products help reduce mold risk on mosaic tile floors?
For mold prevention, use grout and sealers formulated for bathrooms or other damp environments, and avoid “unsuitable for wet areas” products. A grout with low water absorption plus a high-quality penetrating sealer can reduce water uptake, which helps limit the damp conditions mold needs. Reapply sealer based on the product’s maintenance schedule, and repair any cracked or missing grout promptly to prevent moisture pathways.
What’s the best way to prevent condensation and high humidity under tiled floors?
The best strategy is to manage humidity and airflow in the room, especially in basements, bathrooms, and kitchens. Run an exhaust fan during and after water use, keep temperature swings controlled, and use a dehumidifier if you notice consistently damp floors. If the subfloor is prone to moisture (e.g., concrete), consider an appropriate moisture mitigation system before tiling so moisture doesn’t build up under the mosaic tile assembly.
📅 Last Updated: October 10, 2026 | Topic: How to prevent mold under mosaic tile floors? | Content verified for accuracy and freshness.
References
- https://www.cdc.gov/mold/default.htm
- Mold | US EPA
https://www.epa.gov/mold - https://www.who.int/news-room/fact-sheets/detail/dampness-and-mould
- https://www.hud.gov/program_offices/healthy_homes/mold
- https://www.cdc.gov/niosh/topics/mold/
- Mold
https://en.wikipedia.org/wiki/Mold - https://www.britannica.com/science/mold
- https://pubmed.ncbi.nlm.nih.gov/?term=indoor+moisture+mold+prevention
- Google Scholar Google Scholar
https://scholar.google.com/scholar?q=mold+prevention+moisture+under+tile+floor - Google Scholar Google Scholar
https://scholar.google.com/scholar?q=indoor+mold+prevention+dampness+building+materials+grout


