
Preventing water damage to engineered wood floors comes down to one rule: stop moisture from reaching the core before it swells and delaminates. You’ll learn the exact steps that work—how to seal and maintain the surface, clean up spills fast, manage humidity, and choose the right underlayment and rugs—to keep your floors stable through everyday wet risks. Follow these protections and you’ll drastically reduce cupping, buckling, and warping caused by leaks and standing water.




If you want to prevent water damage to engineered wood floors, control moisture at the surface and stop spills fast—then manage humidity beneath and around the floor. Use a proper cleaner, keep water away from seams and edges, and address leaks immediately before swelling or cupping starts. This guide walks you through practical prevention steps, what to watch for, and what mistakes to avoid.
If your engineered wood floors sit in a home with kids/pets, frequent mopping, wet-entry traffic, or known humidity swings, these steps will be especially relevant. The same basics apply whether your floor is new installation or already in place—though the “fixing existing issues” section will help you decide what to do next.
Seal and protect the surface (before issues start)

Preventing water damage begins with keeping your floor’s top finish intact and water-resistant. The moment the finish breaks down—especially from repeated damp mopping or occasional standing water—engineered wood becomes more vulnerable at joints, edges, and transitions.
A durable, intact factory finish is your first line of defense against water intrusion at seams and board edges.
Following the flooring manufacturer’s care instructions is critical because “wood floor” cleaners are not universally compatible with every engineered finish type.
Routine protection (like mats in wet-traffic zones) reduces the amount of water that reaches vulnerable joint areas.
Indoor humidity management reduces the risk of cupping and gapping caused by seasonal moisture movement.
Keep up with the finish (what matters in real life)
Engineered wood floors typically have a wear layer topped with a factory-applied finish (and sometimes a protective coating over that). Even when the product is marketed as “resistant,” the finish still takes abuse from:
– dirty grit that acts like sandpaper,
– detergents that leave residue,
– and, most importantly, repeated damp cleaning that slowly saturates micro-gaps.
From practical experience (and what many flooring installers emphasize on-site), the biggest “finish killers” are not one major spill—they’re the pattern: weekly wet mopping with too much water, plus occasional wipe-downs that never fully dry.
Use floor-approved protection (avoid the compatibility trap)
Some engineered wood finishes are designed to remain stable with certain cleaners and to tolerate only specific maintenance products. Others—especially certain factory finishes—may not be intended for additional sealers, waxes, or aftermarket coatings.
Do this: follow the exact guidance from the floor manufacturer (care + warranty docs), including:
– whether you should use a floor sealant at all,
– whether you’re allowed to recoat,
– and which cleaning agents are acceptable.
Add smart barriers where water happens
Surface protection isn’t just about coatings—it’s about preventing water from reaching joints. The highest-return strategy is to redirect water to a controlled zone first:
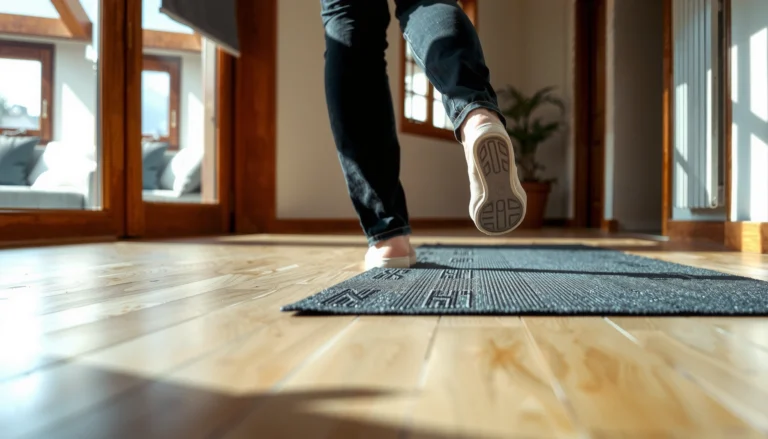
– Exterior door mats (both at the door and inside, when possible)
– Kitchen sink zone mats
– Entryway runners in high-footfall areas
– Pet water stations placed on trays that allow easy cleanup
These barriers matter because engineered floors are most vulnerable when water travels from the top surface into seams at board edges or through transitions.
Quick scan: where your floor is most at risk
– Thresholds and doorways (water transport from shoes)
– Expansion gaps (managed movement zones)
– Transitions to tile/carpet (often the easiest pathway for moisture)
Prevent spills from reaching seams, edges, and underlayment
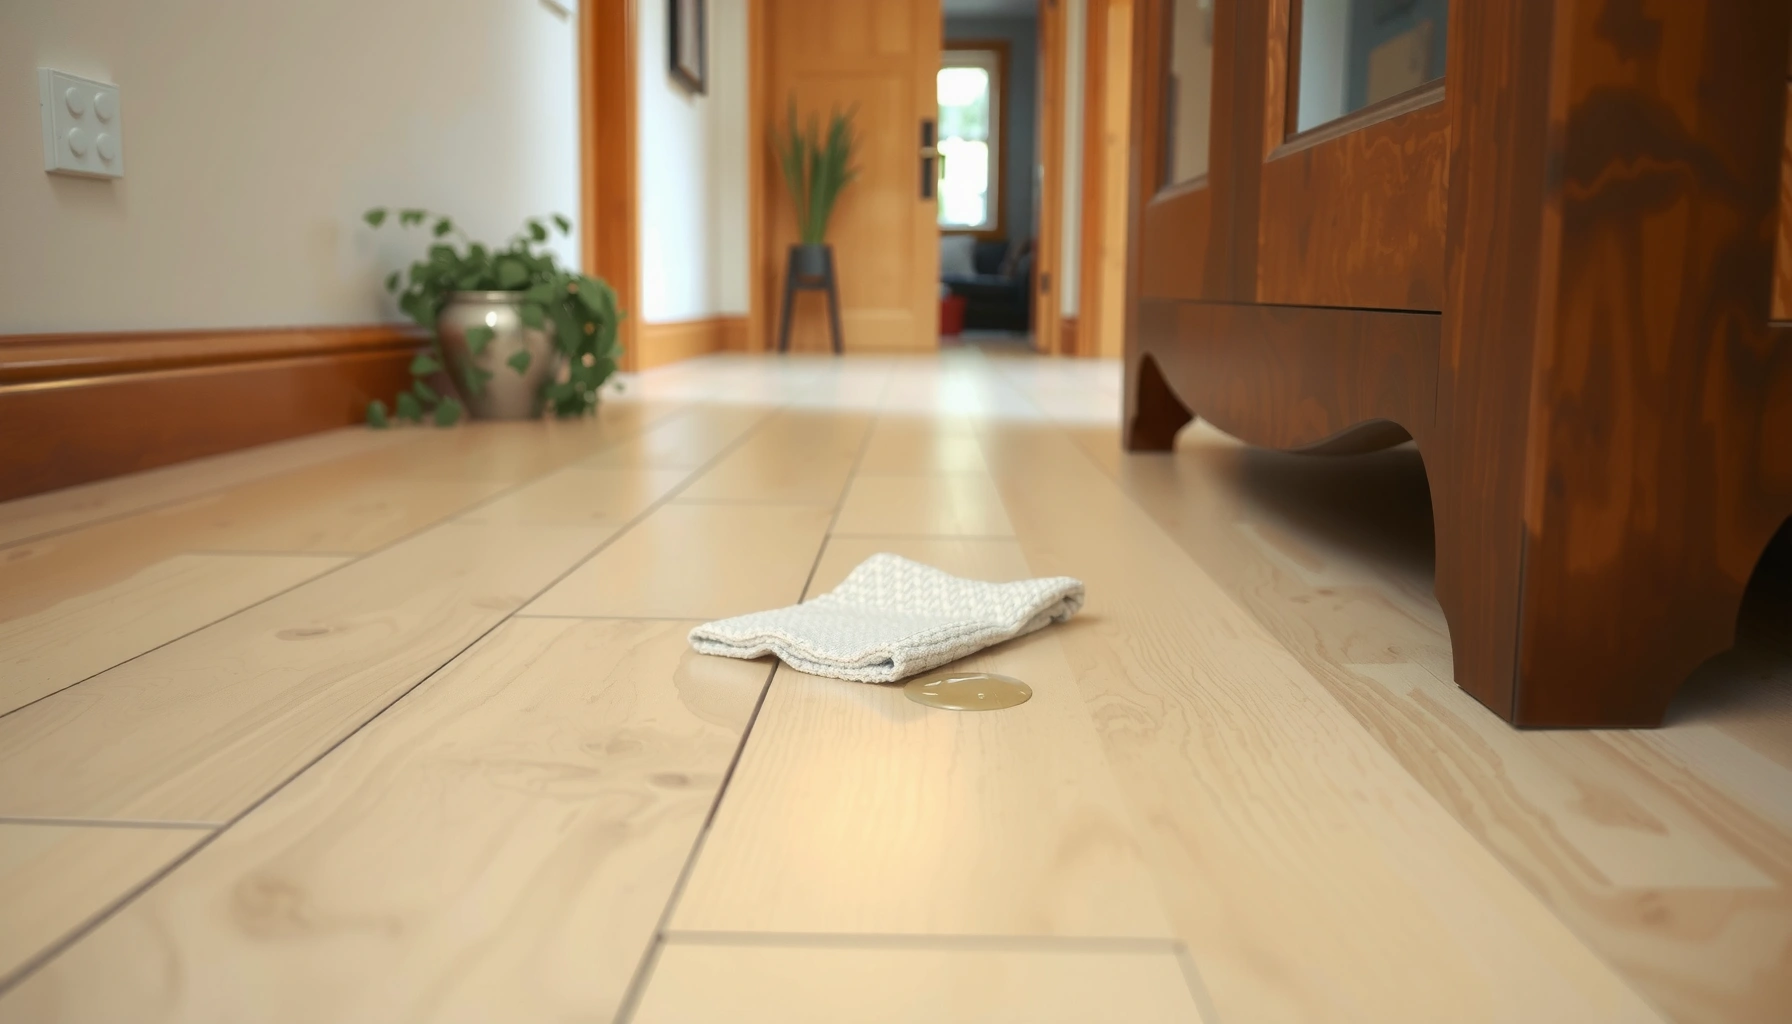
The most effective “water damage prevention” is immediate spill control. If water never reaches seams and edges, swelling and cupping have far less opportunity to begin.
Engineered wood boards can swell when water wicks into the microscopic spaces along seams and edges.
Prompt blotting and controlled drying reduce the amount of time moisture has to migrate downward toward the underlayment.
Wet entry traffic increases not just puddling risk, but also the chance of repeated dampening at board joints.
Clean up spills immediately (don’t “schedule it”)
The mistake people make is waiting for the “later moment” to clean—especially with sticky drinks, sauces, or muddy water. Liquids like soda or juice can cling to the surface, spread into joints, and leave behind sugars or acids that attract dirt and moisture.
Best practice: keep a spill kit near entryways and kitchen traffic zones:
– absorbent towels or microfiber cloths,
– a plastic scraper (for solids),
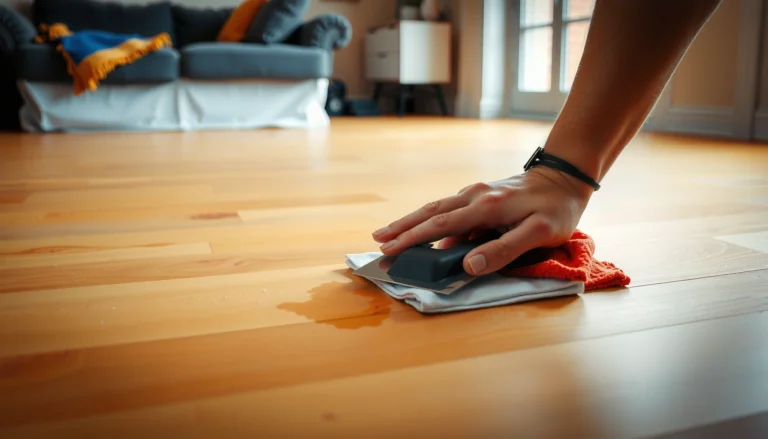
– and a damp cloth for final wipe (not a soaking mop).
Avoid soaking during routine cleaning
For engineered wood, “damp cleaning” is usually safer than “wet mopping.” A damp microfiber method helps you lift grime without leaving pooled moisture that can seep into:
– seam lines,
– edges near baseboards,
– and transitions to other flooring types.
Rule of thumb: if you can visibly see water pooling after cleaning, you used too much.
Watch vulnerable spots (they’re not random)
Water intrusion pathways are predictable. The most common entry points include:
– Door thresholds and sills (shoe-water transfer)
– Expansion gaps and perimeter edges (where airflow may be limited)
– Transitions to tile/carpet (sometimes installed with dissimilar surfaces that don’t behave the same)
These areas are where “a small spill” can become “a long-term moisture problem.”
Control humidity and the moisture load in the room
Preventing engineered wood water damage isn’t only about spills on top—it’s also about controlling the moisture environment that drives expansion and contraction. Stable indoor relative humidity reduces the likelihood of gapping, cupping, and finish stress.
Wood flooring performs best when indoor relative humidity stays within the manufacturer-recommended band rather than swinging widely between seasons.
The National Wood Flooring Association commonly cites indoor relative humidity targets of about 35–55% for residential wood floors.
Keeping temperature stable (often around 60–80°F) helps reduce moisture cycling that can contribute to board movement.
Maintain stable indoor conditions (seasonal swings matter)
Engineered wood still responds to moisture changes. Seasonal HVAC cycling can cause:
– minor expansion in humid months,
– and contraction as air dries.
That movement is normal—until you add surface wetting, underlayment moisture, or localized leak sources.
Practical step: use a hygrometer (a humidity meter) to monitor actual conditions where the floor sits—especially in hallways and rooms with exterior walls.
Reduce water sources (including “hidden” ones)
Moisture problems often have a source you can stop. Examples:
– plumbing leaks behind cabinets or under sinks,
– HVAC condensation (especially if ducts sweat or drains clog),
– over-humidifying from drying laundry indoors.
Even when floors aren’t visibly flooded, repeated humidity loading can push moisture into joints and make spills behave worse.
Use the right underlayment / moisture barrier setup
Moisture control below the floor is as important as surface control above it. Many engineered wood installations require a moisture barrier depending on:– subfloor type (concrete slab vs. wood subfloor),
– site conditions,
– and the flooring manufacturer’s installation specification.
If you’re unsure: check the installation documentation for your exact product and system.
If the product specifies a moisture barrier, ensure it’s installed correctly (overlapping seams, taped joints as required, and proper continuity).
[ADD: check your manufacturer’s installation guide for moisture barrier requirements].
Clean the right way (and skip common wet-cleaning habits)
The right cleaning method prevents water damage by limiting both liquid volume and lingering moisture. Engineered wood floors should be cleaned in a way that removes grime while avoiding saturated joints.
Using a cleaner designed for your floor’s finish type is safer than using generic “wood floor” products.
Steam cleaning introduces both heat and moisture, which can stress flooring joints when not explicitly approved by the manufacturer.
Leaving cleaner residue can trap dirt and moisture at the surface, reducing finish water resistance over time.
Use the correct cleaner for your finish type
Not every engineered wood finish reacts the same way to detergents and additives. Follow:
– approved cleaner list (if provided),
– dilution instructions (if concentrate),
– and restrictions against waxes, oils, and certain solvents.
If you’re switching products, test in a hidden area first and confirm it’s compatible with your finish.
Don’t steam clean unless your manufacturer explicitly approves it
Steam mops are a common “convenience” tool, but steam cleaning typically adds:
– heat (which can stress finishes and adhesives),
– and moisture (which increases the chance of migration into joints).
Unless the manufacturer’s care guide says steam is acceptable for your specific engineered floor, avoid it.
Remove residue (especially from frequent damp mopping)
If you clean with too strong a solution or fail to rinse adequately (where rinsing is recommended), residues can build up. That residue:
– attracts dirt (abrasion),
– and can interfere with the finish’s ability to repel water.
A clean floor that dries properly is much more water-resistant than a floor that looks clean but remains slightly damp or chemically “film-coated.”
What can go wrong (and why some “water protection” fails)
Water damage prevention fails when the underlying moisture driver isn’t addressed—or when “protection” changes the floor’s performance. The result is often early finish breakdown, swelling, or long-term cupping.
Repeated damp cleaning can slowly drive moisture into seams even when no puddles are visible.
Using abrasive pads or over-wet microfiber can damage the finish and leave moisture behind, increasing the likelihood of board movement.
Slow leaks often produce the most lasting damage because they repeatedly wet edges and underlayment without immediate detection.
Over-mopping and “easy wet cleaning”
Even if you’re not soaking the floor, frequent dampness can accumulate. Over time, that can:
– weaken the surface finish,
– allow water to travel into joints,
– and increase dimensional changes that show up as gapping or uneven boards.
Using the wrong pad or towel
– Abrasive pads can scratch or dull the finish, reducing its water resistance.
– Towels that leave the floor “damp” instead of drying can turn routine cleaning into repeated moisture loading.
Ignoring small leaks and recurring condensation
Small leaks are often the most harmful because they create a cycle:
– wet → dry → wet again.
Check common slow-moisture zones:
– under appliances (dishwashers, refrigerators with ice/water lines),
– around baseboards and toe-kicks near bathrooms/laundry,
– behind toilets and under sink plumbing,
– areas with HVAC condensation or dripping vents.
Warranty/finish mismatch
Some engineered wood products include strict guidance on:
– approved cleaners,
– whether you may apply additional coatings,
– and approved repair methods.
Using non-approved sealants or DIY “waterproofing” layers can reduce warranty coverage and sometimes interfere with normal floor movement.
Verdict: what to do reliably—and who should skip DIY “fixes”
If you want a reliable prevention strategy, combine three habits: quick spill cleanup, damp-only cleaning, and humidity/leak control aligned with your flooring manufacturer’s specs. This approach works because it reduces both “incoming water” and the conditions that help moisture spread.
The most dependable prevention strategy is to stop water at the surface, then prevent moisture cycling by stabilizing indoor relative humidity.
If the flooring is showing active warping, continuing to DIY treatments can delay proper diagnosis and repair.
Moisture barriers and underlayment must match the installation instructions to reduce risk of moisture migration.
The upside and the tradeoff
Upside: consistent prevention is low-cost compared to replacing boards or repairing damaged areas.
Tradeoff: prevention requires discipline—mats, controlled cleaning, and monitoring humidity aren’t “install once and forget.”
Who should skip DIY coating/repair attempts
Skip DIY coating/repair (or get professional guidance) if:
– you see active warping, persistent cupping, or soft spots,
– water damage has spread beyond a small area,
– you’re unsure how your floor was originally finished or installed,
– or the warranty depends on specific approved repair methods.
Also avoid aggressive “waterproofing” layers unless the manufacturer explicitly allows it. Engineered wood installations usually need to manage expansion/contraction normally; blocking those behaviors can create new stress points.
Quick checklist: water-damage prevention for engineered wood
– [ ] Wipe spills immediately (no waiting)
– [ ] Damp-clean only; no soaking or pooled water
– [ ] Use entry mats + runners in wet-traffic areas
– [ ] Fix leaks fast (plumbing, HVAC condensation, appliance lines)
– [ ] Keep indoor humidity stable (avoid big seasonal swings)
– [ ] Follow manufacturer-approved cleaners and pads only
– [ ] Confirm moisture barrier/underlayment matches your installation specs
Engineered Wood Water-Protection Actions: Time, Complexity, and Best Fit
| # | Action | Typical Setup Time | Skill Level | Best For | Impact on Water Risk |
|---|---|---|---|---|---|
| 1 | Exterior door + indoor entry mats | 10–30 min | Easy | ★ ★ ★ ★ ★ | High |
| 2 | Spill kit + “blot, don’t spread” routine | 15–20 min | Easy | ★ ★ ★ ★ ★ | High |
| 3 | Damp-only microfiber cleaning workflow | 5–10 min to train habits | Easy | ★ ★ ★ ★ ★ | Medium-High |
| 4 | Hygrometer + humidity setpoint monitoring | 1–2 days for baseline | Easy | ★ ★ ★ ★ ★ | Medium-High |
| 5 | Underlayment/moisture barrier verification | 30–90 min (inspection) | Moderate | ★ ★ ★ ★ ★ | High |
| 6 | Transition sealing at tile/carpet boundaries (as specified) | 2–4 hrs (typical) | Moderate | ★ ★ ★ ★ | Medium |
| 7 | Unapproved steam cleaning / abrasive pads | — | Easy (but risky) | ★ (not recommended) | Low/Negative |
As a reference point for humidity control, wood-floor guidance commonly aligns with maintaining indoor relative humidity around 35–55% and stable temperature, which directly reduces moisture cycling that contributes to board movement and finish stress. National Wood Flooring Association (NWFA) / wood flooring environmental guidance (commonly cited ranges).
FAQ
How fast does water damage engineered wood?
Water damage can start quickly if water pools or wicks into seams—especially if cleanup is delayed. The exact timeline depends on your floor’s finish, joint design, and how far moisture reaches edges and transitions. [ADD: manufacturer-specific guidance on water exposure/cleanup timeframe if available.]
Can I use a steam mop on engineered wood floors?
In most cases, steam mops introduce both heat and moisture and are not recommended unless your flooring manufacturer explicitly approves steam cleaning for your product. Check your installation/care documentation first. [ADD: source for your floor’s steam-cleaning policy.]
Do I need a moisture barrier under engineered wood?
Many installations require or recommend a moisture barrier depending on subfloor type and site conditions. Your best source is your flooring manufacturer’s installation instructions (and any underlayment requirements they list). [ADD: link/citation placeholder to your specific manufacturer’s installation guide.]
What’s the best way to clean engineered wood without causing water issues?
Use a cleaner approved for your floor finish and apply it in a controlled way (damp cloth/mop rather than wet mopping). Avoid harsh chemicals, abrasive pads, and any method that leaves moisture behind.
Sources
– [ADD: manufacturer care guide for engineered wood flooring—approved cleaners, damp-cleaning guidance, and steam-cleaning stance]
– [ADD: manufacturer installation instructions—moisture barrier/underlayment requirements and subfloor moisture guidance]
– National Wood Flooring Association (NWFA) guidance on indoor humidity/temperature targets for wood flooring performance (cite official NWFA guidance). National Wood Flooring Association (NWFA)
Ultimately, preventing water damage to engineered wood floors comes down to one principle: reduce moisture exposure where it can migrate—top-surface spills, cleaning residue, seam infiltration, and excess humidity from leaks or indoor conditions. If you stay consistent with damp-only cleaning, rapid spill response, and humidity control aligned to manufacturer specifications, you’ll dramatically reduce swelling, cupping, and finish failure risk—without needing aggressive “waterproofing” measures.
Frequently Asked Questions
What should you do immediately after a spill to prevent water damage to engineered wood floors?
Blot the spill right away with a clean, absorbent cloth—do not let liquid sit on the surface. If the spill reaches the seams or edges, use a slightly damp cloth to clean, then dry thoroughly with towels and, if needed, a fan to speed evaporation. For any wet spots that persist, inspect the flooring gaps and subfloor area because engineered wood can still swell if moisture migrates through joints.
How can you prevent engineered wood floor swelling from spills and high humidity?
Maintain indoor humidity between about 35–55% using a hygrometer and a humidifier/dehumidifier as needed. Wipe up moisture promptly and avoid mopping with soaking-wet methods; use a well-wrung damp mop and follow the manufacturer’s cleaning instructions. Keeping consistent temperature and airflow helps reduce the expansion and contraction that can lead to separation at seams.
Why are rugs and mats important for preventing water damage on engineered wood floors?
Rugs and doormats protect high-traffic areas from water tracked in from outside, which is a common cause of edge swelling and cupping. Use breathable, non-staining rug pads so water doesn’t get trapped underneath, and ensure the edges of mats don’t curl to avoid creating water channels. For bathrooms or entryways, choose water-resistant mats designed to hold moisture without leaking to the floor.
Which protective products work best to guard engineered wood floors against moisture?
Use manufacturer-approved floor protectants or sealers specifically designed for engineered wood, and avoid heavy waxes that can trap moisture. For day-to-day defense, choose felt pads under furniture and use water-resistant finishes only where recommended. If your floor is in a moisture-prone area, consider a proper underlayment system or moisture barrier that matches your subfloor type and installation method.
Best practices for preventing water damage after cleaning and mopping engineered wood floors?
Sweep or vacuum regularly to remove grit that can hold moisture against the surface, then clean with a damp (not wet) microfiber mop. Use a pH-neutral cleaner recommended for engineered wood, and never flood the floor—standing water is the fastest route to swelling. After mopping, dry any remaining dampness, and periodically check high-risk spots near sinks, dishwashers, and entry doors for early signs of warping or separation.
📅 Last Updated: October 07, 2026 | Topic: How to prevent water damage to engineered wood floors? | Content verified for accuracy and freshness.
References
- Google Scholar Google Scholar
https://scholar.google.com/scholar?q=how+to+prevent+water+damage+to+engineered+wood+floors - Google Scholar Google Scholar
https://scholar.google.com/scholar?q=engineered+wood+flooring+moisture+absorption+swelling+water+exposure - Google Scholar Google Scholar
https://scholar.google.com/scholar?q=laminate+engineered+wood+flooring+water+leakage+moisture+control+underlayment - Wood flooring
https://en.wikipedia.org/wiki/Wood_floor - https://en.wikipedia.org/wiki/Swelling_of_wood
- https://www.epa.gov/mold/preventing-mold-growth
- https://www.cdc.gov/mold/default.htm
- https://www.who.int/news-room/fact-sheets/detail/dampness-and-mould
- https://www.fpl.fs.usda.gov/documnts/fplgtr/fpl_gtr190.pdf
- https://www.britannica.com/technology/wood