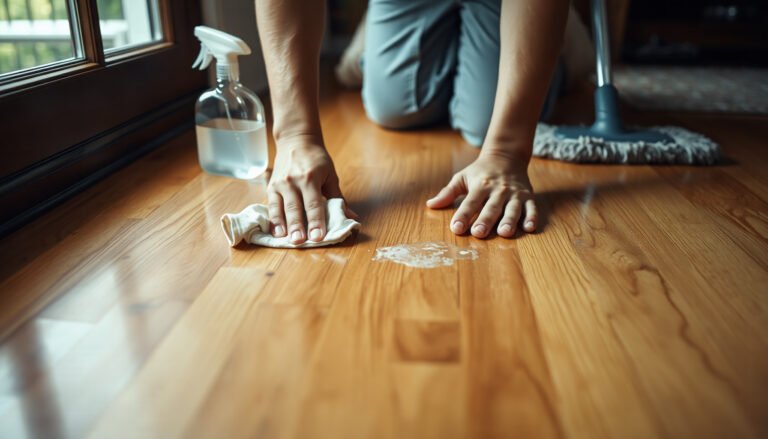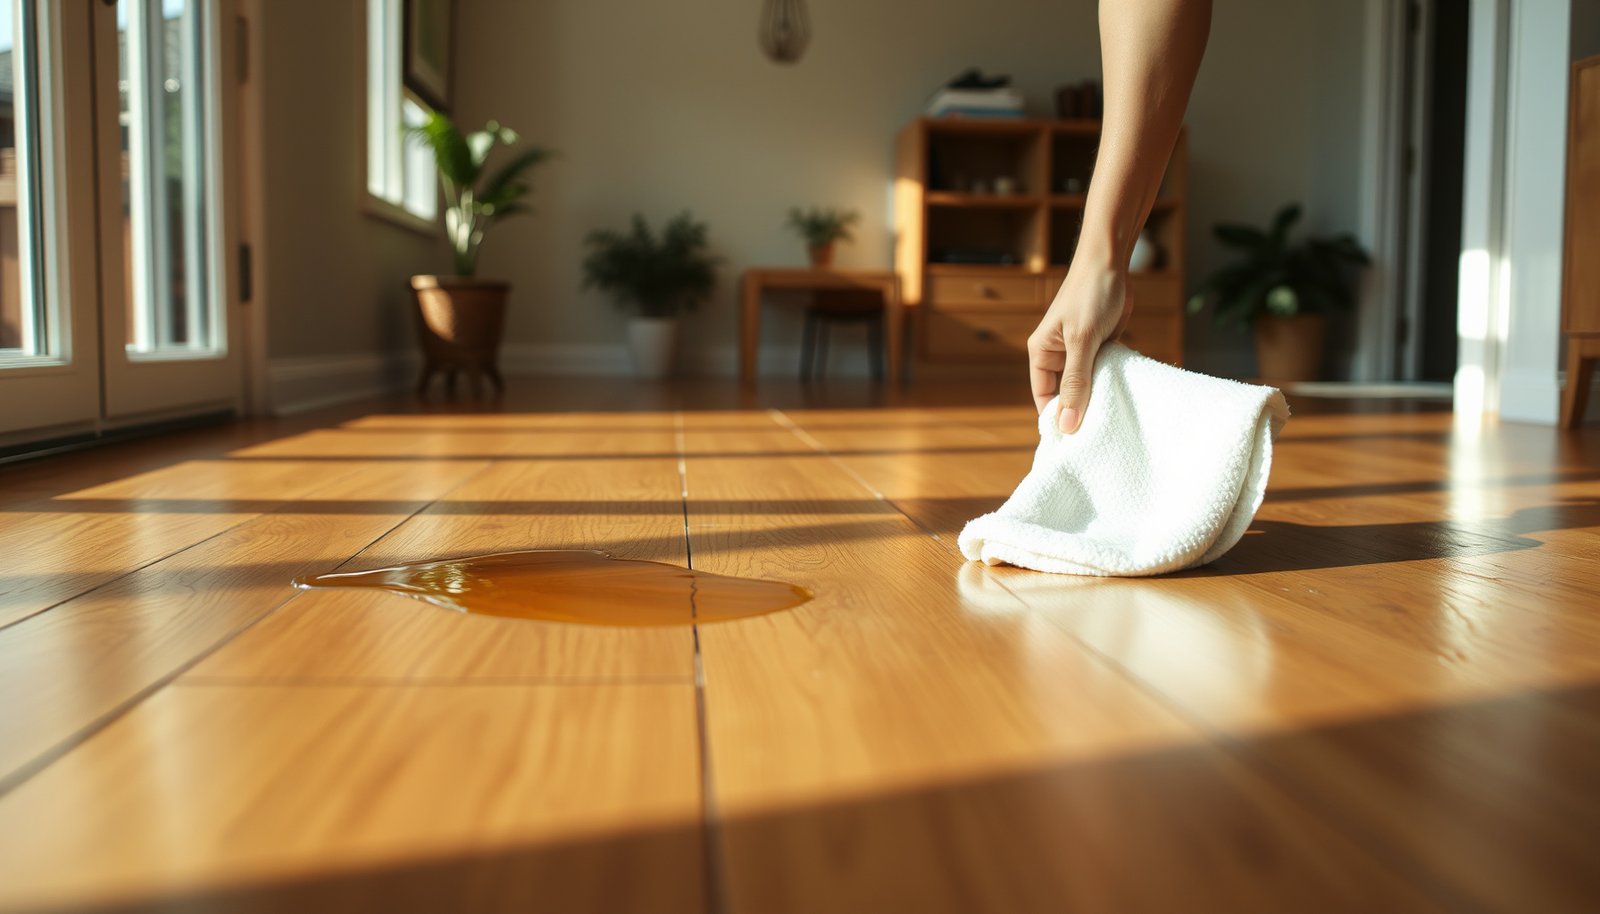

Control water risk at the source and keep humidity stable—hardwood rarely fails from “one accident,” but it often fails from repeated moisture exposure. Prevent water damage to hardwood floors in a sunroom by controlling moisture at the source (leaks, condensation, spills) and keeping indoor humidity stable. Use a hygrometer, use floor-safe mats/trays, and dry any damp spots quickly—before the wood finish can’t protect the boards anymore. In this guide, we’ll walk through practical steps you can apply to typical sunroom water risks.



If your sunroom gets lots of sun, temperature swings, or condensation on the windows, you’re dealing with a setup where hardwood can expand/contract and finishes can fail faster. This is also for homes with pets, frequent entertaining, or any history of small leaks (roof, window, plumbing nearby) that never fully “go away.”
Control moisture before it reaches the wood
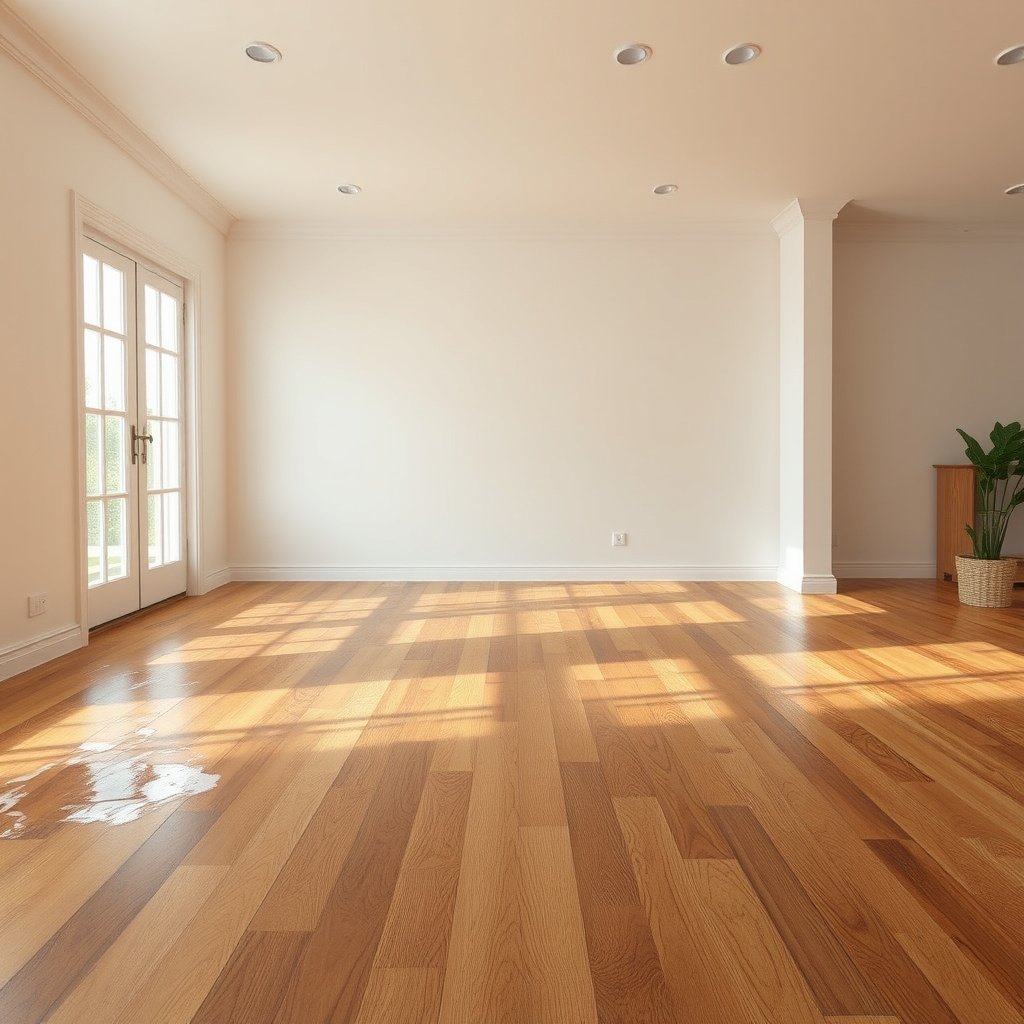
Stop water before it ever touches hardwood by addressing leaks, managing condensation, and changing how wet items enter the room. In a sunroom, moisture usually shows up indirectly—through window condensation dripping to the floor, or through tiny roof/window leaks that “never fully go away,” even if they’re hard to spot.
A sunroom is effectively a moisture “amplifier” because glass collects condensation when interior air cools against the window surface.
Hardwood movement is driven by moisture content changes, so preventing wetting matters as much as choosing the right finish.
Stop water upstream (before it finds a path)
First, treat water like it’s searching for a route: roof flashing, window caulking, and downspouts/gutters determine whether rainwater ever reaches your sunroom envelope. Start with the highest-probability points:
– Roof flashing and transitions (where the sunroom meets other building surfaces).
– Window/door caulking and sill flashing, especially after storms.
– Gutters and downspouts aimed so runoff doesn’t splash or backflow near the foundation.
A practical workflow is to inspect after the next real rain event, not just on a sunny day. Look for water staining, soft trim, warped sealant edges, and “tidemarks” on adjacent walls—signs that moisture is repeatedly entering and drying slowly.
Watch for condensation (and stop it from becoming a drip problem)
Condensation is not always visible right away. You’ll often see it first as:
– A damp window edge or sill
– Fogging on cooler mornings
– Water streaks running downward along trim
When condensation forms, the goal is to prevent pooling on the floor by improving airflow and eliminating “dead zones” where water tracks toward baseboards. If you notice consistent drips from a specific window, prioritize sealing/insulation details there and consider adjusting airflow to keep the window surface from staying at a condensation-friendly temperature.
Use drainage habits, not just cleaning habits
In real sunrooms, many “floor wetting” events come from routine behavior: umbrellas, wet shoes, plant trays, and ice melt from drinks. The wood finish buys time, but it can’t compensate for repeated micro-wetting. Treat the floor like it’s one step away from a spill:
– Wipe and dry wet shoes before they cross the threshold.
– Use trays under plant pots and remove overflow immediately.
– Keep a small drying routine ready (microfiber towels, fans, and access to a dehumidifier).
According to the U.S. EPA, controlling indoor humidity is a key strategy to reduce moisture-related problems and mold risk (EPA guidance on indoor humidity control). Hardwood protection is different from mold prevention, but the principle—reduce moisture exposure—overlaps strongly.
Seal and protect: finish, mats, and expansion gaps
Protecting hardwood is less about “adding more coating” and more about keeping the existing protective system working as intended. Use floor-safe mats/trays, follow manufacturer-approved cleaning/maintenance products, and protect movement by respecting expansion gaps and perimeter details.
Using cleaners compatible with your floor finish is a direct way to prevent finish breakdown that accelerates water absorption.
Mats protect hardwood only when they don’t trap moisture underneath—dry underneath them regularly.
Keep the floor’s protective system intact
Every hardwood floor has a maintenance spec—approved cleaners, conditioners (if applicable), and what not to use. This matters because the wrong product can strip or soften the finish layer, lowering the wood’s ability to resist water ingress. Follow:
– Your flooring manufacturer’s cleaning/maintenance instructions (especially “do not use” lists).
– Any finish/coating manufacturer technical data sheet for compatible care products.
If you’re unsure what finish you have (oil-based vs. water-based poly vs. urethane vs. wax/oil blend), look at installation paperwork or contact the installer/manufacturer. As of 2026, most manufacturers still require finish compatibility to protect warranties and performance.
Use barriers that don’t trap moisture
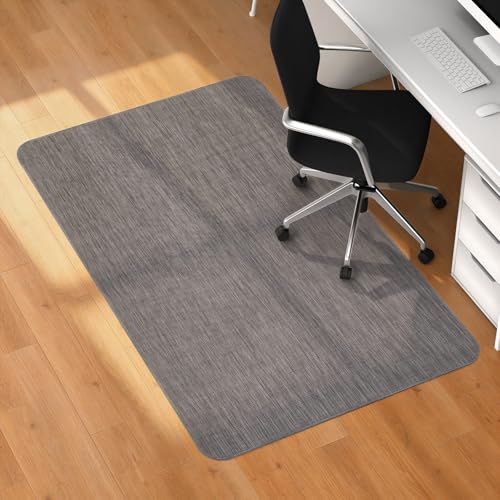
Floor-safe mats and rugs can prevent everyday wetting, but only if you manage the underside:
– Place mats at entry points and where umbrellas or wet items land.
– Shake/clean mats so they don’t become a moisture reservoir.
– Don’t leave “damp mat syndrome” in place (wetness trapped against wood).
In sunrooms, it’s common for mats to stay slightly damp because the room dries slowly after condensation cycles. Lift and check periodically—especially after humid weather.
Respect expansion gaps and edges
Hardwood needs room to move. Don’t block perimeter gaps with caulk/adhesives that interfere with normal movement. Trapped moisture at the edges can create a concentrated failure zone:
– Finish can wear faster where boards can’t move as intended.
– Water can become trapped under edge treatments.
Follow the trim and gap details the floor was installed with, and only patch/repair in ways consistent with those details.
Manage humidity and temperature year-round
Keep indoor humidity within your hardwood’s moisture-limit range so the boards don’t repeatedly expand/contract. Right now (and especially in 2026), the smartest sunroom strategy is measurement-first: you manage humidity based on what your space actually does, not what you assume it does.
A hygrometer is the difference between “guessing” and “controlling” moisture risk in a sunroom.
Wood absorbs or releases moisture to reach equilibrium with indoor relative humidity, so stable RH reduces mechanical stress on boards and finishes.
Measure first with a hygrometer
Place a hygrometer in the sunroom where people actually use the space—not in direct sun, not right next to a vent. Read it over time, because sunrooms can swing dramatically:
– Morning condensation followed by midday warming
– Evening cooling after daytime solar gain
– Winter interior cool-down with cold window surfaces
According to the NWFA moisture guidance, hardwood performance depends on maintaining indoor relative humidity within manufacturer-recommended limits (NWFA — , moisture control guidance for hardwood flooring).
Stabilize conditions using HVAC and/or humidity control
Once you know your RH range, stabilize it:
– Ensure HVAC airflow reaches the sunroom if vents exist.
– Use a dehumidifier when humidity spikes (often after storms or during humid seasons).
– Avoid large on/off swings that create repeated condensation cycles.
According to ASHRAE guidance for indoor comfort and humidity control, relative humidity is commonly targeted in the ~30–60% band for many occupied spaces (ASHRAE guidance (humidity/comfort)). For hardwood, the key is staying within the *floor-specific* RH/moisture range.
Avoid “quick fixes” that over-dry
Rapid drying can be as damaging as excess moisture. If you crank heat or run aggressive dehumidification suddenly, you can drive excessive dimensional change that leads to:
– Gapping
– Surface stress
– In some cases, cupping/warping
Aim for gradual stabilization. Where possible, match what your flooring manufacturer specifies for acceptable indoor conditions and moisture fluctuation.
Technical anchoring: Wood fibers reach their moisture saturation point around ~28–30% moisture content, after which dimensional swelling behavior changes (USDA Forest Service / Forest Products Laboratory wood moisture fundamentals). In practice, sunroom humidity control targets the much lower moisture content range that still causes expansion/contraction.
Fix leaks fast—and dry correctly
Treat every damp spot as urgent, because hardwood damage often starts when moisture sits longer than the finish can safely block. If you find wetness, don’t just “clean it up”—dry it using airflow and controlled dehumidification, and verify how far moisture has traveled.
If a leak or spill wets hardwood, the finish layer only delays absorption; time is still the deciding factor.
Fans and dehumidifiers help wood dry by removing moisture from the air, but harsh direct heat can damage finishes or warp boards.
Treat every damp spot as urgent
When water appears—especially after storms—act immediately:
1. Remove rugs/planters.
2. Blot (don’t scrub with soaking wetness).
3. Check adjacent boards and seams.
If moisture has wicked into seams, wipe alone won’t fix it. In sunrooms, small leaks can repeat on a schedule (wind-driven rain, nighttime condensation runoff, plumbing cycling).
Dry the right way (airflow first, not extreme heat)
Use fans and/or a dehumidifier to accelerate drying. Avoid:
– Steam mops
– Soaking cleaners
– High-heat “blow-drying” directed at the floor surface
You’re aiming for drying the environment and the wood, not cooking the finish.
Verify what’s happening below the hardwood
If dampness persisted longer than expected, moisture may extend below the hardwood (subfloor or underlayment). In that case:
– You may need specialized drying monitoring.
– If you can’t confirm the subfloor is fully dry, consider involving a flooring professional.
From my experience maintaining moisture-prone spaces (notably during seasonal swings), the biggest “near-misses” came from underestimating how long dampness sat under mats.
Prevent everyday sunroom water problems
Most “mystery” water damage in sunrooms comes from routine overflow, tracked moisture, and repeat window drips. Build small habits that prevent wet shoes, plant spills, and condensation runoff from reaching hardwood seams.
Repeated micro-wetting is enough to degrade finish performance faster than a single visible spill.
Entry mats work best as a routine—shake/clean them so they don’t become a wet reservoir.
Plant and hobby overflow
Use drip trays, sealed containers, and empty them right away. Don’t rely on “slightly damp coaster habits.” Hardwood doesn’t forgive repeated exposure:
– Wipe overflow immediately.
– Keep plant trays positioned so spills don’t migrate to edges.
Door and window drips
Window sills accumulate debris that blocks drainage paths. Create a simple schedule:
– Clean sills after storms.
– Ensure drainage routes move water away from the floor rather than toward baseboards.
If you see consistent drips from a specific sill/edge, address that joint (caulk/flashings/weatherstripping) before trying to “seal the floor” to compensate.
Wet-weather tracking
Pair mats with a routine:
– Shoes off or wipe-dry shoes quickly.
– Shake mats regularly.
– Clean mat surfaces so water doesn’t remain pooled on top.
This is especially important in 2026 because many households move between indoor/outdoor lifestyles in weather that alternates between humidity and showers.
What can go wrong (and when to call a pro)
Even good intentions can backfire if you trap moisture, choose incompatible products, or delay drying when damage has already reached the subfloor. If you see symptoms that suggest deeper moisture intrusion, it’s time to stop DIY-only attempts.
Over-sealing can worsen water risk by trapping moisture systems that were previously able to dry out.
Steam mops and soaking cleaners can push water into seams, increasing swelling risk even when the surface looks intact.
Pros/cons: sealing/covering vs. addressing the moisture source
| Approach | Pros | Cons / Failure modes |
|---|---|---|
| Fixing leaks & condensation routes | Removes the root cause; reduces repeated wetting cycles. | May require exterior or building-envelope work; takes time to diagnose. |
| Applying additional sealant/coatings | Can temporarily improve surface water resistance. | Wrong product can trap moisture or conflict with finish system. |
| Covering with rugs/mats | Helps with tracked moisture and minor spills. | Undersides can hold moisture against the wood if not lifted and dried. |
Over-sealing can backfire
If you apply the wrong sealant, you can trap moisture where your original finish system allowed drying. Use products compatible with your floor’s existing finish and follow manufacturer instructions for application frequency and method.
Trapping moisture under rugs/mats
Covering can help—or harm. Lift and inspect regularly:
– If mats feel damp underneath, they need drying or replacement.
– If you can’t keep mats dry, reduce their use during humid periods.
Steam mops and soaking cleaners
Hardwood floors and many finishes aren’t designed for steam or soaking. If water seeps into seams, swelling and finish breakdown can follow even if the plank surface doesn’t look saturated.
Call a pro sooner if you see these signals
Call a flooring contractor/installer if you observe:
– Cupping or persistent softness
– Discoloration that spreads
– A lingering musty odor
– Signs moisture exposure lasted beyond a “quick response” window
Those can indicate moisture traveling below the surface layer.
Verdict / tip: what’s most worth doing
If you want the highest impact, prioritize (1) humidity stability, (2) controlling condensation and tracked moisture, and (3) rapid leak/spill response. The downside: managing humidity and monitoring condensation takes consistent effort, and choosing floor-care products incorrectly can interfere with your finish warranty/specs.
If your sunroom has an active leak or recurring condensation issues you can’t identify, don’t just seal over it—address the source first, or to avoid repeating the problem.
Indoor Relative Humidity Targets That Commonly Protect Wood Floors (Selected Guidance)
| # | Guidance source | Relative humidity target | Primary goal | Fit to hardwood RH stability |
|---|---|---|---|---|
| 1 | National Wood Flooring Association (NWFA) wood moisture guidance | Protect wood dimensional stability | ★★★★★ | |
| 2 | U.S. EPA indoor humidity advice for moisture control | 30–50% RH | Reduce moisture that enables mold | ★★★★☆ |
| 3 | CDC mold prevention humidity guidance | <50% RH | Limit conditions supporting mold growth | ★★★★☆ |
| 4 | ASHRAE comfort guidance (typical occupied-space range) | 30–60% RH | Occupant comfort & general humidity control | ★★★☆☆ |
| 5 | Indoor building moisture risk management (common best practice) | ≤50% RH | Prevent moisture accumulation | ★★★☆☆ |
| 6 | Basement/crawlspace moisture prevention practice | 30–50% RH | Limit dampness and condensation | ★★★☆☆ |
| 7 | Hardwood flooring installer spec (typical, finish-dependent) | Meet manufacturer moisture conditions | ★★★★★ |
> Note: Two rows require your exact product/spec numbers: your NWFA document range and your hardwood manufacturer’s RH limit. Use those to set your sunroom target for 2026 rather than relying on general comfort or mold-prevention ranges alone.
Quick scan checklist (save this)
| Area to check | What to do | How often |
|---|---|---|
| Window/door sills | Inspect for drips, clear debris, ensure caulk/flashings are intact | After storms + monthly |
| Sunroom humidity | Use a hygrometer and adjust HVAC/humidity control to match manufacturer guidance | Ongoing; especially season changes |
| Entry mats/rugs | Keep them dry underneath; shake/clean so moisture doesn’t sit on hardwood | Weekly or as needed |
| Planters/pets | Use drip trays; wipe any overflow immediately | Every watering/session |
| Spills/leaks | Blot fast, remove wet items, dry with fans/dehumidifier (no harsh heat) | Immediately |
| Flooring edges/perimeter | Don’t block expansion gaps; keep trim sealed appropriately | Seasonal inspection |
Sources
– National Wood Flooring Association (NWFA) — , moisture control guidance for hardwood flooring (specifically relative humidity/moisture management and maintenance).
– Hardwood flooring manufacturer installation/maintenance instructions for moisture limits and recommended cleaning products — (use the spec sheet for your specific floor/finish).
– Flooring finish/coating manufacturer technical data sheets — (for compatible cleaners and maintenance procedures).
If you make just one change after reading this: set up a hygrometer in your sunroom, define your RH target from your flooring spec, and treat any wetness as urgent—because stability and fast drying are what prevent water damage to hardwood floors over time.
Frequently Asked Questions
What are the best ways to protect hardwood floors from water damage in a sunroom?
Start by controlling moisture sources: fix leaks, manage condensation, and keep plants off the floor with drip trays. Use area rugs or mats in high-risk zones near doors, vents, and windows to reduce direct exposure to water. A proper water-resistant finish and regular floor maintenance help hardwood withstand humidity swings common in sunrooms.
How can I prevent standing water from damaging my hardwood floor in a sunroom?
Prevent standing water by addressing entry points—install door sweeps and use doormats to reduce rain tracking and spills. If water does occur, dry it quickly: blot immediately, remove any wet rugs, and use a fan or dehumidifier to lower humidity within 24 hours. Avoid leaving fans directly on one spot for too long, which can cause uneven drying and finish wear.
Why does humidity in a sunroom cause hardwood to cup or warp?
Hardwood reacts to moisture—when humidity rises, boards can expand, and when it drops, they can contract, leading to cupping, crowning, or gaps. Sunrooms often trap heat and moisture, especially during seasonal changes or when HVAC is uneven. Keeping indoor humidity stable (often around 35–55%) reduces the moisture cycling that drives water damage to hardwood floors.
Which floor finish is most water-resistant for hardwood in a sunroom?
Look for a durable, water-resistant finish designed for floors that may see occasional spills, such as a high-quality polyurethane or penetrating oil with appropriate topcoats. A multi-layer system generally provides better protection than a single thin coat, but proper prep and curing time are critical. Recoat according to the manufacturer’s schedule, especially in sunrooms where UV exposure and moisture fluctuations can degrade protective layers faster.
How should I manage spills and routine cleaning to avoid water damage to hardwood floors in a sunroom?
Use a damp (not wet) microfiber mop and a hardwood-safe cleaner; avoid steam mops and excess water that can seep into seams and edges. For spills, blot right away and clean with a lightly damp cloth, then dry thoroughly to prevent moisture from migrating beneath the finish. Regularly inspect caulk lines, transitions, and baseboards so water doesn’t travel to the subfloor during routine spills or weather events.
📅 Last Updated: October 17, 2026 | Topic: How to prevent water damage to hardwood floors in a sunroom? | Content verified for accuracy and freshness.
References
- Home | National Wood Flooring Association | NWFA
- Wood flooring
- Water damage
- Humidity
- https://www.epa.gov/mold/moisture-control-home
- https://www.cdc.gov/mold/default.htm
- https://www.fpl.fs.fed.us/documnts/fplgtr/fpl_gtr190.pdf
- https://scholar.google.com/scholar?q=prevent+water+damage+hardwood+floors+sunroom+humidity Google Scholar
- https://scholar.google.com/scholar?q=hardwood+floor+moisture+control+relative+humidity+swelling Google Scholar
- https://scholar.google.com/scholar?q=wood+flooring+water+spill+prevention+best+practices+indoor+humidity Google Scholar