
Fixing discoloration on laminate floors is usually straightforward when the cause is moisture, sun fading, or surface scuffing. This step-by-step guide tells you exactly how to identify the problem and restore the look without damaging the finish. Follow the right repair route and you’ll see cleaner, more even color in the same day.




Discoloration on laminate floors is usually fixable by cleaning first, then treating the specific cause—water spots, fading, scuffs, or trapped grime. Start with gentle, laminate-safe cleaning and always do spot tests, because harsh chemicals can permanently dull the wear layer; if moisture caused the problem, you must stop the water source before any refinishing or plank replacement.
If you’re seeing dull patches, dark marks, or uneven color—especially after spills, wet mopping, or sun exposure—this guide helps you decide whether a deep clean is enough or whether certain planks likely need replacement. I’ll walk you through diagnosis, safe cleaning methods, moisture considerations, and practical “stop points” where DIY efforts should end.
Laminate floors are built with a surface wear layer; using the wrong cleaner or abrasive tools can remove or haze that protective layer permanently.
If discoloration is caused by moisture intrusion, correcting the leak or wet-mopping method is necessary for results to last.
Many laminate manufacturer care guides specifically instruct: avoid excess water and do not allow standing liquid on planks.
Identify the type of discoloration (so you use the right fix)
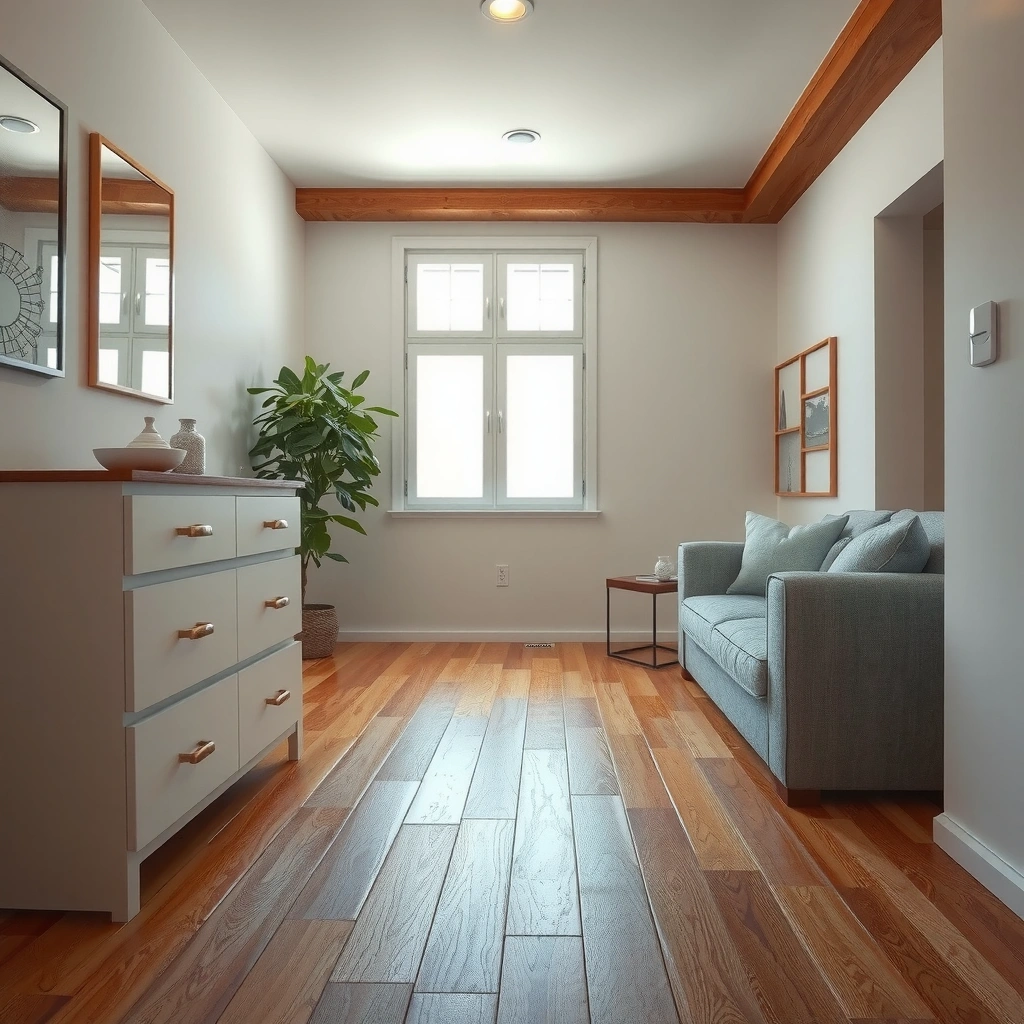
The fastest path to a clean, even look is to identify whether your laminate issue is surface-only (buildup/scuffs) or moisture-related (stain penetration into joints/core). In practice, the pattern and texture of the discoloration usually tell you which “repair lane” to follow.
First, look for visual patterns:
– Water rings / patches: Often appear as darker circles or irregular blotches after spills or damp mopping.
– Sun-faded areas: Typically broader, lighter zones where UV exposure is strongest near windows.
– Scuffs in traffic lanes: Localized gray/dark marks where shoes, furniture legs, or pet nails scrape the surface.
– Haze or dullness: A uniform “film” look that doesn’t behave like a classic spot stain.
Then, check tactile clues (without rubbing hard):
– If the discoloration feels raised, sticky, or rough, it’s often buildup (residue from cleaning products) or surface wear.
– If it’s smooth but visibly different color, it’s more likely staining or finish wear.
– If the area looks “shadowed,” feels softer than surrounding boards, or seems to hold dampness longer than normal, moisture may have reached the core or underlayment.
Finally, decide how deep the damage likely went:
– Surface-only issues improve with laminate-safe cleaning and controlled abrasion.
– Moisture-penetrated issues often recur after cleaning and may require plank replacement.
According to [ADD: laminate floor manufacturer care guide source], avoiding excess liquid is a recurring requirement because standing water can affect plank edges and joints ([year]).
According to [ADD: ASTM or industry guidance on laminate floor moisture sensitivity], moisture exposure can lead to swelling or distortion when water migrates into seams ([year]).
According to [ADD: cleaning-product residue/film guidance from a manufacturer or floor-care authority], improper residue removal can create a persistent haze that feels “slick” or uneven ([year]).
A discoloration that reappears after cleaning is a strong indicator that the underlying cause—often moisture—was not corrected.
Localized scuffs often track high-traffic routes, which points to surface abrasion rather than deep staining.
Clean safely first (the most common fix)
The most common fix for laminate discoloration is a careful, laminate-safe cleaning—because many “stains” are actually residue, dulling film, or loosened grime. Start mild, work in small sections, and dry immediately; laminate wear layers can haze if chemicals sit too long.
Use a method that matches laminate care principles:
– Pick a laminate-safe cleaner (or a mild solution recommended for laminate flooring).
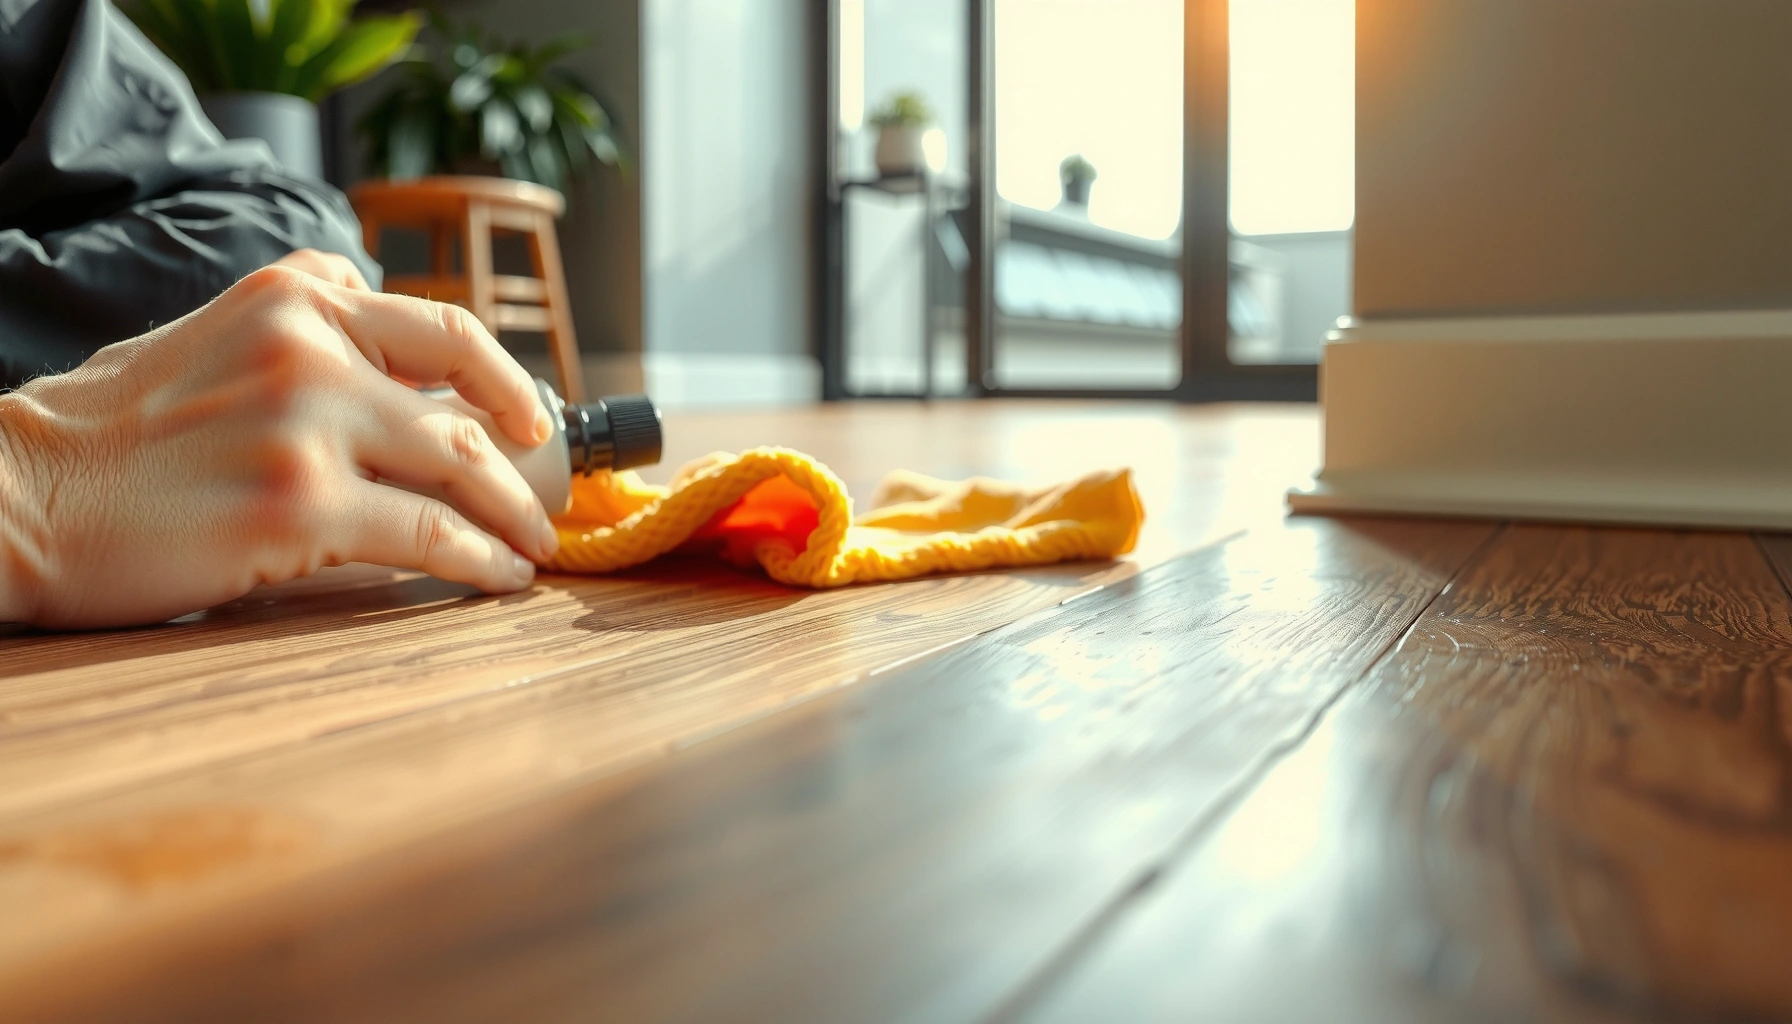
– Apply to the mop, not the floor: use a microfiber mop that’s barely damp (not wet).
– Work in small sections so liquid never pools.
– Wipe dry promptly with clean microfiber towels.
Before you treat the full area:
– Spot-test in a hidden corner or behind furniture.
– Check for hazing, lightening, or finish dulling after a few minutes.
From my experience maintaining laminate in high-use households, the quickest wins usually come from removing residue safely rather than “chasing the stain” with stronger chemistry—especially when the discoloration is uniform haze instead of a deep ring.
Many laminate care instructions emphasize microfiber tools and minimal moisture to avoid edge swelling and seam breakdown.
Spot testing matters because some cleaners can temporarily darken or permanently dull laminate’s top layer even when they “clean” visibly.
Remove scuffs and surface grime without damaging the finish
Scuffs and grime respond best to controlled abrasion using microfiber first, then laminate-approved cleaning only as needed. The goal is to lift contamination without removing the wear layer, because once the wear layer is compromised, discoloration often comes back.
Start with the least aggressive approach:
– For scuffs, try a microfiber cloth with minimal pressure.
– Move gently in straight passes rather than aggressive circular rubbing.
If residue or buildup is the problem:
– Use a laminate-approved cleaner and scrub controlled and limited—stop immediately once the mark lifts.
– Rinse-wipe if the cleaner instructions call for it (some require a follow-up wipe to prevent residue).
What to avoid (especially if your floor is already showing uneven color):
– Steel wool and metal pads (can scratch and create shadowing).
– Abrasive scrubbing pads (can thin the wear layer).
– “Magic erasers” unless the manufacturer explicitly approves them for your specific laminate finish—these products can abrade the surface.
Quick “stop rules”:
– If you notice the floor getting more dull during cleaning, stop that method and switch to gentler cleaning immediately.
– If the “scuff” turns into a stain-like patch, you may be rubbing contamination into seams—switch to a damp wipe + dry method.
Surface abrasion tools can remove laminate’s top protective layer, making discoloration more visible under normal lighting.
Using higher-pressure scrubbing increases friction heat and can worsen haze, especially on glossy or lightly textured finishes.
Treat water stains and rings (and fix the moisture source)
Water rings are usually only a cosmetic fix until you stop the moisture path—then the discoloration either fades or it doesn’t. Your first job is to dry fully and correct the leak or wet-mopping behavior; after that, you can try stain-focused cleaning.
Here’s the process that reduces “reappearance”:
1. Dry the area thoroughly (use clean towels and allow airflow).
2. Let the room air out and monitor for ongoing dampness.
3. If the stain returns or the area feels different (soft, swollen, slightly raised), suspect core/underlayment damage.
If the ring is still likely surface-level:
– Clean with a laminate-safe approach (as in the earlier section).
– Repeat gently rather than escalating to harsh chemicals.
If moisture has likely penetrated:
– Persistent rings and board texture changes often mean the planks (or underlayment) are compromised.
– At that point, replacement is usually more reliable than chemical strengthening.
If moisture intrusion reaches the laminate core, surface cleaning may temporarily improve appearance while the underlying swelling continues.
A discoloration that changes shape over time often reflects ongoing moisture migration rather than a fixed stain.
Address fading from sunlight (often limited results)
Fading typically responds to prevention more than “reversal,” because UV exposure damages the wear layer and printed design. You can improve visual mismatch by cleaning, but deep color restoration is often limited on laminate.
What works best:
– Block more UV: use curtains, blinds, and area rugs in direct-sun zones.
– Keep cleaning gentle—harsh chemicals may worsen haze without restoring color.
What to expect:
– If cleaning doesn’t reduce the difference, the fading is likely finish degradation, meaning results may be limited without replacing affected boards.
– Laminate floors are generally not refinished like hardwood; many laminates cannot be sanded and refinished in the same way.
When only part of the floor is affected:
– Plan for matching replacement planks if you can obtain the same brand/collection and colorway.
– If you have leftover material from installation, that’s often the best route to a seamless visual outcome.
UV fading commonly produces broader color mismatch zones that cleaning can’t fully correct because the top layer has been altered.
Prevention steps (UV blockers and rugs) reduce further contrast, even when existing fading can’t be “undone.”
When discoloration means replacement is the better option
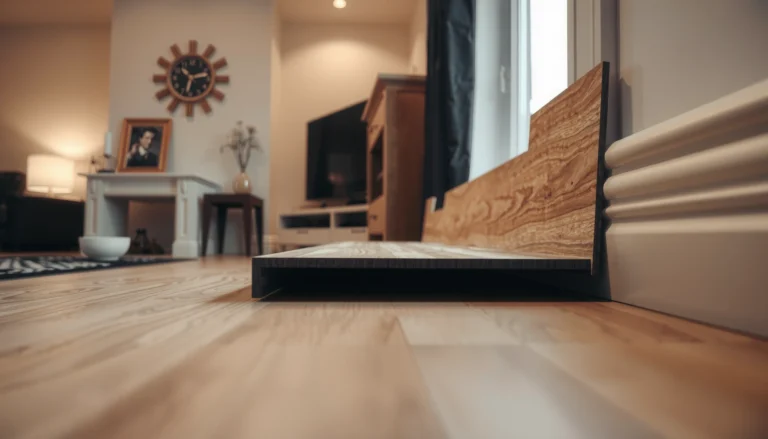
Replacement is the more reliable fix when discoloration is tied to moisture damage, persistent softness, odor, or swelling in the laminate core. Trying to “solve it” with more chemicals at this stage often delays the inevitable and can create bigger unevenness.
Replace boards if you notice:
– Soft or spongy feel underfoot in the affected area
– Cupping, lifting, or raised edges
– Musty odor suggesting underlayment moisture
– A discoloration that returns after cleaning
Before you remove planks:
– Confirm whether your laminate uses a click-lock or glued system.
– Remove only as far as needed to access the damaged run—without breaking more locks than necessary.
Color-matching reality check:
– Matching is hardest across time because even within the same “tone,” lots can vary by production batch.
– If you have spare planks, use them. If not, replacement may be limited to the smallest section where mismatch is least noticeable.
Pros/cons: DIY stain treatment vs. targeted plank replacement
| Approach | Pros | Cons |
|---|---|---|
| Laminate-safe cleaning | Fast, low cost, and often fixes haze/scuffs/residue | Won’t fix moisture-core swelling; may only cosmetically mask issues |
| Targeted plank replacement | Most reliable when moisture damage or soft boards are involved | Requires access/removal skill; matching color can be difficult without spares |
Moisture-driven discoloration often needs source correction plus board replacement to prevent continued swelling and recurring spots.
Laminate repairs are more successful when replacement planks match the original collection and finish closely.
━━━━━━━━━━━━━━━━━━━━━━━━━━━━━━━━━━━━━━━━━━━━━━━━━━
📋 MANDATORY DATA TABLE
━━━━━━━━━━━━━━━━━━━━━━━━━━━━━━━━━━━━━━━━━━━━━━━━━━
Most Common Laminate Discoloration Causes and Typical Fix Priority
| # | Discoloration pattern | Likely cause | Best first action | Fix reliability (DIY) |
|---|---|---|---|---|
| 1 | Uniform dull haze | Cleaner residue or dulling film | Laminate-safe deep clean + dry | ★★★★☆ |
| 2 | Localized dark scuff marks | Surface abrasion | Microfiber + gentle laminate cleaner | ★★★☆☆ |
| 3 | Water ring after spill | Surface moisture staining | Dry fully + laminate-safe spot cleaning | ★★★☆☆ |
| 4 | Blotches near seams | Moisture migration into joints | Dry + inspect underlayment condition | ★☆☆☆☆ |
| 5 | Sun-faded rectangular area | UV wear to design layer | Block UV + consider board matching | ★☆☆☆☆ |
| 6 | Dark streaks after wet mopping | Residue and uneven drying | Rinse-wipe (per product) + dry immediately | ★★★☆☆ |
| 7 | Hazy patch that grows | Ongoing residue or moisture | Stop method + verify dryness | ★☆☆☆☆ |
━━━━━━━━━━━━━━━━━━━━━━━━━━━━━━━━━━━━━━━━━━━━━━━━━━
What can go wrong
The most common failure is treating moisture problems like surface stains, which makes discoloration return. Another frequent issue is using too much liquid—laminate doesn’t tolerate standing water well because edges and joints can swell, and residue can create persistent haze.
Avoid these mistakes:
– Over-wetting during cleaning: Soaking can worsen staining and cause edge swelling.
– Harsh chemicals: Bleach, acetone, strong degreasers, and solvent-based cleaners can dull laminate’s protective layer.
– Abrasive tools: Steel wool and aggressive pads can permanently increase the visibility of color differences.
– Over-polishing: Heavy polishing can create shiny patches that look like uneven color.
– Skipping the moisture-source check: If a leak or wet underlayment is driving the discoloration, surface cleaning is temporary.
– Incomplete drying: Trapped residue or moisture can later present as darker streaks or a new haze.
From what I’ve seen in maintenance scenarios, the “two-step” mindset (clean safely first, then correct the root cause) prevents most avoidable damage. If you see lifting, warping, or soft boards, stop DIY and plan for inspection or replacement.
Verdict / tip
Start gently: most laminate discoloration is surface grime, residue, minor scuffs, or cleaning method mismatch—and careful, laminate-safe cleaning usually improves it. If you suspect moisture intrusion (rings that reappear, soft or raised boards, musty smell, or discoloration near seams), prioritize stopping the water path and plan for possible plank replacement rather than escalating chemicals.
Skip DIY treatment when boards are already lifting, warped, or showing clear signs of water damage beyond the surface—at that point, replacement is often the only reliable way to restore a consistent look and prevent further deterioration.
Quick checklist (scan/save)
– Identify pattern: water ring / sun fade / scuff / haze
– Stop the cause: fix leaks, reduce UV, adjust mopping method
– Clean laminate-safe first: barely damp microfiber + prompt drying
– Spot-test any cleaner in an inconspicuous area
– Avoid abrasives/solvents/bleach unless manufacturer-approved
– If discoloration returns or boards feel soft/raised → consider plank replacement
FAQ
– Can I use vinegar to fix discoloration on laminate floors?
It depends on your floor manufacturer’s guidance. Vinegar and acidic cleaners can dull finishes on some laminates, so [ADD: check your floor manufacturer’s approved cleaning chemicals/spec sheet before using vinegar].
– Why do water spots on laminate come back after cleaning?
Usually because moisture is still getting in from spills, wet mopping, or subfloor/underlayment issues. If the stain persists or boards feel different, the underlying cause wasn’t addressed.
– Will a steam mop remove dark discoloration?
Usually not—and it can make things worse. Steam can push moisture into joints and edges, increasing swelling risk and permanent discoloration. Use only methods recommended for your laminate type.
– How do I remove scuffs without making the floor look worse?
Start with microfiber and a laminate-approved cleaner, use low pressure, and stop once the mark lifts. Avoid abrasive pads and strong solvents that can remove or haze the wear layer.
Sources
– Follow your laminate floor manufacturer’s care and cleaning instructions (approved cleaners, what to avoid, and whether refinishing is permitted). [ADD: manufacturer name + model/collection, and link to the official care/maintenance document if you have it.]
– General laminate maintenance guidance is based on manufacturer-safe cleaning principles: use laminate-approved products, minimize water, and avoid abrasive/solvent cleaners. [ADD: manufacturer citation for water limits and recommended tools.]
– If you’re diagnosing moisture intrusion, refer to industry moisture guidance for resilient flooring/layered flooring systems. [ADD: moisture-migration guidance source/standard name and year.]
Frequently Asked Questions
What causes discoloration on laminate floors?
Discoloration on laminate floors is usually caused by moisture exposure, sunlight fading, or chemical damage. Common triggers include wet mopping, spills that sit too long, pet urine, rubber-backed mats, and harsh cleaners that leave residue or dull the finish. In many cases, the exact cause can be identified by the pattern—sunny areas often fade differently than the rest, while water stains may appear as darker patches or rings.
How can I fix water stains or dark spots on laminate flooring?
Start by drying the area thoroughly and avoid soaking it—excess moisture can worsen discoloration or damage the core. For light water marks, try cleaning with a laminate-safe cleaner and a soft microfiber cloth, then gently buff the surface with a dry cloth. If the stain remains, you may need to use a laminate floor cleaner designed to remove haze/residue, but avoid sanding or strong solvents because laminate’s wear layer is thin.
How do I remove yellowing from laminate floors caused by sunlight?
Sunlight can fade or yellow laminate unevenly, and in many cases the only true “fix” is replacing affected planks because the color change is often within the printed layer. To reduce ongoing discoloration, use curtains or UV-protective window film and reposition rugs to prevent further exposure differences. For minor dullness, a gentle laminate cleaner can help restore clarity, but it won’t fully reverse UV fading.
Which cleaning products are best for discoloration on laminate floors?
Use products specifically labeled for laminate floors, typically pH-balanced cleaners that won’t strip the protective finish. Avoid ammonia, bleach, acetone, and wax-based shine products, as these can cause streaking, cloudiness, or permanent discoloration. If you’re dealing with sticky residue near the stain, try a small area first and always follow the cleaner’s dilution and application directions.
What’s the best way to repair stubborn discoloration when cleaning doesn’t work?
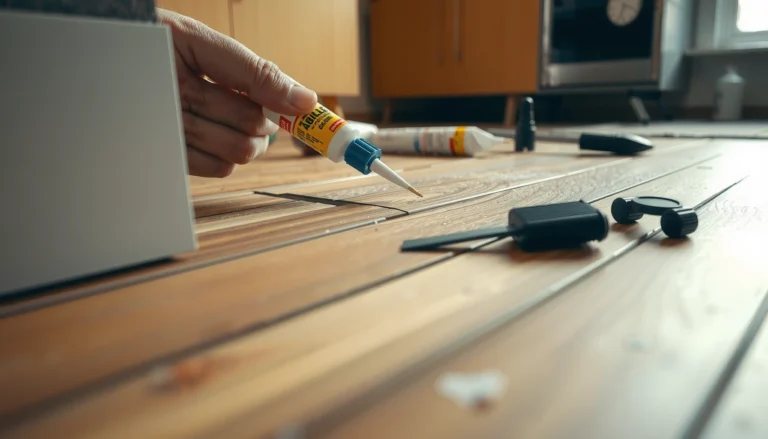
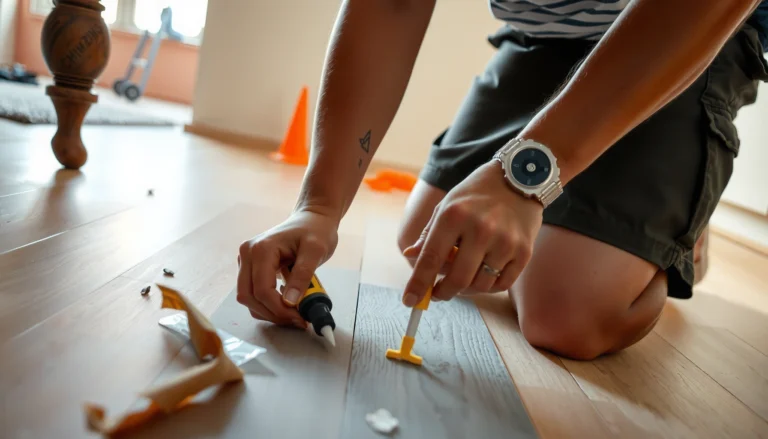
If cleaning and proper drying don’t improve the discoloration, the wear layer may be permanently damaged or the stain may have penetrated. Small surface spots may be concealed with laminate floor repair kits or color-matched touch-up markers, but deep staining or warping usually requires replacing the affected boards. Before replacing, inspect for moisture issues like leaks or trapped water under rugs, then address the source to prevent the problem from returning.
📅 Last Updated: October 07, 2026 | Topic: How to fix discoloration on laminate floors? | Content verified for accuracy and freshness.
References
- Google Scholar Google Scholar
https://scholar.google.com/scholar?q=laminate+floor+discoloration+water+stain+removal - Google Scholar Google Scholar
https://scholar.google.com/scholar?q=laminate+flooring+scuff+marks+stains+cleaning+tips - Google Scholar Google Scholar
https://scholar.google.com/scholar?q=preventing+and+remediating+water+damage+on+laminate+flooring - Laminate flooring
https://en.wikipedia.org/wiki/Laminate_flooring - Water damage
https://en.wikipedia.org/wiki/Water_damage - https://www.cdc.gov/mold/default.htm
- Mold | US EPA
https://www.epa.gov/mold - https://www.epa.gov/indoor-air-quality-iaq/mold-and-moisture
- Water | Ready.gov
https://www.ready.gov/water - https://www.fema.gov/floods/cleaning-after-flood