
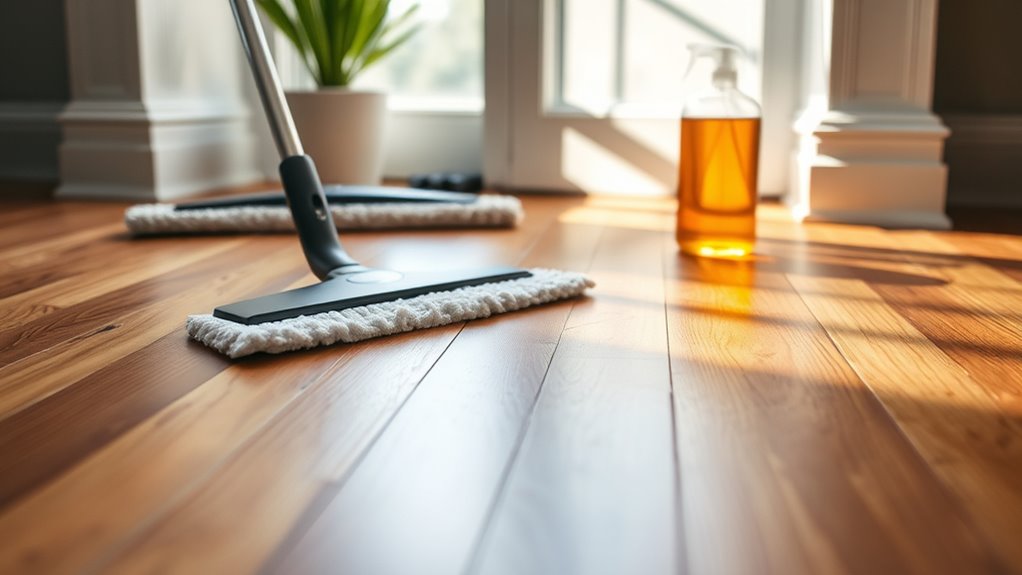

To maintain your wood floor, clean it with a damp microfiber mop using pH-neutral or wood-specific solutions to avoid damage. Prevent scratches by placing felt pads under furniture legs and trimming pets’ nails regularly. Preserve the finish by using products designed for wood surfaces and avoid harsh chemicals; refinishing may be needed over time. Following these steps guarantees your floor stays durable and beautiful. For further insights into protecting and extending your floor’s life, keep exploring the guidelines ahead.




Proper Cleaning Techniques for Wood Floors
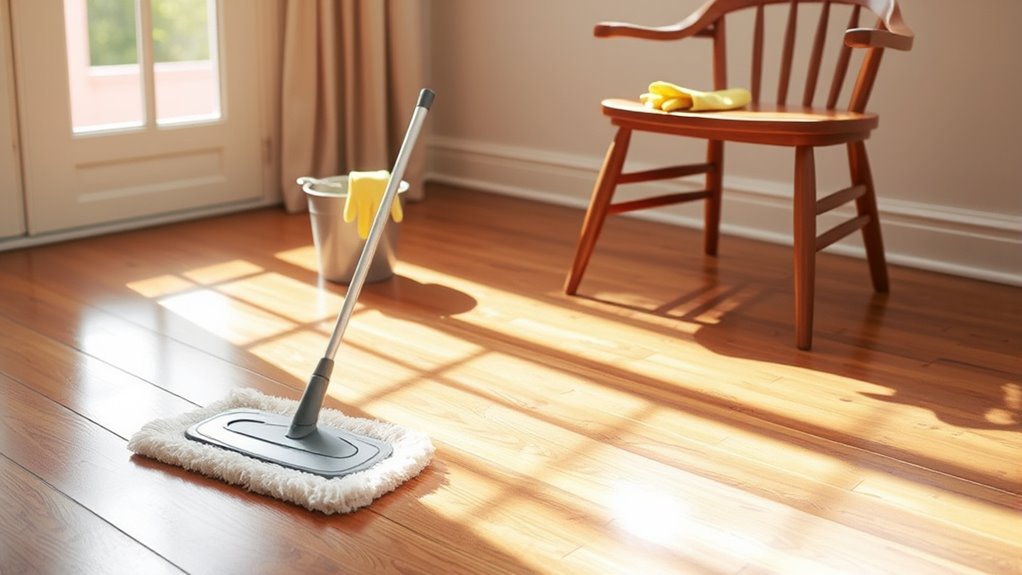
Although wood floors are durable, maintaining their appearance and longevity requires proper cleaning techniques. You need to focus on selecting the right cleaning solutions—avoid harsh chemicals and opt for pH-neutral or wood-specific formulas that won’t degrade the finish. When mopping, use a damp, not wet, microfiber mop to prevent excess moisture from seeping into the wood and causing damage. Employ gentle mopping techniques: move the mop along the grain to lift dirt effectively without scratching. Avoid abrasive tools or scrubbing pads. After mopping, guarantee the floor dries promptly to avoid water spots or warping. By mastering these precise mopping techniques and using appropriate cleaning solutions, you maintain your wood floor’s integrity and enjoy the freedom of a clean, resilient surface.
Preventing Damage and Scratches
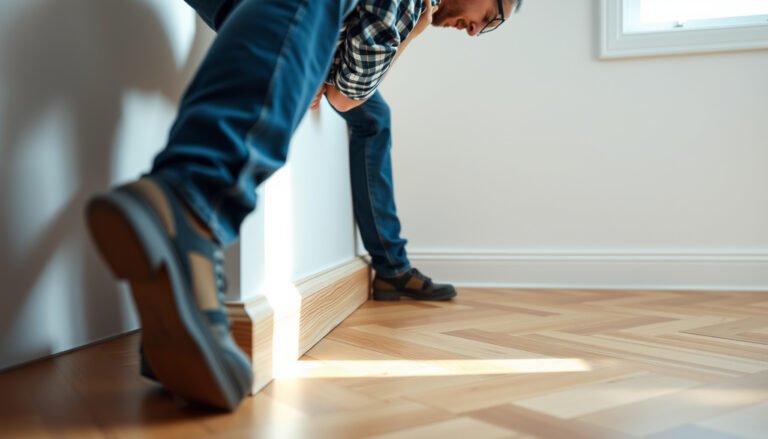
To prevent damage and scratches on your wood floors, you need to implement targeted protective measures and mindful habits. Strategic furniture placement minimizes stress points, so use felt pads beneath legs to reduce abrasion. Consider rearranging heavy items periodically to avoid indentations. Pet precautions matter greatly: keep your pets’ nails trimmed to prevent gouges and clean their paws regularly to avoid grit buildup. Avoid walking on floors with sharp objects or high-heeled shoes that concentrate pressure.
- Use area rugs in high-traffic zones to buffer impact
- Employ furniture sliders when moving pieces
- Maintain a consistent indoor humidity level to prevent wood expansion
- Train pets to avoid scratching or running indoors
These steps will help preserve your wood floor’s integrity, giving you the freedom to enjoy a flawless surface.
Maintaining Finish and Refinishing Options
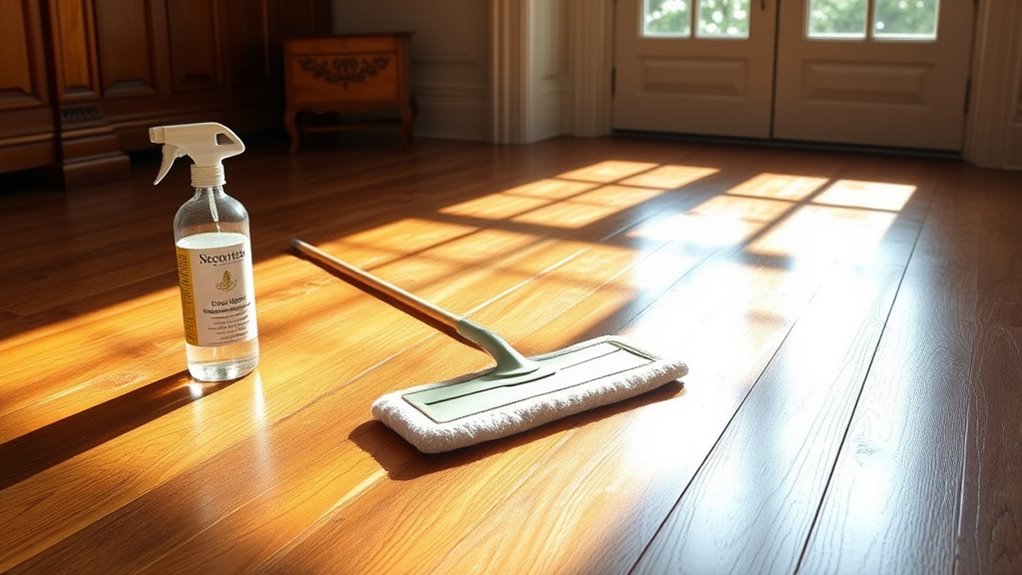
Maintaining the finish on your wood floors is essential to preserve their appearance and durability over time. For effective finish preservation, regularly clean with products designed for wood finishes and avoid harsh chemicals that can degrade the protective layer. When wear or damage becomes evident, consider refinishing methods to restore your floor’s integrity. Light sanding followed by applying a compatible polyurethane or oil-based finish can rejuvenate the surface without compromising the wood. More extensive damage might require full sanding and re-coating to guarantee uniform protection. By selecting appropriate refinishing methods, you maintain both aesthetic appeal and structural resilience, granting you the freedom to enjoy your wood floors without frequent replacements or costly repairs. Prioritize finish preservation to extend your floor’s lifespan efficiently and effectively.
[…] abrasives, and acetone or ammonia cleaners, because they can haze or break down the laminate’s protective layer. Always test the product in an inconspicuous area first to confirm the color and sheen […]
[…] Regular cleaning with non-abrasive products and avoiding harsh scrubbers also preserves the protective layer so future scratches are less […]
[…] How to seal granite floors without streaks or premature wear? Follow this step-by-step guide to clean, dry, test for absorption, and apply the right sealer so your granite resists stains while keeping its natural look. You’ll know exactly when to recoat and how to finish for a long-lasting, even protective layer. […]
[…] mainly restores protection—often stain resistance—by penetrating the stone surface or forming a protective layer. Refinishing/honing/polishing addresses visible wear, etching, unevenness, or surface texture […]
[…] instructions), wipe up quickly, and clean with pH-neutral chemistry that won’t erode the protective layer. Pair that with splash control (mats) and joint inspections (caulk/grout/edges) so water doesn’t […]
[…] Clean edges gently with a stone-safe method (light sanding/finishing […]
[…] ammonia-based cleaners, waxes, and abrasive powders/scrub pads, as these can strip or dull the protective layer on WPC. Also be cautious with “all-purpose” cleaners that are not pH-neutral, since overly […]
[…] with pH-neutral products that won’t attack the surface chemistry, and recoat/reseal only when the protective layer is actually failing. If you build a simple weekly routine and watch for early “shine loss” […]
[…] shiny” on its own—it relies on the surface finish (mechanical densification/polishing) and the protective layer that forms a barrier. Different product families use different film-formers and respond differently […]
[…] a solid surface for proper locking. If the old floor is glossy, uneven, or damaged, you may need light sanding or patching so the subfloor is level. Ideally, keep the surface dry and confirm there’s no […]
[…] instructions for dwell time and agitation. Don’t skip dwell—many residue failures come from cleaning solutions that never had adequate contact […]
[…] works best when the tile and grout are fully clean and dry, because sealer forms a protective layer rather than fixing etching or structural issues. Natural stone requires stone-specific honing or […]