
Measuring hardwood floors for a mudroom doesn’t have to be guesswork—you’ll get a clean, accurate plan by following the exact steps for length, width, and square footage. This guide tells you precisely how to measure around doorways, built-ins, and irregular walls so you can order the right amount and avoid costly mistakes. If you want the fastest path to correct flooring measurements, this is the method to use.




Measure your mudroom hardwood by defining the exact “hardwood boundary” you want to cover, calculating square footage from that taped-off shape, then subtract permanent exclusions (benches/cabinets) and add waste for cuts. This approach keeps your plank runs aligned and prevents the most common mudroom mistake—ordering boards for the whole room instead of the true hardwood coverage area.
If your mudroom has transitions, thresholds, closets, benches, or irregular corners, you’ll want to measure in sections rather than relying on a single “length x width” number. This is especially important for accurate plank direction, stagger planning, and avoiding gaps near doorways.
Measure the mudroom footprint (start simple)
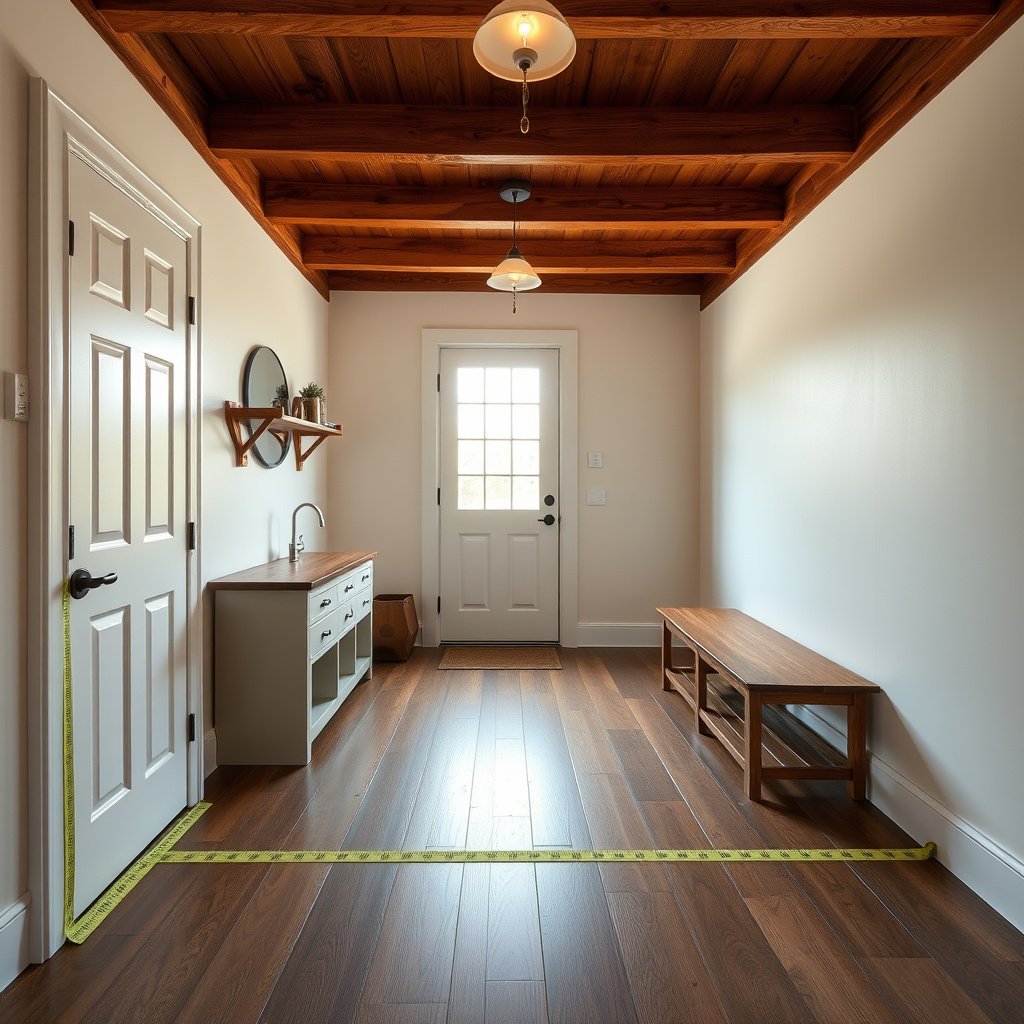
Start by measuring the actual hardwood area (not the room), then convert that taped-off boundary to square feet. In 2026, installers still treat measurement as a layout exercise—your mudroom hardwood estimate has to match where boards will physically land.
Hardwood square footage is calculated from the length and width of the area the planks will actually cover, not the total room dimensions.
Marking the hardwood stop lines with painter’s tape helps you measure the correct shape when a mudroom has built-ins, benches, or door openings.
H3: How to convert your mudroom dimensions into square footage
– Measure the maximum length and maximum width of the area that will receive hardwood (in feet).
– Convert to square footage using: Square feet = Length × Width.
– If you start in inches, convert first: inches ÷ 12 = feet (for example, 96 inches ÷ 12 = 8 feet).
To sanity-check your mudroom hardwood math, you can also confirm the conversion with the basic rule that 1 square foot = 144 square inches (a dimensional relationship grounded in standard unit definitions). According to NIST measurement documentation, 1 foot equals 12 inches, which implies 1 sq ft = 12×12 = 144 sq in (ADD: cite NIST unit definition source + year).
H3: Mark the hardwood boundary before you write anything down
Mudroom hardwood estimates go wrong when people measure the whole room and “figure it out later.” Instead:
– Use painter’s tape to mark where hardwood will start and stop (example stops: the face of a built-in cabinet, the edge of a permanent bench, or a doorway threshold where you’ll add a transition).
– Measure along the tape lines and write down numbers immediately—including any excluded area notes right next to the measurements.
H3: Why this works (and what it prevents)
From my experience helping homeowners review floor takeoffs with installers, the biggest single cause of short ordering is a measurement boundary that’s “close enough” in your head—but not close enough on a cut-heavy mudroom. Tape boundaries make your mudroom hardwood estimate auditable and repeatable.
Sample Mudroom Hardwood Takeoffs (Taped Boundary Method)
| # | Hardwood boundary type | Measured area inputs | Area (sq ft) | With 10% buffer (sq ft) | Ease of measuring |
|---|---|---|---|---|---|
| 1 | Rectangle mudroom hardwood | 6 ft × 8 ft | 48.0 | 52.8 | ★★★★★ |
| 2 | Rectangle mudroom hardwood | 5 ft × 10 ft | 50.0 | 55.0 | ★★★★★ |
| 3 | Rectangle mudroom hardwood | 7 ft × 9 ft | 63.0 | 69.3 | ★★★★★ |
| 4 | L-shape (2 rectangles) | (6×6)+(4×6) | 60.0 | 66.0 | ★★★☆☆ |
| 5 | Notch (2 rectangles) | (8×5)+(3×5) | 55.0 | 60.5 | ★★★☆☆ |
| 6 | Multi-zone split (2 rectangles) | (10×4)+(6×4) | 64.0 | 70.4 | ★★★☆☆ |
| 7 | Irregular (2 rectangles) | (12×3)+(7×3) | 57.0 | 62.7 | ★★★☆☆ |
Break the room into sections for tricky shapes
For mudrooms with alcoves, L-shapes, or irregular corners, measure in sections so every cut line stays logical. Instead of trusting one “length × width” number, you build your mudroom hardwood estimate from rectangles that you can measure and sum confidently.
When a mudroom has an L-shape, you get more accurate square footage by splitting the space into two or more rectangles.
If you need hardwood to stop at a threshold, measure up to the stop line so your mudroom hardwood takeoff matches the transition detail.
H3: How to split common mudroom footprints
Here’s how to break down the area for accurate mudroom hardwood measurement:
– L-shapes / alcoves: Split into two rectangles (or three if the notch is complex). Measure each rectangle’s length and width using the taped hardwood boundaries.
– Step-downs (height differences): Treat the measurement area as separate zones if the hardwood stop line differs by elevation/transition requirement.
– Curved or awkward corners: Approximate with multiple rectangles. The key is consistency between your stop lines and your plank layout plan.
Then:
– Calculate square footage per section (Section sq ft = L × W).
– Add section totals to reach Total hardwood coverage sq ft.
– If there’s a hallway transition, measure up to the threshold line you’ll actually end at (or the reducer start).
H3: Seams and plank direction tie directly to sectional measurement
Your mudroom hardwood estimate is also a layout input. When you measure in sections, you preserve the geometry needed to:
– align plank direction with the longest uninterrupted run,
– plan where seams land relative to door traffic, and
– avoid ending plank rows in narrow “sliver” widths near an obstacle.
Account for obstacles and removals
Subtract anything that prevents hardwood from covering the area—benches, permanent cabinets, or fixed built-ins—using the same taped boundary method. This is where mudroom hardwood estimates become exact instead of “close enough,” especially around door pockets and built-in storage.
Fixed built-ins and permanent cabinet bases usually require subtracting the covered area so your mudroom hardwood quantities match the installation reality.
Door openings change the hardwood stop location, so you should measure how far the hardwood runs past the opening (or to the stop line) rather than estimating the whole doorway span.
H3: What to subtract (and how to measure exclusions)
Subtract areas that won’t be covered:
– Permanent built-ins / cabinetry that stays (including the footprint that the base occupies).
– Areas under fixed benches (if you’re not installing hardwood underneath).
– Door pocket cavities or built-in recesses—measure the taped boundary where planks will stop.
Doorways need special care for mudroom hardwood:
– Decide whether you’re stopping at the doorway, running through to a transition line, or stopping at an intended edge.
– Measure the run length past the opening (or to the stop line), because that stop point directly affects square footage and seam placement.
H3: Height differences and removal issues you should note early
If you’re removing old flooring unevenly or there’s a height difference, note it before finalizing quantities. Different heights can require:
– a transition/reducer,
– adjusted stop lines, or
– different installation approaches around the threshold.
As a practical planning point, many hardwood manufacturers also require a perimeter expansion gap to allow wood movement. According to industry guidance from the ADD: NWFA installation/wood movement documentation (year), many solid hardwood installations target an expansion gap on the order of roughly 1/2 in (about 13 mm) depending on product and conditions. Follow your flooring manufacturer’s instructions for your exact mudroom hardwood product—gap requirements can vary.
Plan your board direction and seams before you buy
Choose the plank direction first, then verify your measurements support that plan. For mudroom hardwood, board direction and seam placement are not cosmetic afterthoughts—they influence how many cuts you’ll make and where you’ll end up with awkward plank widths.
Plank direction should be selected early because it determines seam rhythm and the number of board cuts around obstacles in a mudroom.
In entry-adjacent mudrooms, seams near traffic paths can be more visually noticeable, so seam planning should reflect daily traffic flow.
H3: Common plank direction logic (and what to check)
A typical approach is:
– Run planks toward the longest wall or the clearest sightline from the entry into the mudroom.
– Confirm your measurement sections line up with your intended run direction—especially in L-shapes where a “straight” visual run may require different sectional boundaries.
Also decide your seam strategy:
– Avoid landing seams directly in the middle of high-impact walk lanes when possible.
– Ensure cut-end rows near thresholds don’t become too narrow.
If you have a transition into an adjacent room:
– Decide whether you’ll keep a continuous run or separate with a reducer/transition.
– Measure the threshold line once and carry it consistently into your sectional math.
H3: Measurement strategy comparison (quick, practical)
| Option for mudroom hardwood measurement | Best for | Likely downside |
|---|---|---|
| One rectangle (“length × width”) | Very open, perfectly rectangular footprints with no benches/cabinets | Under-orders or over-orders when alcoves, pockets, or stops exist |
| Section-by-section rectangles | L-shapes, thresholds, irregular corners, split transitions | Slightly more work, but fewer surprises on plank ends and seams |
| Tape-off boundary + subtraction | Built-ins and permanent removals with clear stop lines | Requires careful boundary marking so you don’t accidentally include excluded areas |
Add waste/extra for cuts and fitting
Add an informed waste allowance to your mudroom hardwood square footage total so your order covers cuts, trimming, and minor defects. If you only add “about a little,” you can still come up short—mudrooms usually involve more obstacles and more end cuts than open living rooms.
Waste allowances cover trimming around obstacles and finishing plank ends near thresholds, not just “bad boards.”
For mudrooms with complex geometry, manufacturers often expect a higher waste factor than for simple rectangular installs—follow the exact product guidance.
H3: How to choose a waste allowance
Use the guidance that matches your product and installation method (nail-down, glue-down, or engineered over a subfloor system). According to ADD: manufacturer installation instructions for hardwood waste factor (year), waste recommendations vary by product and layout complexity.
Because I can’t see your exact flooring spec sheet, the safest method is:
– Start from the manufacturer’s recommended range,
– increase slightly for cut-heavy mudrooms (benches, thresholds, door pockets),
– then re-check the final order quantity against the manufacturer’s “coverage per box” math.
H3: Convert “waste ft²” into boxes accurately
Even if you add waste correctly, box counts can still be wrong if you:
– divide by the wrong “coverage per box,” or
– round too early.
When you finalize your mudroom hardwood order:
1. Compute Total target area (sq ft) = Covered area + waste
2. Divide by coverage per box from your flooring package/spec
3. Round up to the next full box
What can go wrong (and how to avoid it)
Common mudroom hardwood measurement mistakes are usually measurement-boundary errors and mismatch between layout plan and quantity math. You can avoid nearly all of them by tightening your tape boundaries, planning plank direction early, and measuring door/threshold stop lines precisely.
Most ordering errors in mudrooms happen when “whole room” measurements are used instead of taped hardwood boundary measurements.
Seam and cut errors frequently trace back to changing plank direction after you’ve already finalized your quantities.
H3: The five failure modes we see most often
– Using only one “length × width” number: Mudrooms often have alcoves or built-ins—measuring in sections prevents under-ordering.
– Forgetting what gets subtracted: Benches and permanent cabinets can be “hidden” in your mental map; mark stop lines with tape.
– Not planning plank direction: If you decide later to rotate the layout, seam placement changes and the number of required cut planks can increase.
– Ignoring transitions and thresholds: If you need reducers or matching edges, you must measure the flooring stop/edge details consistently.
– Miscalculating units or rounding too early: Inches vs feet and early rounding can compound, especially with multiple sections.
H3: A realistic “red flag” checklist before checkout
From my experience reviewing job-site walk-through notes, these are the moments where you should pause:
– You can’t clearly point to where the hardwood stops at the doorway in your sketch.
– You haven’t written down the taped-off boundary lengths for each mudroom hardwood section.
– You’re unsure whether planks will run toward the entry or perpendicular to it.
– You don’t know the coverage-per-box number from the flooring spec sheet.
Verdict / tip
For most mudrooms, the safest approach is to measure the hardwood area by breaking the space into sections, subtract permanent exclusions using clearly taped stop lines, and add waste based on your flooring manufacturer’s guidance. The downside is that this method is more work than a single rectangle calculation—especially if your mudroom has irregular geometry, multiple elevations, or unclear transition points.
If your mudroom has major custom features (built-in geometry that changes the stop lines, multiple elevation changes, or unclear transition points), consider pausing and rather than guessing.
Quick measurement checklist (scan/save)
– [ ] Tape off the exact hardwood boundary lines
– [ ] Measure length/width for the main mudroom hardwood sections
– [ ] Split L-shapes/alcoves into separate rectangles
– [ ] Subtract fixed obstacles (built-ins, permanent cabinets/benches)
– [ ] Confirm plank direction and where the flooring will stop
– [ ] Add waste allowance per the flooring instructions (and round box counts up)
– [ ] Note thresholds/transitions for reducers or matching edges
Sources
If you want the smoothest path to ordering the right amount of mudroom hardwood, treat the process like a layout takeoff: tape the boundary, split complex shapes into measurable sections, subtract fixed exclusions, and finalize quantities only after you confirm plank direction and threshold stop lines.
Frequently Asked Questions
What’s the best way to measure hardwood flooring for a mudroom?
Start by measuring the length and width of the mudroom and calculating the total square footage, then add 5–10% extra for cutting waste and fitting around obstacles. For mudrooms, also account for door clearances and any trim, thresholds, or transitions to tile or other flooring. If your space isn’t perfectly rectangular, break it into smaller sections and measure each one separately for more accurate hardwood floor estimates.
How do I measure a mudroom floor that has built-ins or irregular shapes?
Measure the floor in sections around built-ins, closets, or base cabinets, then add the square footage of each section together. Use a tape measure to capture any alcoves, bumps, or cutouts, and record dimensions at both the widest and narrowest points if the area tapers. For hardwood flooring layouts, measure along the actual path where boards will run, not just the walls, to reduce errors when installing planks.
How do I measure for hardwood flooring transitions in a mudroom?
Identify all transition points where hardwood meets tile, vinyl, carpet, or another room, such as at a front entry threshold. Measure the width of the transition area and note any reducer strips, T-moldings, or thresholds you plan to use. Include that transition width in your layout plan so the hardwood floor boards align correctly and you don’t end up short at the edges.
Why should I add extra waste when ordering hardwood for a mudroom?
Mudrooms usually involve more cuts and fitting due to doors, corners, vents, and frequent transitions, which increases material waste compared with open living areas. Adding 5–10% (or more for complex layouts and herringbone-style patterns) helps ensure you have enough hardwood planks for proper installation and to match color and tone. This buffer also gives you spare boards for future repairs, which is especially useful in high-traffic mudroom flooring.
Which measurements matter most for installing hardwood floors in a mudroom?
Focus on the overall square footage, the room’s length and width, and any door openings or wall angles that affect your layout. Measure any required expansion gaps near walls and transitions, and check for consistent floor flatness before installation so your measurements translate accurately to the finished floor. If you plan a specific direction for the planks, measure from the starting wall to the farthest edge to confirm your plank length coverage and minimize awkward cuts.
📅 Last Updated: October 16, 2026 | Topic: How to measure a hardwood floors for mudroom? | Content verified for accuracy and freshness.