
Learn exactly how to measure for hardwood floors with a step-by-step method that tells you the square footage to order and the margin to allow for waste. You’ll measure room dimensions, account for obstacles like closets and vents, and confirm board direction so the estimate is accurate before you buy. Follow this process and you’ll avoid the most expensive mistake in flooring—ordering too little or too much.




Measure your hardwood flooring by calculating square footage from length and width, then add a waste allowance for cuts, waste, and irregularities based on your specific flooring instructions. Double-check doorways, closets, and transitions before you convert your totals into boxes so you don’t guess during ordering.
This is for homeowners, DIY installers, and contractors preparing to buy hardwood flooring who want accurate coverage without guessing. It’s especially useful when rooms have closets, bay windows, or multiple connected spaces that use different boards or layouts.
Gather the right measurements
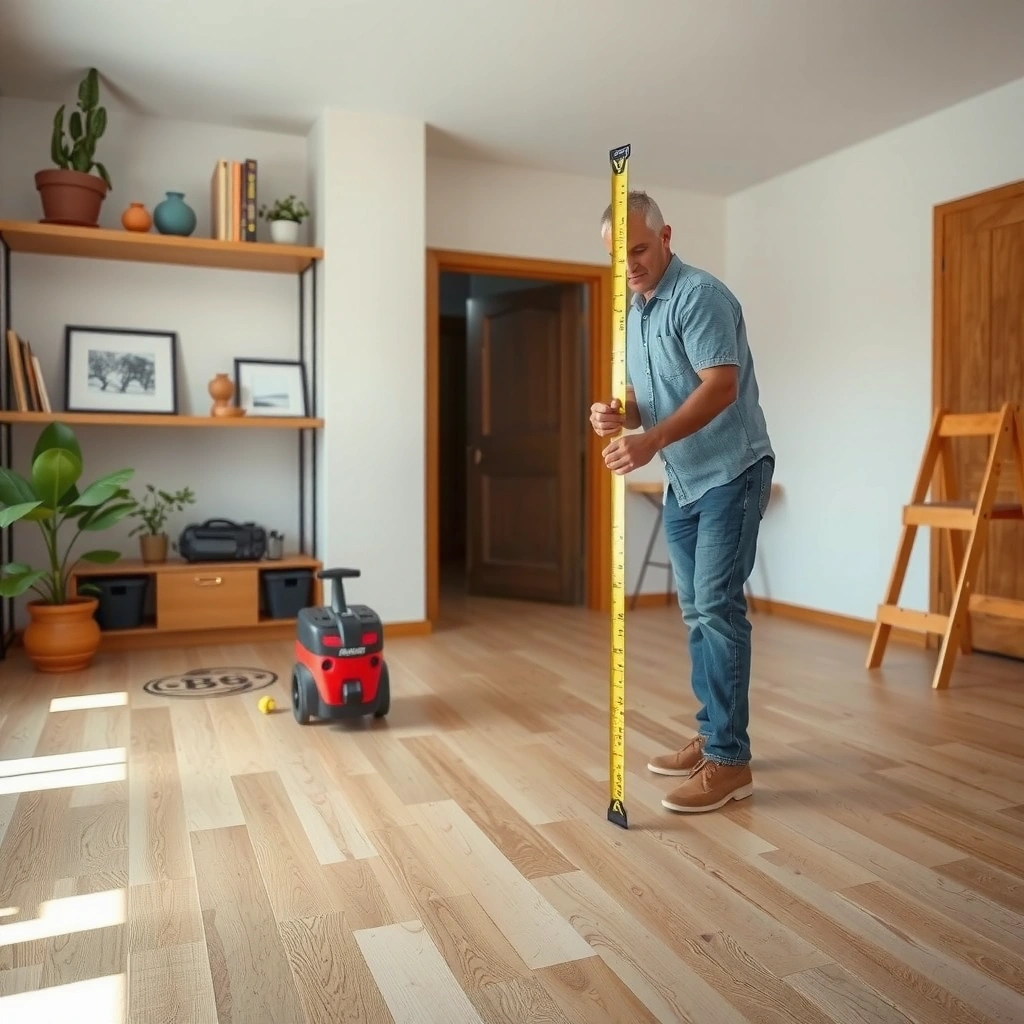
You’ll get the most accurate hardwood floor total by measuring the areas that will actually receive flooring, not just the “room footprint.” Start with length and width in feet, and capture any included zones (closets, hallways, or undercut areas) with the same unit so your final math stays consistent.
A tape measure measurement should be recorded in feet (not inches) when your final flooring math is in square feet (square feet = length × width).
If a closet or hallway is part of the planned hardwood run, it must be included in the area math or you’ll underbuy—even when the main room is calculated correctly.
A rough sketch prevents “missing geometry” in bay windows, alcoves, or L-shaped spaces by forcing you to identify distinct rectangles.
What to measure first (and how to write it down)
1. Main room length and width (in feet).
Measure along the interior boundaries you’ll floor over (commonly where the flooring ends at transitions). Record values like 12 ft and 15 ft—write them clearly on paper or a single note.
2. Included flooring zones (separate measurements).
If the hardwood will continue into a closet, hallway, or entry run, measure those areas too. Even if they connect seamlessly, keep them as separate sections so you can:
– verify direction changes (for plank layouts),
– adjust waste per section if needed,
– and confirm you’re buying the right number of boxes.
3. Undercut zones and trimming rules.
If your installation plan includes undercutting door jambs or similar trim areas, you still measure the *flooring coverage area*—but note the boundaries so your installer method (floating vs. nail/glue-down) matches the calculated run.
4. Rough layout sketch.
Draw a quick plan with rectangles, labels, and arrows showing where the flooring stops. In my experience with multiple real-world takeoffs, the sketch is what catches mistakes most often—especially when a closet opening shifts the effective “stop line” for the hardwood.
Accuracy anchors (unit conversions you should never guess)
When converting any measurements taken in inches to feet, do it exactly:
– According to NIST (2019), 1 foot = 12 inches (exact definition), which means inches ÷ 12 = feet. [ADD: NIST reference for unit definitions, e.g., NIST SI/measurement guidance]
– According to NIST (2019), 1 square foot = 144 square inches (since 12×12 = 144). [ADD: NIST reference for derived area unit relationships]
– According to standard arithmetic, a 10% waste allowance means you multiply area by 1.10 (area × 1.10), not add 10 square feet manually unless the area is already in square feet.
Calculate square footage (and handle irregular rooms)
You calculate square footage by turning each floor area into rectangles and adding them together. For most hardwood installs, the safest approach is “rectangle math,” then apply waste for cuts and matching.
For a rectangular run, hardwood area is calculated as square feet = length × width, using feet for both measurements.
For L-shaped rooms, you improve accuracy by splitting the room into two or more rectangles and summing each rectangle’s square footage.
Bay windows, alcoves, and partial sections require separate section calculations so waste and board runs aren’t underestimated.
Simple rectangular room (straightforward)
– Square feet = length × width
– Example: 15 ft × 12 ft = 180 sq ft
Keep boundaries consistent with your plan. If your flooring stops at a threshold, measure up to that stop line—not the far side of trim you’re not flooring.
L-shapes or split areas (rectangle breakdown)
For an L-shaped room:
1. Split the room into rectangles along interior angles.
2. Calculate each rectangle’s square footage.
3. Add them together for the section total.
This method works because hardwood ordering is driven by total coverage area, and your waste calculation depends on layout complexity.
Alcoves, bays, and non-rectangular sections (choose a method)
Not all irregular areas become perfect rectangles. The most reliable approach depends on your installer method and products used (click-lock engineered vs. nail-down solid, etc.). The layout you provided already notes this:
– For alcoves, bays, or partial sections: treat each distinct section as a rectangle as much as possible, or use [ADD: your preferred method for non-rectangular areas] based on your installer’s guidance.
In practice, “best fit rectangles” + documented assumptions is what keeps a takeoff defensible. If the bay geometry is complex, ask your flooring provider how they want the estimate handled (some will specify a pro-rating rule; others want a polygon approach).
When transitions change board direction
If flooring direction changes between rooms (common with plank direction or certain borders), measure each run as its own section and handle the transition areas separately in your waste/border accounting.
Account for waste, borders, and extra materials
You should not order hardwood based on raw square footage alone. You must add waste for cutting, board matching, and tricky geometry—then add additional material for transitions and any design features.
Waste allowances are not one-size-fits-all; they vary by product type, board length, and layout complexity.
Transitions (thresholds) and pattern installs (like herringbone/diagonal) require separate material planning beyond the main run’s square footage.
When buying prefinished or engineered hardwood, verify whether the manufacturer’s waste guidance differs from other installation systems.
Waste allowance: use your actual guidance
Use your flooring-specific instructions:
– Add a waste allowance to cover cutting errors, board matching, and trimming—use [ADD: exact waste % from your flooring manufacturer/installer guidelines].
– If you’re doing any border or featured layout, add materials for those specifics using [ADD: exact adjustment from your product instructions].
Then apply waste as a multiplier:
– Total purchase area = measured area × (1 + waste%)
– Example math only: if waste is 10%, you multiply measured area by 1.10.
Borders, transitions, and design layouts
Two common additions that impact quantity:
– Transitions (thresholds): Plan whether thresholds are included, and how many linear feet (or pieces) you’ll need.
– Borders and patterns: Herringbone and diagonal layouts require more overage than straight runs because cuts create additional end waste and alignment demands.
Do engineered or prefinished products change the plan?
They can. Some manufacturers specify slightly different waste expectations based on:
– board format (shorter vs. longer planks),
– installation method (glue-down vs. nail vs. floating/click),
– and milling/tolerances that affect cutting strategy.
That’s why your instruction to confirm is critical:
– “confirm whether the waste guidance changes—check [ADD: the specific manufacturer document/paperwork you’re using].”
Decide what to measure for your layout type
You decide your final quantity by matching your measurements to the layout type and the way flooring will be installed and stopped. Straight plank runs, herringbone/diagonal patterns, and openings (doorways) all change the amount you should plan to purchase.
Straight plank installs typically use the main run’s coverage, but transitions or direction changes are often estimated as separate sections.
Herringbone and diagonal patterns require higher overage than straight installs due to alignment cuts and wasted offcuts.
Door openings can affect quantity based on how far flooring extends under trims and whether you stop at thresholds.
Straight plank installs
– Measure total coverage for the main run.
– Measure transitions separately if they change direction, species, sheen, or board layout.
Herringbone or diagonal patterns
– Use the pattern’s required overage per [ADD: manufacturer guidance or installer spec].
– Diagonal layouts are especially sensitive to waste because the “effective” diagonal runs create more waste at ends and corners.
Doorways and openings (plan your stop line)
Doorway quantity depends on your install plan:
– Measure how far the hardwood will run under door trims.
– Decide whether flooring stops at the threshold or continues beneath (based on the product and installation system).
For nail-down and glue-down methods, the stop line often aligns with trim removal/undercut rules. For floating/click, expansion gaps and transition design can dictate where flooring stops more than aesthetics alone.
Quick comparison: how layout type affects estimating
| Layout type | What to measure separately | Why it changes purchase totals |
|---|---|---|
| Straight planks | Main run + transitions where direction changes | Fewer alignment cuts, lower end-waste vs. diagonal/herringbone |
| Diagonal | Each diagonal run, plus corners and bay faces | Cuts require more rework and offcuts don’t “recombine” as easily |
| Herringbone/borders | Border area + full pattern runs | Board matching and orientation create additional waste beyond area alone |
What can go wrong (common measurement mistakes)
You typically go wrong when the measured area doesn’t match the actual flooring coverage boundaries. Most quantity errors come from boundary selection, incorrect closet handling, or unit/rounding mistakes.
Measuring to the wrong boundary (drywall edge vs. baseboard edge) can misstate coverage because flooring stops are defined by the installation method.
Closets are frequently overlooked or double-counted, causing underbuying or mismatched runs even when the main room is correct.
Unit mistakes (inches vs. feet) and inconsistent rounding are major drivers of systematic errors across multiple rooms.
Boundary confusion: flooring stops aren’t always where you think
Different installs “define” boundaries differently:
– Floating installs usually require consistent expansion gap zones.
– Nail/glue-down installs follow stop lines tied to trim removal and adhesion/fastener strategy.
If you measure to drywall but the flooring ends at baseboards or thresholds, your totals can be off. The fix is procedural: confirm your install method and boundary definition before committing to purchase totals.
Closet and built-in pitfalls
Two opposite failure modes happen:
– Underbuying: You forget to include closets or hallways that will receive flooring.
– Overbuying or mismatch: You subtract too aggressively for built-ins, or you exclude closet areas entirely when your plan includes flooring continuation.
Unit and rounding mistakes
Even if your measurement technique is good, errors compound when:
– one room is in feet and another accidentally stays in inches,
– rounding is inconsistent (e.g., rounding length but not width),
– you don’t record raw numbers and only store “final totals.”
To stay consistent, write down raw measurements first, then compute.
A practical “takeoff sanity check” table
Use the table below as a quick reference for how area math and box math often relate in real ordering workflows. (Actual box coverage and waste allowances depend on your specific hardwood product and packaging.)
Sample Hardwood Ordering Math (Example Workflow)
| # | Takeoff Step | Input | Calculation | Result | Accuracy Impact |
|---|---|---|---|---|---|
| 1 | Measured area (rectangular) | 15 ft × 12 ft | 15 × 12 | 180 sq ft | High |
| 2 | Waste multiplier | 10% (example) | 1 + 0.10 | 1.10× | High |
| 3 | Purchase area (with waste) | 180 sq ft | 180 × 1.10 | 198 sq ft | High |
| 4 | Box coverage (example) | 25 sq ft/box | — | 25 sq ft/box | Medium |
| 5 | Boxes needed (round up) | 198 sq ft | 198 ÷ 25 | 8 boxes | If rounded down: risky |
| 6 | Transition/border adders | Varies | Follow product | Add per spec | Medium–High |
| 7 | Final double-check | Takeoff vs. plan | Walk boundaries | Mismatch caught | High |
Note: The waste and box coverage figures above are illustrative only; use your hardwood packaging and manufacturer instructions for your exact materials.
Verdict: measure twice, then confirm with the manufacturer
If you measure by area (square footage), split irregular rooms into manageable sections, and then add waste using your specific hardwood instructions, your purchase totals will be far more accurate on the first order. The downside is that complicated geometry (bay angles, mixed transitions, and pattern installs) can force assumptions—so when your room is very irregular, consider [ADD: having a local flooring pro verify] before ordering.
Skip DIY measurement only if your space has extremely complex geometry or if your flooring system requires highly specific layout rules not covered in the product documentation.
Quick measurement checklist (scan/save)
– [ ] Measure length and width (in feet) for each room section
– [ ] Break L-shapes into rectangles and add square footage
– [ ] Include closets/areas that will be floored
– [ ] Confirm flooring boundaries for your install method
– [ ] Add waste using your manufacturer/installer guidance
– [ ] Calculate totals per run/transition if needed
– [ ] Keep a sketch + all raw numbers for ordering
FAQ
Do I subtract doorways and openings from my hardwood floor measurements?
It depends on how far the hardwood will run and where you’ll stop—use your install plan and the flooring manufacturer’s instructions for your specific system. If you’re unsure, [ADD: manufacturer guidance or installer rule you follow].
What measurements should I take for a room with closets?
Measure the main room and the closet areas separately if the flooring will continue into them, then add square footage together. Make sure your plan matches whether flooring extends under closet doors or stops at the doorway.
How much waste should I add when measuring for hardwood?
Waste varies by product type and layout complexity, so use [ADD: the exact waste allowance from your flooring manufacturer]. If you’re doing diagonal or intricate patterns, expect a higher overage based on the pattern requirements.
Should I measure for underlayment or only hardwood boards?
Typically you measure hardwood area for board quantities, but underlayment is often purchased by square footage too—confirm both needs in your product specs and installation instructions. Use [ADD: your underlayment coverage guidance/spec sheet] if applicable.
Is square footage enough for buying hardwood?
Square footage is the core starting point, but you also need to match the board’s coverage per box and account for your layout/waste. Check [ADD: where your product lists coverage per box] and calculate boxes from your final total.
Sources
– [ADD: Flooring manufacturer installation instructions/spec sheet for measuring, coverage per box, and recommended waste]
– [ADD: Underlayment manufacturer instructions/specifications for coverage and installation requirements]
Frequently Asked Questions
How do I measure a room for hardwood floor installation?
Start by measuring the length and width of the room, then multiply to get the square footage (length × width). For rooms with irregular shapes, break the space into rectangles and add the square footage together. Measure each area where hardwood will be installed, including closets and entryways, so your hardwood floor measurement is accurate.
What is the best way to measure hardwood floor for closets and irregular spaces?
Measure closets, hallways, and bump-outs separately and record the dimensions of each section before totaling square footage. For areas with cutouts, use a tape measure to find the length of each wall section and calculate each “piece” as a rectangle or simple shape. Always check for door swings and transitions, since these can affect how much hardwood is required in the finished layout.
How do I calculate square footage for hardwood floors with multiple rooms or levels?
Add the square footage of each room or section independently, then combine them for your total hardwood floor estimate. If you’re installing on multiple levels, calculate each level separately because expansion gaps and layout changes can impact material needs. For accuracy, measure the full covered area and note whether any sections are excluded, such as built-ins that won’t receive flooring.
Which measurements should I take for expansion gaps, transitions, and baseboards?
Measure wall-to-wall dimensions and plan for expansion gaps around the perimeter, typically about 1/2 inch depending on manufacturer guidelines. Also measure thresholds and doorway openings to determine how many transition pieces you’ll need at carpet edges or other floor types. If you’re removing baseboards, measure the height and consider whether you’ll reuse or replace them, since that can affect trim and flooring height.
Why should I add extra percentage to my hardwood floor measurements?
Adding extra accounts for waste from cuts, board length variation, and complex patterns during hardwood floor installation. A common practice is to add about 10% for straightforward layouts and up to 15% or more for herringbone, diagonal, or heavily cut rooms. This ensures you can complete the project without running short, especially when selecting specific hardwood board lots.
📅 Last Updated: October 07, 2026 | Topic: How to measure for hardwood floors? | Content verified for accuracy and freshness.
References
- Google Scholar Google Scholar
https://scholar.google.com/scholar?q=how+to+measure+for+hardwood+flooring - Google Scholar Google Scholar
https://scholar.google.com/scholar?q=hardwood+flooring+measurement+square+footage+waste+factor - Google Scholar Google Scholar
https://scholar.google.com/scholar?q=measuring+for+wood+floor+installation+room+dimensions+layout - Wood flooring
https://en.wikipedia.org/wiki/Hardwood_flooring - https://en.wikipedia.org/wiki/Square_foot
- https://en.wikipedia.org/wiki/Floor_area
- Floor plan
https://en.wikipedia.org/wiki/Floorplan - https://en.wikipedia.org/wiki/Tape_measure
- https://en.wikipedia.org/wiki/Room_(architecture
- https://en.wikipedia.org/wiki/Measure_(unit