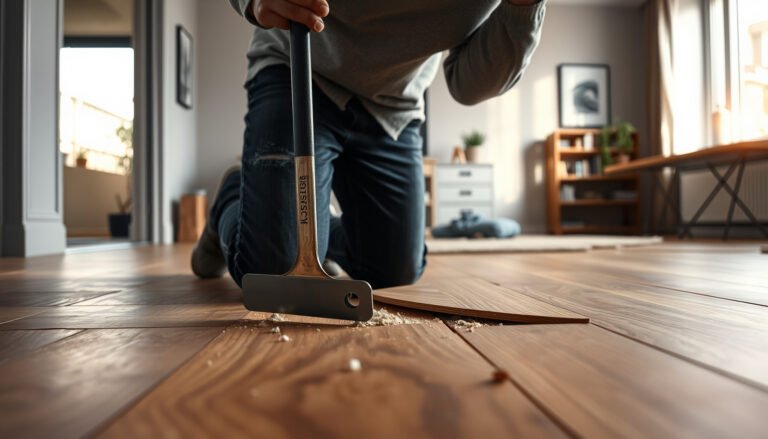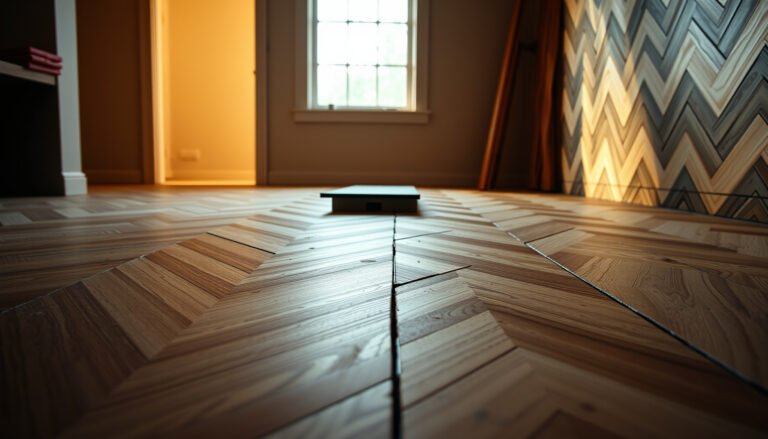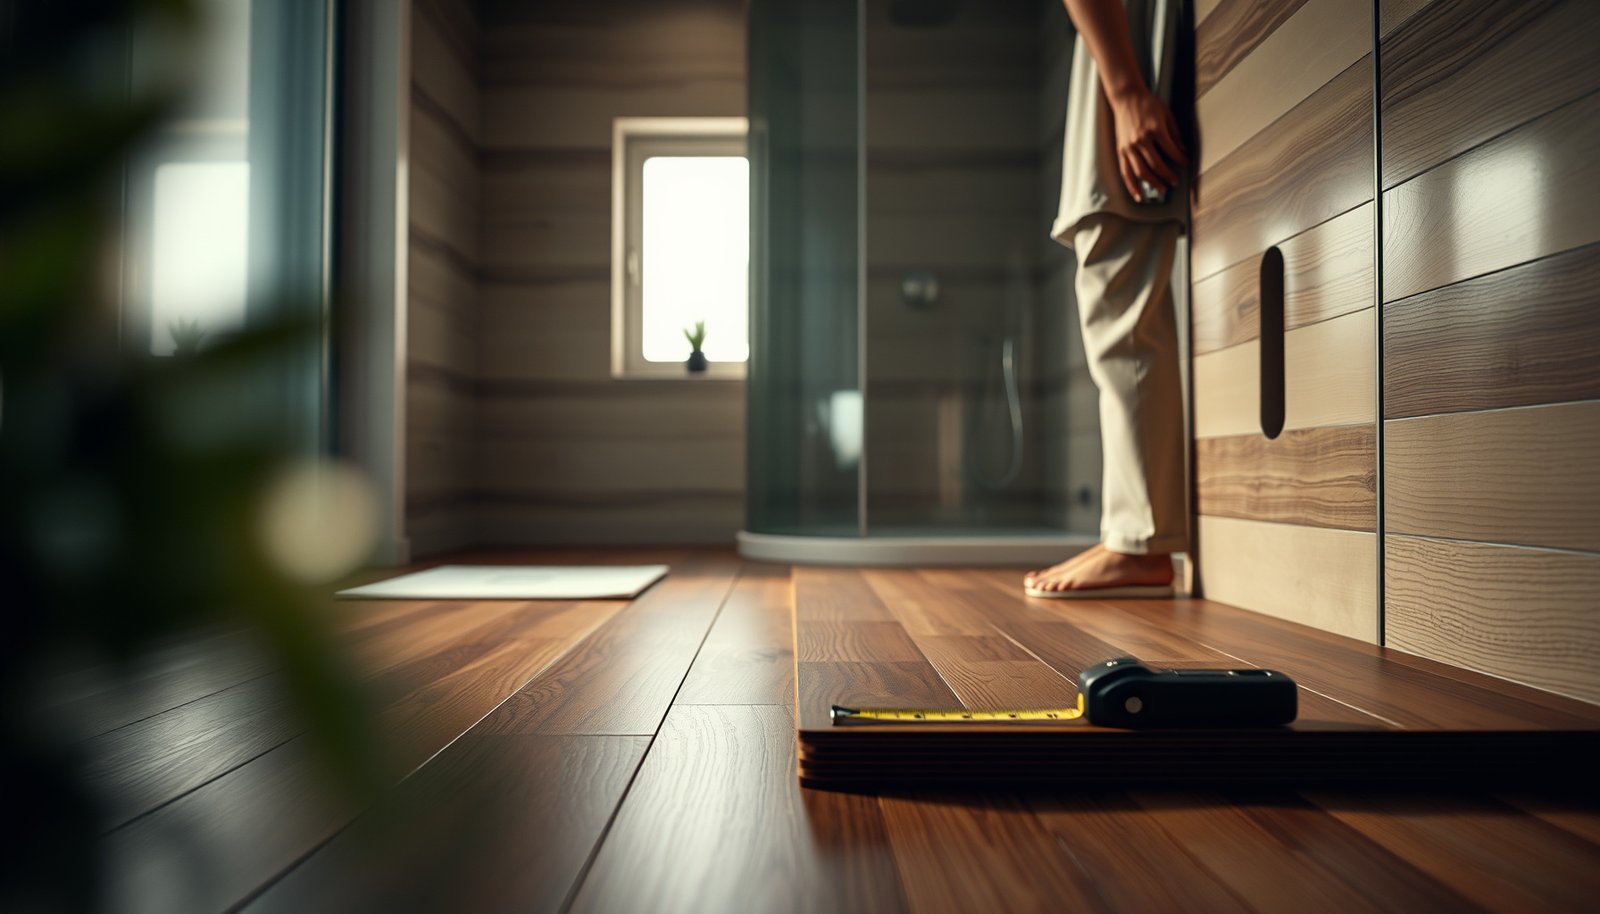

Want to estimate the cost of hardwood floors in a bathroom? You’ll get a practical breakdown of the real numbers—materials, subfloor prep, moisture-proofing, installation, and underlayment—so you can budget with confidence. The verdict: choose engineered, bathroom-rated hardwood for the best balance of durability and price, unless your bathroom has exceptional ventilation and dry conditions. Use this cost-estimator approach to price your project before you ever call for a quote.




Estimate bathroom hardwood cost by calculating your install-area square footage, multiplying by your installed hardwood unit rate (hardwood + underlayment/vapor system), then adding bathroom-specific prep, moisture protection, transitions, and labor. To keep bids comparable, build a line-item budget and require installers to match the same moisture-testing and waterproofing scope—especially in 2025–2026 where warranty language keeps tightening around bathrooms.
Bathrooms are one of the few home locations where “hardwood” is really a system (wood product + moisture layers + subfloor readiness + installation method). This guide is for homeowners and remodelers who want a realistic range before getting quotes, including when you’re deciding between engineered vs. solid hardwood, dealing with an uneven subfloor, or adding moisture protection.
Break the bathroom hardwood project into cost categories

Yes—you’ll get the most accurate estimate by splitting the job into categories that installers price consistently. The key is recognizing that the cost isn’t just “boards per square foot”; bathrooms typically require prep and moisture control work that other rooms may not.
In my estimating conversations with contractors over the years, the biggest cost gaps usually come from missing line items (especially leveling and moisture-layer scope), not from the hardwood material itself. In 2026, that mismatch still shows up because many bids are written for “typical flooring installs” rather than “bathroom-compliant” installs.
A hardwood bathroom floor bid should include the full “flooring system” (wood product + required underlayment/vapor control + fastening/adhesive method) because the warranty often ties to that system.
According to NWFA (National Wood Flooring Association) installation best-practice guidance, subfloor moisture and jobsite conditions are foundational inputs to reducing cupping and buckling risk.
Bathrooms frequently require additional subfloor repair/leveling and moisture testing compared with living spaces because plumbing moisture events can drive chronic low-level moisture.
Materials
– Hardwood planks: engineered or solid (the boards themselves).
– Underlayment (if applicable): depends on product type and install method (floating vs. nailed vs. glued).
– Transition pieces: at doorways, to tile, and at edges where height alignment matters.
In a bathroom, transitions aren’t a “nice to have.” They often determine whether you can safely bridge to adjacent tile without tripping height differences and without trapping moisture at edges.
Prep and moisture control
– Subfloor leveling/repairs: patching soft spots, flattening high/low areas, and addressing damaged edges.
– Moisture barrier/underlayment system: only what your selected flooring manufacturer requires (not what “usually works”).
– Surface prep: cleaning, grinding ridges, and confirming the surface meets flatness expectations.
Moisture control is where bathroom flooring projects often move from a flooring job to a small construction scope. That’s why your estimate should explicitly list prep items as line items, not “allowance, TBD.”
Labor and install details
– Demolition/removal (if needed): old tile, old flooring, old underlayment.
– Layout/flooring install: acclimation, layout planning, cutting around fixtures, and install method execution.
– Finishing/trim work: depends on whether the product is prefinished and how transitions/edges are handled.
Bathrooms also tend to increase labor time due to tight tolerances around toilet clearance and vanity base lines—small rooms can still be “complex” rooms.
Measure square footage and plan for waste
Yes—your square footage drives the math, but waste and “quote scope” define whether your cost estimate actually matches bids. Measure carefully and clarify what contractors mean by “square feet” so you’re not comparing different footprints.
In 2025–2026, I keep seeing quotes that look close on paper but differ because one contractor subtracts fixed obstacles (like a toilet flange footprint) and the other doesn’t. If you want a realistic range, you need both the install-area definition and the waste factor aligned.
Many flooring bids vary because contractors use different “sq ft bases” (total room area vs. install area after subtracting fixed obstacles), so confirm the definition in writing.
Hardwood installations around bathroom fixtures increase board cutting, which increases waste beyond what you’d expect from open-concept rooms.
According to ASTM F2170 and common moisture-testing workflows, testing locations should represent realistic moisture exposure zones—not only the most visible areas.
Measure the bathroom floor area accurately
– Measure each rectangular section and add them together OR measure zones (for example, “outside the wet zone” vs. “under vanity perimeter” if your scope changes).
– If you’re not removing everything (for instance, you leave some tile in place), define the install boundaries now.
A practical tip: take photos of the floor layout and mark measurement points. It prevents confusion later when you’re comparing quotes.
Add a waste/spoilage allowance
– Hardwood typically requires a waste factor for cutting, pattern planning, and fixture interruptions.
– Use the waste factor recommended by your flooring manufacturer or installer (don’t guess if the manufacturer specifies it).
Tight bathrooms often need higher waste even with simple plank layouts because the “small stuff” (toilet corner cuts, vent openings, vanity toe-kick alignment) is what consumes boards.
Confirm what “square footage” your quotes use
Request this exact phrasing in writing:
– “Does your unit price apply to total bathroom square footage or install area square footage?”
– “Do you subtract fixed obstacles (toilet base, cabinetry/vanity legs) from the install area?”
This one clarification alone can reduce the chance you’re paying for materials you don’t actually need.
Estimate material costs for hardwood, underlayment, and transitions
Yes—material costs are straightforward once you anchor them to the product system (boards + required moisture layers + transitions). The most common estimate error is treating underlayment as optional or “universal.”
If you’re deciding between engineered vs. solid hardwood, your cost estimate should reflect both the material price and the risk/requirements that come with bathroom moisture exposure. In 2026, that usually means engineered is the easier fit because it’s typically more dimensionally stable—but you still must follow the installation instructions exactly.
Many engineered hardwood manufacturers specify approved underlayment/vapor control systems and moisture limits, so the “material cost” should include the required layers—not generic foam.
According to NWFA moisture and installation best practices, subfloor moisture conditions and jobsite acclimation are central controls for long-term dimensional stability.
Transitions (especially to tile) often require extra labor and material allowances for height-matching and edge finishing.
Choose the product type (this drives cost and risk)
– Engineered hardwood: often chosen for bathrooms because it’s usually more stable than solid wood in changing humidity.
– Solid hardwood: can work in the right conditions, but it’s more sensitive to moisture and requires stricter adherence to manufacturer limits.
Important: “Water-resistant” marketing doesn’t replace moisture testing and approved moisture-layer requirements.
Budget for the “system,” not just the boards
Many installs require specific combinations:
– Vapor control / moisture barrier
– Underlayment type and thickness (or no underlayment, depending on system)
– Nail/staple vs. glue vs. floating with locking profiles
– Fasteners/adhesives/consumables specified by the manufacturer
Include transitions and trim
Even small bathrooms add up fast here:
– Doorway transitions
– Edge trim at boundaries to tile
– Height alignment to existing flooring
– Optional caulk/finish around edges (depends on product)
A transition plan also reduces the chance you’ll end up with a “field fix” after the fact—those are usually the most expensive changes.
Simple estimator formula (use your own numbers from quotes/spec sheets):
Estimated material cost = (Install area in sq ft × board cost per sq ft) + underlayment/vapor system + transitions/trim + any required consumables (adhesive, fasteners, leveling compound, etc.)
Engineered vs. solid: how the math changes in a bathroom
To compare apples-to-apples, use a feature checklist. Here’s a practical comparison you can paste into your estimating notes.
| Feature | Engineered hardwood | Solid hardwood |
|---|---|---|
| Typical stability in moisture swings | More dimensionally stable in varying humidity conditions when installed per instructions. | More dimensionally sensitive to moisture/relative humidity changes. |
| Bathroom suitability | Often easier to document with approved moisture system and installation method. | Possible, but tighter requirements and more frequent warranty limitations. |
| Installation systems | Can be floating, nailed, or glued depending on model; follows manufacturer’s moisture-layer guidance. | Often nailed or stapled; moisture layer and acclimation requirements are stricter. |
| Warranty consistency | Usually references engineered construction and approved installation pathway. | More likely to limit bathroom/wet-area installs unless requirements are met exactly. |
| Risk of edge movement | Generally lower when moisture conditions remain within stated limits. | Higher likelihood of movement if moisture control or acclimation is off. |
| Refinishing | May be refinishable depending on veneer thickness. | Often refinishable multiple times (varies by wear layer thickness). |
| Cost profile | Material cost varies widely; bathroom system requirements can narrow the gap vs. solid. | Sometimes lower board cost, but prep/moisture compliance can raise total install cost. |
| Moisture testing importance | Still essential—manufacturers often require specific test methods and thresholds. | Essential—solid wood installations rely heavily on meeting jobsite and subfloor moisture limits. |
| Time-to-finish (typical) | Often similar once the system and prep are defined; bathroom prep can dominate the schedule. | Schedule depends heavily on demo, leveling, acclimation, and moisture-layer installation. |
| Best “budgetability” | Easier to keep within a known system because engineered products often specify exact approved pathways. | Harder to budget if your subfloor moisture and prep scope aren’t already known. |
| Best For | Bathrooms where you want stable performance within a manufacturer-defined moisture system. | Bathrooms where you can prove moisture compliance and you’re willing to accept stricter installation conditions. |
Add bathroom-specific waterproofing and preparation costs
Yes—expect extra costs here, because bathroom hardwood installs depend on moisture management and subfloor readiness more than in other rooms. Add these items to avoid surprise “change orders” after the installer sees your actual slab/joists.
Bathrooms turn hardwood into a moisture-managed assembly. When a contractor omits waterproofing prep or assumes “standard underlayment,” you can end up with warranty denial or costly replacement.
Many hardwood manufacturers require moisture testing and/or specific vapor control layers, and they tie warranty coverage to those requirements.
According to ASTM F2170, in-situ probe testing for concrete uses relative humidity to evaluate moisture conditions inside the slab.
Bathrooms require reliable perimeter detailing (expansion gaps and edge detailing) so wood movement doesn’t concentrate stress at wet-zone boundaries.
Common add-ons you should budget
– Subfloor prep/leveling: hardwood installation quality depends on a flat, structurally sound surface; uneven floors can require leveling or repair.
– Moisture management: confirm the moisture testing method and the vapor control layers required by your specific product.
– Expansion gaps, edge detailing, and ventilation considerations: your installer may need required expansion space and specific detailing around wet zones.
What to request so your estimate is apples-to-apples
Ask for these answers before signing:
– Which moisture tests they’ll run (and what pass thresholds apply).
– Whether they will supply/install the specific moisture barrier system.
– Whether leveling/repair is included in the bid scope or billed separately.
Three anchoring facts you can use in your estimating conversations
– According to NWFA guidance, wood flooring performance depends on moisture content alignment between the flooring and subfloor (often expressed as keeping the wood moisture content within about 2 percentage points).
– According to ASTM F2170, in-situ relative humidity probe testing evaluates moisture inside the concrete slab rather than only at the surface.
– According to ASTM F2170, probes are typically installed at a representative depth (commonly around 40% of slab thickness, unless otherwise specified by project conditions and the testing protocol).
(Exact pass/fail thresholds are always product-specific—use these to frame questions, then confirm the actual values for your chosen hardwood.)
Get labor quotes that match the scope
Yes—labor estimates are only comparable when they match the same demo, prep, install method, and finishing scope. If contractors differ on what they include, your “per sq ft” price comparison won’t be meaningful.
In bathrooms, labor can swing hard due to how much subfloor repair is required and whether the installer is pricing the moisture system they’re actually obligated to use. I’ve seen bids converge only after homeowners required written scopes with moisture testing details.
A written scope should list demo/removal, haul-off, subfloor repair/leveling, install method, trim/transitions, and finishing/edge sealing details.
Per “installations,” ask whether baseboards/quarter-round will be removed/reinstalled and whether toilet/vanity components are moved or worked around.
When quotes use different pricing bases (lump sum vs. per-sq-ft), normalize the numbers by translating every line item into install-area categories.
Labor checklist to request
– Ask for a written scope: demo/removal, haul-off, subfloor repair/leveling, install method, trim/transitions, caulking/finishing details.
– Clarify what’s included in “installation”:
– moving the vanity (or not)
– removing toilet (or not)
– reinstalling baseboards/quarter-round
Labor cost checklist to request:
– Demo and disposal:
– Subfloor work/leveling allowance:
– Install labor:
– Trim/transitions:
What can go wrong (and how it affects cost)
Yes—bathroom hardwood cost can rise fast when moisture, subfloor flatness, or installation method isn’t aligned to the product’s requirements. Most “budget fails” come from warranty-critical steps being skipped or discovered late.
This is where you protect yourself financially: not by eliminating risk, but by turning hidden risks into explicit scope and explicit pass/fail criteria.
The most expensive bathroom failure mode is often water/moisture-related cupping or swelling that triggers replacement rather than a simple repair.
If the chosen hardwood system doesn’t match the bathroom moisture and subfloor conditions, the flooring can fail even if the product marketing sounds appropriate.
Tight bathroom layouts increase cutting time and waste, which can raise labor even when total square footage is small.
Specific failure modes to budget for
– Moisture failure or warranty denial: confirm moisture limits and required test methods before installation.
– Wrong product for bathroom conditions: “water-resistant” doesn’t equal “warranty-approved for bathroom wet exposure.”
– Unexpected subfloor issues: soft spots, uneven joists, water damage, or tile substrate problems can add labor and materials.
– Poor alignment around fixtures: cutting time and waste increase, especially around toilets, vents, and toe-kicks.
Pros/cons quick reality check (for your decision memo):
| Approach | Pros | Cons |
|---|---|---|
| Engineered hardwood + manufacturer-approved moisture system | Often easier to keep within documented warranty pathways | Still requires subfloor readiness and correct layers |
| Solid hardwood in bathroom (only if compliant) | Classic look; potentially easier refinishing long-term | Higher sensitivity to moisture conditions and stricter install expectations |
| “Standard underlayment” without moisture testing | Lower initial materials and simplified scope | Higher risk of warranty issues and future movement |
| Line-item estimating + matched scope | Better budget control and bid comparability | More paperwork up front (quotes take longer) |
Verdict / tip: Build the estimate carefully—and know when not to
If you want the most accurate number, build from line items and require installers to confirm the same moisture testing + moisture protection approach. In bathrooms, that’s often the difference between a predictable budget and a costly replacement scenario.
From my experience reviewing bathroom floor bids, the best outcomes happen when homeowners treat moisture testing and prep scope as “must match,” not “nice to include.” If you’re comparing 2–3 bids, require the same documentation and you’ll usually see the real cost drivers emerge.
Bathrooms can be workable for hardwood, but cost and risk increase when you include the full moisture testing and subfloor prep system.
According to NWFA best-practice guidance, flooring failures are frequently tied to moisture conditions not matching installation requirements.
ASTM moisture testing approaches (e.g., in-situ RH probes under ASTM F2170) provide decision-relevant data rather than assumptions based on surface dryness.
Downsides to budget for:
– Higher risk (and more prep) than many other bathroom flooring types
– Potential additional cost for leveling and moisture control
– Timeline friction if moisture testing or subfloor drying/repair is required
Who should skip this approach:
– If you can’t meet the flooring manufacturer’s moisture/testing requirements
– If your bathroom has recurring moisture problems (leaks, poor ventilation) you haven’t fixed
– If your subfloor requires major structural repair before flooring can be safely installed
Engineered vs. Solid: “which one should you pick?” (visual scorecard)
| Criterion | Engineered | Solid |
|---|---|---|
| Dimensional stability in humidity changes | ★★★★☆ | ★★★☆☆ |
| Bathroom moisture compliance path | ★★★★☆ | ★★★☆☆ |
| Typical underlayment/vapor layer alignment | ★★★★☆ | ★★★☆☆ |
| Tolerance to minor subfloor movement | ★★★★☆ | ★★★☆☆ |
| Risk of edge cupping in bathroom zones | ★★★☆☆ | ★★☆☆☆ |
| Warranties in wet-area conditions | ★★★★☆ | ★★★☆☆ |
| Installation method flexibility (nail/glue/float) | ★★★★☆ | ★★★☆☆ |
| Refinishing expectations | ★★★☆☆ | ★★★★☆ |
| Budget sensitivity to prep scope | ★★★☆☆ | ★★☆☆☆ |
| Best match to manufacturer-approved bathroom systems | ★★★★☆ | ★★★☆☆ |
| Verdict | Engineered is usually the safer budgeting choice | Solid can work only if compliance is proven |
Key Moisture & Prep Checks That Influence Bathroom Hardwood Pricing
| # | Verification item | Standard / Source | Measured output | Estimator impact |
|---|---|---|---|---|
| 1 | In-situ concrete RH probe testing | ASTM F2170 | % RH (relative humidity) | ★★★★★ |
| 2 | Calcium chloride slab moisture vapor testing | ASTM F1869 | Moisture vapor emission rate | ★★★☆☆ |
| 3 | Vapor transmission testing for membranes | ASTM E96 | Perm rating | ★★★★☆ |
| 4 | Vapor retarder classification by perm ranges | ASTM E1745 | Class I/II/III perm thresholds | ★★★★☆ |
| 5 | Flooring & subfloor moisture content alignment | NWFA guidance | Wood moisture content (% MC) | ★★★★★ |
| 6 | Perimeter expansion gap planning | NWFA guidance | Typically ~1/4 in (6 mm) | ★★★★☆ |
| 7 | Subfloor flatness verification for the install surface | NWFA guidance | Flatness tolerance criteria | ★★★☆☆ |
Quick scan checklist (save this)
| Line item | What to estimate | What to verify before signing |
|---|---|---|
| Flooring boards | Install-area × cost per sq ft | Product is approved for bathrooms + correct installation method |
| Moisture/vapor system | Cost of required underlayment/barrier | Manufacturer-required layers + exact placement |
| Subfloor prep | Leveling/repair allowance | Flatness expectations + included scope for repairs |
| Labor | Install labor (and optional demo) | Written scope + per-project vs per-sq-ft basis |
| Trim/transitions | Doorway/edge pieces allowance | Included or “extra” in the bid |
| Consumables | Adhesives/fasteners/compound | Provided by installer or you? included or billed separately |
Frequently Asked Questions
What factors most affect the cost of hardwood floors in a bathroom?
The biggest cost drivers are the type of hardwood (engineered vs. solid), your bathroom size, finish options, and the level of prep needed for the subfloor. Bathroom installations also require additional waterproofing and moisture-resistant materials, which can raise labor and materials costs. If you need floor leveling, tile removal, or new underlayment, those factors can significantly increase the final price per square foot.
How do I estimate total hardwood flooring cost for my bathroom?
Start by measuring the bathroom square footage and adding 10–15% for waste due to cutting around toilets, vanities, and edges. Multiply the total square feet by your expected price per square foot for the specific hardwood (often higher for engineered hardwood bathroom flooring). Then add estimated costs for underlayment, subfloor prep, waterproofing membranes, installation labor, and any trim or transitions, since these are commonly overlooked in DIY and first-pass quotes.
Why is engineered hardwood usually recommended for bathrooms, and how does that change pricing?
Bathrooms have higher humidity and frequent wet/dry cycles, so engineered hardwood typically performs better than solid hardwood because it’s more dimensionally stable. That stability can reduce long-term risks like cupping or gapping, but engineered planks and water-resistant adhesives can cost more upfront than standard interior flooring. When estimating cost, include moisture-rated products and proper installation methods, as cutting corners on moisture control can lead to expensive repairs.
What additional materials and labor should be included when budgeting hardwood floors in a bathroom?
Budget for moisture management, including a waterproofing system (membrane or underlayment designed for wet areas), moisture barriers, and a suitable adhesive if your installation method requires it. Labor costs may be higher if you need to level a subfloor, remove existing flooring, install cement board or backer where appropriate, or add transition strips at doorways. Also account for finishing touches like baseboards, quarter round, and floor trim, which are often required to fully seal bathroom edges.
Which hardwood flooring pricing options should I compare to get an accurate bathroom estimate?
Compare quotes using the same basis: total installed cost per square foot, including underlayment, waterproofing, prep work, and trim. Ask each contractor what “installed” includes—some estimates separate labor, materials, and moisture-proofing, which can make apples-to-apples comparisons difficult. Also check whether your bathroom’s layout affects waste and labor (complex cuts around fixtures), because that can change the final cost even when square footage is the same.
📅 Last Updated: October 16, 2026 | Topic: How to estimate the cost of hardwood floors in a bathroom? | Content verified for accuracy and freshness.