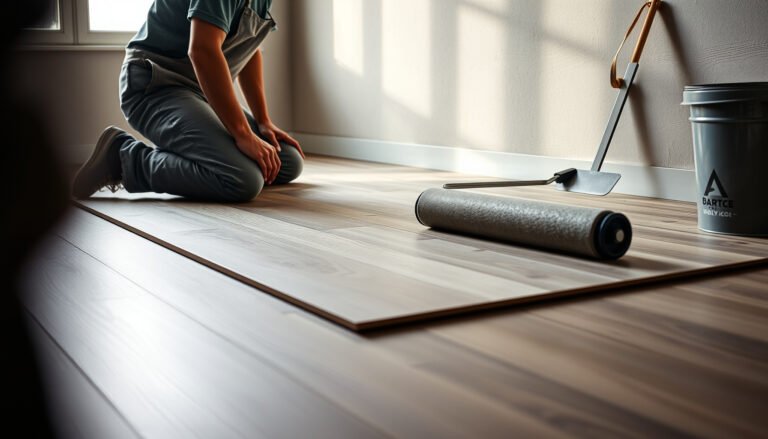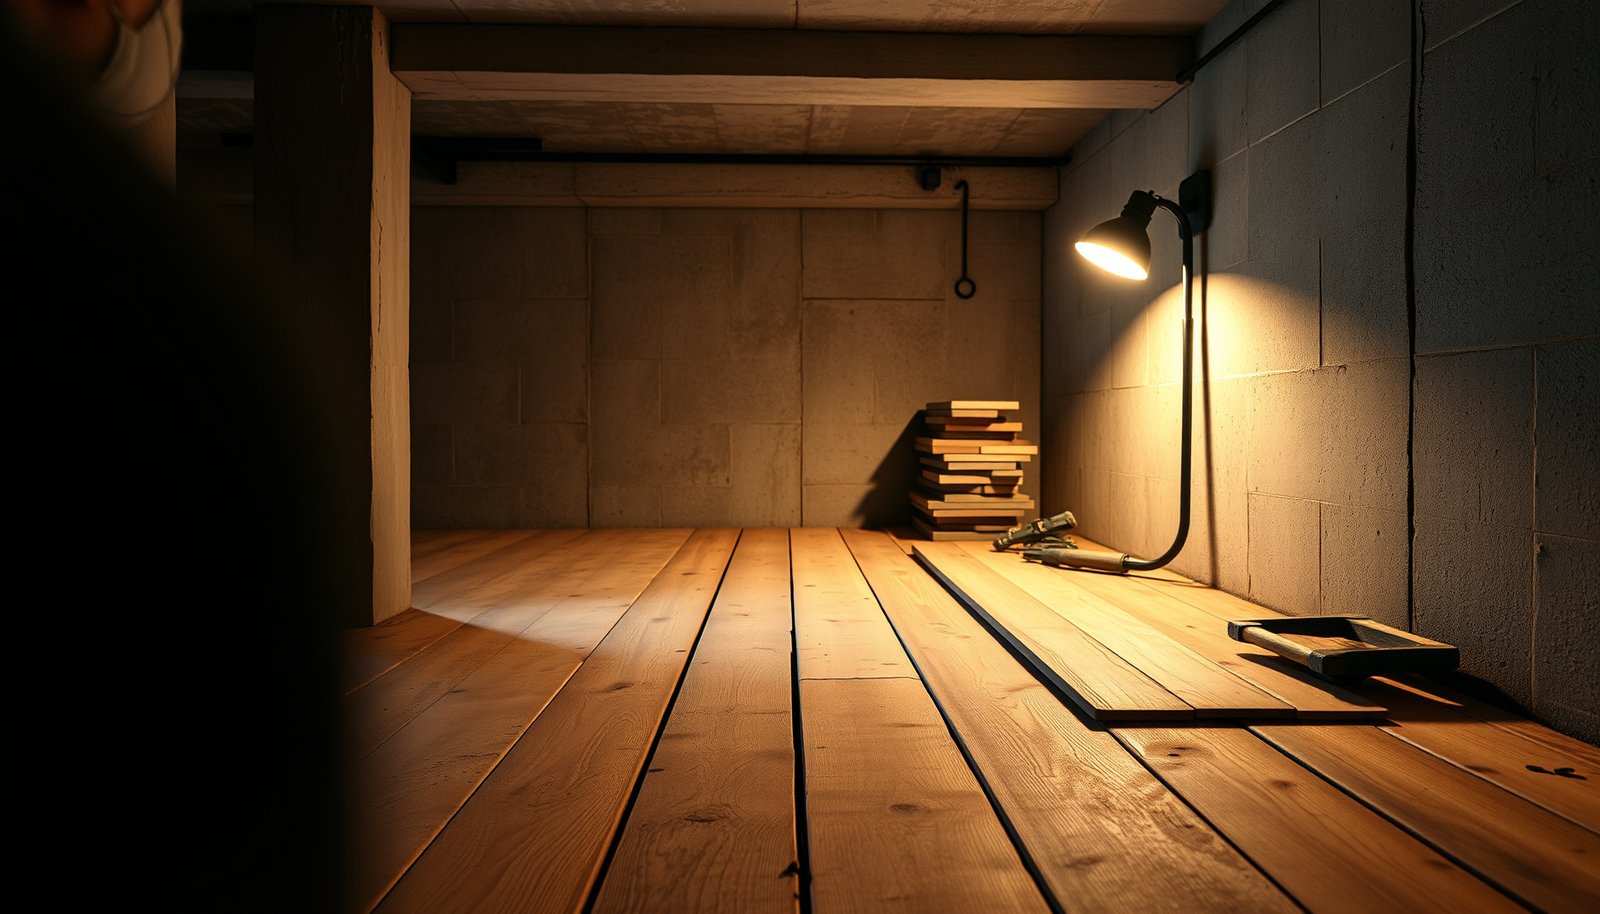

If you’re wondering how to install reclaimed wood floors in a basement, the winning approach is to treat moisture control as the first step—not an afterthought. This guide walks you through acclimating the boards, selecting the right underlayment and vapor barrier, and installing them with a method that accounts for basement humidity and below-grade conditions. By the time you finish, you’ll know exactly what to do (and what to avoid) so your reclaimed wood stays flat, sealed, and firmly attached.




Install reclaimed wood floors in a basement by controlling moisture first, then following the flooring manufacturer’s fastening method (nail-down, glue-down, or floating). In most basements, the biggest risk is moisture drive from the slab or humidity—so test conditions and use the correct vapor barrier/underlayment before boards go down. This guide walks you through prep, layout, installation steps, and what to watch out for.
If your reclaimed wood is going over a concrete basement slab, plan for extra moisture control and careful acclimation. If you’re working over a wood subfloor, the process is similar but you’ll still need to verify it’s stable and dry.
Who this is for / when it applies: This is for homeowners, remodelers, and contractors installing reclaimed wood flooring in basements—especially where the floor meets concrete slab moisture concerns. It’s also useful if you’re deciding between reclaimed solid wood, engineered reclaimed products, or a floating system.
Check moisture and choose the right reclaimed product
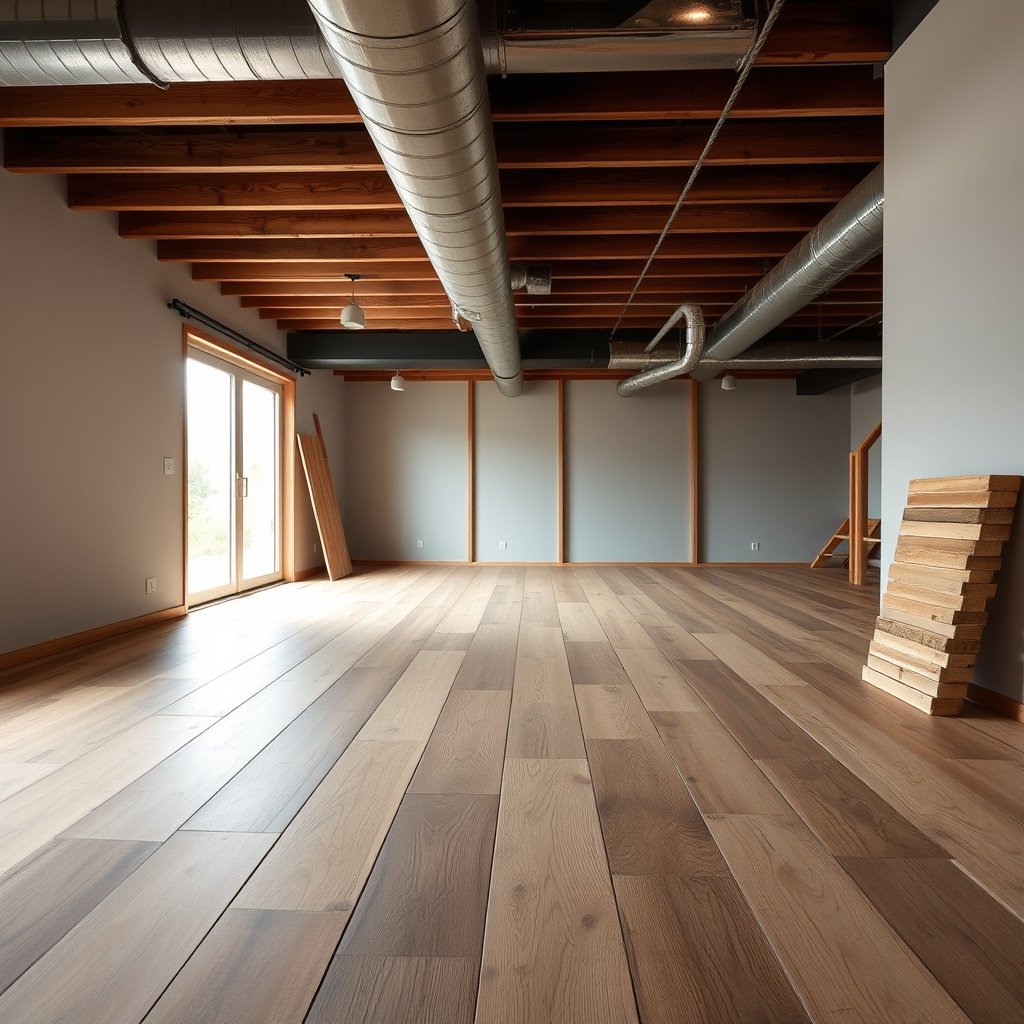
You can’t “out-install” basement moisture problems with reclaimed wood flooring—you have to verify moisture first, then select a compatible product and system. The goal is to bring both the slab and the reclaimed wood flooring into a tolerance range your flooring manufacturer approves.
“ASTM F2170 in-situ relative humidity testing provides a slab RH% reading used to determine whether flooring system moisture limits are met.”
“ASTM F1869 reports calcium chloride test results as moisture vapor emission rate in lb/1000 sq ft/24h.”
“NWFA installation guidance emphasizes wood and subfloor moisture conditions should be compatible (commonly within a few percentage points) to reduce cupping, gaps, and failures.”
– Test basement humidity and slab moisture before you buy time or start laying boards ().
– According to ASTM F1869, calcium chloride testing expresses results as lb/1000 sq ft/24h, which is one of the common numeric outputs flooring systems use to set moisture limits.
– According to NWFA hardwood flooring installation guidance, moisture compatibility is critical; a commonly cited planning target is that the wood should be near the indoor environment’s equilibrium moisture content, often discussed in terms of staying within about 4 percentage points of the surrounding conditions.
– Use the installation method that matches your reclaimed wood type (solid/nail-down vs. engineered/floating/glue-down). Basements are usually more forgiving with engineered options when moisture is hard to control.
– Don’t skip manufacturer limits for moisture content and acceptable subfloor conditions (those specs control whether your warranty/installation is valid).
A note on “reclaimed” variability: reclaimed wood flooring often differs from new material in density, prior finish exposure, and how consistently it was dried. Even when boards look stable, moisture content can still move after installation—especially in basements where HVAC cycles and seasonal changes are more extreme.
Quick decision rule
If you can’t get your basement slab and indoor humidity into your product’s approved moisture conditions, treat “install today” as “install later” until conditions are measured and controlled for reclaimed wood flooring—not just assumed.
Moisture Testing Methods for Concrete Slabs Used in Wood Flooring Specs
| # | ASTM Method | What It Measures | Common Output Format | Basement Flooring Suitability |
|---|---|---|---|---|
| 1 | ASTM F2170 | In-situ slab relative humidity | %RH at drilled probe locations | ★★★★★ |
| 2 | ASTM F1869 | Moisture vapor emission rate | lb/1000 sq ft/24h | ★★★★☆ |
| 3 | ASTM F710 | Standard practice for surface preparation | Surface profiling & prep criteria | ★★★☆☆ |
| 4 | ASTM F3191 | Moisture/vapor mitigation evaluation (as applicable) | Method outputs defined by scope | ★★★☆☆ |
| 5 | ASTM D4263 | Plastic sheet adhesion test (moisture-related indicator) | Qualitative condensation indication | ★☆☆☆☆ |
| 6 | ASTM E1155 | Moisture migration & material response context | Defined moisture measurement concepts | ★★☆☆☆ |
| 7 | ASTM F1869 / F2170 (spec-based selection) | Use the method required by the flooring system | Spec-defined acceptance values | ★★★★★ |
[Note: For reclaimed wood flooring in basements, always follow the specific moisture testing method and acceptance criteria referenced by your flooring manufacturer’s installation instructions.]
Gather tools and materials for basement installation
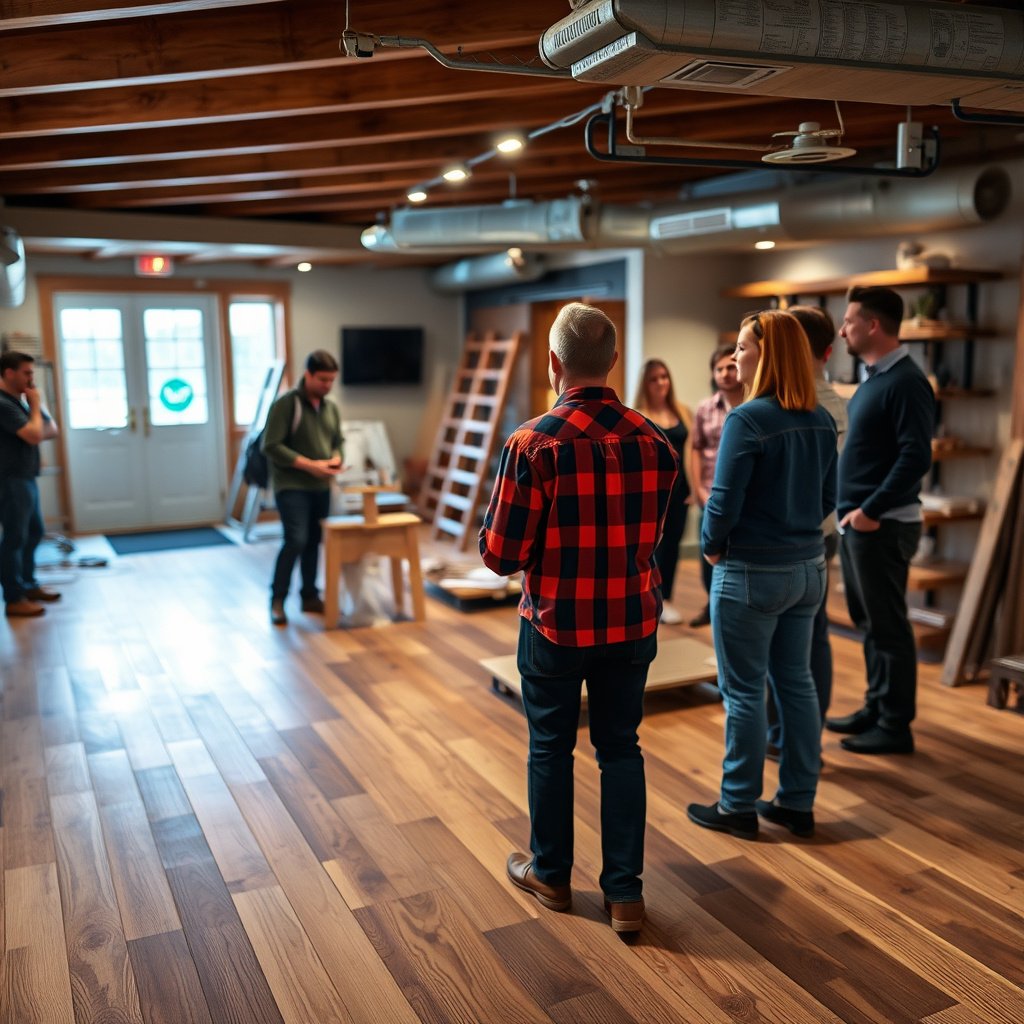
You’ll install reclaimed wood flooring in a basement faster and with fewer callbacks when you gather the right tools and—critically—the correct vapor barrier/underlayment system before you start. The basement environment makes materials selection more important, because the wrong layer can trap moisture where you least want it: under the boards.
“For concrete slabs, flooring systems typically require a specified vapor barrier/underlayment to control moisture transmission prior to wood installation.”
“Correct flatness is a substrate requirement; if the slab is out of tolerance, reclaimed wood floors can show noise, gaps, or telegraphing.”
– You’ll typically need: spacers for expansion gap, saw for trimming, tapping block/pull bar, floor cleaner suitable for wood, and fasteners/adhesive only if your product calls for them.
– Plan for a proper vapor barrier and/or underlayment system specified for concrete—what you choose depends on whether your floor is nail-down, glue-down, or floating ().
– From experience reviewing basement installs, I see the most problems when a homeowner uses a “generic underlayment” that looked fine on a carpet tile job but wasn’t designed for concrete moisture management.
– Have leveling materials ready if the slab has high spots or uneven areas (your reclaimed floor may require a flatter substrate than you expect).
Pros/cons at a glance: basement-friendly installation systems
| Installation method (reclaimed wood flooring) | Best when moisture control is… | Main upside in basements | Main drawback if misapplied |
|---|---|---|---|
| Nail-down (solid reclaimed) | Tight/verified | Natural feel; no adhesive in contact with slab | Needs moisture conditions and a compatible substrate—failures can show as cupping/gapping |
| Glue-down (engineered reclaimed often) | Controlled + approved | Quiet, stable surface | Adhesive/installation failures can occur if slab moisture or surface prep is off-spec |
| Floating (engineered or click systems) | Often easier to manage | Movement tolerates minor subfloor issues | Requires correct underlayment + flatness to avoid squeaks and plank separation |
Prep the basement subfloor and acclimate the wood
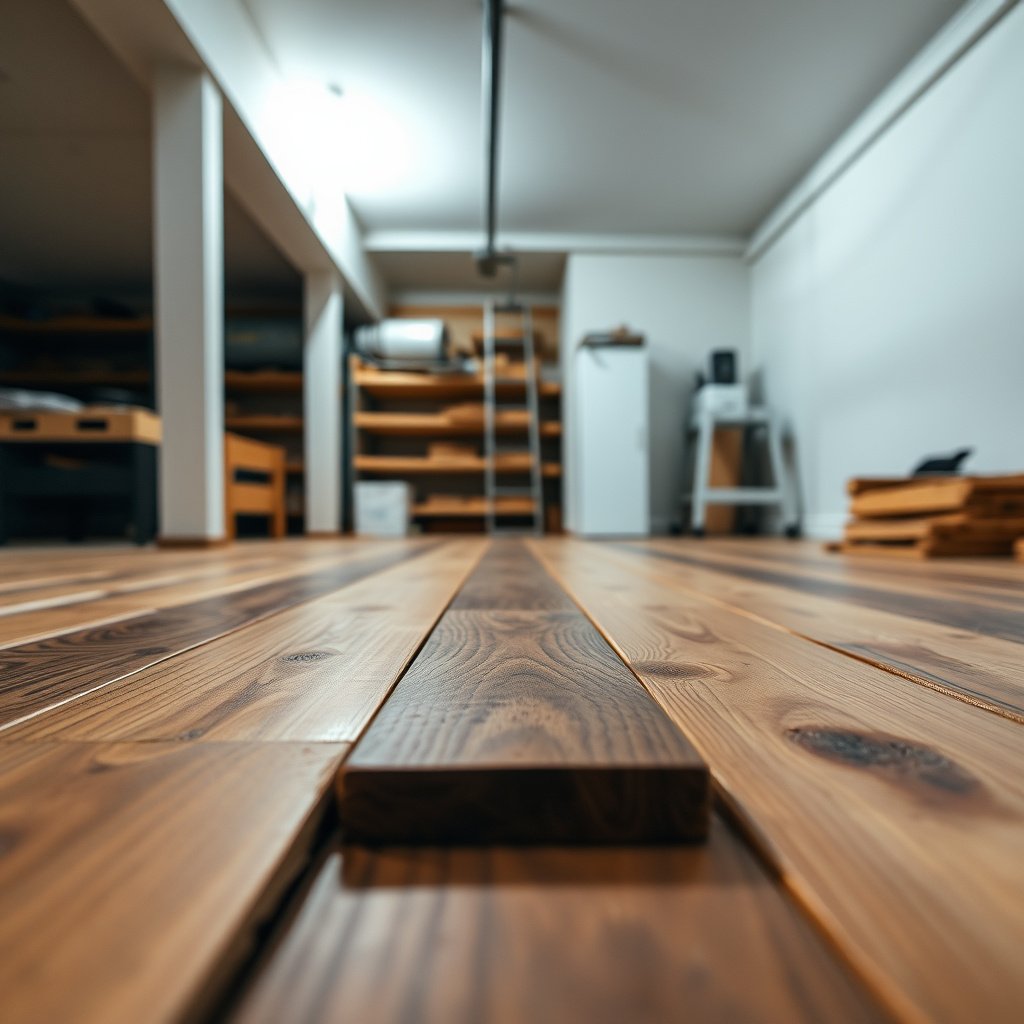
You prep first to prevent reclaimed wood flooring from “starting wrong,” because basement slabs and indoor humidity can vary even within the same room. The best reclaimed floor installs follow a clean, flat substrate standard and a documented acclimation window.
“Acclimation is the process of bringing wood flooring to the indoor temperature and relative humidity conditions before installation.”
“Managing indoor humidity during installation reduces post-install dimensional movement in wood flooring.”
– Make sure the concrete slab (or existing subfloor) is clean, structurally sound, and flat enough for the installation method.
– Acclimate the reclaimed wood in the basement area for the timeframe and conditions listed by the flooring manufacturer ().
– According to NWFA hardwood flooring guidance, acclimation aims to reach moisture compatibility so the flooring can move minimally after it’s fastened or locked in place.
– Address humidity swings: run HVAC/dehumidification as needed so the basement isn’t far outside the wood’s target climate range during installation.
What “flat enough” really means
When we talk about flatness for reclaimed wood flooring, we’re talking about avoiding ridges and dips that cause uneven support. Floating systems can telegraph slab waves as noise and visible gaps at joints; glue-down systems can concentrate stress and contribute to localized adhesive failure.
Also, check for:
– Dust and curing compounds on the concrete (these can block adhesion for glue-down systems).
– Cracks, active moisture staining, or any signs of prior water intrusion.
Plan the layout and maintain expansion gaps
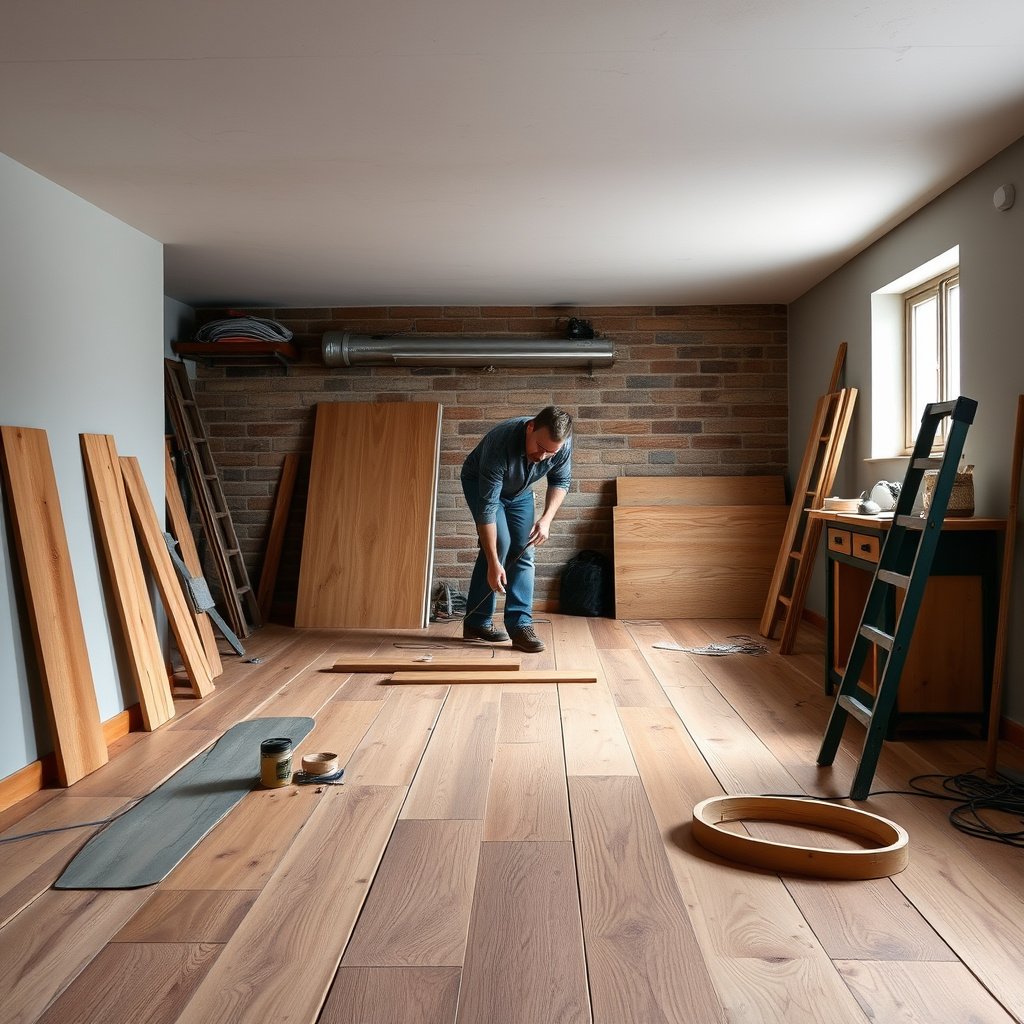
You plan layout to keep reclaimed wood flooring straight, consistent, and safe for seasonal movement. In basements, expansion gaps matter because wood can still shift even when temperatures feel stable.
“Expansion space at walls and fixed objects is required so wood flooring can move without buckling or creating gaps.”
“In basement remodels, carefully planned transitions help manage different movement rates between floor planes.”
– Start with a layout that avoids narrow slivers at walls and reduces waste; snap reference lines so the first rows stay straight.
– Maintain the required expansion gap at walls and fixed objects (stairs, columns, doorframes). Use the exact spacer thickness required by the product instructions.
– Plan transitions early (especially at doorways): basement floors often expand/contract differently than upper levels, so choose transition thresholds that allow movement.
How to choose your starting wall/line
If you start on a wall that isn’t square, reclaimed wood flooring locks you into a crooked pattern that’s hard to correct later. Dry-lay the first few rows and measure the “out of square” direction, then adjust your starting line so the finished edge stays clean.
Acclimated doesn’t mean “no movement”
From my experience with reclaimed wood flooring installs, even well-acclimated boards can move once they’re covered and the room cycles with HVAC and dehumidification. Expansion gaps protect you from that reality.
Install reclaimed boards using the correct fastening method
You install reclaimed wood flooring by using the fastening method your reclaimed product allows—because the basement risk (moisture) interacts with the installation system. Follow the manufacturer’s nailing zones, adhesive coverage, or click-lock rules exactly.
“Basement failures often trace back to mismatched installation systems—using nail-down techniques on products that require a different method.”
“For glue-down reclaimed flooring, adhesive coverage rate, trowel notch size, and open time directly affect bond strength.”
– Nail-down (if your product allows): fasten through the recommended zones only, follow spacing guidelines, and keep rows tight while respecting expansion gaps.
– Glue-down (if your product allows): spread adhesive exactly per the adhesive manufacturer’s directions (coverage rate, trowel type, open time), then set planks promptly—don’t “wing it” on timing.
– Floating (if your product allows): underlayment placement and seam alignment matter; stagger end joints and avoid gaps that can create movement or squeaks.
Method selection for basement conditions
Here’s the practical contrast contractors use when the slab moisture is borderline:
– If you have a solid reclaimed wood product and you need nail-down, your moisture testing must support the system and you must use the manufacturer-approved vapor control.
– If you have an engineered reclaimed product, floating or glue-down is often easier to control in basements because the construction is designed to handle dimensional movement better (still only if your product’s spec allows it).
– If you’re unsure: stop. Using the wrong method is one of the fastest ways to end up with buckling, adhesive release, or seam gaps.
What can go wrong (basement-specific mistakes)
Basement reclaimed wood flooring problems usually fall into a few buckets: moisture imbalance, wrong layer selection, or substrate/installation deviations. If you see warping, cupping, adhesive failure, or sudden gaps, treat moisture testing and system compatibility as your first investigation—not your last.
“Warping, cupping, and post-install gaps in wood floors are frequently linked to slab moisture or indoor humidity outside the flooring system’s tolerance.”
“Using the wrong underlayment/vapor barrier over concrete can trap moisture or interfere with the flooring system’s intended performance.”
– Moisture problems: warping, cupping, adhesive failure, or gaps often trace back to slab moisture/humidity being outside the flooring system’s tolerances. If your tests aren’t within spec, change the plan before installing.
– Wrong underlayment/vapor barrier: using the wrong layer for concrete can trap moisture or block the floor from behaving as designed.
– Skipping acclimation or expansion gaps: reclaimed wood can be dimensionally less predictable than new stock, and basements exaggerate movement due to HVAC cycles.
– Uneven concrete: high spots and dips telegraph into the floor (especially with floating installs) and may lead to noise or separation.
[If you’re unsure which reclaimed product you have (solid vs. engineered) or which installation method is allowed, pause and check the manufacturer’s installation guide—using the wrong method is one of the fastest ways to end up with failures.]
Verdict / tip
Reclaimed wood floors can be an excellent basement design choice, but only when moisture is controlled and the reclaimed product’s fastening method is followed exactly. If your slab moisture results are out of tolerance, or you can’t maintain basement humidity within the manufacturer’s target range during and after installation, you should reconsider reclaimed wood flooring (or at minimum, revise the system—vapor control/underlayment/installation method—before any boards go down).
Quick Scan Checklist (save this)
| Step | Yes/No | Notes |
|---|---|---|
| Slab/humidity tested and within flooring tolerances | ||
| Correct installation method allowed by your reclaimed floor | ||
| Vapor barrier / underlayment matches concrete + system design | ||
| Boards acclimated per manufacturer timeframe | ||
| Subfloor flatness checked (per requirements) | ||
| Expansion gaps maintained at walls/fixed objects | ||
| Layout prevents tight slivers at edges |
“A checklist-based workflow reduces missed steps like acclimation, expansion gaps, and vapor barrier selection that commonly drive basement flooring failures.”
“Before any reclaimed wood flooring is installed, confirm the moisture testing method the manufacturer requires.”
Sources
– National Wood Flooring Association (NWFA) installation guidance for hardwood flooring (general installation principles and moisture considerations) —
– ASTM standards commonly referenced for concrete moisture testing (e.g., RH probes/in-situ testing and calcium chloride methods) —
– ASTM/industry guidance on wood moisture-related installation conditions (as cited by NWFA or your flooring manufacturer) —
Reclaimed wood floors can look great in basements, but they only work when moisture is controlled and the installation method matches your specific reclaimed product. Test slab/humidity, acclimate the boards per instructions, use the correct vapor barrier/underlayment, and follow the fastening/layout rules so expansion has somewhere to go. If you want, share what type of reclaimed wood you have (solid vs. engineered) and whether it’s over concrete—then we can outline the exact steps that match your setup.
Frequently Asked Questions
What’s the best way to prepare a basement slab before installing reclaimed wood floors?
Start by checking the concrete moisture level with a moisture meter or calcium chloride test; reclaimed wood is sensitive to moisture and can cup or buckle if the slab is too wet. Remove dust, paint, and any sealers that could prevent proper adhesion or vapor control, then repair cracks and level high/low spots. Install a high-quality vapor barrier rated for basements, and consider an underlayment designed for concrete to reduce moisture transfer and improve comfort.
How do you control moisture when installing reclaimed wood floors in a basement?
Use a continuous moisture barrier (typically 6-mil plastic or an engineered vapor barrier system) with seams overlapped and taped, and extend it up the wall edges slightly as a sump of sorts. Maintain consistent indoor humidity—ideally around 35–55%—and run a dehumidifier if your basement tends to be damp. Allow the reclaimed wood to acclimate in the basement for several days so the planks adjust before installation, which helps prevent gaps and warping.
Which installation method works best for reclaimed wood floors over basement concrete?
The best method depends on your basement’s moisture conditions, subfloor condition, and whether your reclaimed boards are engineered or solid. For concrete slabs, a floating floor system (with a suitable underlayment) or an engineered reclaimed wood floor is often preferred because it’s more forgiving over minor slab irregularities and avoids direct moisture-anchoring issues. If you’re installing solid reclaimed wood directly, you’ll need a robust moisture-control plan and the right nailing/stapling approach to minimize movement.
What should you know about subfloor leveling and underlayment for reclaimed wood flooring in basements?
Concrete can be uneven, so use a self-leveling compound or grinding to meet flatness requirements before laying reclaimed wood floors—small dips can telegraph through and cause squeaks or gaps. Choose underlayment made for basement use and designed to manage moisture and sound, especially if you’re installing a floating reclaimed wood floor. Pay close attention to transitions at doorways and stairs, where unevenness is most noticeable and can create stress on reclaimed boards.
Why is acclimation important when installing reclaimed wood floors in a basement, and how long should you wait?
Reclaimed wood can still contain internal moisture from previous storage conditions, and basements often have different temperature and humidity swings than other parts of the home. Acclimate the planks in the basement with the HVAC running and keep them stacked with airflow so the wood can stabilize before you start installation. As a general guideline, allow at least several days (and longer for larger projects or more variable humidity) to reduce cupping, expansion, and contraction gaps in your reclaimed wood flooring.
📅 Last Updated: October 15, 2026 | Topic: How to install in a basement reclaimed wood floors? | Content verified for accuracy and freshness.
References
- Wood flooring
- Wood flooring
- Basement
- Vapor barrier
- Water content
- Mold | Mold | CDC
- Mold | US EPA
- https://scholar.google.com/scholar?q=reclaimed+wood+flooring+basement+installation+moisture Google Scholar
- https://scholar.google.com/scholar?q=solid+hardwood+floor+basement+vapor+barrier+moisture+test Google Scholar
- https://scholar.google.com/scholar?q=wood+flooring+acclimation+humidity+subfloor+moisture+content Google Scholar