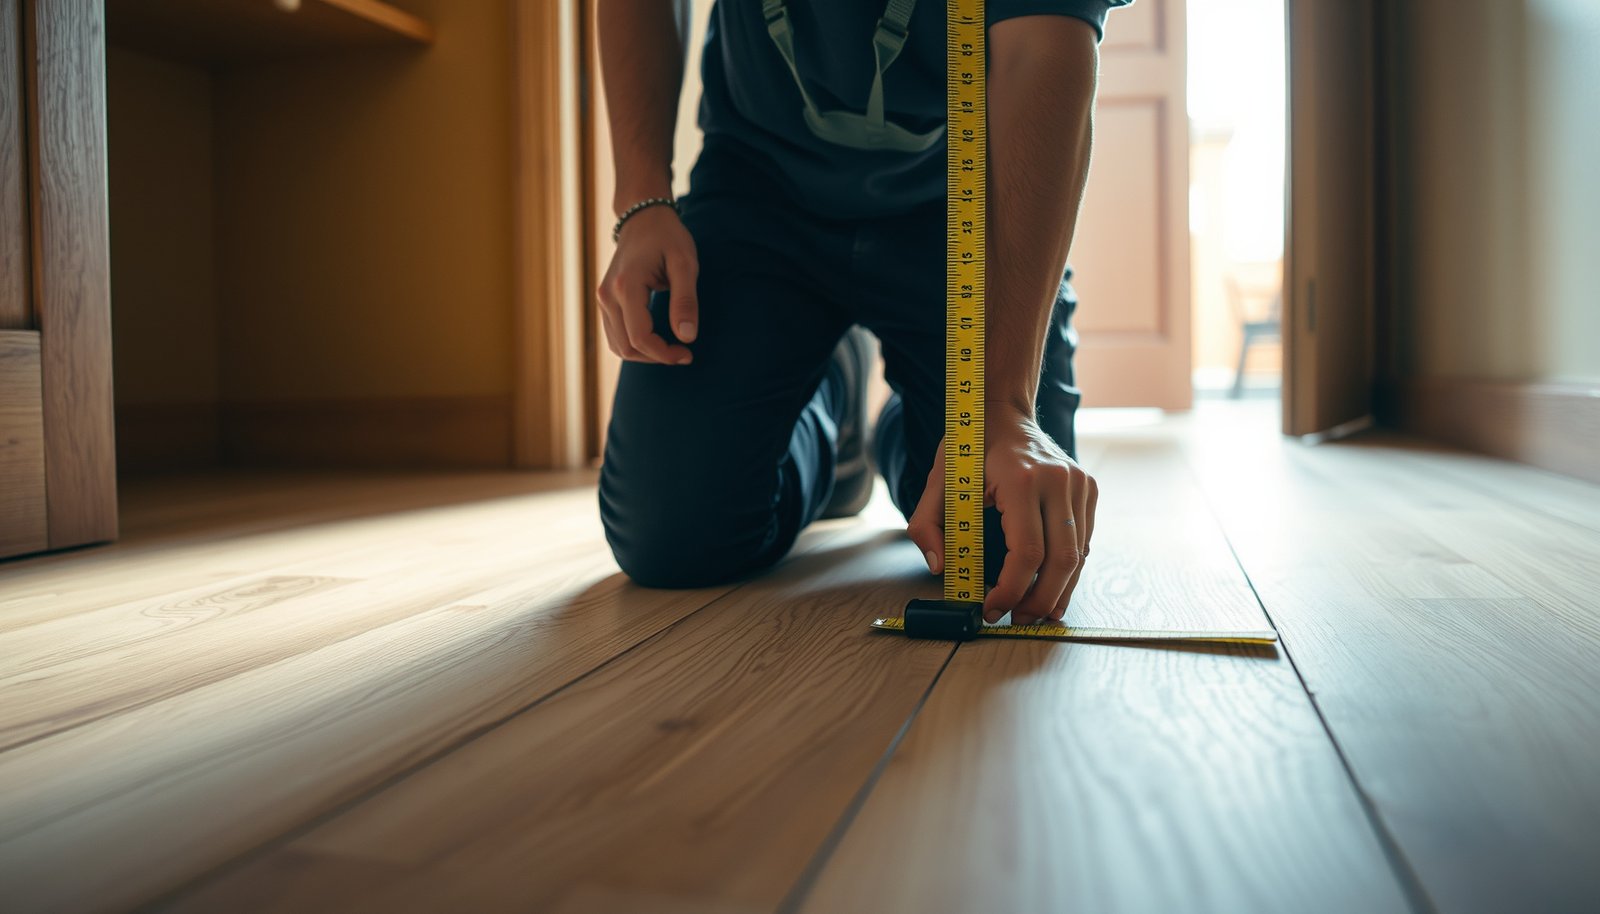

Learn how to measure engineered wood floors for a closet correctly so you get a tight fit on the first install. Follow the proven step-by-step method to take accurate closet dimensions, account for underlayment and wall offsets, and plan board layout so seams land where they should. If you want fewer cuts, less waste, and a cleaner finish, this is the measurement approach that wins.




Measure the closet floor by finding the usable inside dimensions (length × width), then add the required expansion gap and cutting waste based on your specific engineered wood instructions. If you have steps, closets with door/shelves, or an area that’s not a perfect rectangle, break the space into smaller sections and total the square footage.
This is for anyone installing engineered wood in a closet—especially if the closet isn’t a simple rectangle, has built-ins, or needs careful cuts near vents, posts, or the door area.
Measure the closet first (tools and prep)
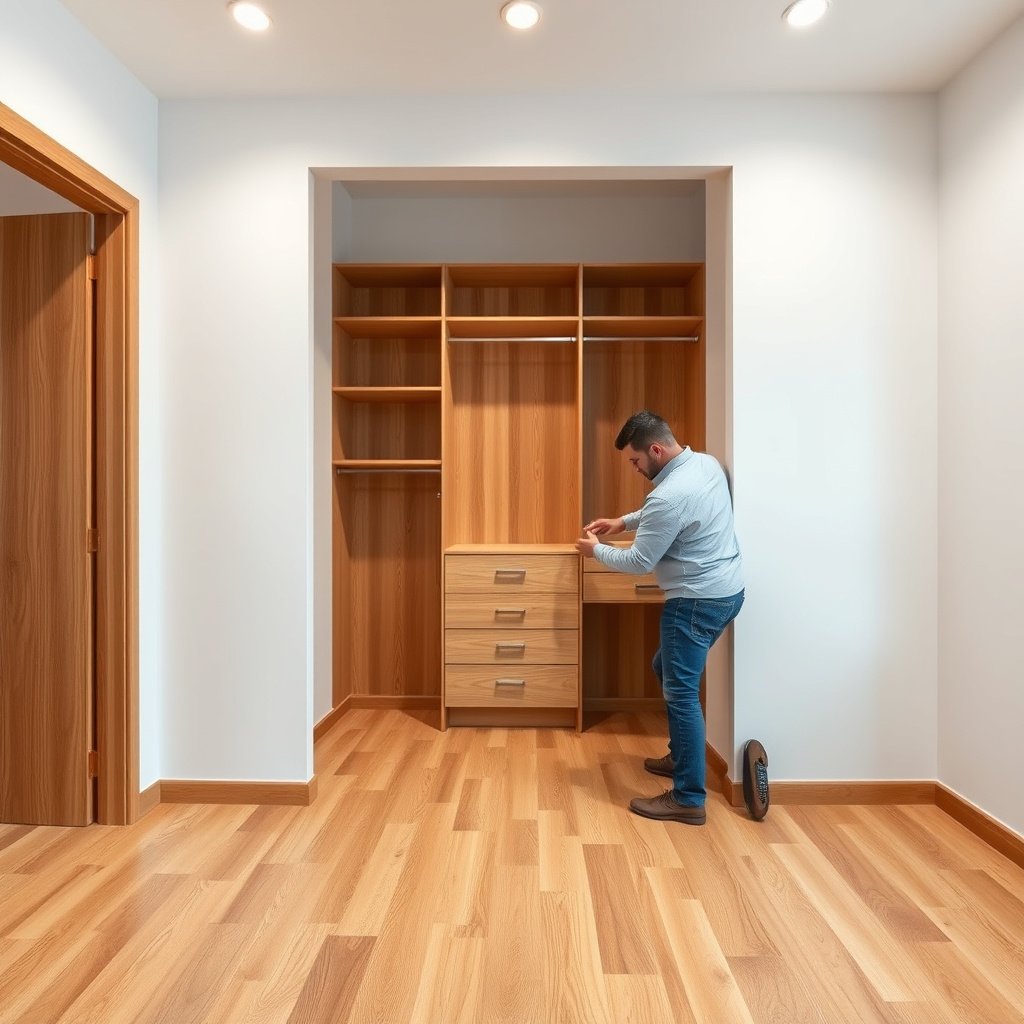
Start by clearing the closet and identifying the exact boundary your flooring will actually cover. Then document measurements on a sketch so you can calculate square footage and gaps without second-guessing later.
A reliable square-footage calculation starts with the usable install boundary, not the outer wall or trim line—because engineered wood needs controlled expansion space at the perimeter. National Wood Flooring Association (NWFA), installation guidance
When you split a closet into measurable shapes, you reduce ordering and cutting errors because each rectangle’s area is computed independently as length × width. (Area math is exact; verify boundaries on-site.)
For dimensional planning, unit conversions matter: 1 square foot equals 144 square inches (exact by definition of the inch and foot). NIST
– Clear the closet and remove anything that blocks accurate measurements (existing trim, loose baseboards, shelving, or doors that prevent access).
If the trim stays and the flooring ends against it, measure to the edge that the plank actually touches. If the trim is removed, measure to the exposed wall line you’ll install over.
– Use a tape measure (or laser measure if you’re comfortable) and note every measurement on a sketch so you don’t lose track.
Include (1) wall-to-wall distances, (2) any notch/recess dimensions, and (3) where doors or fixed shelves interrupt the plan. From experience on installation walk-throughs, sketches that show “what gets cut” prevent the most rework.
– Identify what’s changing at the floor edge (wall lines, door thresholds, transition strips, or built-in walls) before you measure.
If there’s a transition strip to an adjoining room, you’ll often need to plan the closet’s last board row differently than a full floating run with a uniform perimeter.
Measure length, width, and any recesses
Get the closest practical inside dimensions to the install boundary, then treat any recesses and irregularities as separate rectangles. This approach keeps your total accurate even when the closet has framing bumps or shallow steps.
If the closet floor area is not a perfect rectangle, calculating area by splitting into rectangles gives an exact total for cut planning. NWFA (general approach in installation planning guidance)
For quick unit sanity checks, 1 inch equals 25.4 mm exactly, which helps when your engineered wood gap spec is listed in both units. BIPM (SI definitions)
– Measure the closet length and width to the inside edges you will actually cover with flooring (not over trim you’re not removing).
“Inside edges” means the line where the board ends or begins relative to the wall—after accounting for any molding/trim that remains in place. If your flooring manufacturer requires a perimeter gap, you may measure to the wall and later subtract the gap during ordering.
– If the closet has a notch/recess, measure it as a separate rectangle (or multiple rectangles), and label each part on your sketch.
Example: A 5 ft × 6 ft main area with a 2 ft × 1 ft recessed area on one corner can be computed as Main = 30 sq ft, Recess = 2 sq ft (then subtract or add depending on whether flooring covers it). The key is labeling “covered” vs “excluded.”
– If there are uneven walls, take measurements at both ends (and in the middle if needed) and use the closest practical coverage area you’ll install over.
Closets often aren’t perfectly square. As a practical method, measure three points (left edge, center, right edge) and plan your boards so the final coverage matches the install plan you’ll actually cut—not the idealized drawing.
Account for closets features (door swing, vents, posts)
Plan for obstructions early—vents, pipes, posts, shelves, and door swing arcs determine where boards stop, slide under, or get trimmed. Once these “interruptions” are mapped, square footage becomes a clean add/subtract exercise instead of a guessing game.
Engineered wood still relies on perimeter movement, so many installation plans require intentional clearance around fixed elements rather than forcing boards to lock tight to walls or frames. NWFA installation guidance
If a closet door swings onto the finished floor, you must verify clearance at the *finished height* (subfloor + underlayment, if used + engineered wood), because thresholds and gaps can change the door’s travel. Engineered wood manufacturer installation instructions (follow your product)
– Plan for obstructions: vents, pipes, support posts, and built-ins—measure how they interrupt the floor area so you can subtract those cuts.
Measure each obstruction’s footprint on the floor plane. For cut planning, also note clearance distances: for example, how much space remains between an obstruction and where the end joint or board edge will fall.
– If your closet door swings onto the floor area, measure where the door will land at the finished floor height (especially if the flooring plus underlayment changes clearance).
Doors can rub on newly installed flooring, especially if underlayment thickness changes the threshold height. If you need to undercut jambs or shave a door sweep, plan that before ordering so your final clearance is predictable.
– For any fixed items you’re not moving, measure around them and note where boards will need to stop, slide under, or be trimmed.
Typical scenarios include: (1) undercutting door jambs (for consistent plank fit), (2) trimming around a vent register (often with a routed opening or cut-to-fit area), and (3) stopping boards short of posts so you can frame trim/cover details cleanly.
Comparison: How you’ll handle obstructions (what’s usually fastest)
| Obstruction type | Best-fit approach | Why it works |
|---|---|---|
| Fixed wall-backed shelves | Cut boards around shelf footprint (often subtract excluded area) | Keeps expansion behavior consistent at the perimeter of the excluded region |
| Door jamb / casing | Undercut to slide planks under (where allowed) | Produces tighter seams and avoids visible gaps under trim |
| Vent registers | Cut-to-fit around opening; verify clearance plan | Prevents pinching airflow and avoids awkward board failures near heat sources |
| Support posts / columns | Treat as excluded cutout or border framing zone | Stops boards cleanly so you can finish transitions without compressing movement gaps |
Calculate square footage and order amount
Calculate your usable floor area first, then subtract excluded spaces (if your plan truly won’t cover them), and finally apply the waste/cutting allowance required by your engineered wood’s installation instructions. This sequence is what prevents shortages and avoids over-ordering.
Total area planning often follows a strict add/subtract order: compute covered rectangles, subtract excluded cutouts, then apply waste allowance recommended by the flooring manufacturer. NWFA (planning principles)
1 square foot is exactly 144 square inches, so any inch-based measurements can be converted precisely when you compute area. NIST
For SI conversions, 1 in = 25.4 mm exactly, which is helpful when your engineered wood gap guidance is listed in both inches and millimeters. BIPM (SI definitions)
– Add square footage for the main rectangle(s), then subtract the area of items you’ll not cover (if applicable to your installation approach).
If you’re cutting planks to fit around a vent but still covering the surrounding floor, you usually don’t subtract the “vent area” as excluded square footage—rather, you account for the cut pattern inside your ordering waste plan. If your plan excludes an entire built-in footprint, subtract that region.
– Convert to ordering needs by adding the waste/cutting factor recommended by your engineered wood manufacturer.
Waste factors vary by product and layout complexity. If you don’t have the manufacturer’s number yet, pause ordering—ordering without the documented waste allowance is one of the most common planning failures in closets.
– Keep a running total on your sketch (Section A, B, C), so you can confirm your math before you buy or start cutting.
A simple habit: write each subtotal directly next to the section on your sketch. When you’re staring at materials in your garage, it’s much easier to trust the numbers you already wrote down than recalculate under time pressure.
Closet Flooring Ordering Math (Illustrative waste planning, not manufacturer specs)
| # | Closet footprint (ft) | Needed area (sq ft) | Assumed waste | Ordered total (sq ft) | Utilization (higher = better) |
|---|---|---|---|---|---|
| 1 | 4 × 3 | 12.0 | 5% | 12.6 | 95.2% ★★★★★ |
| 2 | 5 × 4 | 20.0 | 8% | 21.6 | 92.6% ★★★★★ |
| 3 | 6 × 4 | 24.0 | 10% | 26.4 | 90.9% ★★★★☆ |
| 4 | 5 × 6 | 30.0 | 12% | 33.6 | 89.3% ★★★★☆ |
| 5 | 7 × 4 | 28.0 | 15% | 32.2 | 86.9% ★★★☆☆ |
| 6 | 6 × 6 | 36.0 | 18% | 42.5 | 84.7% ★★★☆☆ |
| 7 | 8 × 4 | 32.0 | 20% | 38.4 | 83.3% ★★☆☆☆ |
Note: This table uses illustrative waste percentages to show how utilization changes; use your engineered wood product’s specified waste/cutting allowance instead of these examples.
Plan seams, board direction, and transitions
Decide seam layout and board direction before you cut, because closets amplify the impact of end joints near door areas and built-ins. Plan where transitions and perimeter gaps land so the final row fits cleanly without squeezing for “tight looks.”
Even in a closet, engineered wood installation still uses a perimeter expansion concept, so the final board row should respect the manufacturer’s abutment/gap guidance at every boundary. NWFA installation guidance
When you align boards, you’re planning where plank end joints land; this reduces small unusable slivers near closet openings and helps maintain a consistent visual rhythm. NWFA (layout planning principles)
– Decide board direction before you start: in closets, many people align boards to visually follow the longest run, but follow your installation method and layout rules.
If you’re using a floating installation, you typically want board runs that avoid awkward narrow cut ends at the door side. If you’re nailing/stapling (per your product instructions), your seam plan still matters for board stability and appearance.
– Plan where end joints will land—especially near closet openings or transitions—so you avoid unusable slivers.
Use your sketch to mark potential end-joint positions and confirm each resulting cut width is feasible with your plank dimensions. If an end joint lands where it creates a narrow “starter” or “closer” piece, revise board direction or shift the layout.
– Confirm what to use at the closet boundary: expansion gap requirements and transitions/threshold details should follow the flooring manufacturer’s installation instructions.
Closets often connect to hallways with thresholds. The wrong transition detail can hide a gap incorrectly—or worse, eliminate the designed movement space.
Pros/cons: Choosing board direction in closets
| Option | Pros | Cons |
|---|---|---|
| Run boards along the closet length | Often reduces awkward cuts near doors if the door opening is at the short end | Can push more end joints toward built-ins unless you plan the first row carefully |
| Run boards across the closet width | May create more even plank widths at the door boundary | End joints may land closer to the hallway/threshold zone, where appearance and clearance are more noticeable |
What can go wrong (and how to avoid rework)
The biggest problems come from skipping the required expansion gap, measuring the wrong edges, and assuming a closet is one rectangle when it isn’t. If you prevent those three issues, most closet installs stay on track.
Leaving no (or incorrect) perimeter expansion space can prevent engineered wood from moving with seasonal changes, which increases the risk of buckling or gapping. NWFA installation guidance
Unit accuracy prevents downstream math mistakes: for example, 1/4 inch equals 6.35 mm when converted exactly (0.25 × 25.4). BIPM (SI definitions)
– Forgetting the expansion gap: If you measure to the wall with no gap, engineered wood can fail to move properly. Always follow the manufacturer’s required perimeter gap.
Practical safeguard: mark the gap on your sketch and include it consistently at every wall boundary, not just the longest side.
– Measuring trim instead of install area: If you measure over baseboards/trim that stays, you may order too much or cut incorrectly. Measure to the actual coverage area.
Another safeguard: confirm whether the manufacturer assumes the trim is removed for the flooring to slide underneath or if it expects a transition/finishing trim detail.
– Assuming it’s one rectangle: Many closets have slight notches or framing differences. If the space isn’t a rectangle, breaking it into sections prevents major ordering mistakes.
A closet with a shallow step or a framing bump can look “close enough” until you calculate the square footage—then the error becomes noticeable in both plank count and waste allowance.
– Ignoring underlayment/height changes: If your installation changes floor height, door clearance and thresholds can become a problem—verify before locking anything down.
Since underlayment thickness can vary by product and whether your engineered wood has attached padding, verify door clearance early (before the floor is installed). As of 2026, manufacturers still emphasize following their specific assembly stack height for clearance and transitions.
Quick checklist + scan table
Use a sketch-and-check workflow: measure, split shapes if needed, compute area, apply the correct gap/waste rules, and verify door clearance at finished height. This is the fastest way to catch math errors before ordering or cutting.
A labeled sketch (e.g., Section A/B/C) is a proven planning control because it keeps add/subtract operations visible and reduces transcription mistakes. NWFA (planning clarity principles)
Verify door clearance at finished floor height because even small underlayment thickness differences can cause door rub or latch interference. Engineered wood manufacturer installation instructions (follow your product)
– Sketch the closet (label sections A, B, C)
– Measure inside length/width for each section
– Subtract excluded areas (if your plan won’t cover them)
– Add manufacturer-required waste factor
– Mark where expansion gaps and transitions will go
– Double-check door clearance at finished height
Scan table (fill in your numbers):
| Closet Section | Length (in/ft) | Width (in/ft) | Sq. Ft. (L×W) | Notes (obstructions/notches) |
|---|---|---|---|---|
| A | ||||
| B | ||||
| C | ||||
| Subtotal (A+B+C) | ||||
| Subtract excluded area | − | |||
| Waste factor (per manufacturer) | + | |||
| **Order total sq. ft.** | **** |
Frequently Asked Questions
What is the best way to measure engineered wood flooring for a closet?
Start by measuring the closet floor length and width at the widest points, then record the smallest usable dimensions if the walls aren’t perfectly square. Measure any built-in features like shelving, closets rods, baseboards, or posts so you can note where cuts and clearances are needed. Add a realistic waste factor (usually 5–10%) to cover trimming around corners and door jambs when you calculate engineered wood floors coverage.
How do I calculate square footage for engineered wood floors in a closet?
Multiply the closet floor’s measured length by its width to get total square footage, then subtract the area of any permanently built obstacles that will not be covered. Next, confirm the coverage per box for your specific engineered wood product (often listed on the packaging) and divide your adjusted square footage by that coverage number. Add 5–10% extra to your final quantity to account for angled cuts and fitting around the closet opening.
Which measurements do I need if the closet has a door jamb, baseboard, or irregular walls?
Measure the floor in multiple sections—at the front, back, and center—especially if the closet walls are uneven or the corners aren’t 90 degrees. Measure the door opening and any clearance requirements under the door casing so you know how far the engineered wood flooring can extend. If you plan to keep or remove baseboards, note the height and thickness so your underlayment and expansion gap placement remain correct.
How do I measure expansion gaps for engineered wood floors in a closet?
Engineered wood floors typically require an expansion gap around the perimeter, including the walls and any fixed vertical surfaces in the closet. Measure and plan for the gap width (commonly around 1/4 inch, but follow your manufacturer’s instructions) so the boards can float and move with humidity changes. When you measure, confirm that the gap is maintained at all sides, including around door jambs and built-ins, rather than only on the long walls.
Why should I measure closet corners and transitions before cutting engineered wood planks?
Closets often have tight turns, tricky corners, and narrow widths that make small measurement errors more noticeable in engineered wood plank layout. By checking corner angles and measuring transitions at the entry or where flooring meets tile or hardwood, you can plan the plank direction and avoid unusable slivers. Pre-measuring also helps you choose where to cut joints and ensures your engineered wood floors look clean and consistent once installed.
📅 Last Updated: October 19, 2026 | Topic: How to measure a engineered wood floors for closet? | Content verified for accuracy and freshness.
References
- Area
- Square foot
- Floor area
- Flooring
- Engineered wood
- Wood flooring
- Floor
- https://scholar.google.com/scholar?q=how+to+measure+engineered+wood+flooring+square+footage+closet Google Scholar
- https://scholar.google.com/scholar?q=engineered+hardwood+floor+installation+measurement+layout+waste+factor Google Scholar
- https://scholar.google.com/scholar?q=how+to+measure+room+for+flooring+irregular+shape+square+feet Google Scholar