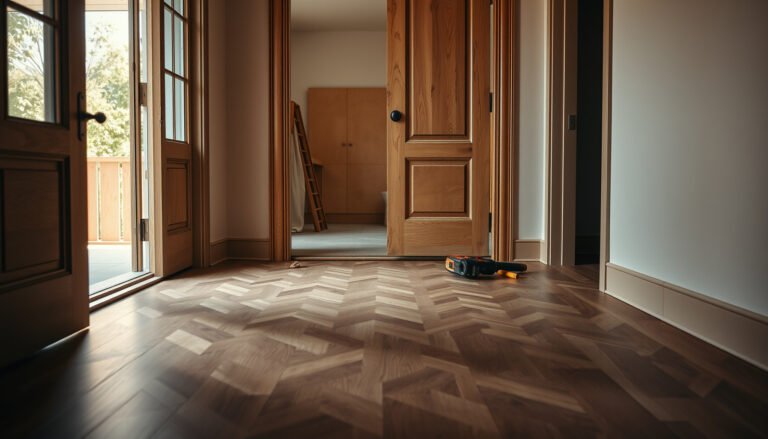

Want to know how to cut herringbone floors without mistakes? Follow this step-by-step guide for precise, repeatable cuts—straight, angled, and tricky end pieces—so every plank locks cleanly into the pattern. You’ll see the exact tools to use, how to measure from the centerline, and the fastest way to plan cuts before you ever touch the saw.




Cutting herringbone floors is mostly about planning a predictable layout first, then making the exact same angle cuts for every “arm” of the pattern. If you dry-fit, label left/right pieces, and keep your saw’s miter/angle setup locked, you can avoid the most common alignment and chipping problems.
If you’re installing herringbone with wood, laminate, LVP, or engineered planks, the approach is similar: plan the pattern so cuts land where you want them, choose the right saw/blade, and keep the angle setup consistent across the whole job.
Before You Cut: Tools, Blade, and Safety

The fastest way to get clean herringbone cuts is to match the saw and blade to your flooring type before you make the first production cut. Then protect yourself—angled cutting creates dust, noise, and more kickback risk than many people expect.
According to OSHA, hearing protection is required when noise exposure exceeds 90 dBA over an 8-hour time-weighted average (TWA), and the action level starts at 85 dBA.
According to the U.S. Centers for Disease Control and Prevention (CDC), fine wood/dust particles can irritate lungs, so controlling dust with proper ventilation or dust extraction is a key shop safety step.
Choose the right saw for the cut geometry
For herringbone floors, you typically need both:
– Accurate miter/angle cuts (the “arms” of the herringbone)
– Straight cuts (plank length ends, borders, and starter/finisher pieces)
Common setups:
– Miter saw (best for repeated angled cuts)
– Table saw or track saw (best for straight cuts when you need a long, true edge)
– Circular saw with a guide (workable when space limits full-size tools, but you must control the guide tightly)
Where herringbone differs: even if your room is slightly out of square, the herringbone look can stay consistent only if your angled cuts are repeatable and your reference lines are correct from the start.
Use a blade designed for your material (to reduce chipping)
A blade that’s “close enough” can still produce edge tear-out in herringbone because angled cuts expose more fiber edge and thin layers. In practice, choose a blade specified for:
– Laminate / engineered: fine-tooth carbide blades are commonly used for a cleaner face
– Solid hardwood: carbide-rated blades help keep edges crisp and reduce burn marks
Blade orientation matters too. Many installers cut with the finished face up for laminate/LVP to reduce visible chipping—however, follow your flooring manufacturer’s blade/orientation guidance because not all products behave the same.
Safety and dust control for herringbone flooring cutting
Dust control is not optional for many indoor installs. A few practical steps that reduce mess and improve cut accuracy:
– Use a dust extractor/HEPA vacuum connected to your saw when possible
– Wear eye protection and respiratory protection appropriate for the dust type (especially for engineered wood with coatings)
– Keep hands out of the blade path by using clamps and consistent plank support
From my standpoint, the best “safety upgrade” for herringbone cutting is also a quality upgrade: stable workholding reduces micro-movement, which otherwise shows up as tiny gaps down the pattern.
Plan the Herringbone Layout (So Cuts Are Predictable)

If you want predictable herringbone cuts, you start by choosing a center/reference line and mapping where every joint must land. Then you decide how the first row will be handled so the pattern stays balanced—especially when you hit a doorway, cabinet toe-kick, or fireplace.
According to NWFA guidance, wood flooring performance depends on controlling the installation environment so the product can acclimate and expand/contract as designed.
According to NWFA, maintaining indoor relative humidity in a moderate band (commonly cited as about 30%–50%) supports dimensional stability for many wood floors.
Pick your room reference lines before you cut anything
A “great” herringbone pattern can still fail if you measure from the wrong baseline. Use:
– A centerline (room center or a marked “control” axis)
– Reference lines for each side so row-to-row measurements don’t drift
In herringbone flooring work, measurement drift is the silent enemy. A previous off-by-a-few-millimeters piece can accumulate into visible misalignment across the run.
Decide how you’ll handle the first row
Your first row often determines whether later cuts feel “easy” or “fiddly.” Two common strategies:
– Start with a full plank near the control line and let the far side absorb the trim cuts
– Balance the pattern by making partial-cut adjustments at both ends so the “V” lines visually center
For herringbone floors, balancing is often worth the extra planning because it keeps the pattern symmetrical when you stand back from the room.
Dry-fit a small segment to verify the math
Before committing to full-length herringbone cuts, dry-fit a short section (for example, 2–3 rows) using scrap pieces:
– Confirm the herringbone “locks” without forcing joints
– Verify left/right orientation (many systems have tongue-and-groove or click profiles that behave differently by side)
I recommend treating this like a Plan–Do–Check–Act (PDCA) loop: plan the layout, do a small test, check alignment, and only then scale up to production cuts.
Set Up Your Saw for Consistent Herringbone Angles
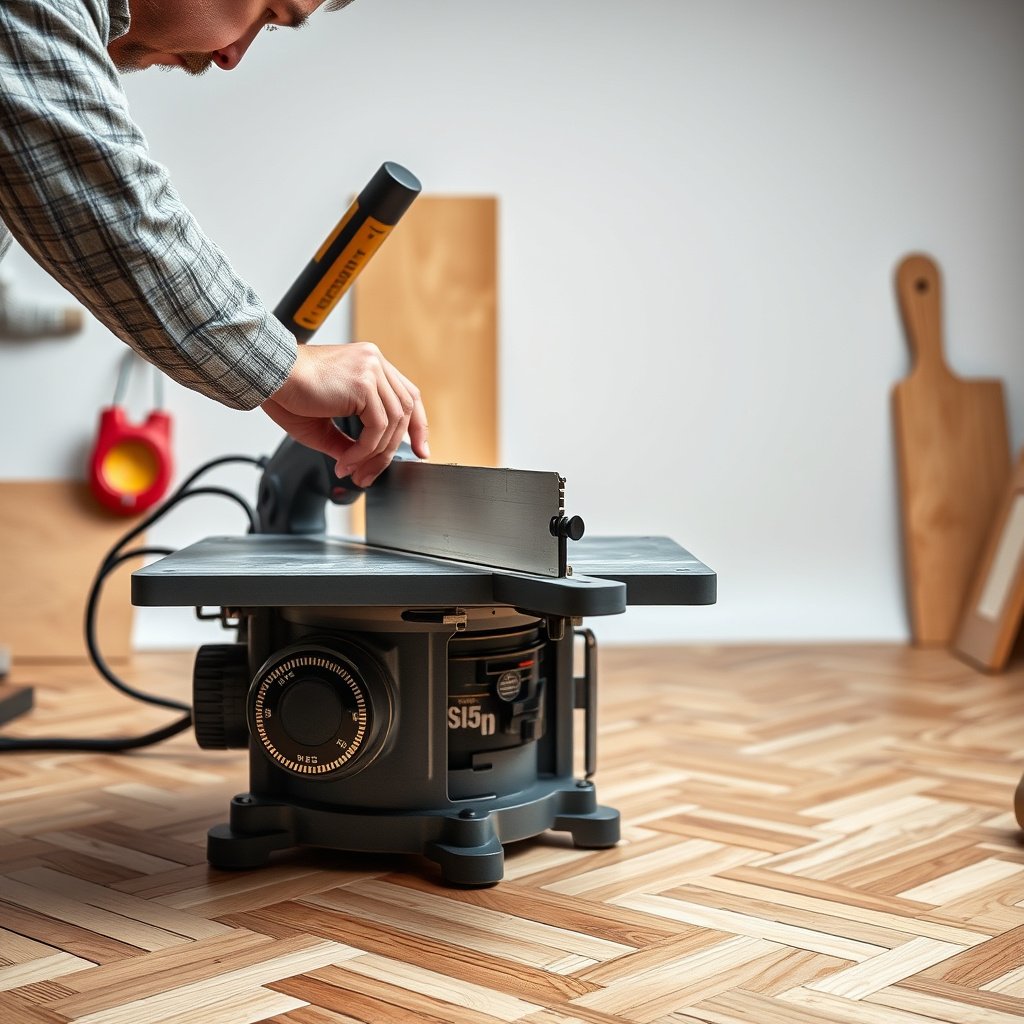
Consistent herringbone floors require consistent angle setup—once the saw is dialed in, don’t “fine adjust” mid-job. Your goal is a pattern that assembles with minimal persuasion, no gaps, and no visible mismatch at the angled seams.
According to common manufacturer installation guidance, you should follow the specified cutting angles for the plank geometry and confirm fit using test cuts before production installs.
According to OSHA workplace safety expectations, blade guards and proper work support reduce the risk of kickback and miscuts during repetitive cutting.
Confirm the required herringbone angle from your flooring system
Many classic herringbone looks align with a 45°-style mitter concept, but it’s not universal. The correct angle depends on:
– plank width and click/profile geometry
– manufacturer’s recommended herringbone configuration
Always start with the manufacturer’s diagram/spec—then back it up with scrap tests.
Test-cut and lock settings (don’t re-adjust after)
A practical repeatability workflow:
1. Cut 2–3 sample pieces using your initial angle
2. Assemble them into a small herringbone “corner” or “V” section
3. Adjust only if needed, then lock the miter/table angle settings
4. Mark the setup (even with a piece of tape and a pen note) so you can verify nothing shifted later
Consistency beats precision here. If you keep changing the angle by tiny amounts, your herringbone lines will “walk.”
Saw choice comparison (when straight cuts matter)
| Saw option | Best for herringbone | Pros | Cons |
|---|---|---|---|
| Miter saw | angled arms | fast, repeatable miter cuts | less ideal for long straight plank edges |
| Table saw | long straight cuts | very straight length cuts | angled cuts require careful setup/jigs |
| Track saw | long straight cuts | guides for straight edges without a table | angled miter work still needs guide/jig discipline |
Cut Common Pieces (Full Planks, Ends, and Corners)

To cut herringbone floors efficiently, you should categorize pieces and measure from the layout reference lines—not from the last installed piece. When you cut the same kind of part the same way, your pattern stays aligned even as the room gets complicated.
According to NWFA installation principles, many hardwood-related failures come from skipping required acclimation and dimensional allowances, which begins with correct measurements and controlled cutting.
According to general woodshop practice used in finish carpentry, measuring from a fixed control line prevents cumulative error when installation drift occurs.
Full planks: cut only when the “break lines” are known
For herringbone floors, don’t assume you can “finish the run” with whatever scraps remain. Instead:
– Wait until your layout marks tell you where the pattern break/joints occur
– Keep strict left/right orientation tracking
End cuts: measure from the control lines each row
Measure end pieces from your reference/control lines:
– Measuring from the “last piece” can transfer installation drift into the next row
– Even small alignment errors compound visually in herringbone
If you’ve had to adjust a row slightly during install, treat that row as “contained,” and return to reference lines for the next measurement.
Corner pieces: dry-fit before glue/spread
Corners require careful geometry because:
– the angled seams must hit the correct spot
– baseboards, trim, and expansion gaps still need space
Mark the corner geometry on the plank, cut using your verified angle setup, then dry-fit the corner piece before committing to adhesive or locking steps (depending on your flooring system).
Dry-Fit, Number, and Install Without Pattern Drift
Installing herringbone floors works best when you treat assembly like a controlled layout build rather than a “row-by-row guess.” Dry-fit in sections, label every piece, and keep expansion gaps intact so the herringbone pattern stays true over time.
According to NWFA guidance, you must allow for expansion so flooring can move with seasonal humidity changes without buckling or joint failure.
According to manufacturer installation instructions, perimeter expansion gaps and proper transitions are required even when joints look tight during initial installation.
Dry-fit in manageable sections
Instead of building 10+ rows blind, assemble a smaller block:
– For example, a few rows at a time (exact size depends on room layout complexity)
– Check alignment at seams and at the pattern “V” points
When you catch a mismatch early, you can correct your placement before it becomes an end-of-room problem.
Number left/right pieces to avoid profile reversal
Herringbone floors are unforgiving about orientation:
– Pieces often look similar, but their profile direction (left vs right) changes how they lock
– Numbering reduces the risk of swapping sides mid-install
A labeling system that works in practice:
– Row number + left/right + piece letter (e.g., “R3-L-A”)
Maintain expansion gaps—even with tight herringbone cuts
The “perfect fit” is not the goal; the correct fit is. Expansion requirements vary by product, but the principle is consistent:
– Follow the flooring manufacturer’s perimeter gap spec
– Use spacers where appropriate
– Plan transitions around posts, cabinets, and hearths
From my experience with comparable flooring layouts, the most painful rework happens when expansion gaps were accidentally eliminated during a “looks tight” moment. If you’re unsure, measure and verify against the manufacturer sheet before installing the last row at a wall.
What Can Go Wrong (And How to Avoid It)
Most herringbone failures come from one of four sources: wrong angle setup, chipping, measurement drift, or ignoring expansion. If you spot these early—especially during your scrap test—you can prevent major rework.
According to OSHA, improper tool guarding and unstable work support contribute to blade contact and kickback risks, which can also cause miscuts during repetitive angled cutting.
According to wood flooring installation guidance such as NWFA recommendations, dimensional movement is real and must be planned for even when the pattern appears visually tight on day one.
Angle mismatch
If the herringbone arms don’t meet cleanly:
– re-check the miter/angle
– verify blade height and the cut path
– confirm the plank’s geometry matches the assumed angle strategy
Chipping on the face
To reduce visible damage:
– use the recommended blade for the material
– consider painters tape on the cut line (especially for laminate)
– support the work so the plank doesn’t flex during the cut
If you see consistent chipping on herringbone floors, stop and re-test blade orientation and feed speed.
Wrong measurement reference
If the pattern “walks” out of alignment:
– you likely measured from the last installed piece (or a slightly crooked edge)
– return to your control/reference lines and re-check row spacing
Forgetting expansion gaps
Even a flawless herringbone pattern can fail later:
– tight perimeter contact can buckle or separate joints as the floor moves
– transitions near thresholds and fixtures need their own clearances
Mixing plank batches
If multiple cartons were purchased:
– ensure the product’s lot/finish matches
– minor variation can affect perceived gap tightness in an angled pattern
Verdict / Tip (When This DIY Approach Works—and When to Skip)
Cutting herringbone floors step-by-step is a workable DIY process if you’re methodical about layout, scrap testing, and labeling. The downside is rework cost: one incorrect angle or one mis-measurement baseline can waste significant material.
Skip DIY (or hire help for cutting) if:
– your manufacturer requires a complex angle strategy you can’t verify with scrap tests
– your room has unusually tight offsets (columns, built-ins, irregular doorways)
– you don’t have the tools/blades to make repeatable angled cuts for your specific flooring type
According to NWFA guidance, acclimation and expansion planning are central to flooring success, so DIY cuts still must respect environmental and movement requirements.
According to OSHA, using tools correctly with guards and proper PPE reduces both injury risk and the likelihood of miscuts that can ruin fitted patterns like herringbone.
Quick Scan Checklist (Print / Save)
| Step | Do this | Stop if you see… |
|---|---|---|
| Layout | Mark reference lines + plan first row | Cuts look “off-center” when you dry-fit a small section |
| Test cuts | Cut 2–3 scrap pieces and assemble | Gaps or misaligned joints even before installing |
| Saw setup | Confirm angle + lock the settings | You must “force” the pieces together |
| Production cuts | Cut and label left/right pieces | You’re unsure which row each piece belongs to |
| Dry-fit | Assemble in small sections | Pattern drift after a few rows |
| Install | Leave required expansion gaps | Tight contact at walls/fixtures |
Blade Fine-Tooth Choices That Reduce Herringbone Chipping (Common Shop Ranges)
| # | Blade tooth strategy | Typical tooth count (T) | Where it helps in herringbone | Cut-face finish rating |
|---|---|---|---|---|
| 1 | Carbide fine-tooth “ATB” (Alternating Top Bevel) | 80T | Laminate-style thin layers reduce edge tear-out | ★★★★★ |
| 2 | Carbide fine-tooth with fewer aggressive gullets | 72T | Herringbone seams stay crisp on the show face | ★★★★☆ |
| 3 | Carbide triple-chip (TCG) “fine crosscut” blade | 60T | Engineered wood faces with mixed grain | ★★★★☆ |
| 4 | General-purpose carbide crosscut blade | 48T | Solid hardwood herringbone with careful support | ★★★☆☆ |
| 5 | Carbide “fine framing” blade (balanced tooth spacing) | 40T | Solid hardwood where speed matters more than finesse | ★★★☆☆ |
| 6 | All-purpose blade (higher tooth spacing but not “fine”) | 30T | When you must cut faster and can hide edges with trim | ★★☆☆☆ |
| 7 | Dedicated “plywood/trim” blade (not for every plastic core) | 60T (setup dependent) | May help some composites; verify on scrap first | ★★★☆☆ |
Note: Tooth-count guidance is generally consistent with machining principles (more teeth typically produce smoother cuts), but your flooring manufacturer’s blade/orientation requirements always control—especially for LVP with printed wear layers.
Sources
– OSHA: Occupational noise exposure requirements (hearing conservation triggers based on dBA action levels and PEL/TWA).
– NWFA (National Wood Flooring Association): Installation guidance covering acclimation, expansion/contraction planning, and jobsite environmental considerations.
– CDC: Guidance on health risks related to inhalation of wood dust and the importance of dust control.
– If you’re using tile/stone herringbone methods:
When you cut herringbone floors step-by-step, the outcome usually comes down to discipline: lock your layout references, verify the angle with scrap tests, label left/right pieces, and preserve the expansion gaps your flooring system requires. If you do those four things consistently, your herringbone pattern will stay aligned and look intentional from the first row to the last trim piece.
Frequently Asked Questions
What tools do I need to cut herringbone floors accurately?
To cut herringbone flooring cleanly, you typically need a table saw or miter saw with a fine-tooth blade, a straightedge, measuring tape, a pencil, and a quality measuring jig or angle guide (often 45° depending on the pattern). For small cuts or complex trims, a oscillating tool and a coping saw can help around edges and door jambs. If you’re working with engineered wood, a utility knife and painter’s tape can reduce tear-out on top layers before you cut.
How do I cut herringbone floor planks to the correct angle?
Most herringbone floors use 45° cuts, but the exact angle depends on the tile/board layout and manufacturer guidance. Dry-fit several rows and measure the actual gap and alignment at the wall before committing to final cuts. Use an angle guide or stop block on your saw, and always label plank orientation so every piece faces the correct direction for the herringbone pattern.
How should I measure and mark cuts for herringbone flooring near walls and corners?
Start by snapping reference lines for the center or layout axis, then measure from those lines to the wall at multiple points because walls are rarely perfectly straight. For each course, transfer the needed dimension onto the plank, accounting for expansion gaps and underlayment thickness if applicable. Make test cuts on scrap first, and keep the pattern symmetry by recording whether each cut plank should be “left” or “right” oriented.
Why do herringbone floors sometimes look misaligned after cutting, and how can I prevent it?
Misalignment usually happens from tiny measurement errors, inconsistent plank orientation, or the saw fence not staying square. Confirm your saw blade alignment (and that the fence is locked) before cutting a full batch, and cut a few sample pieces to verify the fit before proceeding. Also avoid forcing boards into place—check that subfloor flatness and underlayment seams are correct, because uneven surfaces can cause herringbone flooring joints to drift.
Which is the best way to cut herringbone floors—table saw, miter saw, or wet saw?
For wood herringbone flooring, a table saw is often best for long, straight cuts and repeatable angles, while a miter saw works well for shorter pieces and crosscuts. Laminate and engineered wood can usually be cut with the same dry tools using a fine-tooth blade to reduce chipping, but you should follow the flooring manufacturer’s recommendations. For ceramic or stone herringbone tile, a wet saw with a diamond blade is typically best for clean edges and accurate scoring, especially for small angled cuts around transitions.
📅 Last Updated: October 15, 2026 | Topic: How to cut herringbone floors? | Content verified for accuracy and freshness.
References
- Herringbone
- Parquet
- https://www.tileusa.com/tech-resources/tile-installation-handbook/
- Silica, Crystalline – Overview | Occupational Safety and Health Administration
- Silica and Worker Health | Silica | CDC
- https://www.cdc.gov/niosh/topics/silicosis/
- https://scholar.google.com/scholar?q=how+to+cut+herringbone+flooring Google Scholar
- https://scholar.google.com/scholar?q=herringbone+parquet+floor+cutting+layout+techniques Google Scholar
- https://scholar.google.com/scholar?q=ceramic+tile+herringbone+layout+cutting+pattern Google Scholar