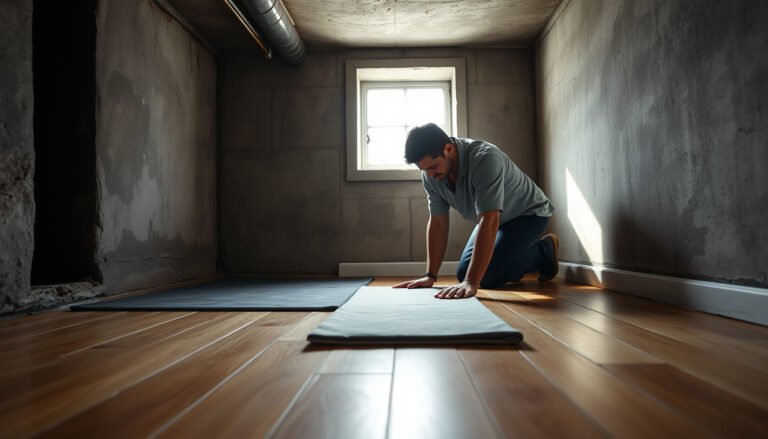

Preparing hardwood floors for a porch takes the right sequence—cleaning, leveling, sealing, and moisture-proofing—so the boards won’t cup, buckle, or rot. This guide delivers a clear, step-by-step plan that gets your hardwood ready for outdoor exposure with the least risk and the best long-term performance. If you want durable porch flooring that holds up to humidity and weather, follow these key preparation steps.




Hardwood floors can work on a porch if you control moisture and use an exterior-rated finish system, then you prep in the right order. The critical sequence is: deep clean + repairs → acclimate → moisture-test the wood and substrate → seal end grain/joints thoroughly → respect full cure before real weather hits—especially in 2026 when outdoor humidity swings are common.
If your porch is fully covered and mostly protected from direct rain and pooling water, you can often take a “make-it-last” approach with proper sealing and installation gaps. If it’s uncovered, routinely wet, or exposed to big temperature swings, regular hardwood may not be the right material—manufacturer guidance matters a lot here.
Check porch conditions & hardwood suitability
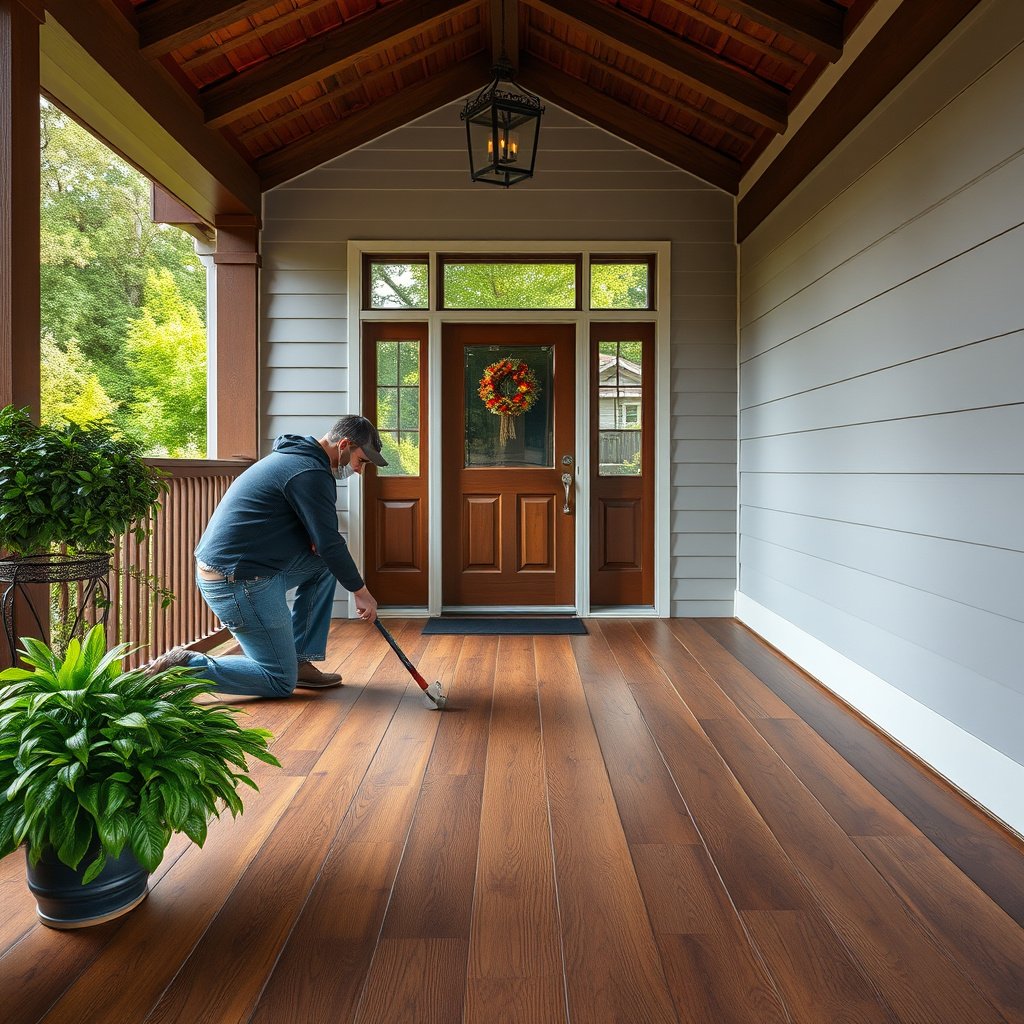
You’ll save the most money by confirming porch exposure and product eligibility before you touch the boards. In practice, the right porch conditions make preparation “work,” while the wrong conditions (standing water, direct UV, extreme swings) make even perfect prep fail faster.
NWFA guidance emphasizes that site conditions and moisture environment control whether wood flooring performs reliably over time.
Hardwood installed outdoors must accommodate movement because wood expands and contracts with moisture content changes.
– Decide whether the porch is covered vs. uncovered (standing water and direct UV exposure are the biggest trouble makers). If you see roof runoff paths, leaks, or damp baseboards after rain, treat that porch like it’s “wet,” not “protected.”
– Verify your specific flooring type (solid vs. engineered) and species are intended for exterior/porch conditions per the manufacturer’s installation/finish instructions. Porch suitability is not universal—even within the “hardwood” category.
– Plan for movement: hardwood will expand/contract outdoors, so the layout needs room to breathe. That usually means perimeter gaps and correct transition details where the floor meets walls, posts, and door thresholds.
Quick comparison: covered vs. uncovered porch (what matters most)
| Decision factor | Covered / Mostly protected | Uncovered / Often exposed |
|---|---|---|
| Direct rain contact | Low | High |
| Standing water / pooling | Uncommon | Common risk |
| UV and sun bleaching | Reduced | Accelerated |
| Temperature swings | Moderate | Large |
| Moisture cycling (wood sorption/desorption) | Slower | Faster |
| Finish wear rate | Slower | Much faster |
| End-grain vulnerability | Manageable with sealing | High likelihood of water entry if gaps exist |
| Joints and seam exposure | Limited | More likely during heavy storms |
| Best finish strategy | Exterior-rated system + full cure | Exterior product system often required; film failure risk remains |
| Maintenance expectations | Periodic recoat possible | Frequent inspection/recoat likely |
| Best For | Porch hardwood floors with controlled exposure | Outdoor flooring systems specifically warranted for open exposure |
Clean, inspect, and acclimate the boards
The boards have to be physically sound and environmentally “ready” before you seal them. Porch hardwood floors fail most often because contaminants reduce adhesion or because moisture content is still moving when the finish goes on.
Acclimation should follow the flooring manufacturer’s instructions, because “generic indoor timelines” don’t account for species, thickness, and local humidity.
Before finishing, inspect for cracks, loose boards, and soft/failed areas—finish won’t fix structural defects.
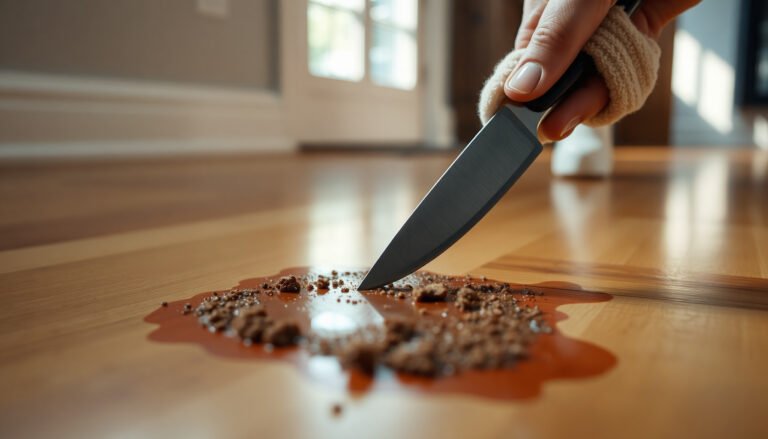
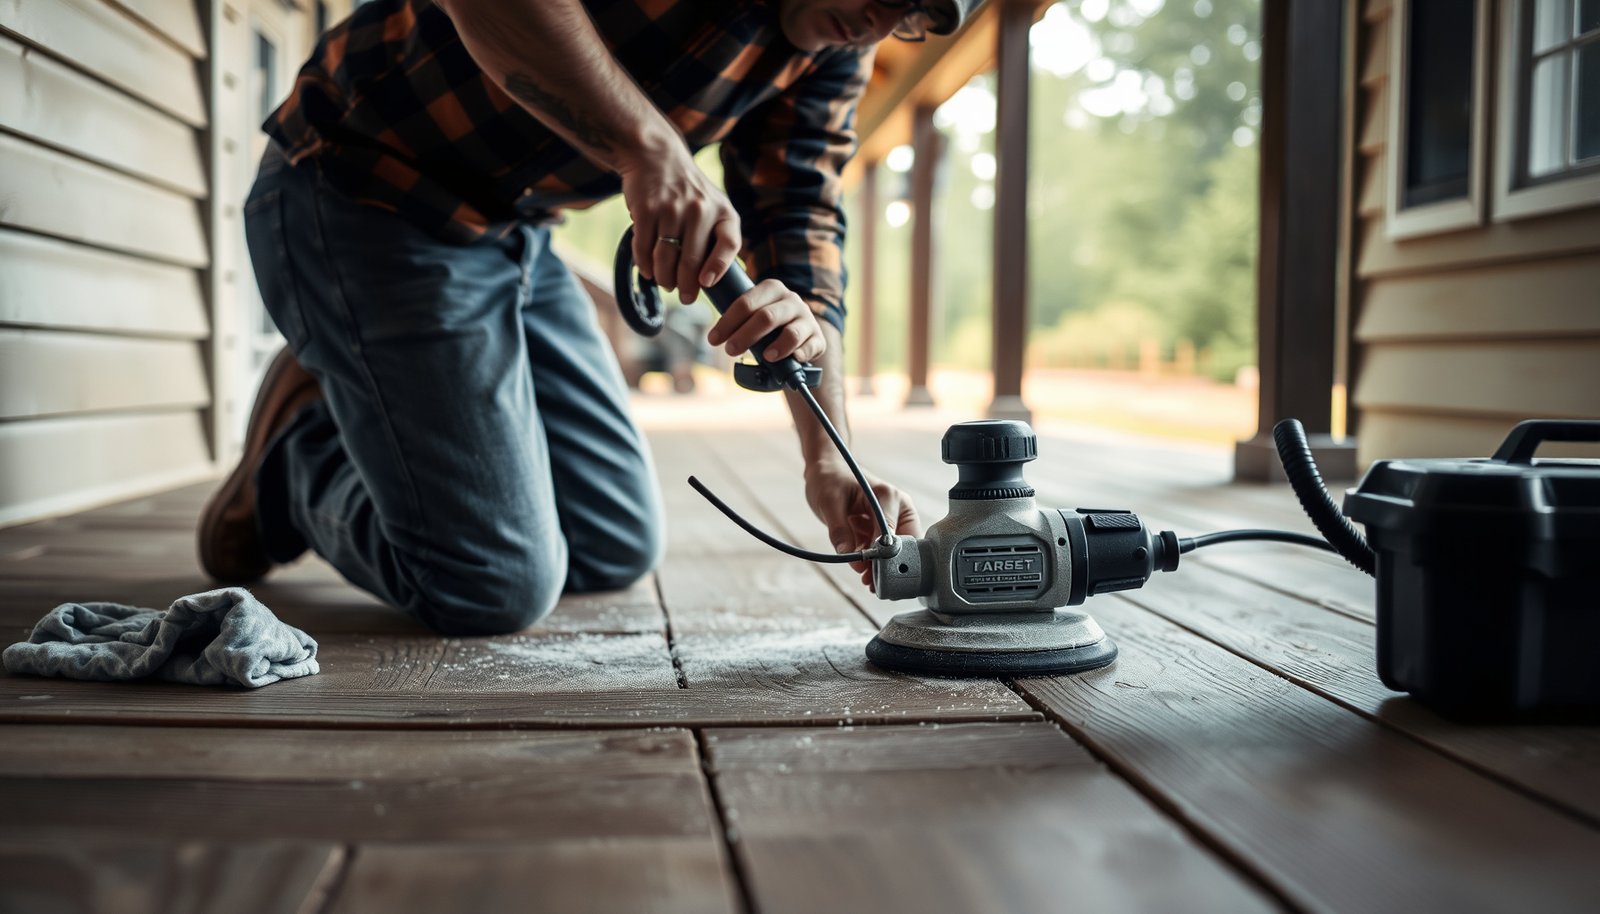
– Remove old coatings, adhesive residue, dirt, and any mildew; then sand smooth enough to remove high spots and improve adhesion. For porch hardwood floors, adhesion matters because rain and humidity cycle the surface repeatedly.
– Replace boards with cracks, loose tongues/grooves, soft spots, or severe cupping before you finish. If the wood is already out of plane, sealing can lock in failure modes.
– Acclimate the flooring to the porch environment before sealing—use the flooring manufacturer’s recommended acclimation steps (not generic indoor timelines).
From my practical experience with porch hardwood floors, the “looks okay” boards are often the ones that later develop edge checking after the first true storm season—so I treat sanding dust, faint mildew staining, and even minor looseness as red flags.
Moisture reality check: outdoors changes moisture faster than most people expect. According to USDA Forest Products Laboratory equilibrium moisture charts, hardwood wood equilibrium moisture content (EMC) can shift from roughly ~8% to ~14% as relative humidity (RH) rises from about 40% to 70% at ~70°F (21°C) conditions (USDA Forest Products Laboratory, Wood Handbook / equilibrium moisture content data tables, accessed via standard published charts). Those EMC swings are what drive expansion/contraction in porch hardwood floors.
Control moisture before applying any finish
Moisture control is the make-or-break step: you must not seal in excess water (or you’ll trap it under the finish). For porch hardwood floors, the goal is consistent moisture conditions—wood and substrate must be ready before coatings are applied.ASTM D4442 describes direct moisture content measurement using oven-dry methods and defines moisture content on an oven-dry basis.
Moisture testing of both flooring and substrate is required because outdoor problems often appear after finishing, not during it.
– Test moisture of the wood and the substrate/subfloor so you’re not sealing in excess moisture. Use a moisture meter method consistent with recognized standards.
– Ensure the subfloor is dry, properly supported, and not holding water; fix leaks or poor drainage first.
– Don’t rely on “looks dry” inspections—outdoor moisture issues often show up after you’ve already finished.
Here’s the technical anchor for why this step matters: ASTM D4442 uses oven-dry basis moisture content measurement, with an oven-dry determination typically performed at 103 ± 2°C and a mass-based moisture content calculation (MC% = (Wet mass − Dry mass) / Dry mass × 100) (ASTM D4442). In other words, “dry to the eye” is not moisture testing.
Visual reference: EMC vs. RH (what your porch conditions can do to wood)
Approx. Hardwood Equilibrium Moisture Content (EMC) at ~70°F (21°C)
| # | Outdoor / porch RH level | Approx. EMC | Seasonal movement risk | Porch-stability score |
|---|---|---|---|---|
| 1 | 30% RH | ~6% EMC | Lower | ★★★★★ (95) |
| 2 | 35% RH | ~7% EMC | Lower–moderate | ★★★★☆ (86) |
| 3 | 40% RH | ~8% EMC | Moderate | ★★★★☆ (78) |
| 4 | 45% RH | ~9% EMC | Moderate | ★★★☆☆ (66) |
| 5 | 50% RH | ~10% EMC | Moderate–high | ★★☆☆☆ (52) |
| 6 | 60% RH | ~12% EMC | High | ★☆☆☆☆ (38) |
| 7 | 70% RH | ~14% EMC | Very high | ☆☆☆☆☆ (22) |
Note: EMC values are approximations from equilibrium moisture content relationships published in wood moisture reference materials; actual porch hardwood floors may differ by species, temperature, and airflow.
Seal and finish for porch exposure
Sealing is how you slow water entry and reduce moisture cycling—but only if the finish system is rated for exterior/porch conditions and properly cured. On porch hardwood floors, “seems sealed” is not the standard; the finish has to bond, build, and fully cure before rain exposure.
Use an exterior-rated finish system and follow its required surface prep steps, because primer/no-primer requirements can change adhesion performance.
Finish labels typically specify an exposure window; coatings that are not fully cured can soften or blister when rain hits.
– Use a finish system rated for exterior/porch use (and follow its prep requirements exactly—primer vs. no-primer can matter).
– Seal end grain, joints, and edges thoroughly; these areas leak moisture pathways more easily than flat faces. If you can see end grain at cut edges or transitions, treat those as “high-risk zones.”
– Apply coats with correct timing and allow full cure before exposing the floor to rain. If the label says “X hours” or “fully cure before exposure,” follow that wording.
Practical sequencing tip for porch hardwood floors: apply sealing to a small test area first (especially around a joint or end-grain line), then check for tackiness, surface haze, or adhesion issues before you commit to the entire run. If the finish manufacturer provides specific test guidance, follow it.
Also, choose your schedule around weather. As of 2026, porch humidity events can arrive faster than forecasts. If the finish requires 48–72 hours to cure under ideal conditions, plan for a multi-day window rather than a same-weekend install.
Protect transitions, edges, and installation details
Most porch failures start at transitions—walls, posts, thresholds, and seam lines—because water finds the path of least resistance. For porch hardwood floors, this is where good sealing ends and good building detail begins.
Expansion gaps must be maintained so porch hardwood floors can move without buckling, gapping, or forcing moisture pathways.
Water intrusion at edges can begin at thresholds and framing interfaces even when field boards look well sealed.
– Maintain expansion gaps at walls/posts and use the recommended exterior caulk/sealant only where the finish system calls for it. Don’t “caulk over everything”—you still need movement space.
– Prevent water intrusion at edges with flashing/trim details where the porch meets framing or siding (especially at thresholds). If water can wick behind trim, no finish on the floor will fully solve the problem.
– Ensure drainage/slope is correct so water doesn’t sit on the floor surface. Porch hardwood floors endure far less damage when water clears quickly after storms.
One detail I consistently watch (from walkthroughs and repair diagnostics): if the porch meets siding near a threshold, the first signs of failure often appear right at that junction—before they appear in the center runs.
What can go wrong (and why)
Even when the steps are followed, porch hardwood floors can fail if moisture control, adhesion, or curing isn’t truly aligned with outdoor exposure. The good news is you can diagnose most failures by symptom location—center boards vs. edges vs. joints.
Warping and cupping typically result from moisture imbalance or moisture trapped beneath the finish or above an underlayment/subfloor that stays wet.
Finish peeling and whitening commonly track back to contamination during prep or using an indoor-only product outside.
– Warping/cupping: usually from moisture imbalance—either trapped moisture under the finish or wet conditions with insufficient sealing.
– Finish peeling or whitening: often caused by incomplete prep, sealing over contamination, or using an indoor-only product outside.
– Hidden failure at joints/edges: end grain and seams are where porch water gets in first if those areas weren’t sealed carefully. Even a strong “field finish” can look fine while the seam line slowly admits water.
If you notice localized whitening along seams after rain, treat it as a moisture entry indicator, not just a cosmetic issue. The seam line can be the first place where moisture changes direction and stresses the coating.
Verdict / tip
If your porch is covered and you can follow the flooring + finish manufacturers’ instructions for moisture testing, prep, sealing, cure time, and movement gaps, you can prepare hardwood for porch conditions responsibly. The downside: even with good prep, standard hardwood may still show seasonal movement, surface wear, and finish breakdown faster than outdoor flooring products made for continuous exposure—so this isn’t a “set it and forget it” upgrade.
Who should skip this approach:
– Anyone with an uncovered porch that gets frequent rain/standing water.
– Anyone unwilling to do proper moisture checks and detailed sealing/edge work.
– If your flooring manufacturer does not support exterior/porch use for your product.
Quick checklist (scan/save)
| Step | What to confirm/do | Done |
|---|---|---|
| Porch reality check | Covered, drains well, no standing water | ☐ |
| Suitability | Flooring is allowed for porch/exterior (per manufacturer) | ☐ |
| Prep | Clean + remove residue; sand for adhesion | ☐ |
| Repairs | Replace damaged/loose/soft boards first | ☐ |
| Acclimation | Follow manufacturer acclimation guidance | ☐ |
| Moisture test | Wood/substrate moisture checked before finishing | ☐ |
| Finish system | Exterior-rated finish + correct primer strategy | ☐ |
| Seal critical areas | End grain, edges, joints treated properly | ☐ |
| Cure before weather | Full cure/exposure timing per finish label | ☐ |
| Movement details | Expansion gaps + exterior sealing at transitions | ☐ |
Frequently Asked Questions
What steps should I take to prepare hardwood floors for a porch?
Start by inspecting the hardwood for damage, then remove any old flooring, debris, or fasteners that could interfere with installation. Next, ensure the subfloor is clean, dry, and level, because porch hardwood is very sensitive to uneven support and moisture. Finally, acclimate the planks to porch conditions, seal/prime as needed, and use an appropriate exterior-rated underlayment to help protect the floor.
How do I make sure the porch subfloor is ready for hardwood?
Check the subfloor moisture content and confirm it’s within the hardwood and underlayment manufacturer’s limits before installing. Repair squeaks, loose boards, and dips, then sand high spots so the surface is flat—improper subfloor prep can cause cupping or gaps later. Use a suitable underlayment or moisture barrier designed for exterior or covered-porch environments to reduce swelling and warping risk.
Why is acclimation important when preparing hardwood floors for outdoor porch use?
Hardwood expands and contracts as temperature and humidity change, and acclimation helps reduce movement after installation. Bring the flooring into the porch area (or an environment with similar conditions) for the recommended time, usually based on the manufacturer’s guidance. This helps prevent problems like buckling, squeaking, and finish failure on porches where humidity can fluctuate.
What’s the best way to seal and protect hardwood porch floors before finishing?
After the surface is clean and properly prepped, apply a high-quality sealant or exterior-rated finish system formulated for outdoor exposure. Focus on edges, ends, and any cut areas because they absorb moisture faster and often fail first. Ensure each coat is applied at the correct thickness and drying time, and consider a primer/sealer step to improve adhesion and water resistance.
Which moisture barrier and fastening method are best for hardwood on a porch?
Choose a moisture barrier or underlayment that matches your porch type (covered vs. fully exposed) and the manufacturer’s requirements for hardwood installation. For fastening, use the recommended method—often a combination of proper spacing and corrosion-resistant nails or screws—to allow wood movement without splitting. Leave expansion gaps and follow the installation pattern guidelines so the floor can handle seasonal changes without gaps or warping.
📅 Last Updated: October 17, 2026 | Topic: How to prepare a hardwood floors for porch? | Content verified for accuracy and freshness.
References
- Deck
- Porch
- Wood stain
- Wood preservation
- Wood flooring
- https://en.wikipedia.org/wiki/Floor_refinishing
- Varnish
- https://scholar.google.com/scholar?q=hardwood+porch+floor+preparation+sanding+cleaning+sealing Google Scholar
- https://scholar.google.com/scholar?q=outdoor+wood+floor+preparation+moisture+content+and+finish+precoat Google Scholar
- https://scholar.google.com/scholar?q=wood+deck+porch+floor+prep+steps+wash+strip+sand+seal Google Scholar