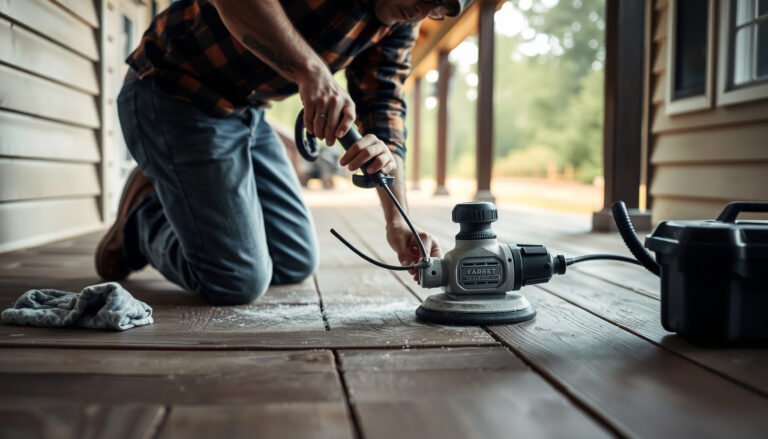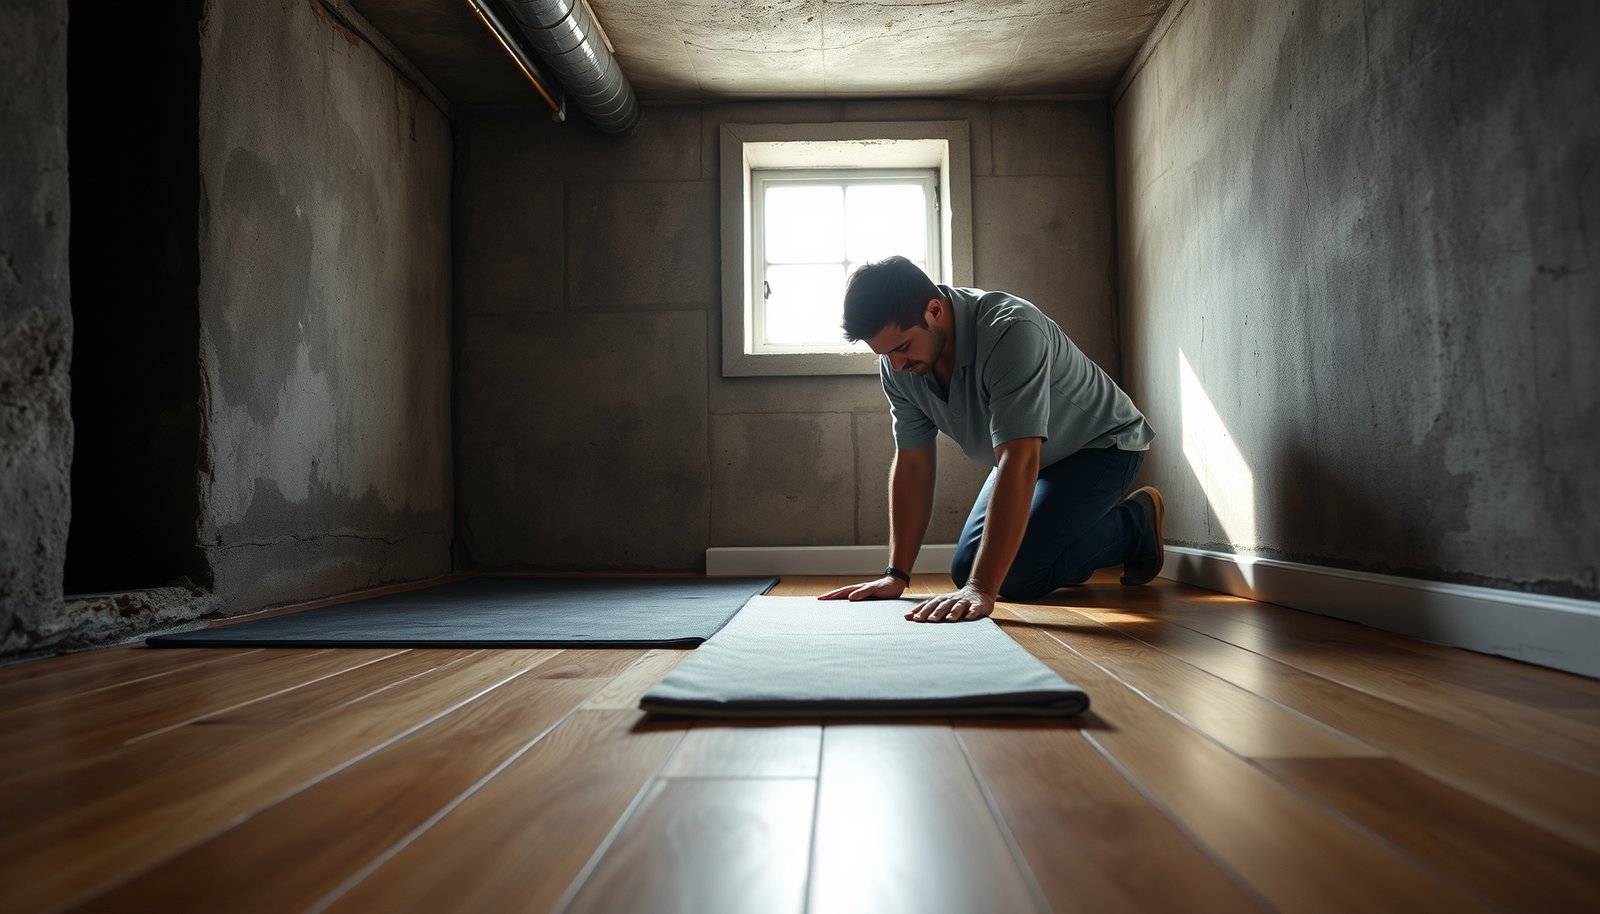

Prevent water damage to hardwood floors in a basement by controlling moisture before it touches the wood: keep humidity low, fix leaks fast, and install effective drainage and vapor barriers. If you’re dealing with recurring dampness, prioritizing basement waterproofing and subfloor sealing will beat “quick fixes” every time. This guide shows the exact steps that protect hardwood from cupping, warping, and mold—starting with the conditions that cause failure.




Stop water damage to basement hardwood by controlling bulk water and basement moisture—then installing (and maintaining) a true vapor barrier plus monitored indoor humidity. In practice, the biggest hardwood failures happen when concrete stays damp, vapor migrates upward, or cold-season condensation forms at slab edges and wall perimeters—even if the room “looks dry.”
If your basement has concrete slabs, a sump pump, occasional dampness, or HVAC condensation, these steps are for you—especially if you’re installing (or already have) solid or engineered hardwood down there and want to prevent problems season after season.
If your basement has concrete slabs, a sump pump, occasional dampness, or HVAC condensation, these steps are for you—especially if you’re installing (or already have) solid or engineered hardwood down there and want to prevent problems season after season.
Control leaks and bulk water first (before the floor)
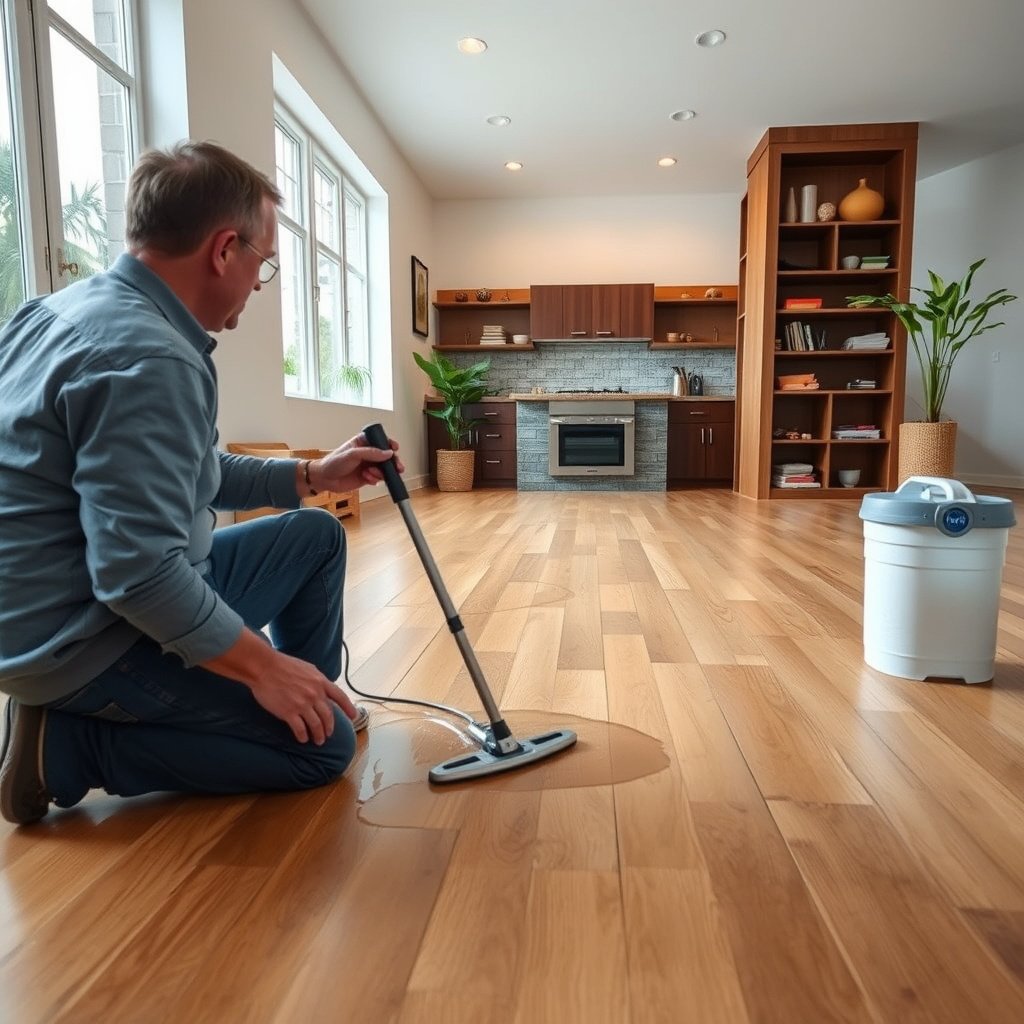
Fixing the source of water intrusion first is the fastest way to protect hardwood, because you can’t “finish” your way out of sustained moisture. Start with plumbing, HVAC condensate, and foundation seepage—then confirm your drainage system and sump pump can handle storm-driven load.
Basements fail floors in two main ways: bulk water (liquid that soaks into layers) and ongoing moisture (vapor and damp slab conditions). In my experience advising homeowners, most “mysterious” cupping and edge swelling trace back to bulk water events that weren’t fully addressed, followed by seasonal rebound humidity that keeps the wood cycling.
If water is entering the basement through plumbing leaks or foundation seepage, a moisture barrier for the floor won’t stop the problem.
Storms saturate slabs for hours and sometimes days, so your sump pump, discharge route, and backup plan determine whether hardwood ever sees prolonged moisture.
Check and correct the real sources (not the symptoms)
You’re looking for the “quiet” failures that don’t always show as puddles:
– Plumbing drips from supply lines, shutoff valves, washing machine hoses, and toilet wax ring leakage.
– Cracked or failing supply lines behind walls or under cabinets—especially where fittings are corroding.
– Wet HVAC drain pans or clogged condensate lines, which can cause water to overflow slowly.
– Foundation seepage (water at walls during heavy rain, damp masonry corners, or recurring wet spots).
Action: Repair these before any floor work. If you install or replace flooring on a basement that still produces moisture, the new system is just buying time.
Make sure drainage is doing its job
Exterior drainage is the most reliable first line of defense:
– Gutters and downspouts should direct water several feet away from the foundation.
– Outside grading (soil slope) should move water away from the house instead of toward it.
– Check for surface pooling after rain—especially near foundation corners and along walkways.
Action: Correct slopes and downspout extensions before focusing on interior humidity. Otherwise, you can run a dehumidifier all year and still lose during storm spikes.
Confirm your “panic plan” (sump + backup + discharge)
A sump pump can prevent floor damage—until it can’t. Confirm:
– Your sump pump can keep up during the wet months.
– The pump discharge path actually carries water away from the foundation (not into another low spot that re-wets the perimeter).
– You have a backup (battery backup or secondary pump) for outages during storms.
EPA and building moisture guidance treat humidity control as necessary, but not sufficient, when there is active water intrusion.
Use the right moisture barrier + installation approach
A surface finish alone does not prevent hardwood failure in basements; you need a system that limits both liquid water contact and vapor movement from the concrete slab to the wood. The right barrier + underlayment stack is what keeps the wood from cycling as seasons change.
Hardwood damage usually isn’t caused by one dramatic flood. It’s caused by continuous low-level moisture exposure that leads to movement (cupping/warping) and separation (gaps). I’ve seen basement installs where the finish looked fine but the perimeter stayed slightly damp because the vapor barrier (or underlayment type) didn’t match basement conditions.
Hardwood needs protection against moisture vapor coming up from concrete—not just a water-resistant finish on top.
Following the flooring manufacturer’s basement requirements (vapor barrier/underlayment and installation details) is essential for warranty coverage.
Don’t rely on varnish alone
Varnish, polyurethane, and similar finishes are designed for wear resistance and surface liquid contact, but they don’t reliably stop vapor transmission through concrete. That matters in basements because slab moisture can migrate upward even when there’s no puddle.
What to do: Use a basement-appropriate moisture barrier/underlayment system specified for hardwood installations over concrete.
Follow basement/subfloor requirements exactly
Manufacturers often specify:
– Whether a separate vapor barrier is required under the flooring or whether the underlayment itself must meet vapor requirements
– Any constraints on thickness, fastening method, and spacing
– How to treat transitions and edges (which are common condensation zones)
If you’re installing solid or engineered hardwood, make sure the product instructions you’re following are the ones approved for below-grade (basement) installations.
Solid vs engineered: know the risk reality
If you’re deciding between options, the practical differences look like this:
– Solid hardwood is generally less forgiving in basements because it moves more with moisture changes.
– Engineered wood systems are often more stable because the layered construction reduces dimensional movement—but they still require correct moisture conditions.
Here’s how I’d frame the tradeoff:
| Feature | Solid Hardwood | Engineered Hardwood |
|---|---|---|
| Dimensional stability in basements | More sensitive to RH/moisture cycles | Typically more stable under controlled conditions |
| Tolerance for minor moisture drift | Lower tolerance | Higher tolerance (still not “waterproof”) |
| Best prevention strategy | Strict slab moisture + tight RH control | Slab moisture + correct vapor barrier + monitored RH |
| Typical failure mode in basements | Cupping/warping, fast gap growth | Edge swelling or mild movement if RH/condensation persists |
| Best use case | Basements that truly meet moisture specs year-round | Basements with stable RH + a properly installed moisture-barrier stack |
Keep humidity under control with measurement (not guesswork)
The quickest win for basement hardwood is humidity control based on measurements, because it prevents condensation and wood movement before they escalate. Run a dehumidifier and monitor indoor relative humidity (RH) so you can respond to real conditions—even minor condensation at cold-wall edges.
According to the EPA, maintaining indoor relative humidity in the 30–60% range helps reduce mold growth risk (EPA — indoor moisture/mold guidance, referenced guidance accessed in 2026). For wood flooring, the National Wood Flooring Association (NWFA) and many manufacturer instructions emphasize keeping jobsite conditions stable within product-specified RH/temperature bands (NWFA — environmental requirements guidance, accessed in 2026).
“Humidity control” means controlling RH with a meter, not relying on a feeling like “the basement seems damp.”
Basements create condensation risk when humid air meets colder surfaces like slab edges and exterior walls.
Measure with a hygrometer/monitor (and log readings)
Buy or use a hygrometer and consider a monitor that logs over time. Basements can swing seasonally:
– Summer: humid outdoor air + cool basement surfaces = condensation risk
– Winter: cold wall surfaces can trigger moisture at perimeter zones
Action: Track RH and temperature where the floor is installed (not just at ceiling height).
Target the range specified for your wood (and avoid “too dry”)
Every wood product has guidance. As a prevention baseline:
– Follow the range recommended by your flooring manufacturer or installer.
– Avoid pushing RH extremely low unless your manufacturer allows it; excessive drying can contribute to shrinkage and gaps.
Improve airflow carefully (avoid trapped pockets)
Air movement helps distribute moisture evenly and reduces cold spots:
– Don’t seal the basement into a “microclimate” with poor air circulation.
– Use HVAC returns/supply balancing where appropriate.
– Keep vents from blowing directly on the floor if your flooring instructions warn against direct drying.
Protect the floor during seasonal risk spikes
Season changes are when hardwood basements fail most often—because temperatures drop, cold surfaces appear, and condensation forms at edges. After storms and during HVAC transitions, you need fast inspection and rapid dry-out response.
In my experience, homeowners usually check for flooding but not for condensation. Condensation can be subtle—foggy window corners, damp wall bases, or a slightly darker line along slab edges—yet it’s enough to drive cupping and separation over time.
Seasonal HVAC changes can cool basement surfaces, increasing the likelihood of condensation near walls and floor edges.
Quick cleanup after any spill or recurring condensation prevents moisture from soaking into flooring layers and underlayment.
Watch for condensation at walls and slab edges
Cold-wall conditions often create the “first visible” moisture:
– Along exterior foundation walls
– Around penetrations (pipes, vents, electrical conduits)
– Near any previous staining or repair patch
Action: Use your humidity monitor plus visual checks after major weather changes.
Inspect after storms and HVAC transitions
Make inspection part of your routine:
– After heavy rain (bulk water risk)
– After switching from cooling to heating or vice versa (condensation risk)
– After any event that changes airflow or basement temperatures
Use quick-response drying for any water event
If water appears—spills, condensation from ductwork, window condensation, or minor leaks:
– Remove water quickly
– Dry the affected area fast
– Prevent the moisture from migrating underneath the flooring system
For exact drying-time targets, follow standards and guidance from a qualified professional or restoration authority.
What can go wrong (common mistakes and limits)
Even with a good plan, basements introduce variables—so avoid these predictable failure paths. Many “floor-only” fixes fail because they address surface appearance instead of ongoing moisture movement.
A surface finish slows liquid exposure but does not stop moisture vapor migrating through concrete.
If the slab remains damp, the wood continues absorbing moisture even when the room looks dry.
Common mistakes that undermine prevention
– Only sealing the surface: finishes slow liquid damage but don’t eliminate vapor transmission.
– Ignoring the subfloor/slab: wood can keep absorbing moisture from the concrete even after cleanup.
– Setting humidity blindly: too much dehumidifying can stress finishes and contribute to shrinkage; too little causes swelling, cupping, and mold-adjacent conditions.
– Assuming “engineered = waterproof”: engineered wood is often more stable, but it still responds to RH and condensation.
– Skipping professional assessment after repeated water events: repeated dampness often indicates an ongoing moisture source, not a flooring installation issue.
Limits of DIY prevention
DIY helps most when:
– No active flooding is happening
– Humidity can be controlled with monitoring + dehumidification
– The floor system is installed per basement specifications
DIY is risky when:
– You’ve had flooding that reached/soaked sublayers
– You see mold or persistent musty odor
– Sump pump failures or recurring seepage are unresolved
– RH readings remain high even with dehumidification
Verdict / tip: the most reliable prevention plan (and who should skip DIY)
The most reliable approach is a three-part system: (1) leak and drainage control, (2) correct vapor barrier + installation per your flooring specs, and (3) monitored indoor humidity with a dehumidifier. This addresses both bulk water and vapor/condensation, which are the usual drivers of hardwood failure in basements—even for engineered products in 2026.
If you can measure RH accurately and respond quickly to dampness, this plan is reasonable for most homeowners. Skip DIY (or upgrade to a pro-led approach) if you’ve had actual flooding, persistent high humidity readings, sump pump failures, or visible mold—because you likely need remediation beyond floor protection.
When moisture sources persist, preventing floor damage requires fixing the building’s moisture behavior—not only covering or sealing the wood.
7 Basement Moisture Controls That Protect Hardwood (What They Manage)
| # | Control | Main Moisture Path Reduced | Key Metric You Track | Practical Effectiveness |
|---|---|---|---|---|
| 1 | Plumbing leak + HVAC drain repair | Bulk liquid exposure | Presence/absence of drips, wet drain lines | ★★★★★ |
| 2 | Gutters/downspouts + grading correction | Water infiltration at foundation | Runoff direction during/after storms | ★★★★☆ |
| 3 | Sump pump + discharge verification (and backup) | Groundwater-driven saturation | Pump run-hours during storms | ★★★★☆ |
| 4 | Dehumidifier + RH monitoring | Condensation risk | Indoor RH (%), dew point trends | ★★★★★ |
| 5 | Basement vapor barrier + approved underlayment stack | Vapor migration from slab | System compliance with manufacturer basement requirements | ★★★★★ |
| 6 | Perimeter sealing at penetrations + joints | Air leakage that carries moisture | Visible gaps/penetration sealing continuity | ★★★★☆ |
| 7 | Slab moisture testing (ASTM methods) before flooring | Verifying slab conditions | In-situ slab RH (%RH) or MVER units | ★★★★★ |
Quick checklist (save this)
| Check | Do this now | Re-check |
|---|---|---|
| Visible leaks | Fix plumbing/HVAC drain issues and seal penetrations | After storms |
| Drainage & grading | Confirm downspouts/grading direct water away | Seasonal |
| Vapor barrier/underlayment | Confirm it matches your flooring manufacturer’s basement requirements | During install / if layers are replaced |
| Dehumidifier + monitor | Run dehumidifier; log RH readings | Weekly for the first month, then monthly |
| Condensation risk | Look for cold-wall/slab edge condensation | When seasons change |
| After any spill/water event | Remove water quickly; dry affected area fast | Immediately |
Sources
– EPA — indoor moisture and mold guidance (relative humidity targets for mold prevention).
– National Wood Flooring Association (NWFA) — wood flooring installation/environmental requirements.
– Hardwood flooring manufacturers’ installation instructions and warranty terms — required vapor barrier/underlayment and basement humidity guidance for the specific product you have.
To tailor the plan precisely, share your floor type (solid vs engineered), whether you have a concrete slab, and your typical basement RH readings (and temperature) across seasons.
Basement hardwood protection is most reliable when you treat moisture like a system: stop liquid entry, block vapor migration, and control indoor RH with measurement. Do that, and you reduce the likelihood of cupping, warping, and gaps season after season—without relying on surface finishes alone.
Frequently Asked Questions
What are the most effective ways to prevent water damage to hardwood floors in a basement?
Start with moisture control: keep humidity stable using a dehumidifier and maintain good airflow around the basement. Use a proper moisture barrier or install a basement-rated engineered hardwood with an underlayment designed to block water vapor. Immediately clean spills and fix leaks from plumbing, HVAC, or gutters before they reach the subfloor. These steps reduce both standing water and chronic moisture that can cause cupping, warping, and discoloration.
How can I protect my basement hardwood floors from leaks and flooding?
Inspect for common sources of water damage such as water heater overflow, sump pump failure, plumbing seepage, and window well drainage problems. Ensure your sump pump is functioning with a backup power option if possible, and test it regularly. If flooding occurs, remove standing water quickly and dry the area with fans and a dehumidifier within 24–48 hours to prevent mold and permanent hardwood damage. Acting fast is critical because even a short period of saturation can permanently warp hardwood floors.
Why does moisture buildup in basements cause hardwood flooring to warp, cup, or buckle?
Hardwood is sensitive to changes in moisture content, and basement humidity levels are often higher due to limited ventilation and cooler temperatures. When water vapor moves through the concrete slab or subfloor, it can swell the wood and adhesives, leading to cupping, buckling, or separation. Over time, repeated moisture cycles can also cause finish breakdown, staining, and musty odors. Managing basement humidity and controlling vapor transmission are key to preventing recurring damage.
Which underlayment or vapor barrier is best for waterproofing hardwood floors over concrete?
Look for a basement-appropriate vapor barrier designed for concrete subfloors, such as a polyethylene moisture barrier or a combined underlayment system specifically rated for hardwood installation. If you’re installing engineered hardwood, choose a system with an approved moisture mitigation layer to reduce the risk of water vapor penetration. Avoid generic underlayments not intended for basement moisture conditions, since they may not provide sufficient vapor resistance. Always follow the manufacturer’s moisture testing and installation guidelines for your hardwood product.
What humidity level should I maintain to reduce the risk of water damage to basement hardwood floors?
Aim to keep basement relative humidity around 35–55% for wood flooring stability, using a hygrometer to monitor conditions regularly. A dehumidifier helps prevent condensation and moisture migration from the concrete slab into the wood. If humidity rises after heavy rain or during wet seasons, increase ventilation and drainage maintenance to stop moisture at the source. Consistent humidity control is one of the most reliable ways to prevent cupping, gapping, and long-term water damage.
📅 Last Updated: October 16, 2026 | Topic: How to prevent water damage to hardwood floors in a basement? | Content verified for accuracy and freshness.