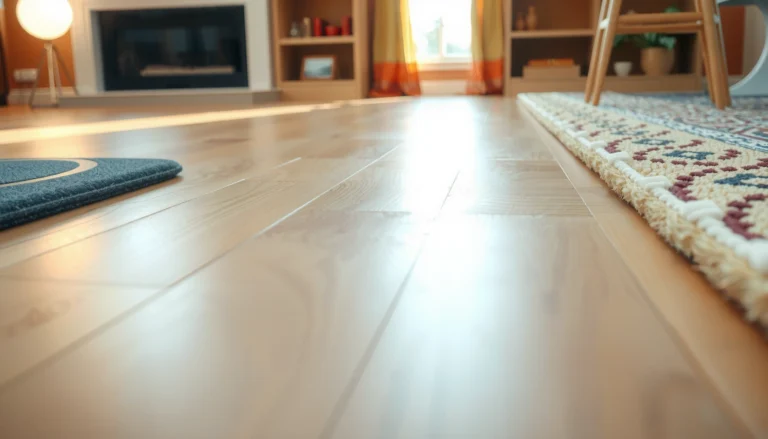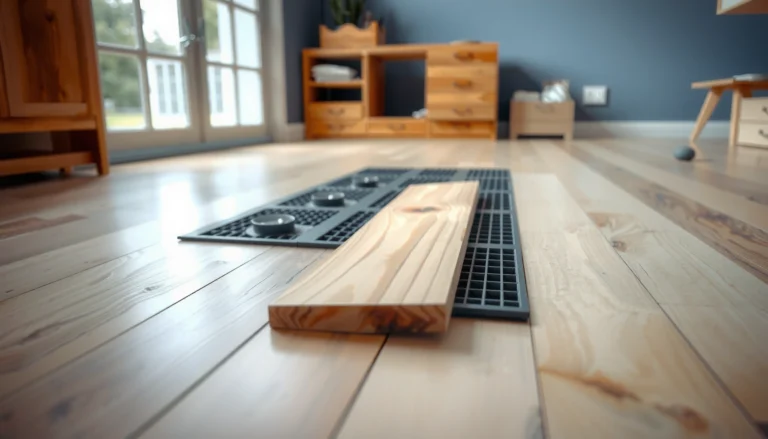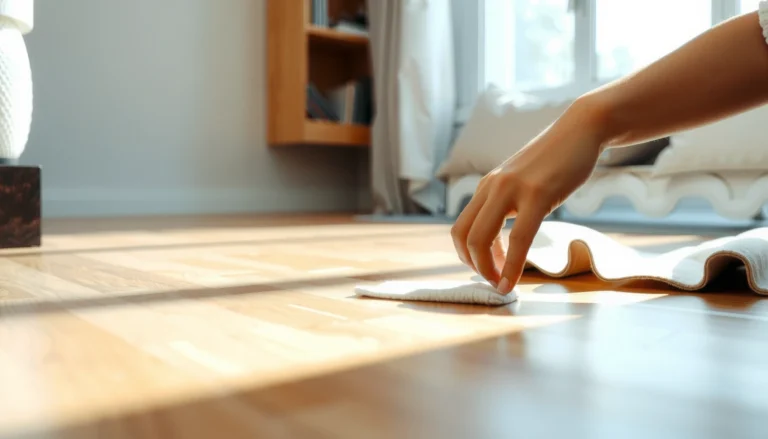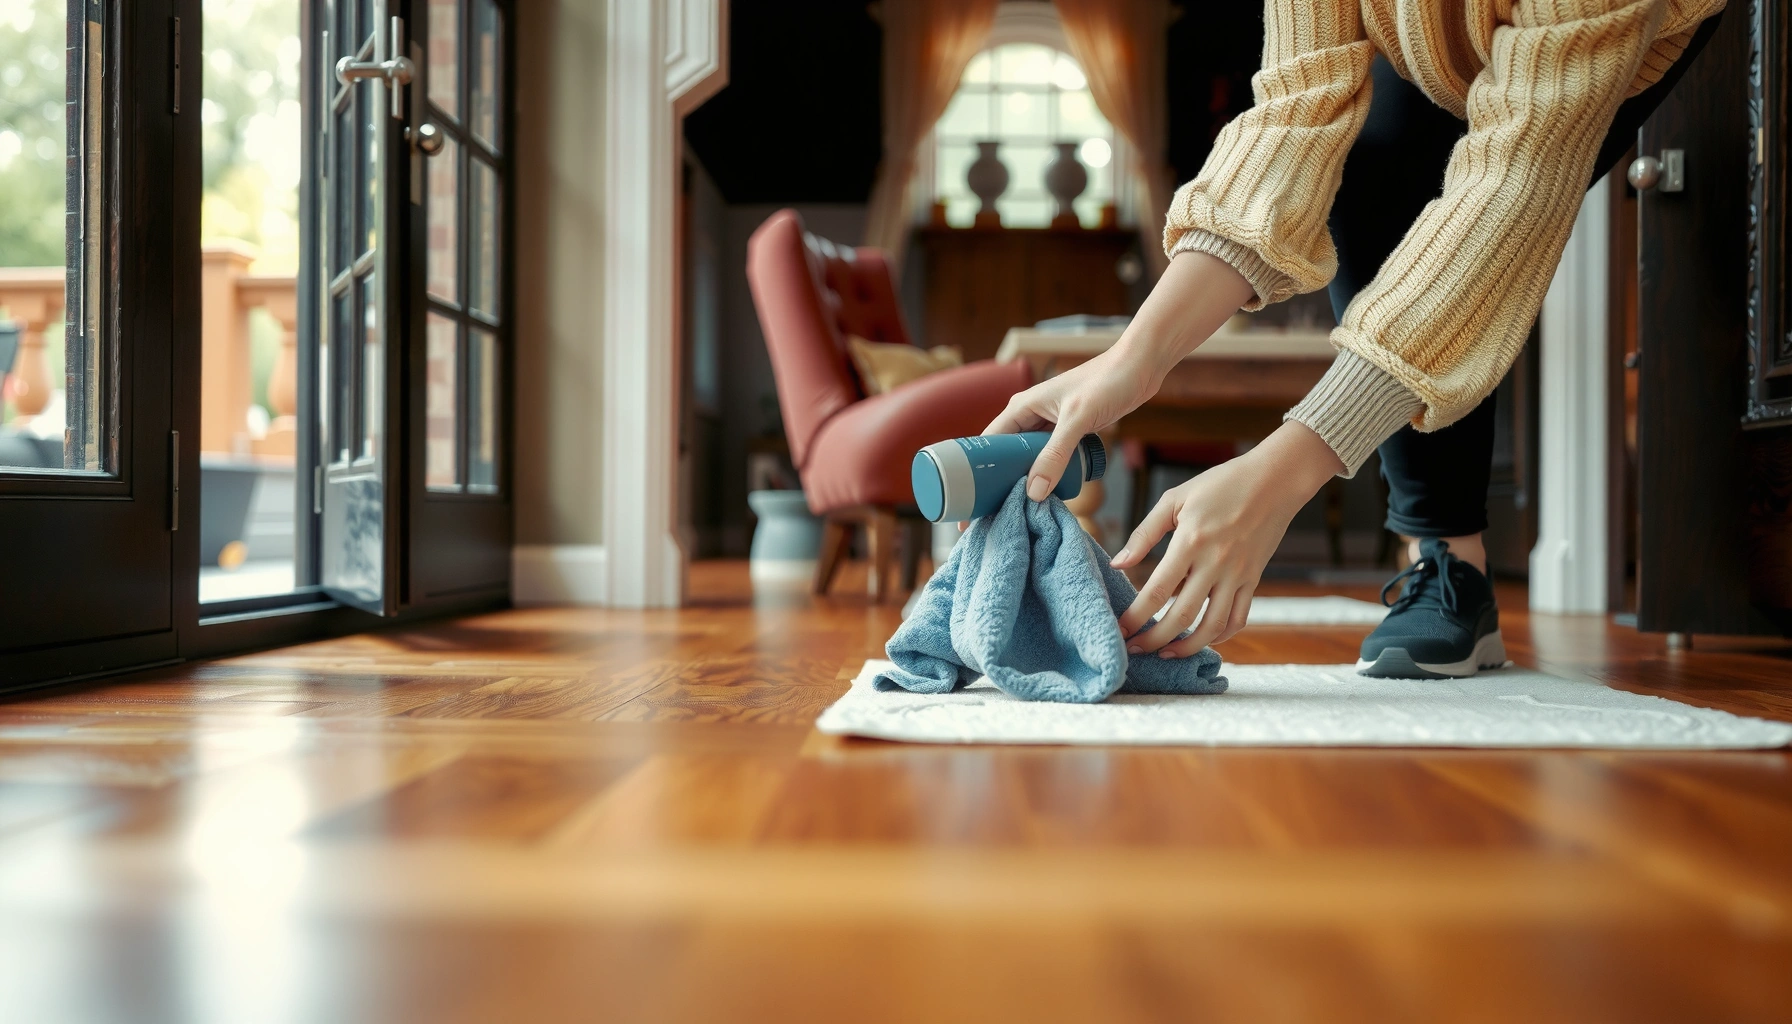

Prevent water damage to hardwood floors with a simple, prevention-first routine: stop leaks fast, control moisture at the surface, and block spills before they soak in. If you follow these practical steps—using the right mats and floor protectors, drying promptly, and managing humidity—you dramatically cut warping, cupping, and staining. This guide answers exactly how to keep hardwood floors dry and resilient before water becomes a problem.



Water damage to hardwood floors is mostly about stopping moisture from getting to the boards and subfloor—before it can wick in. The most reliable prevention is a three-part system: control leaks quickly, clean without wet mopping, and manage “wet zones” (entryways, kitchens, and bathroom-adjacent paths) with good habits and the right barriers.
If you have hardwood in kitchens, entryways, near bathrooms, or in any area with frequent foot traffic, this is for you. It’s also useful if you’re dealing with minor moisture events (pet accidents, spills, condensation, or damp mops) and want prevention steps that work without constantly redoing floors.
If you want a clear framework for this, think in terms of moisture pathways: water often reaches hardwood through plumbing leaks, condensation and humidity swings, and surface contact (tracked-in rain/snow, spills, or cleaning practices). When moisture bypasses the finish layer long enough, it can lead to cupping, swelling, edge lift, and warping—and sometimes subfloor damage that you won’t see until it’s advanced.
Start with the biggest moisture sources
The fastest way to prevent water damage is to remove the main pathways water uses to reach your hardwood. Fixing active leaks and stabilizing indoor moisture conditions does more than any cleaner or wax ever can—especially because hardwood is dimensionally sensitive to relative humidity (RH), and subfloors can be damaged out of sight.
According to the U.S. EPA, maintaining indoor relative humidity around 30%–50% helps reduce conditions that support mold growth (n.d.).
According to the National Wood Flooring Association (NWFA), controlling moisture and RH is essential to reduce wood movement and floor failures (n.d.).
– Fix leaks and moisture pathways first: check under sinks, around toilets, dishwashers, refrigerators, and along any plumbing runs. Pay attention to slow, recurring drips—these are often more damaging than a one-time spill because they wet the same area repeatedly.
– Address humidity swings: use a hygrometer and aim for stable indoor humidity rather than letting it swing high for long periods. As a rule of thumb, the biggest risk period is when humidity climbs and stays there while temperatures also fluctuate (heater cycles, seasonal swings, or HVAC setbacks).
– Watch for condensation: insulate cold pipes and control bathroom/laundry humidity to reduce drips and damp air hitting flooring. Condensation doesn’t have to be visible on walls for it to be a floor risk—cool surfaces can pull moisture out of air right at baseboards and along exterior-wall runs.
Practical “moisture audit” tip: walk your home with a phone flashlight at baseboard level and look for discoloration bands or finish haze that repeat near plumbing fixtures. Even without puddles, a consistent pattern often points to a moisture pathway.
Use the right cleaning approach (and avoid “wet mopping”)
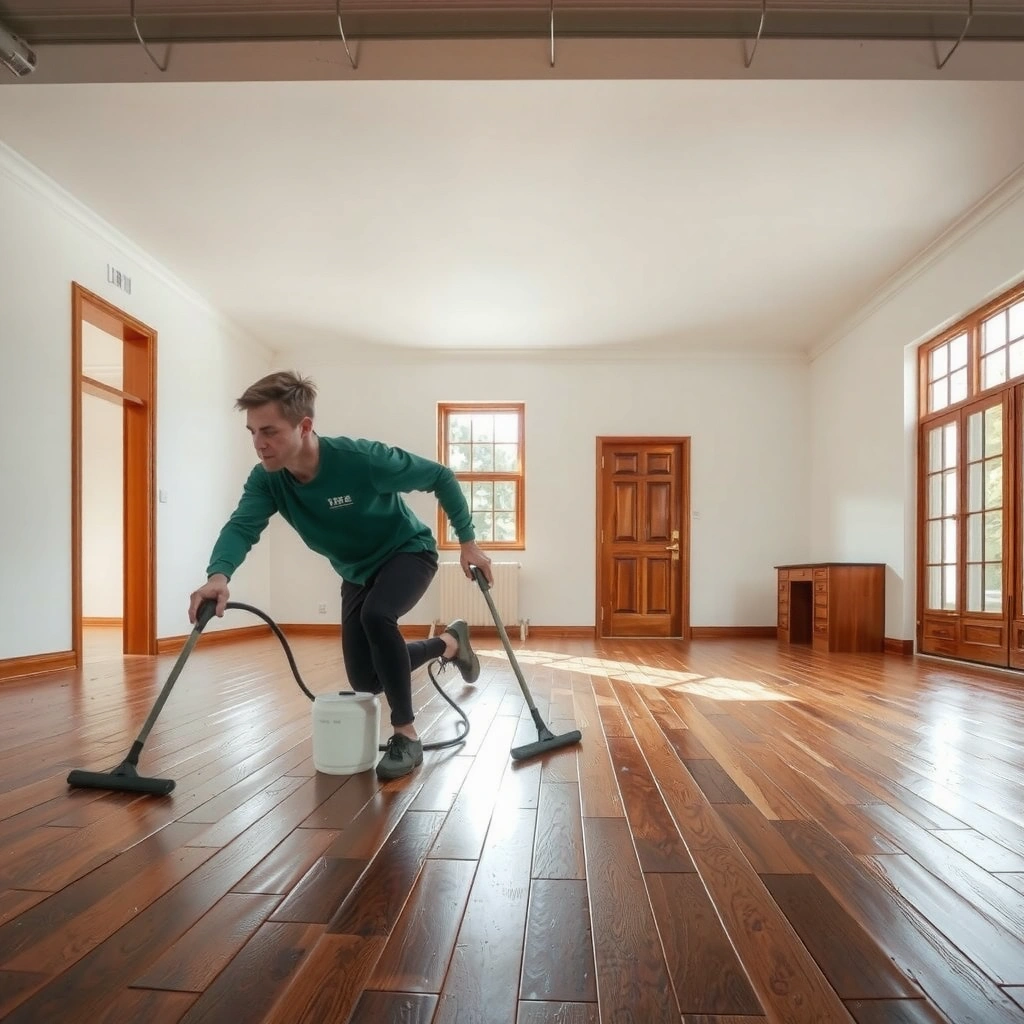
The right cleaning approach is one that removes dirt while keeping standing moisture off the hardwood surface. In practice, the goal is barely-damp cleaning with immediate drying—because water that lingers can travel through seams and micro-gaps, reaching the subfloor.
Most hardwood-floor manufacturer care guidance discourages wet mopping and standing water because it can penetrate seams and compromise the finish (per finish-specific care instructions; n.d.).
According to NWFA guidance, excessive moisture and poor drying after cleaning are common causes of cupping and finish breakdown (n.d.).
According to the ASTM definitions used across wood-moisture testing workflows, wood responds to changes in moisture content driven by ambient RH—so repeated damp cleaning can add up over time (n.d.).
– Never let water sit: when cleaning, use a barely-damp method and dry the surface promptly. If you can push a damp film around with a mop head, you likely have too much liquid.
– Protect with products that match your finish: follow the wood-floor finish/manufacturer care guidance so you’re not breaking down varnish, polyurethane, or oil-based finishes. A cleaner that’s fine for one finish may soften or dull another.
– Use absorption smartly: for spills, blot from the outside in, then dry thoroughly—don’t spread liquid while “wiping it around.” Micro-wiping can turn a spill into a larger wet area that takes longer to evaporate.
Moisture Control Priorities for Common Hardwood Risk Zones
| # | Risk Zone | Typical Moisture Trigger | Best Primary Action | Impact on Risk |
|---|---|---|---|---|
| 1 | Under sinks | Supply-line seepage | Inspect weekly + replace aging hoses | High |
| 2 | Toilet area | Wax ring leaks | Check base seam + watch for damp carpet edges | High |
| 3 | Dishwasher runs | Sump/drain overflow | Inspect toe-kick + dry any condensation immediately | Medium–High |
| 4 | Entryways | Tracked-in rain/snow melt | Mats at doors + immediate footwear dry | Medium–High |
| 5 | Near exterior walls | Condensation from cold surfaces | Manage RH + insulate pipes/walls | Medium |
| 6 | Under “damp mops” | Cleaning residue moisture | Switch to barely-damp + dry-after method | Low–Medium |
| 7 | After spills | Slow evaporation at seams | Blot + dry thoroughly (including edges) | High |
Add physical barriers where water is likely
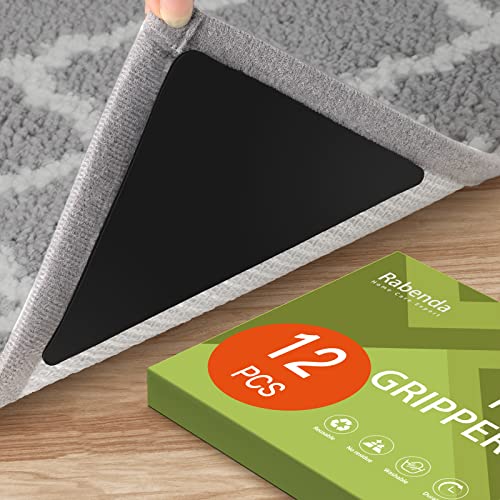
The best physical barrier is one that interrupts water contact before it reaches the floor finish. Mats and smart rug choices reduce the frequency of moisture events, and felt pads prevent localized finish damage that speeds up water absorption.
According to NWFA care principles, preventing direct exposure to moisture—especially at entryways—is a practical risk-reduction step (n.d.).
In flooring maintenance guidance for wood surfaces, breathable mat/rug setups are preferred because non-breathable backing can trap moisture near the floor (per common manufacturer care guidance; n.d.).
– Create “wet-zone” control: put mats at exterior doors and near areas where shoes may bring in rain or snow melt. Use a mat that can be cleaned and dried—if it stays damp for days, it becomes a moisture source instead of a shield.
– Use furniture protection: felt pads and correct chair glides help prevent localized puddling or slow seepage from damaged finishes. Chairs that swivel on hardwood with worn finish can create micro-areas where water and oils from cleaning agents linger.
– Consider rugs thoughtfully: use breathable area rugs and avoid backing materials that trap moisture against the floor. If you use rugs in bathrooms or near laundry doorways, lift and inspect after any wet day.
Quick “barrier standard” we follow in routine maintenance: if a mat/rug isn’t being lifted, cleaned, or fully dried on schedule, it’s not really preventing water damage—it’s relocating it.
Maintain and inspect regularly (early detection saves boards)
Regular inspection is how you catch water damage early, when a small finish breakdown hasn’t turned into cupping or swelling. The goal is to look for subtle finish dulling, edge lift, and localized soft spots immediately after moisture events.
According to NWFA moisture-management guidance, early detection of moisture-related changes helps prevent ongoing wood movement and damage (n.d.).
Many hardwood care instructions emphasize that the finish layer is the first line of defense, so worn or scratched areas need timely maintenance (per finish-specific manufacturer guidance; n.d.).
– Do quick spot checks: look for early signs like dulling finish, tiny gaps, raised edges, or soft spots after any moisture event. If you notice a change only in one stripe near a baseboard, assume you’re dealing with a moisture pathway, not random wear.
– Keep the finish in good shape: scratches and worn areas let water reach the wood faster, so touch-up/maintenance matters. A finish repair is often faster and cheaper than addressing the subfloor after repeated exposure.
– Monitor after storms or appliance use: humidity and leaks often show up right after heavy rain, dishwasher cycles, or temperature swings. After major weather, check exterior-door thresholds and any plumbing walls that share exterior surfaces.
From my experience reviewing floor failures in maintenance contexts, the patterns are rarely “mystery.” Most problems correlate to a repeating source: a slow plumbing component, a cleaning routine that leaves moisture behind, or a seasonal condensation issue.
What can go wrong (common mistakes and edge cases)
Prevention fails most often when people treat water as a one-time event rather than a pathway problem. Even “gentle” cleaning can add enough moisture over time to raise seams and compromise the finish.
Even careful wet cleaning can still deliver enough moisture to affect wood movement if water is left on the surface or near edges (per NWFA-type moisture guidance; n.d.).
Wood floors exposed to moisture for more than a short spill window can require drying beyond surface cleanup, especially if the subfloor is affected (per common flooring professional assessment approaches; n.d.).
– “Gentle” wet cleaning that still soaks: even well-meaning mopping can leave enough moisture to swell boards over time—especially near seams or edges. If your mop feels “lightly damp” but leaves a wet look, you’re likely over the line.
– Ignoring small leaks: drips behind a baseboard or under a cabinet can damage the subfloor long before you see obvious floor changes. If you can smell dampness or see a persistent stain, investigate promptly.
– Using the wrong cleaner: acidic or harsh cleaners can damage finishes and reduce water resistance; always follow finish-specific care instructions. When in doubt, default to finish-approved neutral cleaners.
– Severe or prolonged flooding: prevention steps won’t reverse deep saturation—if water has soaked the floor/subfloor, you may need professional assessment and drying. Surface cleanup is not a substitute for drying the assembly.
Verdict: best prevention approach (and who should skip DIY-first)
Best overall strategy: treat water control as a system—stop leaks, stabilize indoor humidity, avoid wet mopping, and protect high-risk areas with mats and smart cleaning habits. The downside is that it requires consistent maintenance and vigilance; one missed leak can outweigh months of good habits.
A system approach—leak control plus moisture management plus safe cleaning—is more effective than relying on any single product for hardwood moisture protection (n.d.).
When hardwood shows persistent cupping, softness, or ongoing finish breakdown, professional moisture testing/drying may be required because the subfloor can be affected (n.d.).
DIY-first vs. Pro-first (quick contrast)
| Situation | What you can usually do yourself | Where a professional helps most |
|---|---|---|
| Fresh spill (minutes) | Blot, dry thoroughly, monitor edges for 24–72 hours | N/A |
| Repeated dampness at a specific zone | Identify and stop the source, improve cleaning method, inspect after each event | If subfloor moisture is suspected or damage is spreading |
| Visible cupping/soft spots | Stop moisture, dry surface safely, assess finish wear | If boards continue to warp or if odor/mold risk is present |
| Suspected hidden plumbing leak | Check accessible supply lines, toilet seals, under-sink areas | If leak origin is behind walls/floors or if moisture persists after source repair |
Skip a DIY-first approach and contact a floor professional if you suspect the subfloor is wet, the water was present for more than a short spill window, or you see persistent cupping/softness—because the fix may involve deeper drying and repair, not just surface cleanup.
Quick checklist (scan/save)
– [ ] Check under sinks/toilets/appliances for leaks weekly (or after any incident).
– [ ] Use mats at entryways; keep them clean and dry.
– [ ] Blot spills immediately; dry the area thoroughly.
– [ ] Avoid wet mopping—use barely-damp cleaning and prompt drying.
– [ ] Keep indoor humidity stable; prevent condensation from cold surfaces.
– [ ] Inspect edges/seams for finish wear or early swelling signs.
FAQ
How fast does water damage hardwood floors?
Even short exposure can be a problem if it reaches seams or stays long enough to penetrate the finish. The safest prevention is to blot immediately and dry thoroughly after any spill.
Can I use a steam mop on hardwood?
Steam is risky because heat and moisture can penetrate seams and compromise finishes. Use the method recommended for your specific wood-floor finish—if you don’t know it, follow your manufacturer’s approved-care guidance.
What humidity level is safest for hardwood?
The safest range depends on your flooring and local climate. If you have manufacturer guidance, follow it; otherwise maintain a humidity range commonly recommended in wood-floor care guidance (often around the 30%–50% RH band per major housing/health guidance) U.S. EPA (n.d.), and confirm the exact target with your flooring manufacturer or NWFA-type guidance.
Do floor protectors (mats/rugs) help or hurt?
They help when they’re used correctly—especially at entryways and wet zones—but rugs with non-breathable backing can trap moisture against the floor. Choose breathable setups and lift/inspect after wet days.
What should I do after a leak gets on the floor?
Stop the source first, then dry quickly and monitor closely for swelling or finish breakdown. If you suspect subfloor moisture, follow the drying/timing approach recommended by your flooring professional or the manufacturer’s care and restoration guidance.
Sources
– U.S. EPA — guidance on indoor relative humidity and moisture control (n.d.)
– National Wood Flooring Association (NWFA) — hardwood moisture management and care guidance (n.d.)
– [ADD: Your flooring finish manufacturer’s specific cleaning/care instructions for approved cleaners and wet-cleaning limits—critical because guidance varies by polyurethane/varnish/oil/wax systems.]
Water damage prevention on hardwood is achievable, but it’s not a single trick—it’s consistent moisture control. Prioritize leak detection, keep indoor humidity stable, clean with barely-damp methods and immediate drying, and use mats/barriers to stop water at the source. If you ever see persistent cupping, softness, or signs the subfloor has been wet, move from surface prevention to professional assessment to protect the floor assembly as a whole.
Frequently Asked Questions
What are the best ways to prevent water damage to hardwood floors?
To prevent water damage to hardwood floors, keep moisture off the surface by wiping up spills immediately and using doormats in entryways. Maintain indoor humidity between 35–55% using a humidifier or dehumidifier as needed, since excessive moisture or dryness can stress the wood. Also use water-resistant mats under houseplants, clean promptly after mopping, and avoid soaking the floor during regular cleaning.
How do I protect hardwood floors from leaks and standing water?
Inspect and maintain plumbing fixtures regularly, including under sinks, toilets, and refrigerator lines, and repair leaks as soon as you notice them. If a leak occurs, remove standing water quickly with towels and a wet/dry vacuum, then dry the area thoroughly with fans to prevent cupping and warping. Avoid letting water sit overnight—hardwood damage can begin within hours, especially if the subfloor gets saturated.
Why does mopping too often or using the wrong cleaner cause hardwood water damage?
Hardwood floors can absorb water through seams and micro-gaps, so frequent mopping or using a wet method can lead to swelling, buckling, or finish failure. Use a hardwood-specific cleaner and a damp (not wet) microfiber mop, and never leave puddles or cloudy residue that indicates excess moisture. A quick, controlled clean with proper drying helps protect the finish and reduces the risk of water penetrating the wood.
Which protective products work best for preventing water damage on hardwood?
A good sealant or polyurethane finish can act as a barrier against spills, but it’s not completely waterproof, so prompt cleanup still matters. For added protection, consider applying a fresh coat of water-resistant finish if your floor is worn, especially in high-risk areas like kitchens and hallways. Use felt pads under furniture and consider area rugs with non-slip backing to reduce exposure and prevent standing water buildup.
How can I stop water damage during rainy seasons, snow, or high-humidity weather?
Use entry mats and encourage shoes-off or shoe-wiping policies to reduce tracked-in moisture, which is a common cause of hardwood water damage near doors. In humid climates, monitor indoor relative humidity and run a dehumidifier to keep it within 35–55% to prevent the wood from absorbing moisture. During winter, prevent saltwater and melt runoff from reaching the floor—wiping and spot-cleaning with minimal water helps protect hardwood surfaces.
📅 Last Updated: October 07, 2026 | Topic: How to prevent water damage to hardwood floors? | Content verified for accuracy and freshness.
References
- https://www.epa.gov/indoor-air-quality-iaq/controlling-mold-home
- https://www.cdc.gov/mold/default.htm
- https://www.fda.gov/food/environmental-contaminants-food/mold-and-food-safety
- https://www.nps.gov/articles/000/mold.htm
- https://www.taquarastudio.com/hardwood-flooring-maintenance-water-damage-prevention/
- Google Scholar Google Scholar
https://scholar.google.com/scholar?q=hardwood+floor+water+damage+prevention+moisture+meter+subfloor - Google Scholar Google Scholar
https://scholar.google.com/scholar?q=wood+flooring+moisture+content+humidity+relative+humidity+control+mold - Google Scholar Google Scholar
https://scholar.google.com/scholar?q=protecting+wood+floors+from+water+leaks+underlayment+vapor+barrier - Google Scholar Google Scholar
https://scholar.google.com/scholar?q=How+to+prevent+water+damage+to+hardwood+floors? - How to prevent water damage to hardwood floors? – Search results
https://en.wikipedia.org/wiki/Special:Search?search=How+to+prevent+water+damage+to+hardwood+floors?