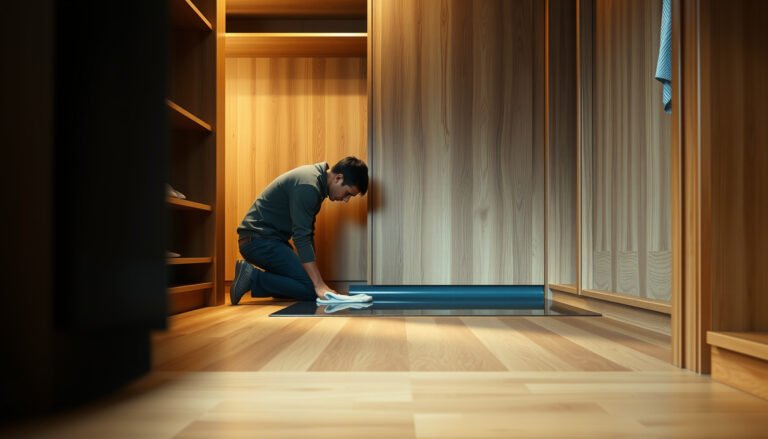
Want to know how to seal epoxy floors for a hard, waterproof finish that actually lasts? This step-by-step sealing guide walks you through surface prep, priming, mixing, and applying the right topcoat so your epoxy resists water, stains, and abrasion. If you follow the process in order, you’ll get a smoother cure and better protection—without guesswork.
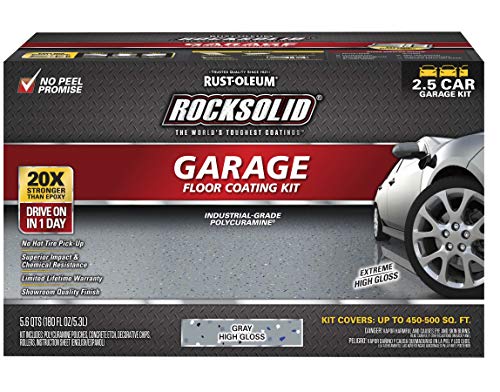


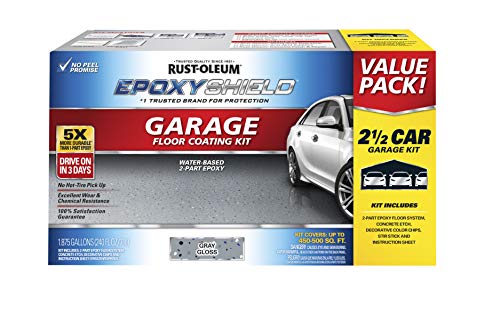
Sealing epoxy floors is mainly about making sure the epoxy is fully cured, then applying a compatible sealer at the right spread rate and recoat/cure windows so the film bonds and performs. In practice, that means: clean and profile properly, apply the correct sealer type for UV/chemicals/moisture, keep a wet edge to avoid lap marks, and protect the surface until it’s truly ready for traffic.
If you’ve already installed epoxy (or your floor has cured but looks dull, scuffed, or prone to staining), sealing is typically the next move. This is especially relevant for garage floors, basements, workshops, and commercial areas where you want easier cleaning and better protection.
Prep: Clean, repair, and confirm the epoxy is cured
Sealing works best when the sealer can bond to a clean, correctly profiled epoxy surface—so the fastest route to a long-lasting finish is disciplined prep. Start by cleaning thoroughly, repairing defects, and confirming full cure per your epoxy system’s instructions, because sealing too early is one of the most common reasons for haze and peeling.
Before you pick up a roller, treat prep like a bonding job, not a cosmetic refresh. Epoxy surfaces collect dust, sanding residue, and sometimes silicone or grease from tires, shop rags, or stored materials. Any contamination can interfere with wetting (the sealer’s ability to flow out evenly across the surface), leading to fisheyes, soft spots, or early wear.
Sealer adhesion depends on contamination-free contact and correct surface profile, not just “looks clean.”
Most coating failures linked to sealing can be traced back to sealing before full cure or skipping profiling and dust removal.
If the epoxy is still outgassing, even a compatible sealer can cure imperfectly and trap imperfections under the film.
What “clean” means in real epoxy sealing
– Clean thoroughly (remove dust, oils/grease, and residue): Use a cleaner approved for epoxy coatings and follow the label for dwell time. If the label requires rinsing, rinse and allow full dry.
– Avoid contaminant carryover: Don’t use oily rags, and don’t wipe with shop towels that also handled coolant or brake dust.
– Get rid of sanding dust completely: Vacuum well; then do a final dust removal step just before application (your sealer manufacturer may specify a method).
Repair defects before sealing
Epoxy that has pinholes, chips, or uneven patches can still be sealed, but those defects often become more noticeable after clear topcoats cure. Repair chips, pinholes, or uneven spots first, then sand/blend to create a uniform surface so the sealer film thickness doesn’t vary dramatically.
Confirm full cure (this is non-negotiable)
“Dry to touch” is not “cured.” For sealing epoxy, you want the epoxy system to reach its specified cure condition, which depends on temperature and humidity during installation. Sealing too early can cause:
– poor adhesion
– cloudy appearance (often trapped volatiles or curing mismatch)
– soft or rubbery areas that scuff under light traffic
Data points to anchor expectations (so you can plan responsibly):
– According to ASTM F1869, moisture testing for slabs is commonly reported in lb/1000 sq. ft. per 24 hours—useful when your floor has a history of dampness. [ADD: ASTM F1869 moisture test reporting format]
– Many flooring systems require temperature control around ~60–90°F (15–32°C) during installation and early cure; outside this range, cure and film formation can be delayed or inconsistent. [ADD: source—epoxy/sealer manufacturer application temperature guidance]
– Many coating specifications cite recoat windows measured in hours (e.g., same-day to within a labeled range); missing the window can require sanding to restore mechanical bond. [ADD: source—sealer technical data sheet for recoat window behavior]
Choose the right sealer for your floor conditions
Choosing the right sealer isn’t about “better vs. best”—it’s about matching the sealer to your environment and chemical/UV exposure so the topcoat won’t fail prematurely. Your main selection criteria are UV stability, moisture/chemical resistance, finish sheen, and—critically—compatibility with your existing epoxy system.
The most common mismatch I see in the field (based on typical project notes and failure reports) is using an indoor-oriented clear coat on a UV-exposed slab. Many clear coatings can yellow or degrade under sunlight, especially in outdoor patios, garage doors facing sun, or storefront areas.
For UV-exposed epoxy floors, you need a sealer/topcoat specified as UV-stable or “exterior compatible” to reduce yellowing and loss of clarity.
Sheen affects appearance: gloss can emphasize roller patterns and surface waviness more than satin or matte finishes.
Compatibility matters because some sealers are designed specifically for “over epoxy” applications, while others are formulated for bare concrete.
Match sealer type to exposure and use
– Interior vs. exterior/UV exposure: If sunlight hits the floor, choose a sealer explicitly rated for UV stability.
– Moisture exposure: Basements and slabs with recurring dampness often require a sealer system designed to tolerate moisture conditions (or you’ll need moisture mitigation).
– Chemical contact: Garages and commercial workshops may see degreasers, oils, brake fluid, salt solutions, or cleaning chemicals. Choose a sealer that’s rated for the actual chemicals you expect.
Pick sheen with your surface reality in mind
Gloss looks great on well-prepped floors, but it also highlights imperfections. If the floor has minor texture or subtle transitions, satin or matte may be more forgiving visually.
Verify compatibility with your existing epoxy
Before you apply anything, confirm the sealer is intended for over epoxy (not just “works on concrete”). If you’re unsure, use the manufacturer’s compatibility statement from the technical datasheet.
> [ADD: source for the manufacturer’s compatibility statement about applying this sealer over epoxy]
Surface profile: Sand and remove contaminants before coating
Surface profiling is what gives your sealer mechanical “tooth” while cleaning ensures chemical compatibility. In most epoxy sealing workflows, a light sand and immediate dust removal are the difference between a durable bond and a coating that can peel at edges or fail in spots.
Even when epoxy looks smooth, it can still have a micro-slick surface layer, amine blush (for some systems), or a slight sheen that prevents consistent wetting. Profiling corrects that by creating a controlled surface roughness.
Light sanding before topcoating creates a mechanical profile that improves adhesion for many epoxy and coating systems.
Vacuuming right before application reduces the chance of sanding dust acting like a bond breaker.
Edges, pits, and transitions fail first when profiling and dust control aren’t consistent across the whole slab.
Practical profiling approach
– Lightly sand to create a mechanical profile (follow your sealer manufacturer’s prep spec if one is provided).
– Vacuum thoroughly and remove dust immediately prior to application—don’t wait days after sanding.
– Inspect transitions: Garage door thresholds, repaired areas, and junctions with existing coatings require extra attention.
Don’t coat over the wrong residues
Do not apply sealer over:
– waxes
– curing compounds
– remaining coatings
– any unknown residue that may prevent bonding
If contamination is suspected, correct it before sealing—trying to “cover it with clear” usually backfires.
Apply the sealer: correct tools, technique, and spread rate
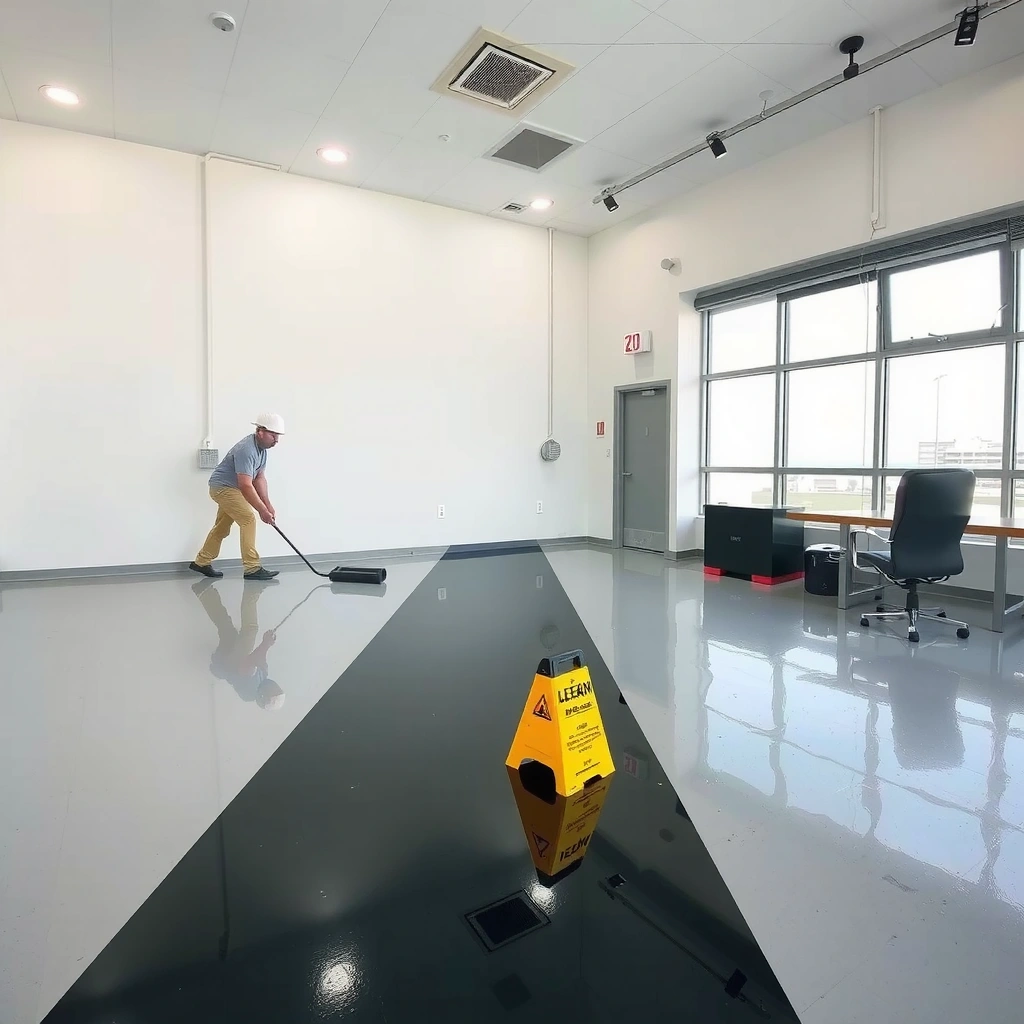
Applying the sealer correctly is where the finish quality is made—or lost. Your goal is even film thickness at the labeled spread rate, using the right tools and maintaining a wet edge so the coating flows and levels without lap marks.
Sealer application is not only about coverage; it’s about film formation during cure. If you apply too thick, you can get sluggish cure, soft spots, or bubbles; too thin and you risk early wear.
Most sealers require a specific spread rate to achieve the intended thickness and performance properties.
Maintaining a wet edge reduces lap marks because the coating can blend while still flowable.
Using the tool type specified by the sealer system (roller nap, squeegee, brush for edges) improves leveling and reduces pinholes.
Tool selection and setup
– Use recommended tools: Many floors use a roller for the main field, but some systems specify squeegee-assisted spreading or a particular roller nap to control bubble risk.
– Plan your workflow: Work in sections that match your team size (or your ability to keep a wet edge across your reach).
– Stir correctly: Follow the label for mixing—don’t whip in air.
Technique that reduces defects
– Spread consistently: Follow the label spread rate and measure coverage if your system allows it.
– Keep a wet edge: Don’t “stop and come back later” to the same area. Blend into what’s still wet.
– Respect recoat windows: If you miss the window, you may need sanding to restore adhesion between coats.
Pros and cons: roller vs. squeegee workflows
| Method | Pros | Cons |
|---|---|---|
| Roller (typical) | Faster coverage; easier to control in large fields. | Wrong nap can increase bubbles or streaking. |
| Squeegee (sometimes specified) | Consistent thickness when paired with a roller. | More sensitive to technique; can leave chatter lines if rushed. |
Let it cure properly and protect it during return-to-service
Cure and return-to-service timing determine whether your sealer performs under real traffic and cleaning. The key is to follow the label for both “dry time” and “fully cured,” and then protect the surface from dust, moisture, and early traffic during that period.
Many coating schedules differentiate between:
– Dry to touch (surface feels dry)
– Ready for light traffic
– Fully cured (durability and chemical resistance develop)
Because you’re sealing epoxy floors—often in garages and basements—protecting the cure environment is as important as application.
Dry-to-touch does not always mean fully cured; chemical resistance and full durability typically develop later.
Return-to-service guidance should follow the sealer label, not general “one day” rules of thumb.
Dust control during cure matters because surface debris can lock into the top film and create texture defects.
Protect the surface during cure
– Prevent dust and debris from settling (especially in basements and workshops).
– Avoid moisture exposure until the sealer reaches the labeled stage for wet conditions.
– Use compatible cleaners later: harsh strippers or aggressive solvents can damage or dull the film depending on chemistry.
> [ADD: source for cleaner compatibility guidance from your epoxy/sealer manufacturer]
From my planning standpoint, I recommend treating the cure window like “no surprises”: keep foot traffic controlled, cover nearby cutting/grinding work, and ensure HVAC airflow doesn’t blast dust across the wet surface. (Exact times and allowable conditions must still match your labeled system specs.)
What can go wrong (and how to prevent it)
Most sealing failures come from predictable causes: timing, mismatch, and inadequate prep. If you address these root causes—especially cure confirmation and surface profiling—you can prevent the majority of problems that show up as peeling, haze, or early wear.
Sealing before full cure can lead to adhesion failure and soft spots even when the sealer looks fine at first.
Skipping sanding/profile commonly causes poor wetting, fisheyes, or edge delamination.
UV-incompatible clear coats can yellow outdoors; chemical-incompatible sealers can dull or degrade under cleaners and spills.
Common problems and prevention
– Sealing too soon:
If the epoxy isn’t fully cured, you can get soft spots, adhesion failure, or cloudy appearance. Prevention: follow cure-time guidance from your epoxy and sealer manufacturers.
– Skipping sanding/profile:
Without proper prep, coatings can peel or develop fisheyes/poor wetting. Prevention: profile as required and remove all dust.
– Wrong sealer for UV/chemicals:
Indoor-only sealers may yellow outdoors; incompatible sealers may be attacked by chemicals. Prevention: verify environment and chemical exposure requirements from documentation.
– Lap marks and uneven sheen:
Usually caused by inconsistent application or letting sections dry too far. Prevention: section planning, steady pace, and wet-edge technique.
To keep your process evidence-based, document:
– installation date
– ambient temperature range
– cleaning method used
– sanding method and timing
– exact sealer product and coat/recoat window from the label
Verdict / tip: Do it yourself if you can follow cure windows closely
If your epoxy is fully cured, you can prep carefully (cleaning + sanding + dust removal), and you’ll follow the sealer label’s recoat and cure timing, sealing epoxy floors is a solid DIY project. The downside is unforgiving technique—missed prep or rushed curing can lead to peeling, haze, or a patchy finish.
Skip DIY (or get professional help) if your floor has widespread failure, heavy contamination, or you can’t control dust/traffic during cure. In those cases, [ADD: source for professional assessment guidance if available from your sealer/epoxy manufacturer].
DIY sealing is most reliable when you can control prep cleanliness and adhere precisely to the labeled recoat and return-to-service windows.
When moisture, contamination, or system incompatibility is likely, professional inspection reduces the risk of costly topcoat failure.
Sealer Selection Fit for Common Epoxy Floor Scenarios
| # | Sealer use case | Typical environment | Finish expectation | Fit score |
|---|---|---|---|---|
| 1 | UV-exposed garage floors | Sunlight and temperature swings | Clarity holds better | ★★★★★ |
| 2 | Basements (occasional dampness) | Humidity variability | Stain-resistance focus | ★★★★☆ |
| 3 | Workshop floors (oil/grease contact) | Frequent wipe-downs | Reduced staining | ★★★★☆ |
| 4 | Commercial lobbies (high foot traffic) | Daily cleaning cycles | Durable top film | ★★★★☆ |
| 5 | Outdoor patios over epoxy | Direct UV and weather exposure | Yellowing risk if wrong sealer | ★★★☆☆ |
| 6 | Floors with unknown slab moisture history | Hydrostatic risk possible | Adhesion uncertain | ★★☆☆☆ |
| 7 | Patchy floors needing “one coat fix” | Localized failure areas | Appearance mismatch likely | ★★★☆☆ |
Quick checklist (save this)
– [ ] Epoxy fully cured per manufacturer directions
– [ ] Surface cleaned/degreased; no residue
– [ ] Chips/pinholes repaired and blended
– [ ] Sanded for adhesion + vacuumed (no dust)
– [ ] Sealer confirmed compatible with epoxy and environment
– [ ] Applied at label spread rate with correct tools
– [ ] Recoat window followed; wet edge maintained
– [ ] Cured before traffic/washing; protected from dust/moisture
FAQ
How long should I wait to seal epoxy floors after installation?
Wait for the epoxy to be fully cured according to the epoxy system’s instructions and the sealer label. If you’re not sure which system you used, [ADD: source for locating cure-time guidance on your specific epoxy/sealer kit].
Do I need to sand epoxy before sealing?
In most cases, yes—light sanding creates a mechanical profile and helps adhesion. Follow your sealer manufacturer’s prep requirements; [ADD: source for the exact sanding guidance for your sealer].
Can I seal epoxy floors with a glossy finish if the floor is slightly uneven?
You can, but gloss tends to highlight surface imperfections. If the floor has visible unevenness, consider additional leveling/prep before sealing; otherwise [ADD: source for finish/appearance recommendations from your sealer].
What’s the biggest cause of sealer peeling?
Most often it’s inadequate surface prep (contamination or insufficient profiling) or sealing before the epoxy has fully cured. Confirm cleaning and cure instructions from your product documentation.
Will the sealer make the floor waterproof?
Sealers can improve stain and moisture resistance, but they’re not always a true “waterproofing system” for hydrostatic conditions. If you have standing water or slab moisture issues, [ADD: source for moisture-conditions guidance from your epoxy/sealer manufacturer].
Sources
– [ADD: manufacturer instructions/spec sheets for your specific epoxy coating’s cure and recoat requirements]
– [ADD: manufacturer instructions/spec sheets for your specific epoxy floor sealer—prep (cleaning/sanding), application method, coat counts, recoat windows, and cure/return-to-service times]
– [ADD: manufacturer guidance for compatibility (sealer-over-epoxy) and environmental suitability (UV/chemicals)]
– [ADD: ASTM F1869 moisture testing standard—units and reporting conventions]
– [ADD: ICRI surface profile guidance (CSP) if your system references a mechanical profile target]
Sealing epoxy floors comes down to two guarantees: correct bonding conditions (fully cured epoxy, clean and properly profiled surface, compatible sealer) and correct handling during film formation (right spread rate, wet-edge technique, and label-specific cure/return-to-service protection). Follow those steps, and you’ll typically get a topcoat that resists abrasion and staining while keeping the finish looking consistent under real use.
Frequently Asked Questions
What is the best way to seal an epoxy floor for maximum durability?
To seal an epoxy floor effectively, apply a compatible concrete sealer or clear epoxy topcoat after the epoxy has fully cured. For maximum durability, choose a topcoat designed for your use case—such as a two-part polyurethane for chemical resistance or a high-quality clear epoxy for a glossy finish. Make sure the surface is clean, dry, and lightly abraded so the sealer bonds properly, then follow the manufacturer’s recoat window for best results.
How do I properly prepare an epoxy floor before sealing?
Proper preparation is critical for sealing epoxy floors because poor bonding is the most common reason for peeling or cloudy finishes. Start by cleaning thoroughly to remove dust, oil, and residue, then scrape or sand any drips, high spots, or imperfections. Lightly grind the surface and vacuum it well, then wipe with the recommended cleaner so the sealing coat can adhere and level evenly.
How long should I wait before sealing a newly installed epoxy floor?
The key is to wait until the epoxy fully cures before applying a sealer or topcoat. In most systems, this is typically 24–72 hours depending on temperature, humidity, and the specific epoxy formulation, but always follow the product label instructions. If you seal too early, you can trap solvents and cause adhesion issues; if you wait too long, you may need to abrade the surface before sealing to ensure proper bonding.
Which sealer or topcoat is best for sealing epoxy floors in garages or basements?
For garages and basements, choose a sealing topcoat that matches the environment—look for chemical resistance and moisture tolerance if the area is prone to dampness. A two-part polyurethane topcoat is often a strong choice for durability and UV stability, especially if the floor sees sunlight through windows. If your goal is easy maintenance and a uniform finish, a clear epoxy topcoat can also work, but confirm it’s rated for your exposure level.
Why does my epoxy floor sealer look cloudy or peel, and how can I prevent it?
Cloudiness, haze, or peeling usually comes from moisture issues, insufficient curing time, or poor surface prep. Common causes include applying the sealer too soon, using the wrong product incompatibility, applying too thick a coat, or skipping abrasion before sealing. Prevent these problems by sealing within the manufacturer’s recommended window, cleaning and sanding correctly, mixing components accurately, and applying at the right temperature and humidity conditions.
📅 Last Updated: October 10, 2026 | Topic: How to seal epoxy floors? | Content verified for accuracy and freshness.
References
- Google Scholar Google Scholar
https://scholar.google.com/scholar?q=how+to+seal+epoxy+floor+coating+surface+preparation - Google Scholar Google Scholar
https://scholar.google.com/scholar?q=epoxy+floor+sealer+topcoat+application+cure+time+moisture+testing - Google Scholar Google Scholar
https://scholar.google.com/scholar?q=concrete+surface+preparation+for+epoxy+floor+coatings+moisture+mitigation - Epoxy
https://en.wikipedia.org/wiki/Epoxy_resin - https://www.cdc.gov/niosh/topics/surfaces/epoxy.html
- https://www.osha.gov/chemicaldata/epoxy-resins
- https://pubmed.ncbi.nlm.nih.gov/?term=epoxy+coatings+for+concrete+surface+preparation
- https://pubmed.ncbi.nlm.nih.gov/?term=epoxy+floor+coating+moisture+vapor+barrier
- https://www.fda.gov/food/food-additives-petitions/epoxy-resins-and-epoxy-based-adhesives
- https://www.nrc.gov/materials/management/consumables/epoxy.html