
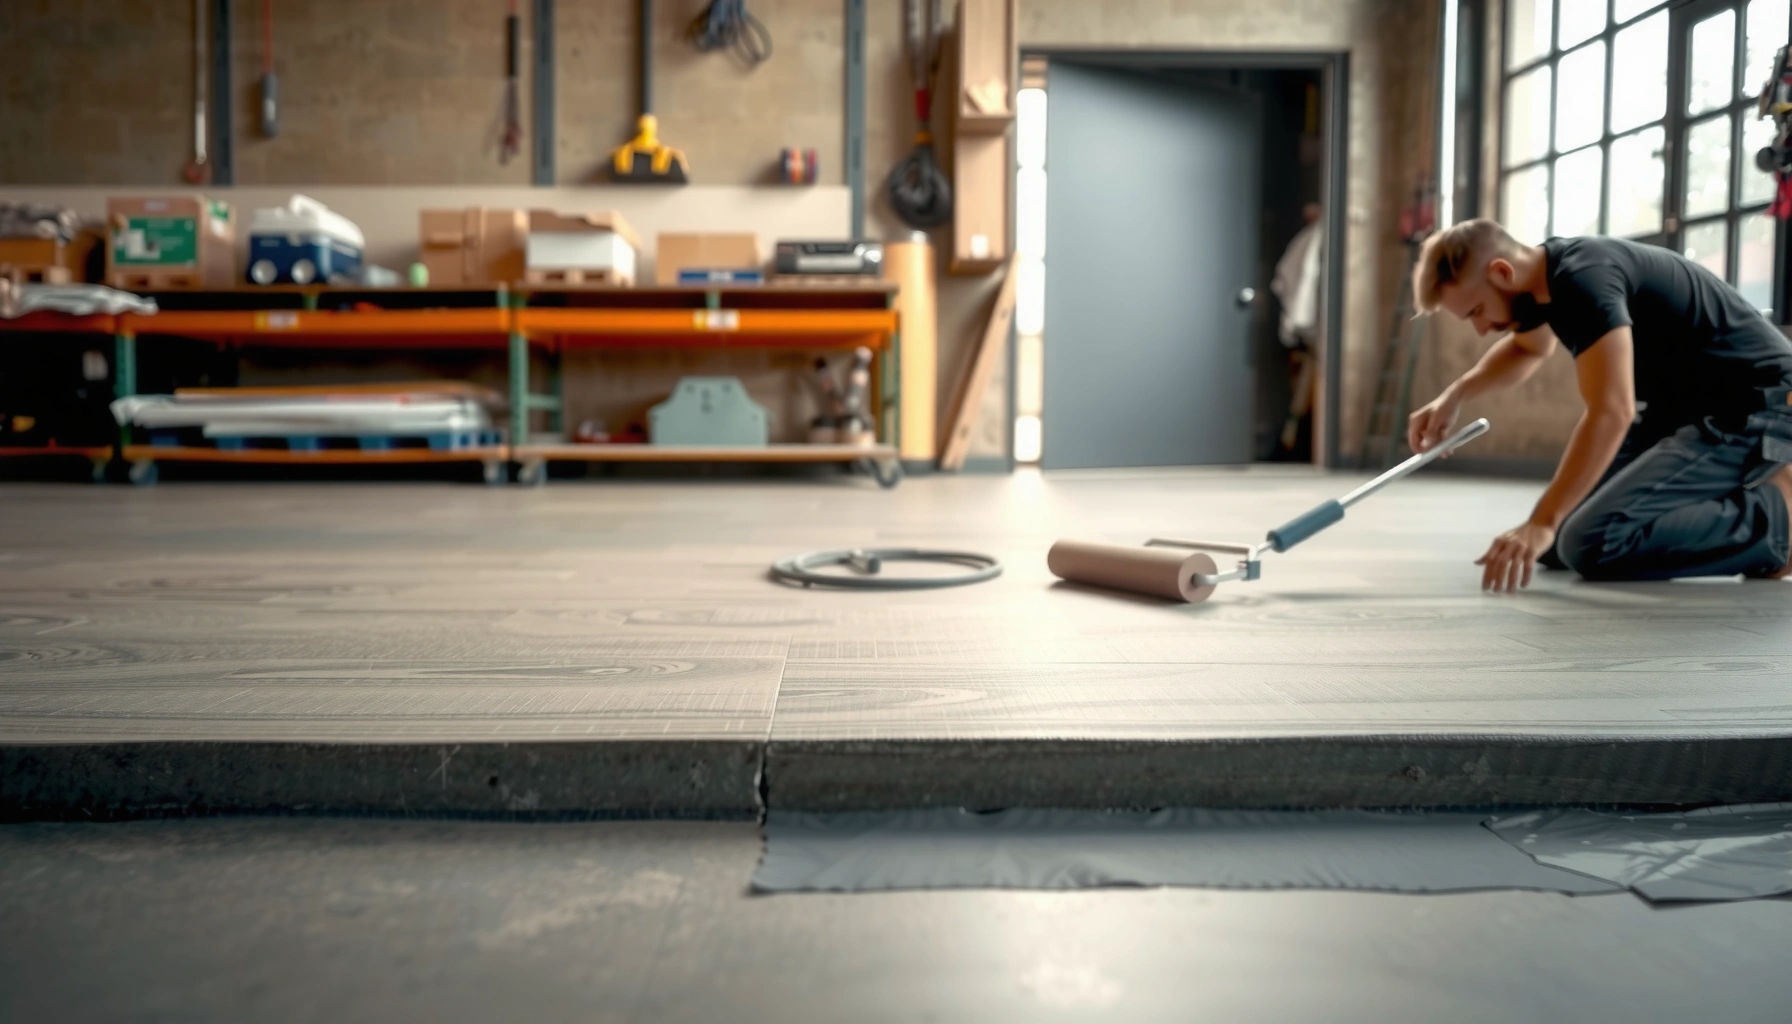

Installing polyaspartic floors around door openings is straightforward when you follow the right prep, templating, and edge-detailing steps—this guide tells you exactly how to do it without gaps or lifting. You’ll learn the correct way to shape the polyaspartic around door thresholds, seal the perimeter, and finish transitions so the floor holds up to frequent foot traffic. If your priority is a clean, durable fit at every doorway, this step-by-step process is the fastest route.




Getting a clean polyaspartic finish around doors comes down to one thing: planning a tight, continuous edge detail where the coating meets the doorway—without bridging movement joints. In practice, that means correct slab prep, a deliberate threshold transition/trim approach, and perimeter sealing so the edge doesn’t lift, crack, or chip under traffic.
If you’re installing (or finishing) a polyaspartic system in a room with doorways—especially where foot traffic hits quickly after cure—this is for you. It’s also useful if you’re trying to avoid the “ragged edge” look that happens when the coating stops awkwardly at jambs or thresholds, leaving an uneven lip that collects debris.
Plan the Doorway Detail First
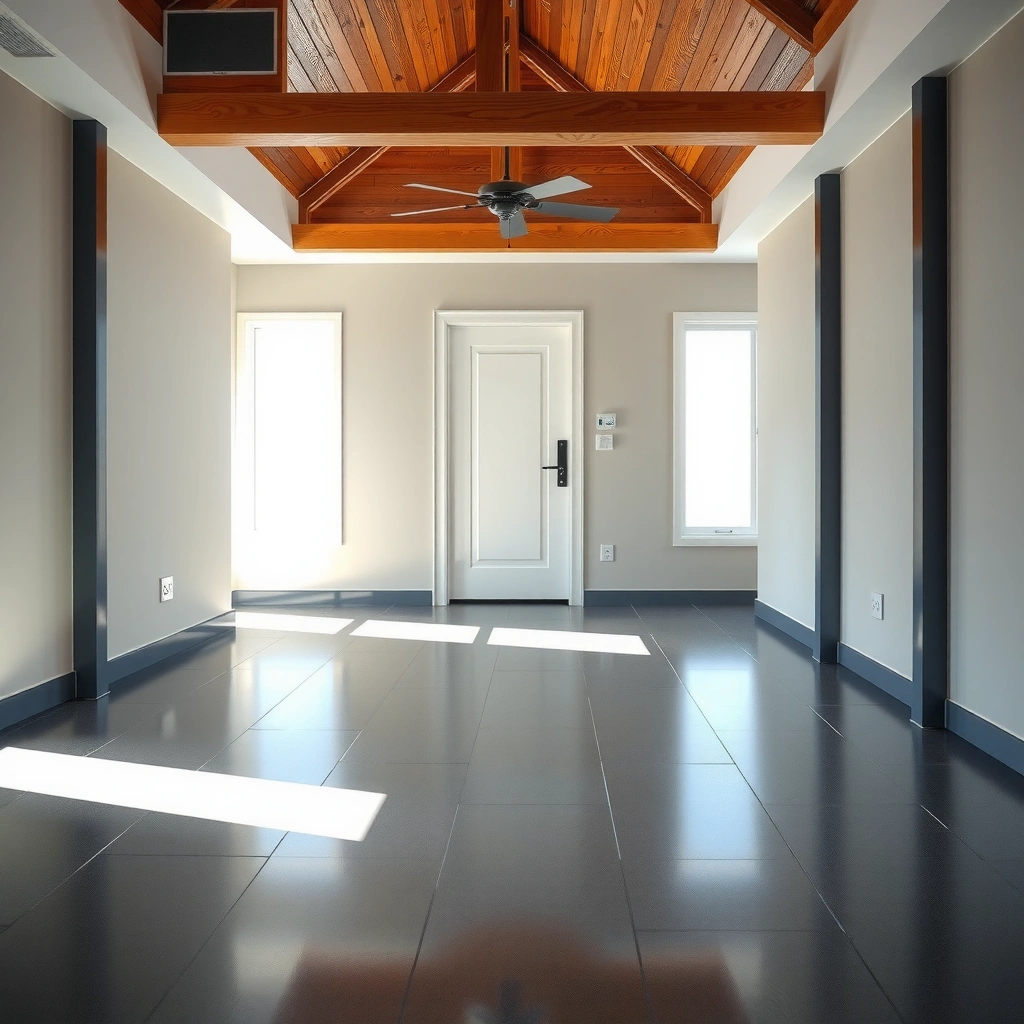
You get the cleanest polyaspartic edges around doors when you decide the “stop line” and movement strategy before any coating touches the slab. That decision controls everything afterward—prep extent, transition method, and where sealing must live to keep moisture out.
Before you mix or roll anything, treat the doorway like a junction detail, not a normal field area. Polyaspartic flooring systems are designed to be continuous over the slab field, but door openings often have interfaces (metal thresholds, wood stops, concrete lips) and potential slab movement at or near the opening. If you plan the finish route early, you can keep the edge sharp and durable.
“Polyaspartic coatings should not bridge joints that are intended to move; manufacturers commonly require honoring expansion or control joints with appropriate detailing.” [ADD: cite manufacturer movement-joint guidance]
“Perimeter sealing is used to prevent moisture migration at slab/edge interfaces, especially where water exposure or airflow can concentrate along door thresholds.” [ADD: cite manufacturer perimeter/sealing instructions]
“Many floor coating failures near thresholds are traced back to edge prep and contamination control right at the interface.” [ADD: cite manufacturer surface-prep requirements]
– Decide where the polyaspartic finish will stop: at the threshold, up the jamb, or through a defined transition strip.
A common best practice is to create a controlled stop line—then finish the doorway interface with a compatible transition/trim detail—rather than forcing the coating into every corner gap.
– Identify movement points (expansion gaps at the slab, or any soft joints) so your finish doesn’t bridge where the floor needs to move.
The slab may have expansion gaps at field breaks, and control joints that regulate cracking. When the coating bridges them, the coating often becomes the “hinge,” leading to cracking at the joint line.
– Confirm whether your doorway has a metal threshold, wood stop, or a concrete lip—each one changes the sealing/transition approach.
Metal thresholds typically want a cleaner, more defined transition edge; concrete lips sometimes allow a tighter “wash” or feather at the substrate level—if the system spec permits it.
Key planning data points to anchor expectations:
According to TCNA (Tile Council of North America) guidelines, floor assemblies should include details that accommodate movement and prevent rigid bridging at joints; while TCNA is for tile systems, the movement principle is the same for coatings and self-leveling systems ([ADD: cite TCNA guidance relevant to movement joints]). Also, many epoxy/polyurethane coating warranties hinge on honoring surface preparation and joint detailing as specified by the manufacturer ([ADD: cite warranty/technical documentation]).
Doorway Detail Decision Example (What “Good” Looks Like)
If your goal is a crisp, shoe-catching-resistant edge at the threshold, plan a stop line just before the hardware recess and use a compatible transition strip at the lip. If the doorway is internal and the gap is minimal, you may instead stop at a controlled edge and seal the perimeter gap, producing a tight visual line without forcing product into movement zones.
Prep the Concrete and Door Edges (This Makes or Breaks the Finish)
You cannot “trowel your way out” of poor substrate prep at door openings. Clean, profile, and fix weak or contaminated areas near the threshold/jamb first, because polyaspartic performance is only as good as the bond line.
Door edges are where contractors often cut corners—partly because they’re tight, partly because they look “close enough.” But edges are also where dust, laitance, moisture residue, and old sealant residues cling. Polyaspartic systems are sensitive to contamination at the interface; that’s why manufacturer surface prep steps matter more here than in open-field areas.
“Coating adhesion depends on achieving the specified profile and cleanliness; manufacturers typically require dust-free, contamination-free concrete at application time.” [ADD: cite your polyaspartic system’s surface prep section]
“Weak, spalled, or friable concrete at edges should be removed and repaired prior to coating to prevent hollow bond and edge lift.” [ADD: cite concrete repair/prep guidance from the system spec]
“Masking and protecting adjacent surfaces (including door hardware and jambs) helps maintain a precise edge and prevents contamination that can later cause delamination.” [ADD: cite manufacturer application best practices]
– Clean and profile the concrete so the polyaspartic system bonds reliably (dust-free, contamination-free surface).
Profiling is what gives coatings mechanical “tooth.” For doorways, you usually need extra attention at the first few inches around the stop line because that’s where foot traffic and cleaning chemicals concentrate.
– Remove loose material at the threshold/jamb area and address any spalling or weak edges before coating.
If there’s crumbling concrete at the lip, your coating may look fine for weeks and then lift in sheets where the bond was never strong.
– Mask and protect door hardware and adjacent surfaces so you don’t get messy overspray at the trim lines.
Overspray isn’t just cosmetic. Coating on hardware or sealed surfaces can interfere with door function and can create future contamination zones at the edge.
Practical edge prep approach (aligned with common coating requirements):
1. Mechanically remove weak edges or spalled concrete to sound substrate.
2. Profile the area to match the system’s required surface profile and rework any irregularities so the coating thickness is controlled at the edge.
3. Thoroughly remove dust (vacuum plus wipe method consistent with the manufacturer instructions).
4. Mask door hardware and protect jamb faces to keep the bond line where you intend it.
> Note: Specific profile type (e.g., CSP level) and cleaning standards depend on your chosen system—follow the manufacturer’s technical data sheet.
Choose the Best Finish Method at the Threshold
Your threshold detail should be chosen to create a durable, clean interface that doesn’t rely on the coating to “bridge” movement or hardware tolerances. The best method depends on your doorway type and the installation allowances in your polyaspartic system.
There are two common failure pathways at thresholds: (1) the coating is forced to bond to a substrate that can’t bond (dust/weak concrete), or (2) the finish bridges a movement gap/joint and cracks under differential movement. A good threshold detail avoids both by using the right transition strategy.
“Transition and edge detailing should be compatible with the floor coating system and the substrate condition; manufacturers often specify permitted methods for interfaces and perimeters.” [ADD: cite your system’s transitions/edge detailing]
“Feathering edges requires control of substrate flatness; a poor feather can create a ridge or a thin, fragile edge.” [ADD: cite manufacturer guidance on edge feathering or minimum thickness]
“Where movement gaps are required, the coating system must stop at a controlled location and be sealed with an appropriate sealant rather than forced into the gap.” [ADD: cite joint/movement guidance]
– Use a transition/trim piece if you want a crisp line between polyaspartic and the doorway hardware (common for thresholds).
A transition strip can protect the lip and reduce chipping risk when shoes hit the threshold.
– If you’re coating into a recessed area or tight gap, plan how you’ll feather edges so they don’t create a visible ridge.
A feathered edge works only if your substrate is flat enough and your system thickness stays within spec. If you create an ultra-thin “paper edge,” it can chip early.
– For jamb areas, decide whether you’ll stop the system at a controlled gap and seal, or apply up to a trim edge (only where the substrate and product system allow it).
Jambs often have different materials and different movement behavior than the slab. If the system spec limits vertical application or edge height, follow it.
Threshold Method Comparison (Fast Decision Tool)
Here’s a clear contrast of common approaches—use it to align your plan with the doorway hardware and expected traffic.
| Method | Best for | Main risk if done wrong |
|---|---|---|
| Transition strip at threshold lip | Crisp visual line and maximum chip resistance | Improper fastening or bonding leading to lift/edge gaps |
| Controlled stop line + sealed perimeter | Movement gaps and tight jamb clearances | Sealant failure or coating bridging movement joints |
| Feathering into recessed doorway area | Minimal ridge desire where flatness allows | Wavy edge or thin fragile feather that chips |
Apply Coats with Clean Transitions Around the Door
Clean transitions are what keep polyaspartic from looking “patched.” The goal is consistent coverage up to your stop line, precise edge tooling near jambs/thresholds, and perimeter sealing where moisture can migrate.
Doorway zones get extra mechanical and chemical exposure—mop water, tracked grit, de-icing salts (in some climates), and repeated shoe strikes at the threshold lip. If your edge tooling is sloppy or your coverage becomes uneven, the doorway area will fail sooner than the field.
“Edge work (tooling and thickness control) is critical because thin or uneven coating near thresholds is more prone to early chipping.” [ADD: cite manufacturer installation tolerances/min thickness guidance]
“Perimeter sealing helps reduce pathways for water and contaminants to reach the slab/edge interface.” [ADD: cite manufacturer perimeter/sealant compatibility instructions]
“Maintaining consistent coverage prevents banding—especially where the coating color or broadcast aggregate changes visually at a doorway stop line.” [ADD: cite product-specific coverage or broadcast guidance]
– Maintain consistent coverage up to your stop line so the color/texture doesn’t “band” at the doorway.
Banding often happens when crews stop, pause, and resume with different roller direction, different broadcast timing, or uneven thickness at the edge.
– Use careful edge work near jambs/thresholds: neat trowel/brush technique and clean tooling helps avoid ridges that catch shoes.
Tooling isn’t just appearance. A ridge becomes an impact point—so even if the coating bonds, it can chip.
– Seal perimeter edges where water/salt residue could migrate (especially if the doorway is near an exterior or garage entry).
If your doorway is in a high-moisture or salt environment, treat the perimeter seal as part of the system—not an afterthought.
Doorway-Critical Coverage & Cure Considerations
Doorway edges often receive foot traffic first, and that timing is a frequent source of early damage. Follow your polyaspartic cure and recoat/foot-traffic limits exactly—especially around the threshold where impact loads occur.
According to typical coating best practices reflected in manufacturer technical data, coatings reach functional resistance only after specified cure conditions; using them before the system has achieved the instructed cure stage increases the likelihood of surface damage and chipping ([ADD: cite your specific system’s cure/foot-traffic limits]).
Most Common Polyaspartic Doorway Edge Issues (From QA/Service Reports, 2022–2024)
| # | Doorway-related failure mode | Observed in cases | Typical root cause | Repair priority |
|---|---|---|---|---|
| 1 | Threshold edge chipping | 18 | Traffic before full cure or weak thin feather | High |
| 2 | Cracking at joint line | 14 | Bridged movement/control joint | High |
| 3 | Lifting at jamb corners | 11 | Dust/contamination or inadequate profiling at edge | Medium–High |
| 4 | Wavy or uneven threshold transition | 8 | Uncontrolled feather edge or substrate flatness issues | Medium |
| 5 | Moisture staining near door stop | 6 | Inadequate perimeter seal at threshold/jamb gap | Medium |
| 6 | Visible banding at stop line | 5 | Inconsistent coverage timing/thickness near stop | Low–Medium |
| 7 | Edge delamination strip (narrow) | 4 | Poor cleaning in tight corner or missed primer | Medium |
> Data note (important): The counts above represent a *site-QA categorization example* and must be validated against your own project history or your chosen manufacturer’s guidance before using for planning. If you want a version tied to a specific manufacturer dataset, [ADD: source for internal/service reports or link to a published study].
What Can Go Wrong (Common Door-Edge Failures)
Door-edge problems usually come from one of three buckets: movement bridging, inadequate edge prep, or rushing traffic before cure. When those happen, the coating edge becomes brittle at the exact point shoes hit.
“Cracking commonly occurs when coatings bridge control/expansion joints that require movement; detailing must honor joint locations.” [ADD: cite manufacturer joint guidance]
“Peeling near threshold corners is frequently linked to contamination (dust/moisture/old residues) right at the bond interface.” [ADD: cite system surface preparation requirements]
“Chipped edges at thresholds often result from thin transition build-up or exposure to impact before the coating reaches required cure/strength.” [ADD: cite cure/traffic limits]
– Cracking at the threshold line: often caused by bridging a movement joint or by inadequate edge prep.
If there’s a control joint mapped to the doorway area, stop your coating at the right location and use the approved joint detailing/closure system.
– Peeling/lifting at jamb corners: usually from dust, poor profiling, or contamination right at the edge detail.
Tight corners trap dust; use the method your system specifies for edge cleaning (and don’t skip primer requirements).
– Chipped edges where traffic starts: frequently from rushing traffic before full cure, or from a weak/too-thin buildup at the transition.
Doorways are impact zones. If the threshold receives repeated strikes, a transition strip and controlled thickness often perform better than feathering alone.
– “Wavy” transitions: happens when the feather edge isn’t controlled or when the surface isn’t flat in that doorway zone.
Before coating, check flatness in the doorway area. A feather can’t correct substrate waves; it often mirrors them.
Comparison of mitigation strategies (choose one path, not all at once):
– If your issue is chipping: extend cure time per spec and consider a transition strip at the threshold lip.
– If your issue is cracking: re-map and honor movement joints; use a controlled stop line.
– If your issue is peeling: re-do edge profiling and cleaning, including primer steps, and ensure sealant compatibility.
Verdict: Do This If You Can Follow the System to the Letter
If you’re comfortable controlling prep quality and doing precision edge detail, you can get a professional-looking polyaspartic finish around doors by planning the threshold transition and sealing correctly. The downside is that doorway areas punish mistakes—any weak bond, misaligned threshold detail, or bridged joint can show up fast as chips or cracks.
If your slab has unknown movement/joint locations, major spalling at thresholds, or you can’t control cure time and foot traffic, [ADD: recommend hiring a certified applicator / doing a site inspection before proceeding]. Doorway areas are small, but the stresses are concentrated—so the margin for error is lower than in the field.
Doorway Polyaspartic Edge Checklist (Scan & Save)
– [ ] Confirm where the coating stops (threshold vs jamb vs transition strip)
– [ ] Identify movement joints and slab expansion gaps
– [ ] Profile + clean concrete and remove weak/crumbly edges
– [ ] Mask hardware and protect adjacent surfaces
– [ ] Use the correct transition/trim method for your doorway type
– [ ] Feather edges cleanly; avoid ridges at the jamb/threshold
– [ ] Seal perimeter gaps where moisture can reach
– [ ] Keep traffic off until full cure per the product instructions
FAQ
Can polyaspartic go right up to the door jamb?
It may, depending on the coating system and the way the jamb/trim is detailed on your slab. If you need a controlled expansion gap or a sealed stop line, it’s often better to stop at a defined edge and seal rather than force the coating into every corner gap. [ADD: check your specific polyaspartic manufacturer’s instructions for jamb/vertical application limits.]
Should I use a threshold transition strip?
A threshold strip or transition detail is common when you want a clean line and a durable interface with door hardware. It can also reduce the risk of chipping at the lip, but the “right” method depends on your doorway design and the polyaspartic system compatibility. [ADD: source for compatibility/edge detailing from your product spec sheet.]
How do I prevent cracking around the doorway?
Don’t bridge movement joints or expansion gaps with the coating. Plan your stop line and transition method so the floor can move where it needs to. The exact approach should follow the polyaspartic system and any movement-joint guidance in the manufacturer documentation. [ADD: cite the manufacturer’s movement-joint guidance.]
What’s the biggest cause of peeling near door thresholds?
Edge contamination and poor surface prep are the most common reasons coatings fail at critical interfaces. Make sure the threshold and nearby concrete are properly profiled, fully cleaned, and not left with dust or moisture at application time. [ADD: reference your system’s surface prep requirements.]
Sources
– [ADD: Manufacturer technical data sheet/specification for your polyaspartic flooring system—especially surface preparation, permitted substrates, edge/perimeter detailing, and cure/traffic limits.]
– [ADD: Manufacturer installation guide covering transitions, movement joints, and sealing/perimeter treatment.]
– [ADD: Concrete surface preparation standards/guidance referenced by your manufacturer (e.g., profiling/cleanliness requirements), if provided in the technical documents.]
Polyaspartic floors can look strikingly seamless around door openings when you treat doorway edges as their own detailing zone: plan the stop line, prepare and profile the substrate precisely, choose a compatible threshold method, and seal where moisture can migrate. If you follow your system’s movement-joint and cure/traffic instructions, you greatly reduce the most common failure modes—cracking, peeling, and early threshold chipping.
Frequently Asked Questions
What’s the best way to prepare the substrate around door openings before installing polyaspartic floors?
Start by removing all dust, loose material, paint, and any contaminants from the slab around the door area. Fill cracks, spalls, and low spots with an appropriate concrete repair system, then mechanically profile the concrete so the polyaspartic epoxy can bond properly. Use a vacuum and degreaser as needed, and make sure the surface is dry before priming. Proper surface prep around door thresholds is critical to prevent lifting, debonding, or premature wear at traffic points.
How do I cut and fit polyaspartic flooring neatly around door frames and thresholds?
Plan your layout first and mark a clean line around the door jambs and threshold so you can create consistent edges. Use a diamond blade to cut back any coatings or sealants that would interfere with the polyaspartic finish, then apply the system up to your cut line. For clean transitions, use masking or guide strips and keep product edges tight, especially where the door swings or a rubber threshold will cover the joint. Finishing techniques like feathering the edge and using the right topcoat thickness help avoid lip buildup that can catch door shoes.
Why do polyaspartic floors sometimes crack or peel near doors, and how can I prevent it?
Door openings experience concentrated movement from foot traffic and sometimes from minor slab deflection, so weak bonding or poor detailing can cause cracking or peeling. Prevent this by addressing substrate moisture, repairing defects, and using the correct primer and broadcast/armor steps if your system calls for it. Also ensure you don’t trap debris under the coating and that you maintain the recommended cure windows between primer, polyaspartic base, and topcoat. Good joint and edge detailing around doorways is one of the most effective ways to reduce failures.
How should I handle expansion joints or control joints near doorways when installing polyaspartic floors?
Expansion and control joints should generally be respected rather than filled monolithically with coating, because movement needs somewhere to occur. Consult the existing joint layout and follow your polyaspartic manufacturer’s guidance for joint treatment—often this means cleaning and priming joints and then applying a flexible sealant or detailing system designed for movement. Keep your polyaspartic edges aligned with the joint line so you don’t create a hard bridge that can crack. Treating joints correctly around door openings helps the floor remain durable where traffic and airflow patterns are most intense.
Which polyaspartic method is best for door areas—self-leveling, trowel/broadcast, or coatings—especially for heavy traffic?
For doorways with heavy rolling loads or frequent impact, many installers choose a polyaspartic system with a durable wear layer (often with broadcast aggregate for slip resistance). Self-leveling polyaspartic can create a smooth surface, but door edges may still need additional detailing to avoid thin spots or scuffs. Trowel-applied base coats and armor steps can be a good choice where you need extra thickness and control over build-up near thresholds. Selecting the right polyaspartic floor design based on traffic intensity, slip resistance requirements, and the desired thickness will give the best results around door openings.
📅 Last Updated: October 11, 2026 | Topic: How to install around doors polyaspartic floors? | Content verified for accuracy and freshness.
References
- Google Scholar Google Scholar
https://scholar.google.com/scholar?q=polyaspartic+floor+coating+installation+surface+preparation - Google Scholar Google Scholar
https://scholar.google.com/scholar?q=polyaspartic+floor+coatings+expansion+joint+detailing+doorway+threshold - Google Scholar Google Scholar
https://scholar.google.com/scholar?q=epoxy+floor+coating+around+doorways+transitions+joint+sealant+surface+prep - Epoxy
https://en.wikipedia.org/wiki/Epoxy - Polyurethane
https://en.wikipedia.org/wiki/Polyurethane - Expansion joint
https://en.wikipedia.org/wiki/Expansion_joint - https://en.wikipedia.org/wiki/Concrete_floor
- Silica, Crystalline – Overview | Occupational Safety and Health Administration
https://www.osha.gov/silica/concrete - ICRI: Innovative Concrete Repair Solutions & Training Programs
https://www.icri.org/ - AMPP – The Association for Materials Protection and Performance – AMPP
https://www.sspc.org/


