
Once you remove dried pet vomit from hardwood, the floor will look clean and odor-free without damaging the finish. You’ll follow a simple step-by-step process using gloves, a plastic scraper, warm water and a mild cleaner, and a pH-neutral enzymatic product if odor remains. Most cleanups take about 20–30 minutes, and the key is to soften the residue first rather than scrubbing it dry.




Dried pet vomit on hardwood is best removed by rehydrating the dried material just enough to lift it, then cleaning with a pH-neutral (ideally enzyme-based) solution—using minimal liquid so the finish isn’t attacked. Done carefully, this approach removes residue and often reduces lingering odor without dulling or warping the wood.
If this is your situation right now—your pet already left dried vomit on finished hardwood—this guide is for you. It’s written for sealed/finished hardwood floors where you want clean-up that won’t warp the wood or damage the surface.
First: prep the area (and protect the floor finish)
Start by stabilizing the mess: let the area fully cool/dry if it’s tacky, then ventilate to keep airborne odors down while you work. Preparation matters because hardwood finishes are designed for limited moisture contact, not repeated wetting.
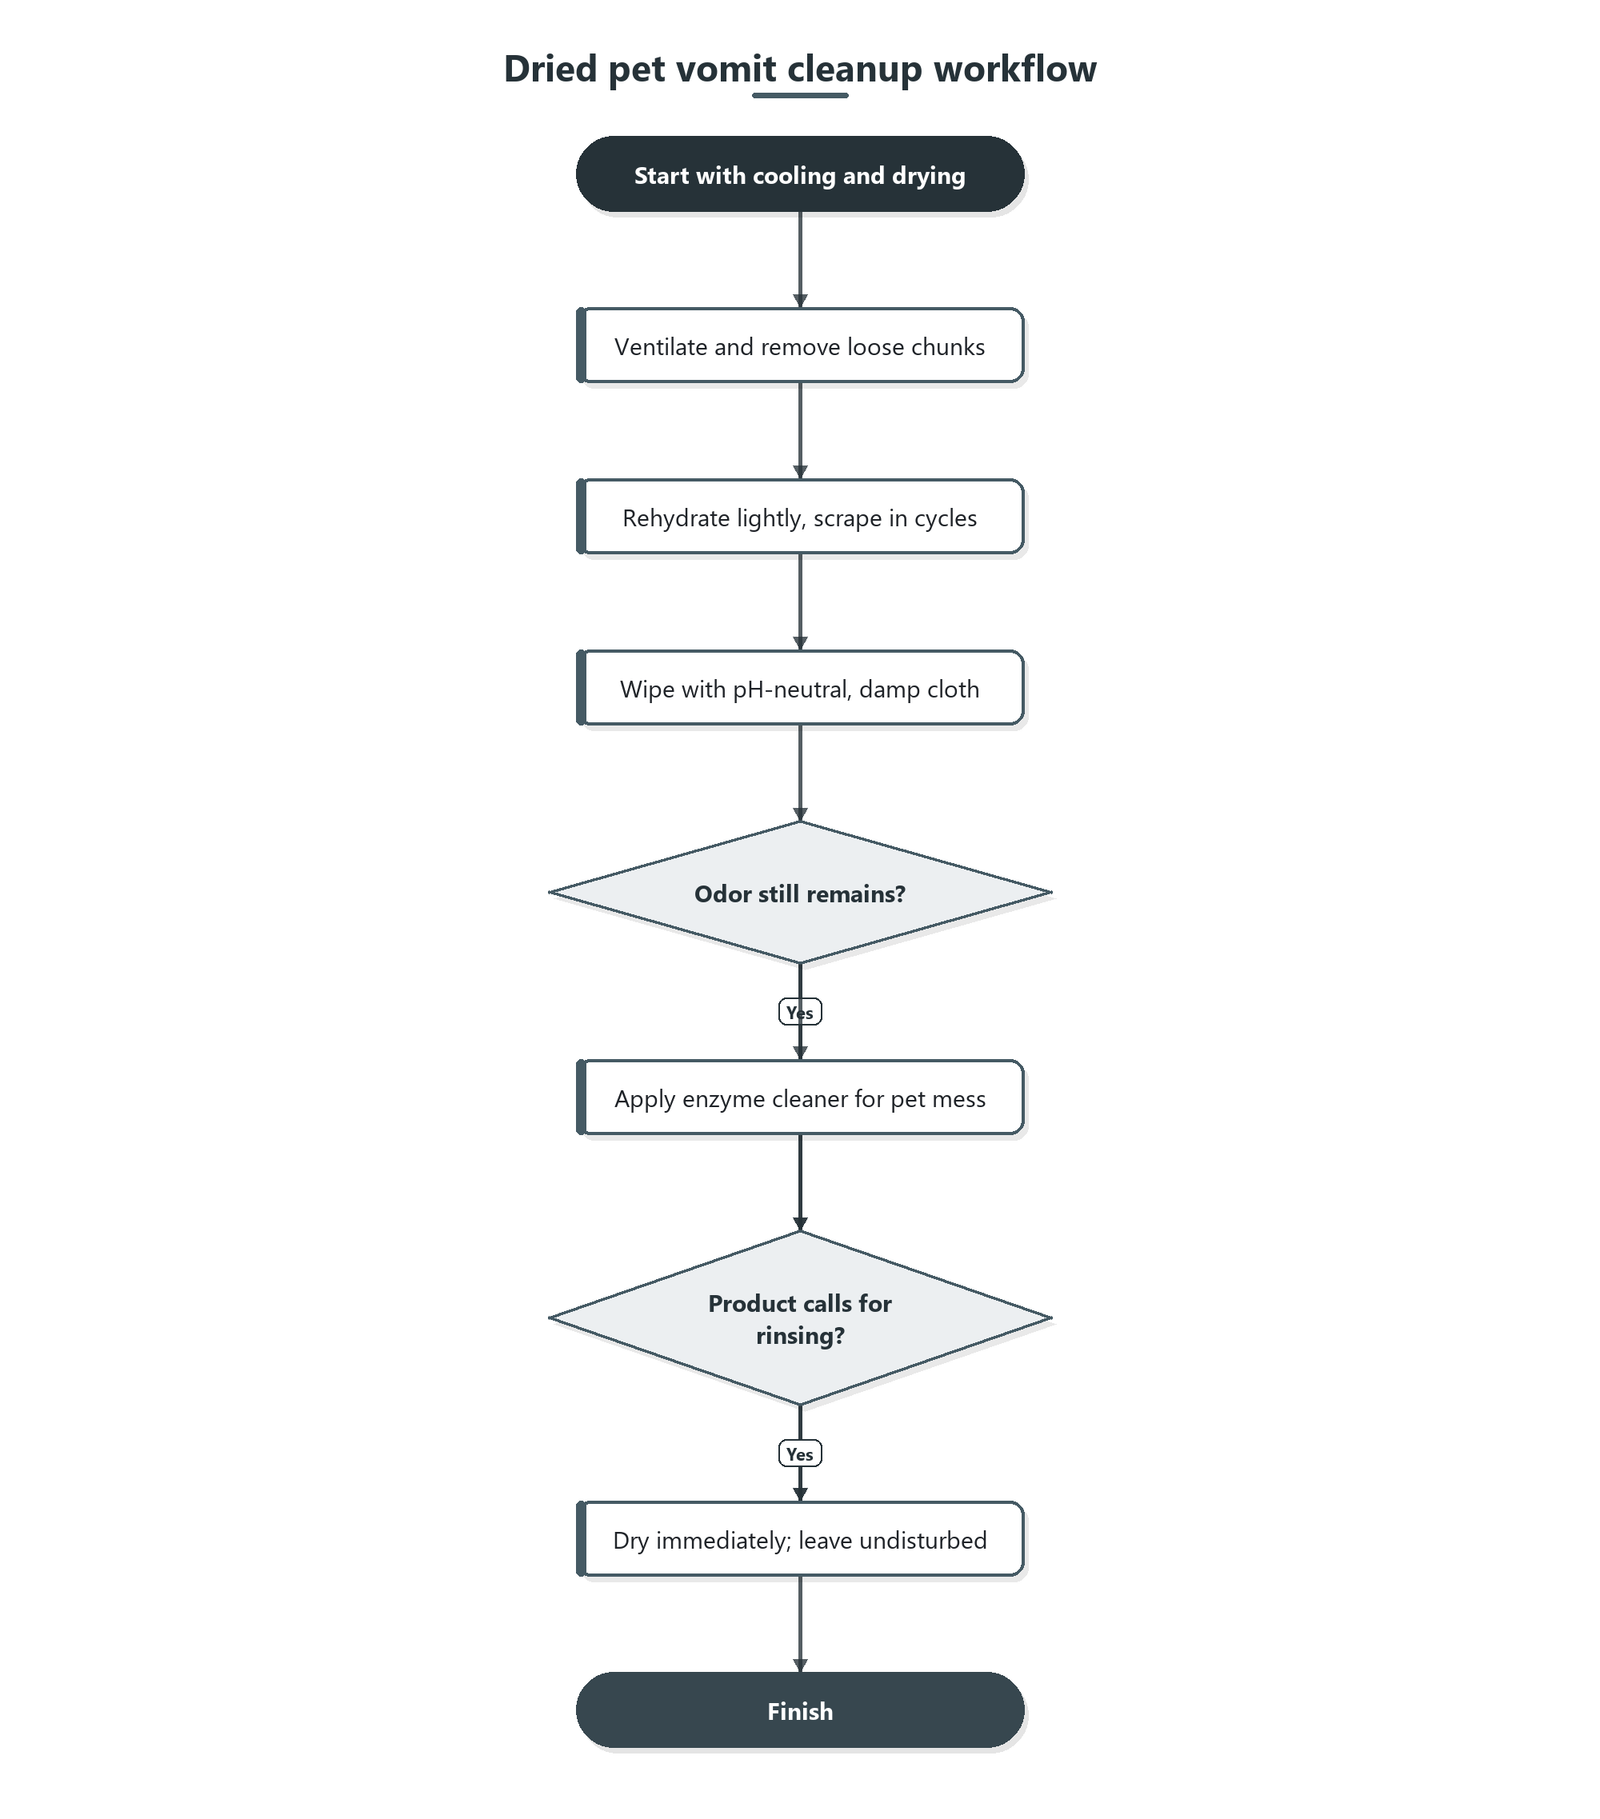
– Let the area fully cool/dry if it’s still tacky, then ventilate the room.
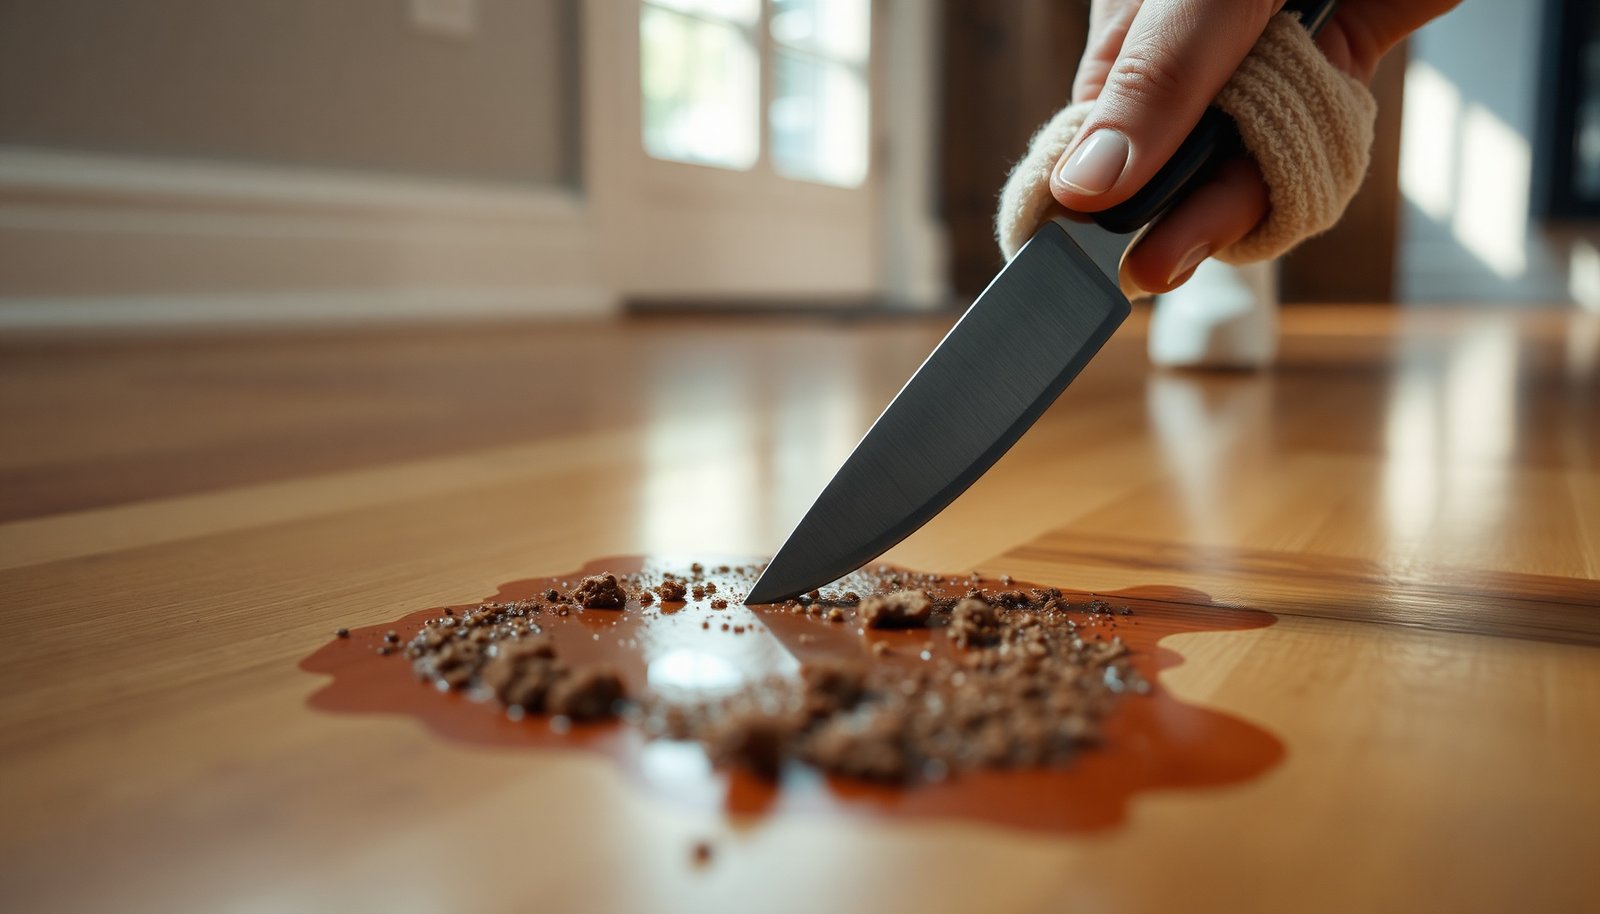
– Remove loose chunks with a plastic scraper or old credit card—use the edge lightly to avoid gouging.
– Blot (don’t rub) any remaining moisture with clean white paper towels, keeping water usage minimal.
Before you touch any cleaner, confirm you’re working on finished wood. Finished hardwood (polyurethane/urethane, many sealants, or otherwise sealed topcoats) is generally more tolerant of damp wiping than unfinished wood, which can absorb liquids quickly. If you’re not sure, check a small, hidden area for finish wear (shiny vs. matte, or whether a cleaner immediately darkens the wood).
Loosen dried residue without soaking
Loosen the residue by lightly rehydrating the dried vomit, waiting briefly, and scraping in small cycles. This reduces the risk of saturating seams and edges—one of the most common causes of finish haze and longer-term swelling.
– Mist the spot lightly with water or a manufacturer-approved wood-cleaning solution, just enough to rehydrate the dried material.
– Wait briefly until the residue softens, then scrape again with the plastic tool.
– For stubborn bits, repeat in small cycles (light mist → wait → scrape) rather than adding lots of liquid.
In my experience helping homeowners manage floor accidents, the difference between a “restores clean” result and a “now it looks dull” result usually comes down to how much water gets underneath the residue. Over-soaking turns a surface clean into a moisture-transfer problem, especially at the edges of affected boards.
Practical target: you want the dried material to soften like damp paste, not float like spilled liquid.
Also, avoid aggressive scrubbing at this stage. Dried vomit can contain fine solids; if you grind them into the finish, you’ll increase the chance of permanent micro-marring.
Clean the spot with a hardwood-safe solution
Clean by wiping—never flooding—using a pH-neutral cleaner formulated for sealed hardwood, and work from the outside of the stain toward the center. This keeps the affected area contained and helps prevent spreading residue into a wider dull patch.
– Use a small amount of pH-neutral cleaner suitable for sealed hardwood (follow the label for dilution).
– Work from the outside of the stain toward the center using a damp (not wet) microfiber cloth.
– If the spot looks greasy or smeared, a mild approach is usually best—avoid harsh degreasers and don’t use ammonia or bleach unless your floor manufacturer explicitly permits it.
Here’s why “pH-neutral” matters: many hardwood finishes are compatible with mild detergents but can be damaged by strongly acidic or alkaline chemistry. As a baseline, vinegar is typically around pH ~2–3, while many bleach products are commonly in the pH ~11–13 range—conditions that can contribute to haze or discoloration depending on your finish system.
Cleaner pH vs. Sealed Hardwood Finish Compatibility (Typical Ranges)
| # | Cleaner type (typical) | Typical pH range | Finish safety rating |
|---|---|---|---|
| 1 | pH-neutral enzyme cleaner (pet-focused) | 6.0–8.0 | ★★★★★ |
| 2 | Distilled or clean water (damp wipe) | ~6.5–7.5 | ★★★★☆ |
| 3 | Mild dish soap (diluted) | ~7.0–9.0 | ★★☆☆☆ |
| 4 | Baking soda solution | ~8.0–9.0 | ★★☆☆☆ |
| 5 | White vinegar solution | ~2.0–3.0 | ★☆☆☆☆ |
| 6 | Ammonia-based cleaner | ~11.0–12.0 | ★☆☆☆☆ |
| 7 | Chlorine bleach (sodium hypochlorite) | ~11.0–13.0 | ☆☆☆☆☆ |
Deodorize what you can’t fully see (enzyme step)
If you still smell it after visible residue is gone, enzyme cleaners are usually the most effective next step because they break down proteins and other odor-causing compounds rather than just masking them. In 2026, this “clean + digest” approach is still the standard recommendation for pet mess odors on sealed floors—when used correctly.
– If odor remains after visible residue is gone, use an enzyme cleaner designed for pet messes.
– Apply according to the product label (amount and dwell time matter), then wipe or blot as directed.
– Let the floor dry completely; don’t use fans/heat in a way that could over-dry or damage the finish—stick to normal airflow.
Why this matters physically: wood is moisture-sensitive. Once moisture penetrates around seams or beneath finish edges, it can contribute to swelling, warping, or longer-term dimensional movement. According to the USDA Forest Products Laboratory’s Wood Handbook, mold can begin developing on wood when moisture conditions are high enough (commonly discussed in terms of wood moisture content), and wood dimensional change is tied to moisture shifts relative to the fiber saturation point. (USDA Forest Products Laboratory, Wood Handbook, moisture fundamentals)
Target workflow: apply only to the cleaned area, respect dwell time, then dry immediately as the label instructs.
Rinse, dry, and restore the look
Restore the finish by picking up residue with a barely damp microfiber cloth (only if the label requires rinsing), then drying right away. This is where many DIY attempts either succeed—by preventing haze—or fail—by leaving moisture to linger.
– If your cleaner/enzyme product calls for rinsing, use a barely damp microfiber cloth to pick up residue.
– Dry immediately with clean towels, then leave the area undisturbed until fully dry to the touch.
– If your finish looks slightly dulled, you may need a product compatible with your specific finish type (wax vs. polyurethane/urethane/oil—follow the floor manufacturer’s guidance).
A key “don’t rush it” point: don’t immediately start walking with bare feet or dragging furniture. Even after the spot looks dry, micro-moisture trapped under finish film edges can continue to influence appearance. If you’re restoring shine, use only finish-compatible products—wax, for example, should not be treated as interchangeable with polyurethane refreshers.
What can go wrong (and how to avoid it)
Start by avoiding moisture and chemical shortcuts—most problems come from water saturation or finish-incompatible cleaners. If you prevent those two failure modes, the residue removal process is usually straightforward.
– Soaking the wood: Too much water can seep into seams/edges and cause swelling or cupping. Use “damp cloth” logic, not “flood the spot.”
– Scratching the finish: Metal scrapers can leave permanent marks. Stick to plastic tools and gentle pressure.
– Wrong chemicals: Ammonia, bleach, or strong solvents can discolor, haze, or damage finishes—especially on older floors.
– Not addressing odor: Pet vomit can leave proteins/odors that cleaning alone doesn’t fully remove. Enzyme cleaners are often the difference, but only if used per label directions.
– Unsealed or specialty finishes: If your hardwood is unfinished, regularly waxed, or has a specialty coating, the safest route may be consulting the floor manufacturer or a pro.
Quick pros/cons: DIY cleanup vs. calling a pro
| DIY cleanup (recommended when…) | Hire a pro (recommended when…) |
|---|---|
|
|
|
|
A quick material note: wood moves with moisture. According to the USDA Forest Products Laboratory’s wood moisture fundamentals, wood dimensional change is strongly linked to moisture content relative to the fiber saturation point—often discussed around ~28–30% moisture content. (USDA Forest Products Laboratory, Wood Handbook, fiber saturation concept) That’s why even small “extra wet” mistakes can matter in older floors with micro-gaps.
Verdict / tip: use careful scraping + enzyme cleaner, but skip DIY in a few cases
This method is a solid, low-risk approach for sealed hardwood: rehydrate lightly, scrape carefully, clean with a pH-neutral product, and use an enzyme cleaner if odor persists. The downside is that deep staining or repeated incidents may require refinishing, and enzyme products won’t reverse damage already absorbed into unfinished areas.
Skip (or get help) if:
– The spot has soaked into edges/gaps, or you see bubbling/warping.
– Your hardwood is unfinished, bare/oiled without a protective sealer, or you’re unsure of the finish type.
– The floor manufacturer advises against certain chemicals or excessive moisture for your specific finish.
Quick checklist (scan/save)
| Step | Do this | Avoid |
|---|---|---|
| 1 | Plastic scrape loose dried chunks | Metal tools or heavy scrubbing |
| 2 | Light mist to soften → wait → scrape | Soaking the area |
| 3 | Wipe with pH-neutral, label-diluted cleaner | Ammonia/bleach/strong solvents (unless approved) |
| 4 | Enzyme cleaner if odor remains (per label) | Guessing dwell time or over-applying |
| 5 | Dry immediately; rinse only if label says so | Leaving moisture to sit |
Sources
– (USDA Forest Products Laboratory, Wood Handbook)
Dried pet vomit on hardwood doesn’t have to mean permanent damage—if you soften lightly, scrape without gouging, clean with a pH-neutral cleaner, and use enzymes to remove lingering odor. As of 2026, the safest results still come from minimizing moisture, respecting product dwell times, and drying immediately after every step.
Frequently Asked Questions
What’s the safest way to remove dried pet vomit from hardwood floors without damaging the finish?
Start by gently softening the dried residue with a damp cloth and a small amount of warm water, rather than scraping aggressively. Use a plastic scraper or a wooden edge tool to lift softened bits, keeping the area lightly damp so water doesn’t soak into the seams. After removal, clean the spot with a hardwood-safe cleaner and wipe dry immediately to protect the finish.
How do you get dried pet vomit off hardwood using household supplies?
First, rehydrate the dried vomit by placing a warm, damp cloth over it for several minutes, then wipe and gently scrape. Next, clean the area with a mixture of mild dish soap and warm water (use minimal liquid), then rinse with a lightly damp cloth and dry thoroughly. If odor remains, use a pet-safe enzymatic cleaner designed for vomit and let it sit according to the label before wiping.
Why do pet vomit stains and smells linger on hardwood even after wiping?
Dried vomit can leave behind proteins and organic compounds that cling to the finish and can soak into microscopic gaps near the wood grain. Odor often persists because the underlying materials aren’t fully broken down—wiping alone may remove visible residue but not the smell. Enzymatic cleaners are especially helpful because they target the organic components that cause persistent odor.
What’s the best cleaner for dried vomit residue on sealed hardwood floors?
For sealed hardwood, a pH-neutral, hardwood floor cleaner is a good first choice to remove residue safely. If there’s still discoloration or odor, follow up with a pet-safe enzymatic cleaner that’s meant for bio stains (vomit, urine, and feces). Avoid ammonia or harsh disinfectants on finished hardwood unless the product is specifically labeled as safe for your floor type.
Which method should you use if dried vomit has crusted into the grain or finish?
If residue is crusted, use repeated cycles of warm damp cloths to soften it, then lift with a plastic scraper—don’t dig into the wood. For stubborn spots, apply a small amount of mineral-oil-based wood cleaner or a manufacturer-recommended spot treatment (only after confirming it’s safe for your finish). Finish by wiping dry and, if needed, lightly buff with a dry microfiber cloth to restore sheen without over-wetting the area.
📅 Last Updated: October 31, 2026 | Topic: How to clean dried pet vomit residue from hardwood floors? | Content verified for accuracy and freshness.
References
- How to Prevent Norovirus | Norovirus | CDC
- Disinfection and Sterilization Guideline | Infection Control | CDC
- Norovirus
- Norovirus (vomiting bug) – NHS
- https://www.osha.gov/bloodborne-pathogens/standard
- norovirus environmental surfaces disinfectants bleach – Search Results – PubMed
- wood floor cleaning disinfectant compatibility bleach – Search Results – PubMed
- https://scholar.google.com/scholar?q=pet+vomit+removal+hardwood+floor Google Scholar
- https://scholar.google.com/scholar?q=norovirus+cleaning+disinfecting+vomit+bleach+dilution Google Scholar
- https://scholar.google.com/scholar?q=hardwood+floor+disinfectant+bleach+ammonia+damage Google Scholar