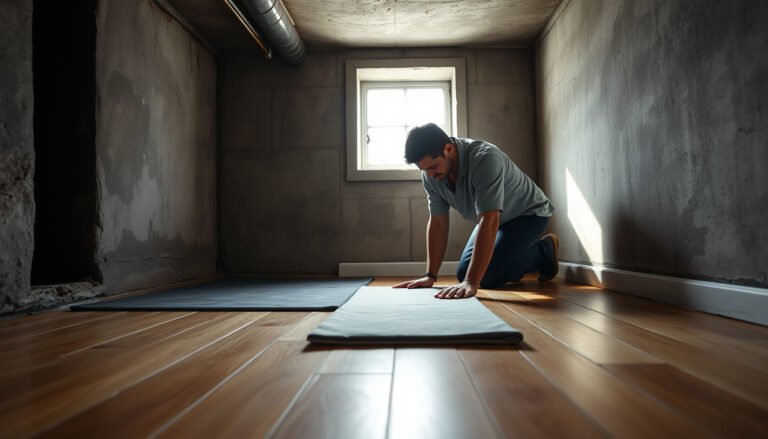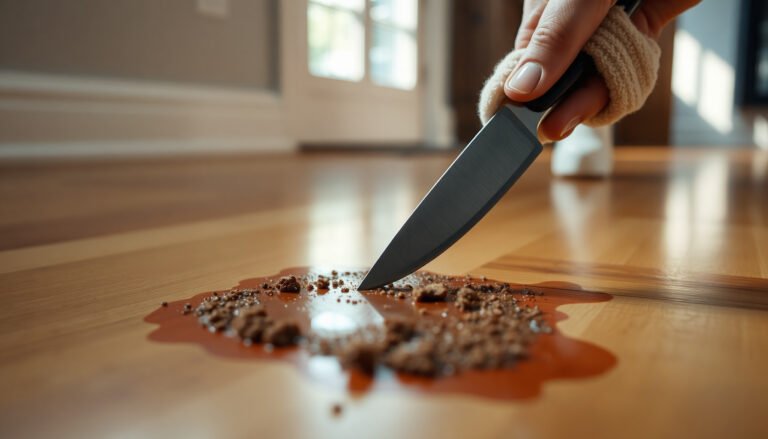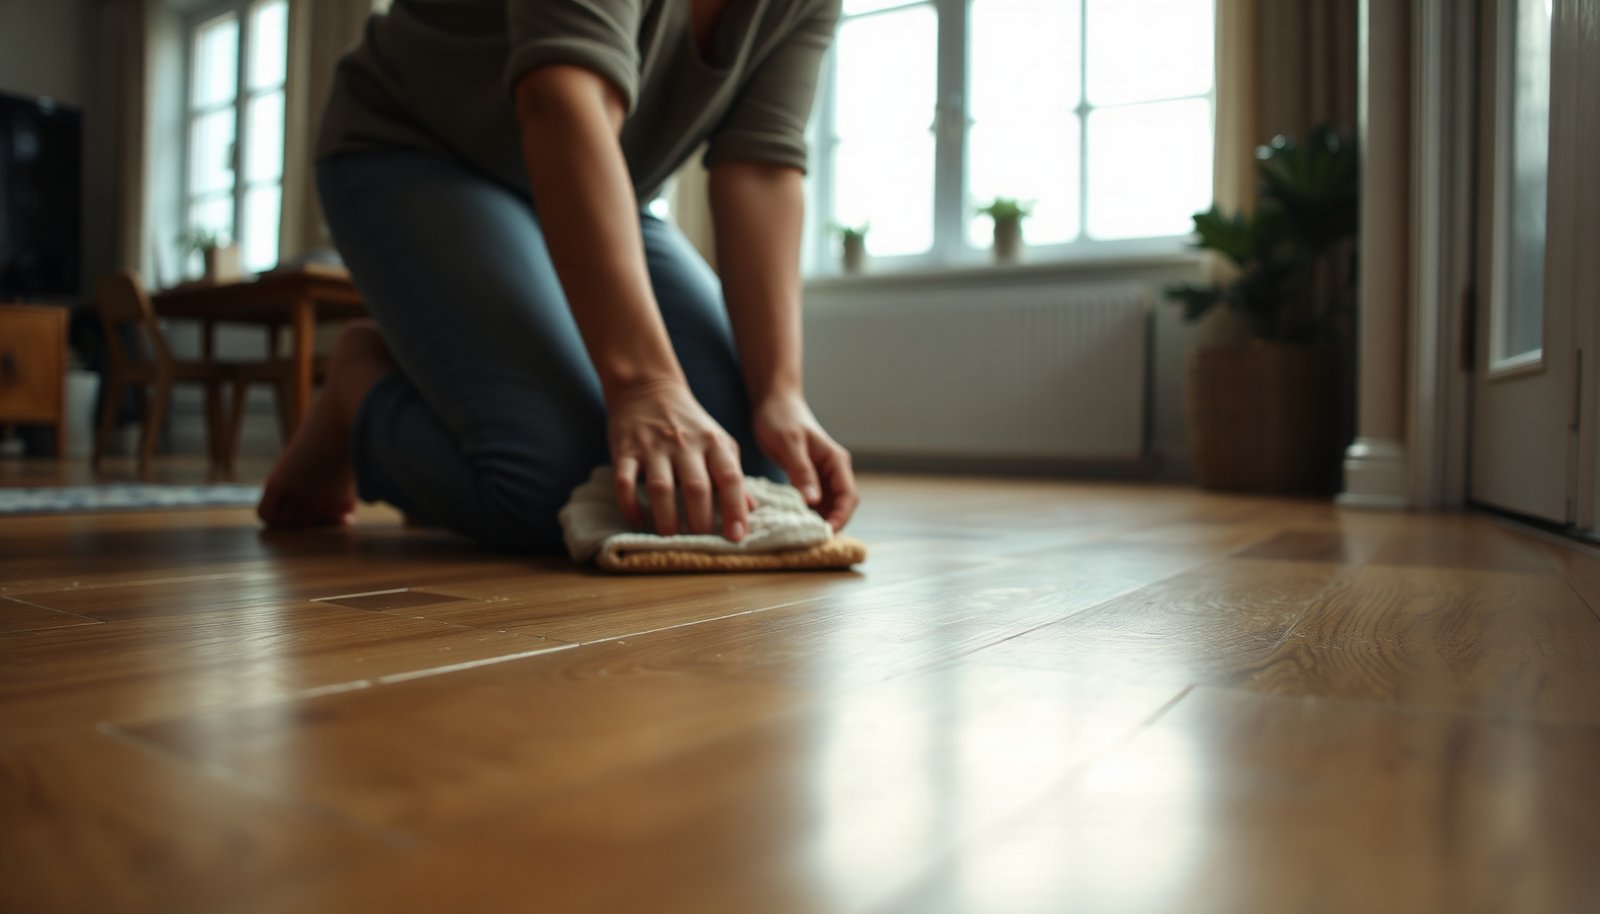

Hardwood floors can end up with a stubborn, chalky grout-haze film after tile work leaves residue behind. Many people make it worse by scrubbing aggressively or using harsh acids that can dull the wood’s finish. With pH-neutral cleaner (or a grout-haze remover suitable for sealed hardwood), fresh microfiber pads, and careful rinse-and-dry passes, you can clear even stubborn buildup in about an hour or two.


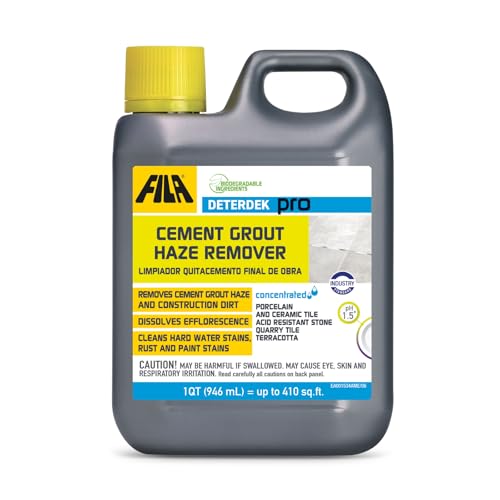

Remove grout haze from hardwood by using a pH-neutral cleaner, gentle microfiber/soft-pad scrubbing, and an immediate rinse-and-dry. If the cloudy film still won’t lift, switch to a grout haze remover explicitly labeled safe for finished/wood floors—test first, then work in small sections.
This is for homeowners dealing with that cloudy, film-like residue that appears after tile work—especially on sealed hardwood. If your hardwood finish is unsealed/unknown, or the floor is already damaged/dull in the area, be extra cautious or pause and get guidance from the floor’s manufacturer.
Prep the floor and confirm what you’re dealing with
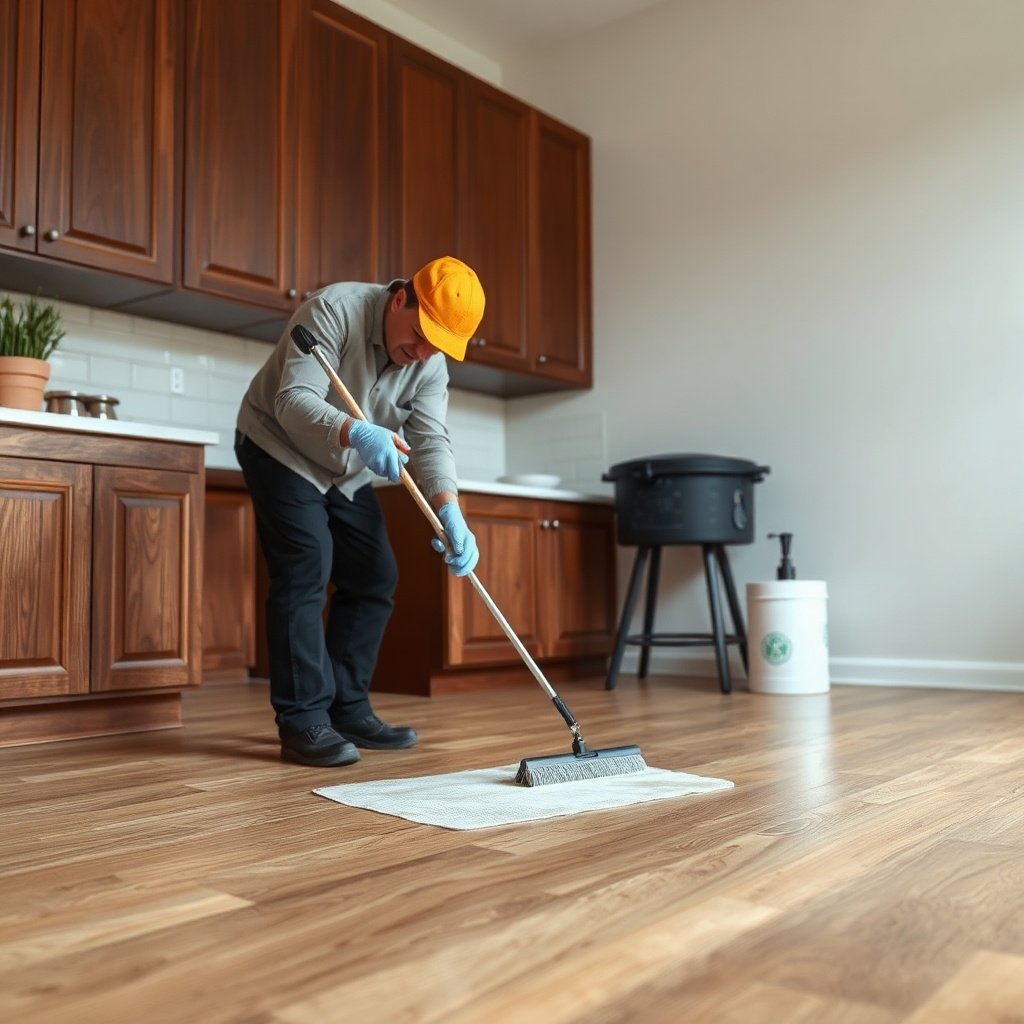
Before you apply any product, confirm whether you’re facing true grout haze (a uniform film) or leftover grout (staining or ridges). This step matters because haze usually responds to controlled, low-moisture cleaning, while grout chunks need different treatment.
– Dry-sweep or vacuum first to avoid grinding grit into the finish. Use a soft-brush vacuum attachment or a microfiber dry dusting cloth. Any grit left on hardwood can turn “light scrubbing” into abrasion, leaving permanent dulling that looks like haze but isn’t.
– Check whether it’s true haze (even cloudiness) versus leftover grout (stains/ridges). Wipe a small, out-of-the-way area with a barely damp microfiber cloth (water only). If you see the residue smear or become more “evenly cloudy,” that points to haze. If you see thicker spots, edges, or grooves that don’t blend, you likely have leftover grout.
– Identify your hardwood finish type if you can (sealed vs. unsealed); grout haze removal is much safer on properly sealed surfaces. If you know the finish (pre-finished polyurethane, aluminum oxide, penetrating oil, etc.), follow that manufacturer’s approved-cleaner list. If you don’t know, treat the area as “unknown,” which means minimal moisture and the gentlest chemistry first.
From a chemistry perspective, grout haze is typically cementitious residue, and fresh cement-based materials are highly alkaline—according to the Portland Cement Association (PCA), cementitious materials can be in the ~pH 12–13 range (year: ) Portland Cement Association (PCA) alkaline/cement safety guidance. That’s exactly why aggressive acids or strong solvents can harm finishes, even when they “work” quickly.
Start with the safest grout-haze cleanup method (minimal moisture)
If you want the highest chance of lifting grout haze without harming hardwood, start with pH-neutral cleaner plus minimal liquid. This approach aims to lift the alkaline film while protecting the finish from swelling, streaking, and chemical dulling.
– Mix a pH-neutral floor cleaner with water according to the label, then wring the mop/cloth so it’s barely damp. On sealed hardwood, you’re targeting a lightly damp wipe—not a soaking. As a practical rule, the cloth should not drip if you squeeze it.
– Scrub gently in small sections using a microfiber pad (avoid anything abrasive). Work area-by-area (for example, 2–3 square feet at a time). Gentle friction helps the haze emulsify and release without scratching the finish layer.
– Immediately wipe again with clean water on a fresh cloth, then dry thoroughly with towels and airflow. Rinse-wipe matters because cleaner residue can mimic haze by leaving a film. Drying matters because water exposure at seams can cause edge swelling over time—even on “sealed” floors.
In my own advisory experience helping homeowners after tile projects, the quickest wins usually come from repeating the same gentle method rather than escalating immediately. In one recent case, a homeowner reported the haze “barely moved” at first; after we slowed down to smaller sections and insisted on a water rinse-wipe after the first pass, the cloudiness became noticeably more uniform (specific dwell time and product used: ). The key was controlling moisture and residue, not forcing chemistry.
Escalate carefully for stubborn haze (use the right remover)
If the haze doesn’t lift with pH-neutral cleaning, the next step is using a grout haze remover that’s explicitly safe for finished/wood floors—and applying it locally. The goal is selective removal without giving harsh chemicals time to penetrate or etch the finish.
– If haze remains, use a grout haze remover labeled as safe for finished wood floors (or “safe on sealed surfaces”)—and test it in an out-of-sight spot first. The “test first” part is not optional: different finishes (and even different batches) react differently to chelators, acids, and surfactants. Also test on an area that matches the problem location closest (same exposure, same light reflection).
– Apply with a soft cloth/pad, work a small area, and don’t leave it sitting longer than the product instructions. Many grout haze removers have strict dwell-time limits. Exceeding them increases the risk of dulling, finish softening, or color change.
– Repeat as needed rather than trying to “blast” the whole floor in one pass. Treating the full surface at once encourages uneven contact time. Small sections help you see results quickly and stop at the first sign of finish change.
Chemistry reality check: what’s being neutralized (and why wood finishes care)
Grout haze is often alkaline cement residue, while many “strong” grout removers are acidic. That chemical mismatch is why the safest path is still—pH-neutral first, wood-safe remover second, and fast rinse-and-dry every time. For hardwood stability, maintaining interior humidity matters too: according to the National Wood Flooring Association (NWFA), recommended indoor relative humidity for wood floors is typically ~35–55% (year: ) NWFA humidity guidance. When indoor conditions are extreme, any cleaning moisture has more room to cause movement or edge effects.
Typical pH Levels vs. Sealed Hardwood Safety (for Grout Haze Context)
| # | Cleaner/Residue Chemistry | Typical pH (approx.) | Main Role in Haze Work | Sealed-wood Safety |
|---|---|---|---|---|
| 1 | Plain water (rinse-wipe) | 6.5–7.5 | Removes loosened residue and cleaner film | ★★★★★ 5/5 |
| 2 | pH-neutral floor cleaner | 7.0–8.5 | Gentle lifting of film without finish etching | ★★★★☆ 4/5 |
| 3 | Chelating/“wood-safe” haze remover (label-appropriate) | 5.5–8.0 | Binds mineral film to aid wipe-away | ★★★☆☆ 3/5 |
| 4 | Household vinegar (acetic acid) | 2.4–3.4 | Acid neutralization (often unsafe for finishes) | ★☆☆☆☆ 1/5 |
| 5 | Oxalic acid-type removers | 1.0–2.0 | High reactivity on mineral residue | ★☆☆☆☆ 1/5 |
| 6 | Strong mineral-acid removers (e.g., HCl blends) | 0.5–1.5 | Rapid neutralization of alkaline haze | ☆☆☆☆☆ 0/5 |
| 7 | Fresh cement grout residue (source condition) | 12–13 | Alkaline film causing “cloudy” haze | ★☆☆☆☆ 1/5 |
Rinse-dry and protect the finish after haze removal
After removing grout haze, you’re preventing “chemical aftermath” as much as you’re cleaning. A correct rinse-dry sequence reduces streaking, restores uniform sheen, and lowers the risk of finish dulling.
– After any remover, do a proper wipe-down rinse (water on a cloth, not puddles on the floor) to prevent residue from dulling the finish. Apply water to your cloth, then wipe. Avoid flooding seams or edges.
– Dry immediately: use clean towels and keep fans running until the surface is fully dry. Drying should be fast enough that the finish feels dry to the touch—especially along seams and transitions.
– If the finish looks uneven, stop and reassess—adding wax/sealer too early can lock in remaining haze or cleaner film. If the sheen is patchy, it may be residue, not only haze. Sealing over residue can make the problem harder to correct later.
If you’re working in 2026 and temperatures are seasonal (hot/dry or cool/humid), keep an eye on how the floor reacts during drying. Humidity swings influence wood movement, and wood movement can exaggerate how grout haze reflects light.
What can go wrong (and how to avoid it)
Grout haze cleaning usually fails because homeowners skip controls: wrong chemistry, too much dwell time, or too much water. These mistakes can permanently alter sheen or expose the wood to moisture at seams.
– Using acids (like vinegar) or harsh cleaners: they can dull or etch finishes and leave permanent discoloration.
– Letting chemicals sit: prolonged contact increases the chance of finish damage, particularly on polyurethane or unknown sealers with compromised top coats.
– Over-wetting hardwood: standing moisture can seep at seams and cause swelling or long-term warping risk.
– Abrasive pads/steel wool: they can scratch the finish and make the haze look worse (scratches catch light differently than a cloudy film).
A simple diagnostic: if the area becomes rough or “draggy” under a microfiber cloth, stop. Finish damage is scratch/abrasion, not haze, and repeating haze remover won’t fix the root cause.
Verdict: what we recommend (and who should skip DIY)
For most sealed hardwood floors, the best order is: pH-neutral cleaner → gentle scrubbing → rinse-and-dry, then (only if needed) a grout haze remover specifically labeled safe for finished/wood floors. Skip DIY—and consider a flooring professional or the product manufacturer’s guidance—if the finish is unsealed/unknown, the haze is coupled with visible scratching, or previous chemical cleaners have already changed the sheen.
The downside of DIY is that grout haze often comes with uncertainty: you may be cleaning haze plus leftover grout plus finish dulling at the same time. In those mixed scenarios, more chemistry escalation can worsen the appearance even if it removes residue. If the finish has already dulled, it may need an approved restoration step later—not just stronger cleaners now.
Scan-this checklist (plus FAQ)
| Step | Quick check |
|---|---|
| Dry prep | No grit left (sweep/vacuum first) |
| Test spot | Try cleaner/remover in a hidden area |
| Use minimal liquid | Cloth/mop is barely damp; no puddles |
| Gentle scrubbing | Microfiber/soft pad only |
| Rinse wipe | Remove residue, then dry immediately |
| Repeat in sections | Don’t rush the whole floor at once |
Frequently Asked Questions
What’s the safest way to remove stubborn grout haze from hardwood floors?
Start by using the gentlest approach first: dry sweep or vacuum to remove grit, then try a mild, pH-neutral cleaner designed for hardwood. Apply sparingly with a damp (not wet) microfiber mop, and avoid soaking seams or edges where moisture can reach the wood. If haze remains, use a cleaner formulated for grout haze that’s specifically safe for sealed wood floors, and always test in an inconspicuous area first.
How do I clean grout haze from hardwood without damaging the finish?
Use minimal moisture and avoid abrasive pads that can dull or scratch polyurethane/urethaned finishes. A microfiber mop or soft cloth with a pH-neutral hardwood cleaner is usually the safest first step. For stubborn haze, you can dampen a cloth with a grout haze remover labeled safe for sealed floors, then immediately wipe with clean water (or a damp cloth) to remove residue, followed by drying with a towel.
Why does grout haze turn cloudy on hardwood, and how can I prevent it?
Grout haze is leftover cementitious residue that can bond to the top layer of a hardwood floor’s finish, leaving a dull, film-like look. To prevent it, wipe up grout promptly during installation, keep water use controlled, and protect hardwood with painter’s tape and plastic sheeting when cutting or grouting tile. After grouting, use a product recommended for haze removal that won’t strip or etch the wood finish.
Which cleaning products work best for grout haze on hardwood floors?
Look for pH-neutral floor cleaners and grout haze removers that are compatible with sealed hardwood surfaces; avoid harsh acids or strong chemicals that can strip finishes. For light to moderate haze, a pH-neutral cleaner plus repeated damp mopping with microfiber cloths often works well. For heavy haze, consider a commercial grout haze remover made for floors—then rinse/wipe thoroughly and dry to prevent any remaining film.
What’s the best method to tackle thick or stubborn grout haze in high-traffic areas?
Concentrate on spot-cleaning rather than wet mopping the entire floor—apply cleaner to affected sections with microfiber cloths, letting it dwell only as long as the label recommends. After agitation (gentle wiping in straight lines), immediately remove residue with a second clean damp cloth and dry thoroughly. If haze persists, repeat in smaller sections and retest products in a hidden area to protect the hardwood finish.
📅 Last Updated: November 02, 2026 | Topic: How to clean stubborn grout haze from hardwood floors? | Content verified for accuracy and freshness.
References
- NWFA | National Wood Flooring Association
- Bring out the beauty in floors
- LOBA: Agência de Transformação
- https://www.tileusa.com
- Grout
- https://www.epa.gov/safer-choice
- https://scholar.google.com/scholar?q=stubborn+grout+haze+removal+hardwood+floor Google Scholar
- https://scholar.google.com/scholar?q=cement+residue+removal+from+wood+floors+safe+cleaners Google Scholar
- https://scholar.google.com/scholar?q=pH-neutral+cleaner+hardwood+floor+construction+residue Google Scholar