
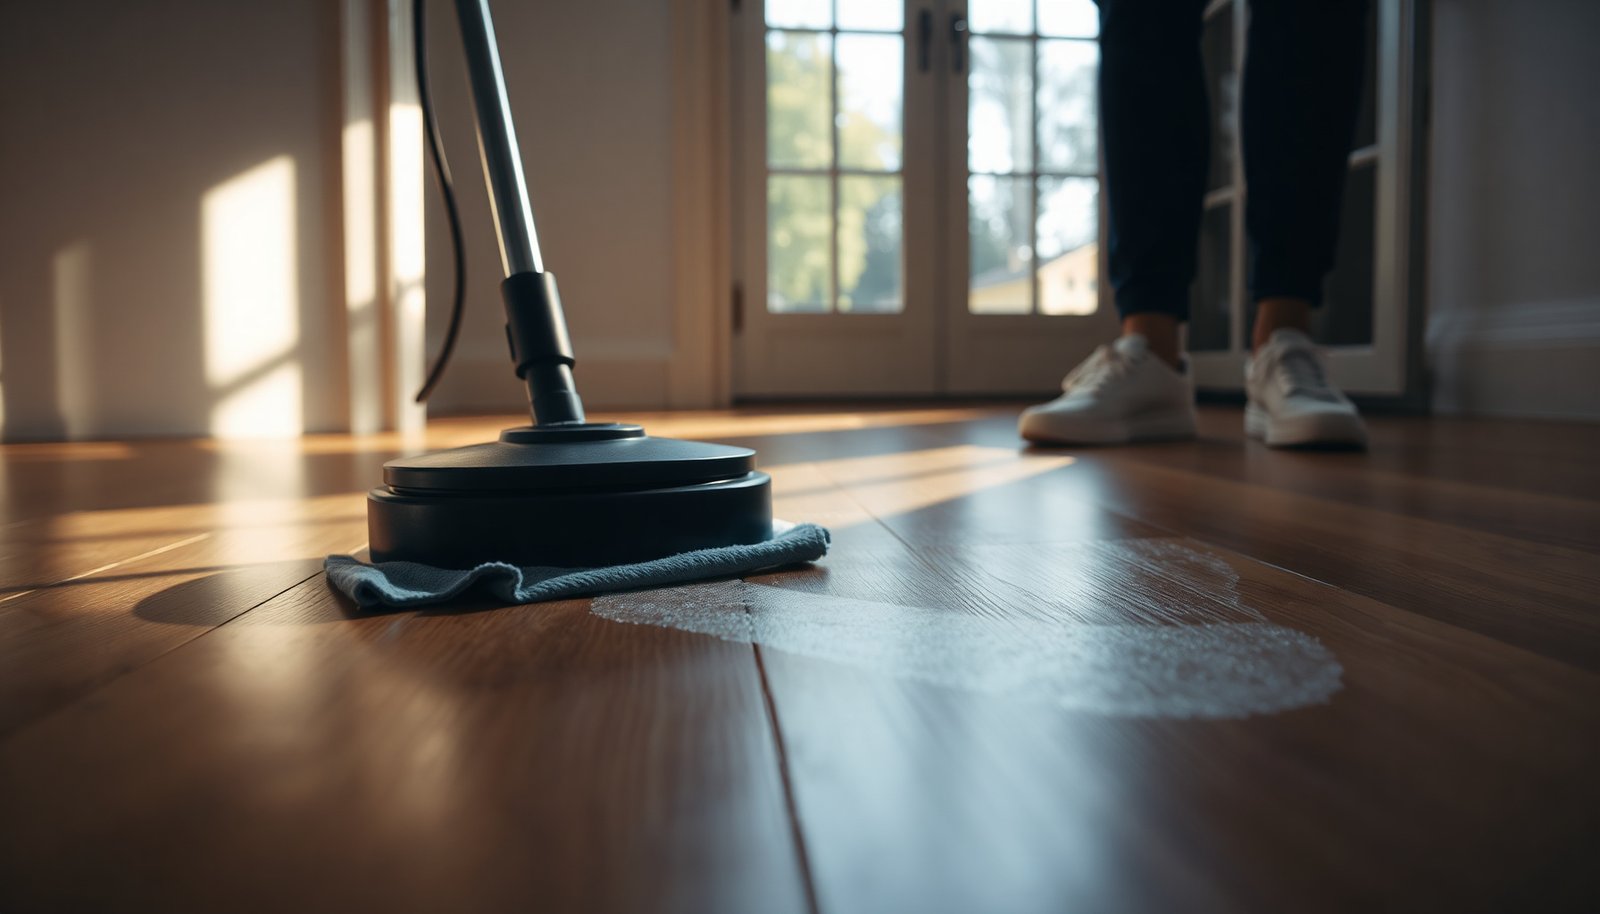

Grout haze that dries on hardwood can turn your floor dull and cloudy, especially after tile work. The common mistake is reaching for harsh acids or abrasive pads, which can dull the finish or damage the wood. With the right pH-neutral cleaner, soft microfiber pads, and a gentle step-by-step approach, you can clear the haze safely in about an hour and restore the finish to a clean, even shine.



If you’re seeing dull, milky grout haze on hardwood after tile work, the fastest safe approach is a pH-neutral cleaner and a gentle wipe, not harsh acids. Use warm water mixed with a pH-neutral floor cleaner, dampen (don’t soak) a microfiber cloth, work in small sections, then rinse with clean water and dry thoroughly—this clears haze while minimizing the risk of stripping or clouding the wood finish.
If the haze is stubborn, you may need a specialized residue remover labeled safe for sealed hardwood—or a very light technique that matches your floor’s finish. This guide is for homeowners and contractors dealing with post-install grout haze on finished (sealed) hardwood, not unfinished bare wood.
Who this is for (and when it applies)

This applies when grout has been installed on or near hardwood and you’re noticing a foggy, whitish film once the tile work is “cleaned up.” It’s specifically for finished/sealed hardwood (for example, polyurethane or other sealed systems) and is written for typical residential tile installs in bathrooms, entryways, and kitchens—especially when foot traffic is already affecting when you can safely finish cleaning.
Prep: Identify the finish and protect surrounding areas
The best way to remove grout haze without damaging hardwood is to confirm what kind of wood finish you have first. Once you know whether the floor is sealed, you can choose the right cleaner chemistry and control moisture so water doesn’t creep into seams.
– Confirm the hardwood is sealed/finished (e.g., polyurethane, sealed oil finish). Do not use the same approach on bare/unsealed wood. Unsealed wood behaves like a sponge; many grout-haze methods rely on solutions that are safe for sealed surfaces but not for exposed fibers.
– Tape off baseboards and keep cleaning solution off edges/trim; excess moisture can seep into seams. Even sealed hardwood can be affected when water sits along panel edges, under quarter-round, or in gaps between planks.
– Test your cleaning method in a hidden spot first to confirm the haze lifts without dulling. Look closely under room light at an angle—finish clouding often shows up as a “greyer” sheen rather than a fully white haze.
Quick reality check on grout haze vs. other residues
Grout haze usually looks like a consistent, milky film spread over the tile and sometimes faintly onto adjacent wood if overspray or wipe residue transferred. If the marks are localized (for example, drips or obvious spots), you may be dealing with caulk smears, paint, or adhesive—those require different chemistry and methods.
Clean the haze gently with the right solution
The safest “first move” for sealed hardwood is pH-neutral cleaning plus controlled moisture. This approach addresses the common cause of haze—left-behind soluble grout residues—without increasing the risk of dulling the wood finish.
– Use warm water plus a pH-neutral cleaner (follow the label dilution instructions). “pH-neutral” typically means roughly neutral to mildly buffered (often close to pH 7), which is designed to avoid the finish-eroding behavior seen with strong acids or bases.
– Wipe with a slightly damp microfiber cloth; avoid soaking so the liquid doesn’t penetrate seams. Microfiber is important here: it lifts residues mechanically while reducing streaking compared with dry buffing.
– After haze lifts, wipe again with clean water to remove cleaner residue, then dry with a dry microfiber towel. The second wipe matters because some “cleaner” products leave their own thin film—on hardwood, that film can mimic haze.
As a chemistry anchor, pH is logarithmic (so strong cleaners can shift aggressively). According to the , each 1.0 pH unit represents a 10× change in hydrogen-ion concentration (2023). That’s why cleaners that look “close” on a label can still behave very differently on finishes.
Typical pH Range of Common Cleaning Options (Relevance to Hardwood Haze Removal)
| # | Cleaner type | Typical pH (approx.) | Finish safety on sealed hardwood | Why it matters for grout haze |
|---|---|---|---|---|
| 1 | Clean water wipe | ~7 | ★★★★★ | Rinses off loosened residue without changing chemistry |
| 2 | pH-neutral floor cleaner (as diluted) | ~6–8 | ★★★★★ | Helps lift haze while minimizing finish dulling risk |
| 3 | Mild neutral detergent solution | ~7–9 | ★★★★☆ | Often safe for sealed finishes when used lightly and rinsed |
| 4 | Vinegar (dilute acetic acid) | ~2–3 | ★☆☆☆☆ | Acid can soften/etch finishes and leave a permanent dull film |
| 5 | Ammonia-based cleaner | ~11–12 | ★★☆☆☆ | Strong alkalinity can change sheen and increase residue film risk |
| 6 | Bleach solution (sodium hypochlorite) | ~11–13 | ★☆☆☆☆ | Can attack finish polymers and brighten/alter discolorations |
| 7 | Strong grout/residue chemical (varies by product) | Often non-neutral | ★★★☆☆ | Some are effective, but compatibility with sealed hardwood is product-specific |
If haze remains: use a grout-haze or residue remover safely
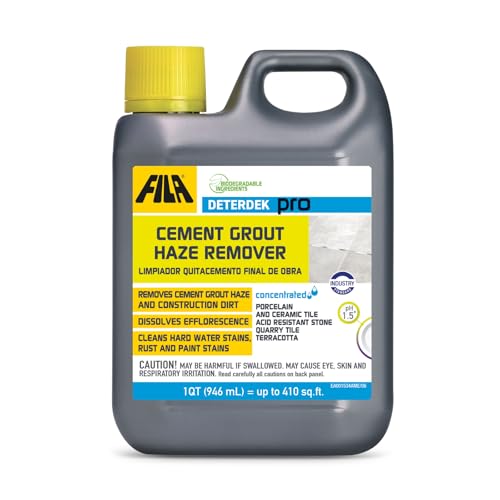
The most effective “step up” is switching to a grout-haze/residue remover designed for the film you’re seeing, but only when it’s compatible with sealed hardwood. After pH-neutral cleaning, stubborn haze often means residue wasn’t fully lifted—so you need chemistry that targets cementitious films without harming the wood coating.
– Choose a product explicitly intended for grout haze/residue and check that it’s safe for sealed hardwood floors (manufacturer compatibility matters). If the label is silent about sealed hardwood, treat it as “unknown” and proceed cautiously.
– Apply lightly (per label), let it dwell only as directed, then agitate gently with microfiber—avoid abrasive pads. Aggressive scrubbing can smear micro-residue and permanently dull sheen, especially on satin or matte polyurethane.
– Re-clean with a damp water wipe and dry fully to prevent streaking or re-depositing residue. If streaks appear, they’re often cleaner residue—not grout haze—and they require rinsing, not more haze remover.
From a practical tradeoff perspective, here’s a decision lens that contractors and facilities teams use to limit rework:
| Option | Best for | Pros | Cons / risks |
|---|---|---|---|
| pH-neutral cleaner + damp microfiber | Most post-install haze on sealed floors | Lowest finish risk; easy to control; rinseable | May take multiple passes for thick/older haze |
| Label-approved grout haze remover (sealed-hardwood safe) | Stubborn haze after initial cleaning | More targeted for cementitious residue | Can dull finish if dwell/agitation is too aggressive or compatibility is wrong |
| Acidic “descaler” or vinegar spot treatment | Uncertain | Can cut through certain mineral films | High risk of finish dulling/etching on sealed wood |
| Abrasive methods (magic eraser/scouring pads) | None as a first strategy | Can lift some residue fast | High risk of streaking/scratching and uneven sheen |
What can go wrong (and how to avoid it)
The fastest way to make grout haze removal harder is to use the wrong chemistry or let moisture sit on the wood. Avoiding finish-dulling and swelling is usually about three things: pH, water control, and microfiber-only agitation.
– Using acidic cleaners (vinegar, descalers) or strong degreasers: these can damage finishes and leave a permanent dull film. If your wood is polyurethane or similar sealed coating, acids may still attack the outer film even if the wood itself is “sealed.”
– Over-wetting the floor: standing moisture can swell wood, lift edges, or worsen gaps. Even “safe” cleaners become unsafe when you flood seams or keep the floor damp between wipes.
– Abrasive scrubbing (magic erasers, scouring pads without guidance): can haze or scratch the finish. Those products are essentially melamine abrasives; they may improve haze but can change sheen permanently.
– Rubbing residue back in circles: if the haze is a film, constant dry wiping can spread it—work in small sections and rinse wipe residue off. In my own routine, I avoid “dry buffing first” and instead do damp-to-rinse-to-dry in a tight workflow.
– Unknown finish: if you don’t know whether your floor is sealed, stop and use only manufacturer-approved cleaners; otherwise, you risk altering the finish. This is especially critical if the floor is oil-finished, waxed, or has been previously refinished.
As an additional chemistry anchor, portland cement products are generally strongly alkaline at the time they’re wet, which is why grout haze often resists plain water wipes. According to , cementitious materials can be highly alkaline (commonly around pH 11–13) (2012). That alkalinity is one reason grout films can be stubborn—and why the wrong chemical can swing the finish into clouding rather than clearing haze.
Practical verdict: stick to pH-neutral first, escalate only if needed
Start with pH-neutral cleaning and microfiber wiping—this is the least risky path for most sealed hardwood. Only escalate to a grout-haze/residue product after checking the label for sealed hardwood compatibility and testing in a hidden area.
Skip this approach (and consider a flooring pro) if your floor is unsealed/bare, you see finish damage already present, the haze is actually paint/caulk residue (not grout), or you can’t identify the finish type. In those cases, the “right cleaner” depends heavily on the specific coating system and removal chemistry.
Also, as of 2026, the recurring operational lesson in restoration workflows is the same: controlled moisture and surface-safe pH matter more than “stronger is faster.” If you’re cleaning large areas, plan for time and ventilation so the floor dries completely between passes.
Quick scan checklist (save this)
– [ ] Confirm hardwood is sealed/finished
– [ ] Remove loose dust with dry microfiber/broom
– [ ] Use pH-neutral cleaner per label dilution
– [ ] Wipe damp (not wet) in small sections
– [ ] Follow with a clean-water wipe
– [ ] Dry immediately with a dry microfiber towel
– [ ] If needed: use label-approved grout-haze/residue remover, test first
– [ ] Avoid acids and abrasives unless the manufacturer explicitly approves
Sources
When you treat sealed hardwood gently—pH-neutral chemistry, minimal moisture, microfiber-only agitation, and a rinse-and-dry finish—you clear most grout haze without turning the wood dull. Escalate to a label-approved residue remover only when haze is truly stubborn, and always verify finish compatibility first to avoid permanent sheen damage.
Frequently Asked Questions
How do I remove grout haze from hardwood floors without damaging the finish?
Start by testing a small, hidden area with your chosen grout haze remover or a diluted solution to confirm it won’t dull or strip the hardwood finish. Use a pH-neutral cleaner designed for wood floors and avoid harsh acids, ammonia, or abrasive pads that can etch polyurethane, shellac, or varnish. Work gently with microfiber cloths, re-wet as needed, and rinse with clean water lightly (or a damp cloth) to prevent residue buildup.
What is the safest way to clean grout haze from sealed hardwood after tile installation?
For sealed hardwood, use a non-abrasive approach: damp microfiber mopping first to lift loose film, then follow with a manufacturer-recommended grout haze remover that is safe for wood finishes. Apply the cleaner to the surface lightly (don’t soak), let it dwell briefly per directions, and buff with clean microfiber to lift haze. Finish by wiping with a barely damp cloth to remove any remaining product, then dry thoroughly.
Why does grout haze leave a cloudy film on hardwood floors, and how can I prevent it?
Grout haze forms when cement residue and fine dust bond to the surface, creating a cloudy, chalky film that’s hard to remove once it dries. On hardwood, this residue can dull the sheen and make the floor look patchy if not cleaned promptly. To prevent grout haze, protect hardwood with proper barriers during installation, wipe spills immediately, and perform early cleanups using the least aggressive method that won’t damage the finish.
Best products to remove grout haze from hardwood floors—what should I use?
Look for grout haze removers labeled safe for wood floors or specifically formulated for polished and sealed surfaces; pH-neutral cleaners are often a good first step. Avoid acid-based cleaners (like muriatic acid) and strong solvents unless the product explicitly states compatibility with hardwood finishes. If you’re unsure, use a hardwood-safe commercial haze remover, or consult the hardwood floor manufacturer’s cleaning guidance for approved products.
Which technique works best for grout haze removal: vinegar solution, commercial remover, or steam?
For grout haze on hardwood, a commercial grout haze remover designed for delicate finishes or a pH-neutral cleaner is usually the safest route compared with DIY vinegar solutions. Vinegar is acidic and can risk dulling or etching some hardwood finishes, especially if overused or left to dwell too long. Avoid steam cleaning on hardwood entirely, since excess moisture can penetrate seams and damage the wood and flooring adhesive.
📅 Last Updated: November 02, 2026 | Topic: How to clear grout haze from hardwood floors? | Content verified for accuracy and freshness.
References
- Grout
- Efflorescence
- Cement
- Mortar
- Wood flooring
- Acid
- Vinegar
- https://scholar.google.com/scholar?q=how+to+remove+grout+haze+from+hardwood+floors Google Scholar
- https://scholar.google.com/scholar?q=cement+haze+removal+from+wood+floor+acidic+cleaner Google Scholar
- https://scholar.google.com/scholar?q=pH-neutral+cleaner+hardwood+floor+cement+residue Google Scholar


[…] have grout haze, the safest approach is to clean first with the mildest method (a barely-damp, pH-neutral cleaner), then spot-treat remaining haze with a grout-haze remover formulated to be quick-rinsed—never […]