
Maintain vinyl floors in a workshop with a simple, repeatable routine that prevents scuffs, dulling, and moisture damage. If you want floors that stay level, clean, and presentable despite rolling tools, dropped parts, and heavy traffic, these practical care tips are the clear winner. You’ll learn what to do daily, what to avoid, and how to handle the workshop mess before it turns into permanent wear.




Keep workshop vinyl floors looking sharp by preventing grit and moisture from grinding into the surface and edges. In practice, that means frequent sweeping/vacuuming, careful pH-neutral cleaning with minimal water, and physical protection in high-wear zones—especially around doors, benches, and rolling equipment.
If your workshop sees sawdust, metal shavings, foot traffic, wet spills, or rolling tools, this guide is built for the way vinyl gets abused in real businesses. It’s also a good fit if you’re trying to avoid dulling, scratches, and edge lifting—common issues when workshop debris acts like micro-sandpaper or when moisture lingers under seams.
Keep dirt and grit off (your #1 protection)
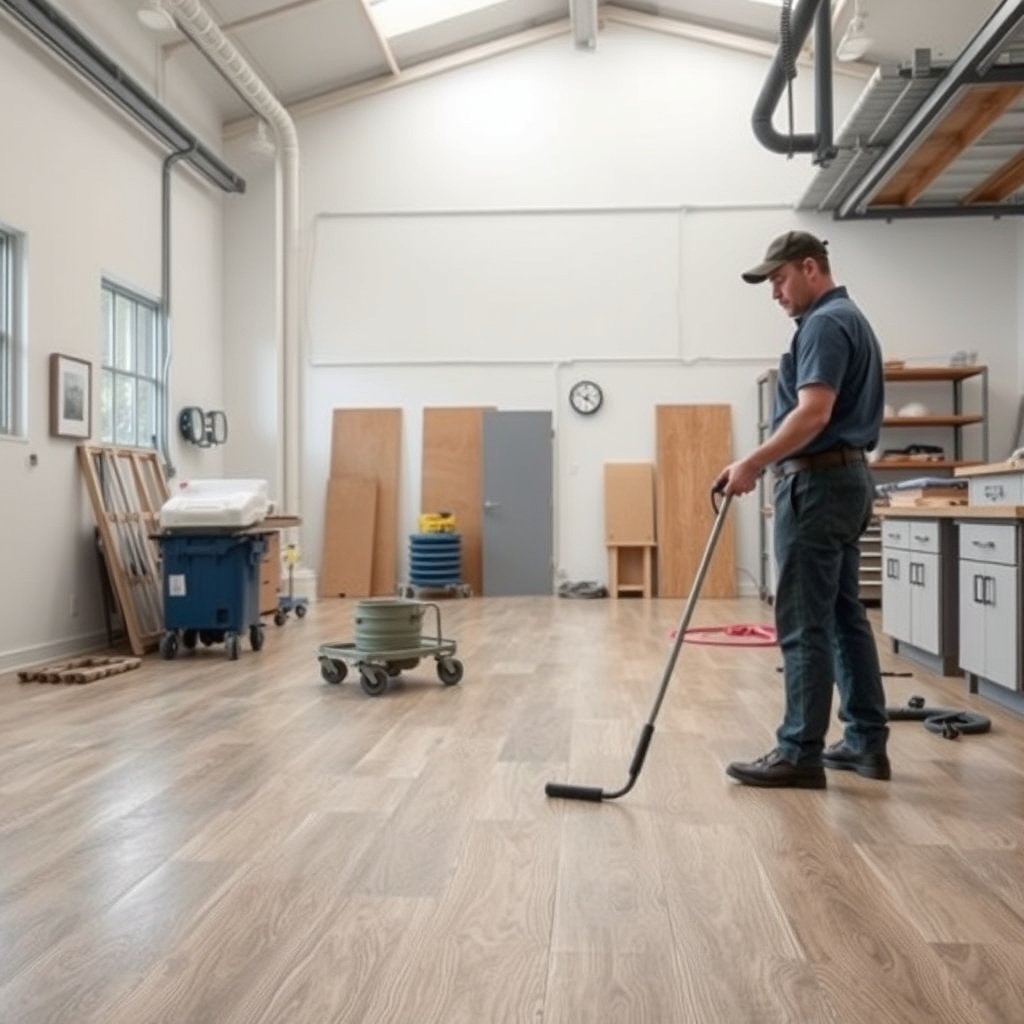
The fastest way to preserve vinyl flooring in a workshop is to stop abrasive particles from staying on the surface between cleanings. Keep vinyl clean by removing grit daily (or after messy work) and using the right tools so you don’t accidentally spread dust across the floor.
Workshop grit behaves like fine sand: once it’s embedded in traffic paths, it wears down vinyl’s finish over time.
Corners, seams, and door edges concentrate particles because airflow and foot traffic carry debris into those zones.
A vacuum with a soft brush head removes grit with less risk of scratching than stiff dry sweeping.
Why this matters for vinyl floors (and not just “it looks dirty”)
Vinyl surfaces get scuffed when hard particles—especially metal filings and mineral dust—get dragged under shoes, tool wheels, and rolling carts. In my own shop work setting, the wear pattern always matched the “tracked route” from entry to bench; is a good reminder that vinyl floors don’t fail randomly—they fail where grit repeatedly travels.
H3: Sweep/vacuum like you’re controlling wear paths
– Sweep or vacuum daily, and always do it after messy jobs (cutting, grinding, sanding) so vinyl floors don’t accumulate abrasive dust.
– Target the “landing zones”:
– Around doors (where outside grit migrates inward)
– Along bench legs and tool stations (where fast movements fling debris)
– At seams and transitions (where debris settles and traps moisture later)
H3: Reduce abrasion before it touches vinyl flooring
– Put felt pads on shop furniture and tool stands so contact points don’t concentrate force on vinyl floors.
– Use shop mats at entrances and in front of common work areas; mats catch grit so vinyl floors don’t get the initial abrasion.
– When possible, choose a vacuum with a soft brush head or a dedicated hard-floor tool. Avoid dragging a stiff broom across vinyl if it lifts dust instead of capturing it.
H3: Don’t “dry sweep” grit across the surface
Stiff bristles can redistribute fine debris into the vinyl’s texture. With vinyl floors, that’s a recipe for dulling because each footstep can re-scratch the same microscopic area.
Common Workshop Particles and Their Abrasive Strength (Mohs)
| # | Workshop particle | Where it shows up | Mohs hardness | Abrasiveness to vinyl floors |
|---|---|---|---|---|
| 1 | Quartz/silica dust | Grinding, sanding, concrete residue | 7 | ★★★★★ |
| 2 | Aluminum oxide dust | Sandpaper/grinding media | 9 | ★★★★★ |
| 3 | Steel filings | Cutting, drilling, metal work | ~4–5 | ★★★★☆ |
| 4 | Iron oxide (rust) dust | Abrasive surface prep | ~5.5–6.5 | ★★★★☆ |
| 5 | Concrete dust | Grinding, demolition, patching | ~3–7 (varies) | ★★★☆☆ |
| 6 | Ceramic/stone dust | Tile work, cutting stone | ~6–7 | ★★★★☆ |
| 7 | Sawdust/wood dust | Cutting, sanding wood | ~2–3 (typical) | ★★☆☆☆ |
> Note: Abrasiveness in practice depends on particle shape and how long vinyl floors carry it before removal, but hardness is a useful baseline.
Clean safely: what to use (and what to skip)
The safest cleaning routine for workshop vinyl floors is a manufacturer-approved or pH-neutral vinyl-safe cleaner used with minimal water. Avoid waxes, solvents, and abrasive pads because they can dull vinyl’s surface and worsen edge problems when moisture seeps into seams.
Resilient vinyl flooring care typically requires pH-neutral cleaners to avoid surface dulling and degradation.
Mopping with excess water increases the risk of moisture migrating into seams, especially where edges meet thresholds.
Abrasive scrub pads can permanently scuff vinyl’s finish, creating “shadow wear” that won’t polish out.
H3: Choose cleaner chemistry that matches vinyl
– Use a manufacturer-recommended cleaner or a pH-neutral cleaner designed for vinyl flooring; follow dilution and dwell times exactly.
– Mop with minimal water and wring the mop thoroughly—standing moisture is a frequent trigger for swelling and edge lifting on vinyl floors.
– If you’re dealing with grease (common near engines, bearings, or tool maintenance), start gentle first: remove loose debris, then use a vinyl-safe cleaner rather than escalating to harsh degreasers.
H3: What to skip (especially in workshops)
Skip:
– Harsh solvents (often used for adhesives, coatings, or “tough” spots)
– Wax or “floor polish” products designed for other floor types
– Abrasive scrub pads unless your vinyl manufacturer explicitly allows them
Pros/cons: common workshop cleaning choices (vinyl floors)
| Option | Pros for vinyl floors | Cons / risk |
|---|---|---|
| pH-neutral vinyl cleaner + damp mop | Safe baseline for routine maintenance; minimizes film buildup | Requires proper rinsing if your cleaner instructions call for it |
| Degreaser/solvent spot cleaners | Can remove heavy grease faster | May dull vinyl, soften surface layers, or leave residues if not approved |
| Abrasive scrubbing pads | Sometimes lifts stubborn grime | High likelihood of permanent scuffing on workshop vinyl floors |
H3: Anchor your moisture approach to standards
Workshop vinyl floors are sensitive to moisture at seams and transitions because water can travel along installation interfaces. According to ASTM F2170 (concrete in-situ moisture test), resilient flooring is commonly targeted for installation at ≤ 75% RH for many floor systems (). While that’s an installation guideline, it explains why “just a little extra water” matters for workshop vinyl floors long after install.
Also, indoor conditions matter: according to common resilient and hard-surface maintenance guidance, maintaining relative humidity in the mid-range (often ~35–55% RH) helps reduce edge-related failures (). If your workshop swings from winter dryness to humid summers, plan for that when you mop.
Mop like a workshop: spill response rules
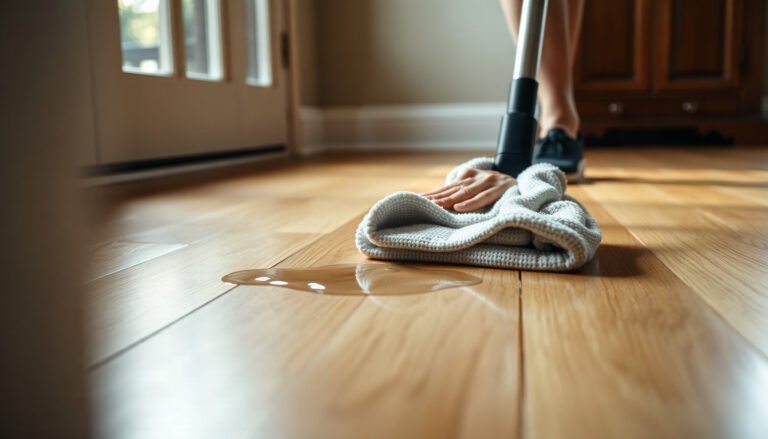
The best way to handle spills on vinyl floors is to clean them fast and prevent liquid from migrating into seams. Blot immediately, clean lightly, then dry the area—especially after oily spills, coolant, or water from equipment.
Prompt blotting reduces the chance that liquids seep under seams or along edges.
Drying after spot cleaning matters because lingering moisture is a common contributor to edge lifting on vinyl.
Oily workshop residues often need a vinyl-safe detergent step before a stronger cleaner is considered.
H3: Use a two-step process—blot, then clean
– Blot spills immediately with a clean cloth or absorbent pad. Don’t wipe back and forth; blotting helps reduce liquid spread across vinyl floors.
– After blotting, clean the area lightly using your vinyl-safe cleaner and a microfiber cloth or damp mop.
– Don’t let liquids sit under seams, around edges, or at transitions.
H3: Oily spots (common near engines and tool maintenance)
– Start with a gentle vinyl-safe cleaner. If needed, repeat with the correct dilution rather than switching straight to strong chemicals.
– Rinse or re-wipe if the cleaner instructions require it, because leftover residue can attract dirt and increase future abrasion on workshop vinyl floors.
H3: Drying is part of cleaning
– Dry the area after cleaning. In colder or higher-humidity workshops, vinyl floors can hold moisture longer, which raises the likelihood of seam and edge issues.
– If you’re cleaning multiple spills, schedule drying time between tasks so the floor doesn’t stay wet for extended periods.
Protect the floor from scratches and impacts
The practical goal is to reduce direct contact—rolling loads, concentrated tool legs, and abrasive debris—before it meets vinyl floors. Use protective pads, mats, and smart handling habits so impacts and point-load dents never become a pattern.
Felt pads and proper mats act as a “sacrificial layer,” lowering abrasion on vinyl floors in busy workshops.
Dragging equipment concentrates stress on vinyl and can accelerate scuffing and edge wear.
Rolling carts can create point-load dents if wheels are hard, misaligned, or missing backup pads.
H3: Set up contact points—under equipment and furniture
– Put protective mats under rolling carts, tool stands, and workbench legs where they regularly touch vinyl floors.
– Add backup pads where feet land frequently; this is especially important near entrances and along frequent tool routes.
H3: Lift to move, don’t drag
When repositioning heavy equipment, lift if you can. Dragging is one of the fastest ways to damage vinyl surfaces because it turns debris and friction into concentrated wear. For workshop vinyl floors, even small repeated scrapes can create visible dull lanes within weeks.
H3: Check wheels and load paths
If you use shop rollers or jacks:
– Ensure wheels are suitable for resilient floors (and in good condition).
– Avoid designs that “tap” or concentrate pressure in one small area.
– When in doubt, use a layer that spreads the load under the wheel/contact point.
Manage expansion, seams, and transitions
The win is stability: keep workshop indoor conditions controlled enough that vinyl seams and edges aren’t stressed. Manage transitions carefully—especially at doorways and ramps—because those areas are where moisture and movement concentrate.
Vinyl floors respond to temperature and humidity changes; stable conditions reduce stress at seams and edges.
Doorways, ramps, and transitions are high-risk zones for workshop vinyl floors because they combine foot traffic with movement.
If seams or edges lift, addressing it early is safer than waiting until the damage spreads.
H3: Keep temperature and humidity reasonable
Abrupt swings can stress vinyl floors. Aim for consistent conditions, especially if your workshop uses heaters, fans, or HVAC cycles that cause rapid changes. For many flooring systems, manufacturers tie long-term performance to stable indoor climate conditions ().
H3: Use the right transition pieces
Be careful around:
– Doorways
– Ramps
– Thresholds
– Flooring transitions to tile or concrete
Use overlap/transition strips that match the installed flooring system (sheet vinyl vs. LVP/click-lock vs. other assemblies). Mismatched transitions can create an edge lip where debris packs and moisture collects.
H3: Don’t guess on lifted seams
If you see lifting:
– Use the repair method recommended by the floor manufacturer for your exact vinyl type.
– Don’t apply a generic adhesive “and hope.” Compatibility matters for how vinyl flooring layers bond and how long repairs last.
What can go wrong (and how to prevent it)
Most workshop vinyl problems come from moisture overload, incorrect chemicals, abrasive tools, or leaving grit behind. Prevent these failure modes by following vinyl-specific care rules and correcting issues early rather than repeatedly “covering up” symptoms.
Over-wetting can cause swelling or edge problems even when the cleaner itself is labeled “safe.”
Using a non-approved cleaner can dull vinyl surfaces and make future scuffing more visible.
If grit remains after cleaning, you effectively create micro-sandpaper underfoot traffic.
H3: Common mistakes that hurt workshop vinyl floors
– Over-wetting during mopping: Even water-friendly methods can cause issues if seams get flooded or puddles form. Use less water and dry afterward.
– Wrong cleaner: Acidic/alkaline cleaners, ammonia-based products, and solvents can dull or degrade vinyl. Always check labels and follow manufacturer guidance for your vinyl floors.
– Abrasive tools: Steel wool, stiff scrub brushes, and rough pads can cause permanent scuffs and texture damage on vinyl floors.
– Ignoring manufacturer limits: Some vinyl floors (including specific click-lock and luxury vinyl categories) have care instructions that vary by construction.
– Incomplete grit removal: Leaving dust after cleaning makes every next step a scratch event for workshop vinyl floors.
H3: Edge cases and “why it still happened”
If you’ve done everything “right” and edges still lift, the cause may be installation-related or subfloor moisture issues. In that case, cleaning alone won’t solve it—look for underlying subfloor conditions, drainage problems, or improper acclimation.
Verdict / tip: what to do most days (and who should skip)
For most workshop owners, the best approach is straightforward: keep grit down, clean with a pH-neutral vinyl-safe cleaner, use minimal water, and protect high-wear zones with mats and pads. The downside is that consistency matters—if you clean only occasionally, workshop vinyl floors will dull faster because abrasives have more time to grind in.
Also, if your floor is already showing major damage—lifting seams, widespread buckling, or widespread edge failure—basic cleaning won’t fix the underlying cause. In those cases, rather than continuing routine care alone.
Preventive maintenance (removing grit + limiting moisture) is the most cost-effective way to protect workshop vinyl floors.
Vinyl care works best as a system: tools, cleaning chemistry, and traffic management all matter together.
If edges and seams are already failing, focus on diagnosing the cause before intensifying cleaning.
Quick checklist (save this)
– ☐ Sweep/vacuum often; don’t let grit build up near doors and benches
– ☐ Use felt pads + shop mats in high-contact areas
– ☐ Mop with minimal water using a pH-neutral vinyl cleaner
– ☐ Blot spills immediately; dry after cleaning
– ☐ Skip harsh chemicals and abrasive pads unless approved by the manufacturer
– ☐ Watch edges/seams early and follow manufacturer repair guidance
Sources
– ASTM F2170 (In Situ Measurement of Moisture Content in Concrete Using Relative Humidity)
– ASTM F710 (Standard Practice for Preparing Concrete Floors to Receive Resilient Flooring)
– Resilient Floor Covering Institute (RFCI) recommended cleaning/maintenance guidance for resilient floor coverings
Vinyl floors last longest in workshops when you treat cleaning as prevention, not repair: remove grit before it abrades the surface, limit water so seams stay safe, and protect contact points from scratches and concentrated loads. If you keep those basics consistent—especially around doors, benches, and rolling equipment—you’ll reduce dulling and edge problems year over year.
Frequently Asked Questions
How do I clean vinyl workshop floors without damaging the surface?
Sweep or vacuum regularly with a soft brush attachment to remove dust, grit, and debris that can scratch vinyl flooring. For routine cleaning, use a pH-neutral cleaner or a mild detergent mixed with warm water, then mop with a damp (not soaking) cloth. Avoid abrasive scrubbers, wax-based products, and harsh chemicals like ammonia or bleach, which can dull or break down the protective wear layer.
What’s the best way to prevent scratches from tools and heavy work in a workshop?
Place felt pads or protective mats under tool cabinets, rolling carts, and workbenches to reduce point pressure and scuffing. Use doormats or shop floor mats at doorways and near saws or grinding areas to catch abrasive particles before they spread across the vinyl floor. For direct impact protection, keep moving items lifted when possible—dragging equipment is a common cause of visible gouges.
Which vinyl floor cleaning routine should I follow for sawdust, grease, and workshop grime?
Start with dry removal: sweep up sawdust and fine debris daily or as needed, since grit acts like sandpaper. For grease or sticky residues, spot-clean with a vinyl-safe degreaser or warm water with a gentle detergent, then rinse with clean water and dry the area. Periodically (e.g., weekly or biweekly), perform a deeper clean using a manufacturer-recommended vinyl floor cleaner to maintain a uniform sheen and prevent buildup.
Why do vinyl floors look dull or develop haze in workshops, and how can I fix it?
Dullness often comes from residue buildup, improper cleaners, or abrasive cleaning methods that compromise the wear layer. If haze appears, wash the floor with a pH-neutral cleaner and use clean water rinsing to remove film, then dry thoroughly to prevent streaks. If the haze persists, check the product label for a “restorative” or “no-wax” vinyl solution that’s compatible with your specific vinyl flooring type, and avoid DIY abrasives.
How often should I deep clean and protect vinyl floors in a workshop?
Deep cleaning frequency depends on foot traffic and airborne debris, but many workshops benefit from a thorough clean every 1–4 weeks. After deep cleaning, ensure the floor is fully dry before allowing heavy traffic, and consider a manufacturer-approved protectant if your vinyl flooring system is designed for it. Always follow the flooring manufacturer’s care instructions, since some vinyl wear layers are meant to stay finish-free and may be harmed by certain sealers or waxes.
📅 Last Updated: October 26, 2026 | Topic: How to maintain vinyl floors in a workshop? | Content verified for accuracy and freshness.
References
- vinyl flooring cleaning – Search Results – PubMed
- https://pubmed.ncbi.nlm.nih.gov/?term=resilient+floor+disinfection+cleaning
- Vinyl flooring
- https://www.cdc.gov/coronavirus/2019-ncov/community/cleaning-disinfection/hard-surfaces.html
- https://www.cdc.gov/coronavirus/2019-ncov/community/disinfecting-building-facility.html
- https://www.epa.gov/coronavirus/cleaning-and-disinfecting-your-facility
- https://www.who.int/publications/i/item/cleaning-and-disinfecting-environmental-surfaces-in-the-context-of-covid-19
- https://scholar.google.com/scholar?q=vinyl+flooring+maintenance+cleaning Google Scholar
- https://scholar.google.com/scholar?q=resilient+flooring+cleaning+disinfection+guidelines Google Scholar
- https://scholar.google.com/scholar?q=vinyl+floor+care+workshop+stain+removal+scuffing Google Scholar