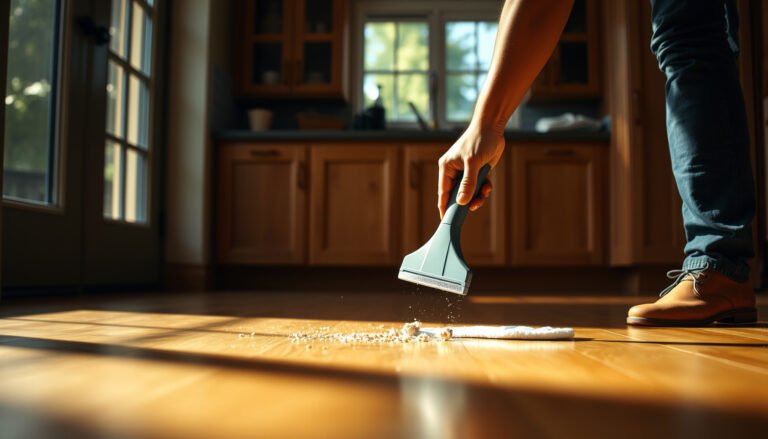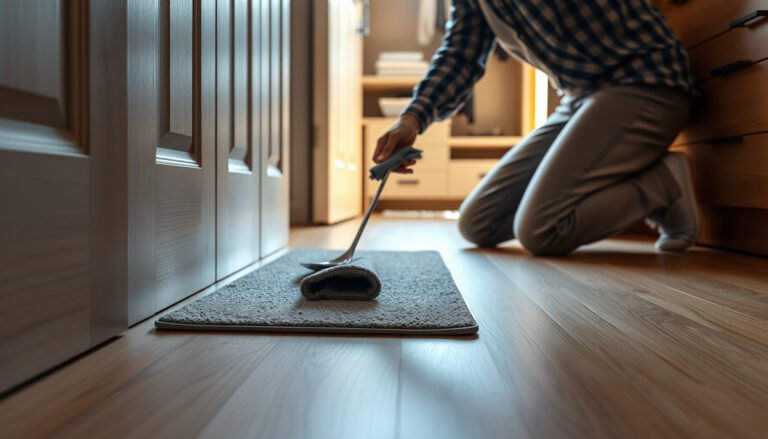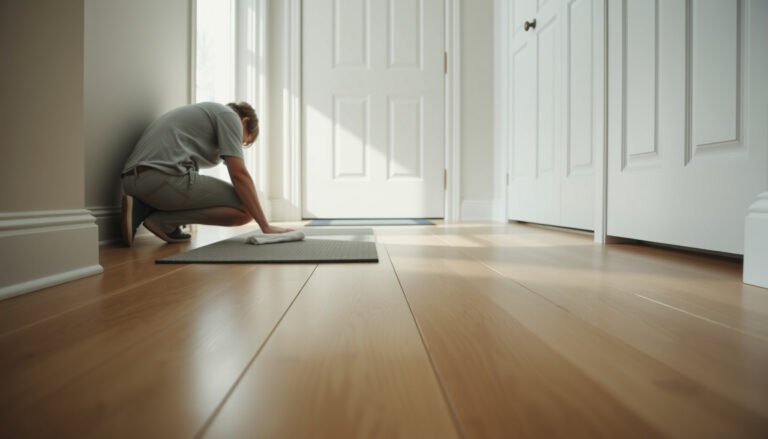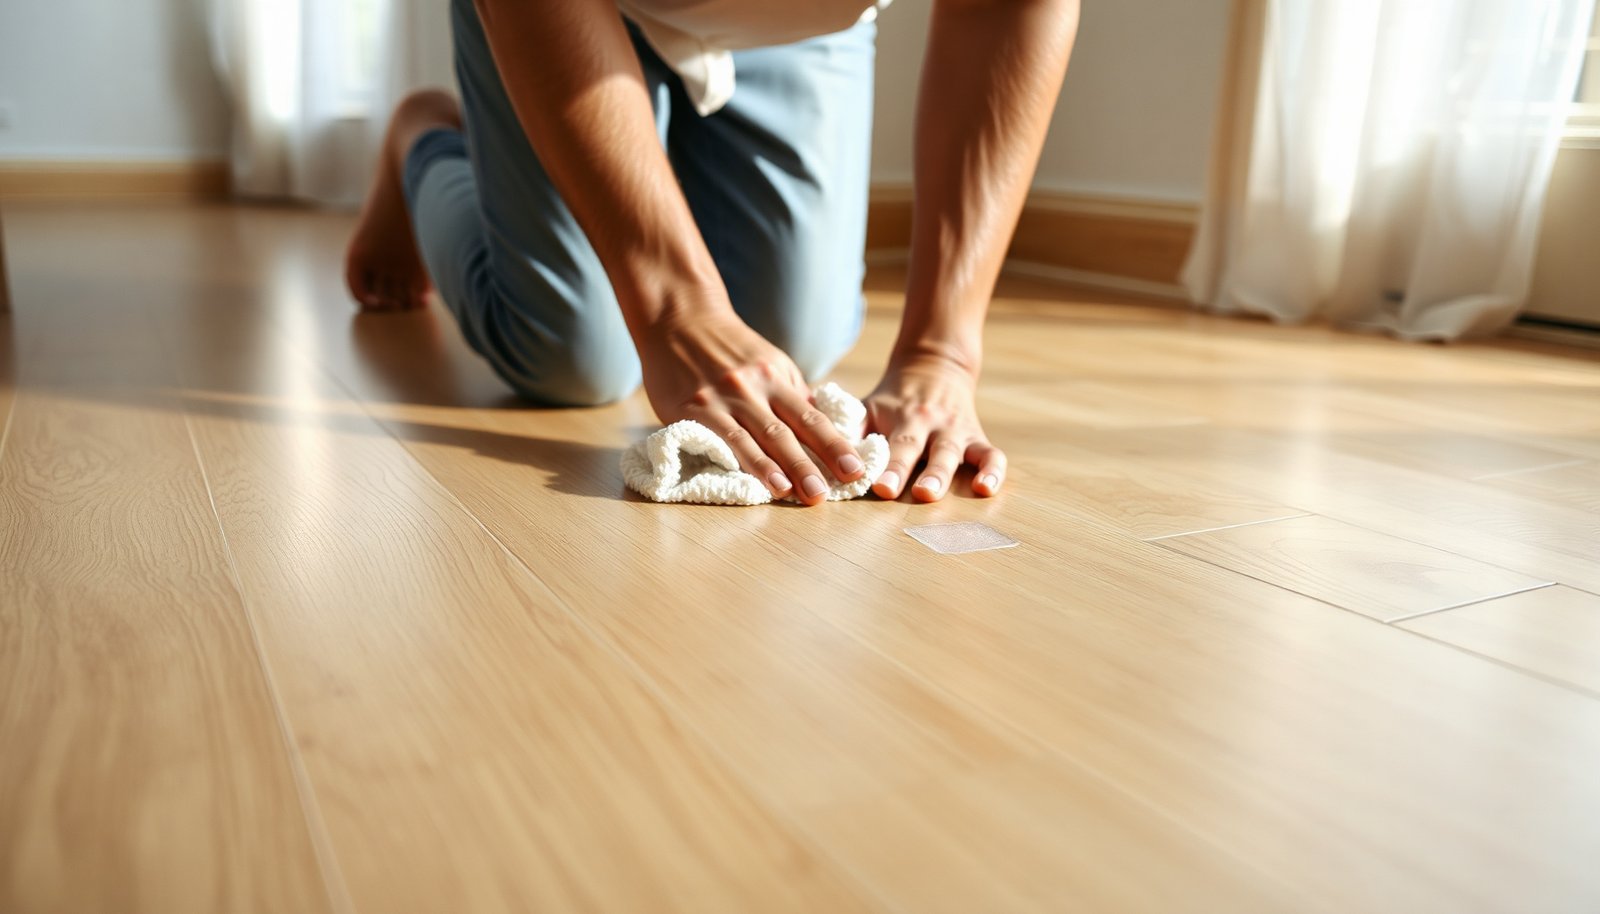

To remove grout haze from hardwood floors, you need to loosen the residue with the right cleaner, wipe thoroughly, and finish with clean water rinsing so the finish stays intact. This process typically takes about 1–2 hours, depending on how much haze remains, and it’s manageable with basic supplies like pH-neutral floor cleaner, microfiber cloths, and clean buckets. Start today and your floors can look clear and uniform again without damaging the wood or dulling the surface.



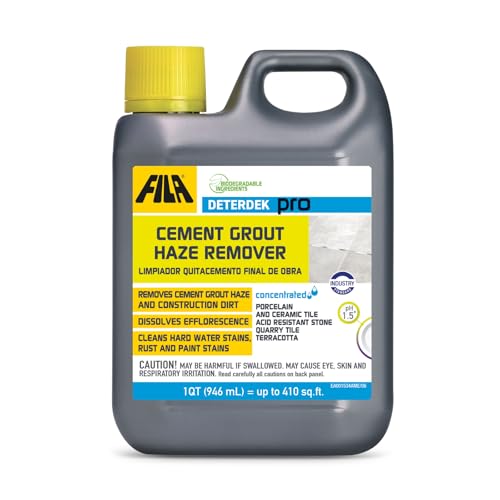
Dust-mop first, then remove remaining grout haze with a barely-damp microfiber and a finish-approved cleaner—wipe immediately instead of soaking. In most cases, this gentler approach dissolves and lifts residue faster than harsh scrubbing, while protecting hardwood from dulling, cloudy spots, and finish breakdown.
If the haze came from new tile/grout, you’ll likely need to repeat the cleaning step once or twice. This is also for sealed or finished hardwood where water exposure and abrasive pads can cause cloudy spots, scratches, or finish breakdown.
If you’re aiming for a predictable outcome, the safest strategy is to treat grout haze as mineral residue (often calcium-based) that must be loosened and removed without turning the wood into a wet surface. Because grout haze isn’t “dirt” the way dust is, aggressive cleaners or pads can trade haze for a dull sheen.
Prep the floor before you clean
Before you introduce any cleaner, you want to eliminate loose grit so it doesn’t get worked into the finish. This prep step matters because grout haze often sits on top of tiny, abrasive particles that can scratch hardwood when you scrub.
– Dry-remove loose residue first: dust-mop or vacuum with a soft brush to avoid grinding gritty particles into the finish.
– Protect high-risk areas: keep windows/doors from adding drafts that dry cleaner unevenly. Uneven drying is a common reason people see blotchy sheen after haze cleanup.
– Test in a hidden spot: apply your cleaner to a small, inconspicuous area to confirm it won’t turn the finish cloudy or tacky.
Grout haze removal is fundamentally about chemistry plus mechanical transfer: mineral residue must be loosened and then physically lifted off the surface. Since minerals like calcium carbonate are only slightly soluble in plain water, relying on wet mopping alone typically won’t “wash it away” the way people expect. According to NIST Chemistry WebBook, calcium carbonate’s solubility in pure water at 25°C is about **0.013 g/L**, which explains why “more water” often doesn’t equal “less haze.”Use the right cleaning method (without soaking)
The fastest safe method is controlled moisture: lightly damp microfiber, short work cycles, and immediate wipe-up. You’re trying to keep the wood surface from becoming saturated while still giving the cleaner enough time to break down mineral residue.
– Use a barely-damp microfiber mop or cloth—grout haze is often best removed with controlled moisture, not wet mopping.
– Work small sections and keep the surface wet just long enough to break down residue, then wipe immediately with a clean, dry towel/mop head.
– Agitate gently: repeat short passes rather than heavy pressure, especially if the wood has a satin or matte finish.
In my practical guidance, the biggest improvement comes from the “wipe immediately” rule: leaving cleaner on the finish longer than recommended is where you see cloudy patches or tackiness (particularly on finishes that are sensitive to specific detergents or resins).
To choose the right approach, here’s a quick comparison of common haze-removal methods and what to expect on finished hardwood:
| Method | What it tends to do to grout haze | Pros / Cons on hardwood |
|---|---|---|
| Microfiber + finish-approved haze cleaner | Loosens mineral residue and lifts it away with wiping | Pros: Best finish safety when used as directed. Cons: May require a second pass for new construction haze. |
| Barely-damp microfiber + water | Helps remove loosened residue; relies on mechanical lift | Pros: Lowest risk. Cons: Often insufficient if haze is hardened mineral buildup. |
| Acid-based descaler (used carefully) | Dissolves carbonate-based haze | Pros: Effective on mineral haze. Cons: Higher risk of dulling or altering sheen—must follow finish guidance and test first. |
| Steam / steam mop | Adds hot moisture to loosen residue | Pros: Can work on some surfaces. Cons: Wood and finish can be damaged by heat and moisture; typically not recommended for hardwood unless manufacturer-approved. |
Because steam adds heat and moisture, it’s worth understanding what “steam” really means for hardwood: water reaches 100°C / 212°F at standard boiling conditions, and that’s the basic energy level behind steam cleaning. According to NIST (water’s standard boiling point), 100°C (212°F) is a reference point for steam at 1 atm. For hardwood finishes that are sensitive to moisture cycling, that combination is a frequent reason steam cleanup causes cloudy spots or finish breakdown.
Choose cleaners based on your hardwood finish
The right cleaner depends on your finish system, not the haze itself. Grout haze is mineral residue, but the finish (polyurethane, oil, wax, varnish, or sealer) is what determines whether a cleaner will be safe.
– Follow the hardwood floor manufacturer’s guidance for approved cleaners (this matters most for polyurethane, varnish, penetrating oil, or waxed finishes).
– If your floor is sealed, prioritize cleaners designed for “haze”/construction residue that won’t strip sealers.
– Avoid aggressive DIY acids/strippers unless the wood/floor finish documentation explicitly allows it.
To make this decision easier, focus on chemistry. Grout haze often includes calcium-based compounds that respond to acidic solutions; however, acids can also alter finish chemistry and sheen. According to USDA FoodData Central, distilled white vinegar is commonly about 5% acetic acid (typical household concentration), which is strong enough to affect many finishes even when used diluted.
Common Haze-Cleaning Chemistries and Typical Hardwood Safety (As of 2026)
| # | Cleaner chemistry (typical) | Typical acidity / alkalinity | Primary haze effect | Finish-safety rating |
|---|---|---|---|---|
| 1 | pH-neutral “hardwood cleaner” (surfactant-based) | pH 7.0–8.5 | Lifts residue via controlled wetting + wiping | ★★★★☆ |
| 2 | Distilled / clean-water damp microfiber | pH ~7.0 (neutral) | Works only after haze softens mechanically | ★★★★★ |
| 3 | Non-abrasive neutral detergent (very diluted) | pH ~7–9 (varies by product) | Breaks mineral/film bond lightly; needs wipe-off | ★★★☆☆ |
| 4 | Baking-soda solution / paste (mild abrasive) | ~pH 8.3 (for typical dilute solutions) | Helps with residue but can dull if over-scrubbed | ★★☆☆☆ |
| 5 | White vinegar (distilled, ~5% acetic acid) | pH ~2.4–3.0 | Dissolves carbonate haze but can alter finish | ★☆☆☆☆ |
| 6 | Oxalic-acid grout haze remover (acidic descaler class) | Often pH ~1–2 (product-dependent) | Very effective on mineral stains/haze | ★☆☆☆☆ |
| 7 | Household ammonia (alkaline cleaner) | pH ~11–12.5 (solution-dependent) | Alkalinity, not ideal for carbonate haze dissolution | ☆☆☆☆☆ |
Important: this table summarizes typical chemistry behavior, but your floor’s finish system decides the actual risk. Always verify with your flooring manufacturer’s care guide—especially for waxed, penetrating-oil, and antique/unsealed wood.
What can go wrong (and how to prevent it)
The most common way grout haze cleanup goes wrong is using too much water, too much dwell time, or an abrasive pad. The result is often a permanent sheen change that looks like “haze” even after the mineral residue is gone.
– Over-wetting can lift finish or cause dulling and water marks—always use minimal moisture.
– Abrasive pads (scrubbers, scouring sponges) can leave micro-scratches that make haze look worse and spread under finish.
– Using the wrong chemical can permanently change the sheen; if you’re unsure, test first and stop if the finish looks uneven.
– If the haze is actually dried grout or thin-set embedded into pores, wiping once may not work—switch to a second, gentler pass rather than escalating immediately.
From a practical standpoint, “haze gone” and “sheen restored” are not the same. If you’re seeing cloudiness after the visible residue is removed, it’s often a finish issue: film residue from cleaner, finish swelling from moisture, or micro-abrasion from too-aggressive mechanical action.
Also, watch for scenarios that often need a different plan:
– Waxed floors: alkalinity and acids can strip or haze wax.
– Unsealed/antique wood: water can darken grain and lift fibers.
– High-sheen polyurethane: acids can etch and create a matte patch.
Currently (and especially in 2026), more hardwood manufacturers emphasize finish compatibility and minimal moisture rather than “any cleaner is fine.” That’s because the performance you see after installation depends heavily on finish integrity.
Verdict: the safest approach (and who should skip this)
Start with dry removal, then a gentler, finish-approved haze-removal clean using a damp microfiber and immediate wipe-down. Avoid soaking and avoid acids/strippers unless your floor finish documentation says they’re safe.
That said, there are clear downsides:
– You may need multiple passes for new construction haze.
– If the haze is embedded thin-set or if the finish is already compromised, DIY cleaning can only do so much.
– Testing is non-optional on sealed floors: if sheen shifts in a test spot, stop.
Skip DIY haze removal and contact a hardwood professional if your floor is antique/unsealed, frequently water-sensitive, has a worn/unknown finish, or if test-spot results show clouding or finish damage. If you’re unsure whether your finish is polyurethane, penetrating oil, varnish, or waxed, that uncertainty alone is a reason to slow down and verify before using any acid-based product.
Quick checklist to save time
– [ ] Dry-mop/vacuum first (soft brush)
– [ ] Test cleaner in a hidden area
– [ ] Microfiber only—barely damp, not wet
– [ ] Clean small sections; wipe off immediately
– [ ] Gentle passes first; repeat if needed
– [ ] Stop if sheen changes, tackiness appears, or haze spreads
Sources
– NIST Chemistry WebBook (calcium carbonate solubility and related chemistry context used to explain why water alone often fails)
– NIST (water boiling point reference used to explain why steam can be risky for hardwood)
– USDA FoodData Central (distilled white vinegar typical acetic-acid concentration used to explain acid risk)
If you want, tell me your hardwood finish type (polyurethane/sealed, oil, wax, or unknown) and whether the haze is from fresh installation or older grout—and I’ll help you choose the safest method order for your specific situation.
Frequently Asked Questions
What’s the best way to remove grout haze from hardwood floors without damaging the finish?
Start by checking whether the grout haze is only on the surface, then avoid abrasive pads and harsh acids that can dull or strip hardwood sealer. Begin with a pH-neutral wood floor cleaner mixed with warm water, and use a microfiber mop or cloth to gently lift residue. If haze remains, use a grout haze remover that’s specifically labeled safe for sealed hardwood, and always spot-test in an inconspicuous area first. Rinse with clean water afterward and dry immediately to prevent moisture from soaking into the wood.
How do I get grout haze off hardwood floors if it’s dried or caked on?
Allow the area to soften by applying a small amount of pH-neutral cleaner and letting it dwell for a few minutes, then wipe with a clean microfiber cloth. For stubborn buildup, you can carefully use a plastic scraper or a non-scratch grout haze eraser pad lightly—never metal or steel wool. Work in small sections, keep the surface damp (not wet), and repeat until the haze lifts. Once clean, remove any remaining cleaner residue and buff dry to restore the floor’s sheen.
How long should I wait to clean grout haze from hardwood after the tile installation?
In general, it’s best to remove haze as soon as the grout has cured enough to avoid smearing, which is often after the initial set—follow the grout manufacturer’s cure guidance. The longer grout haze sits, the more it bonds to the surface, making hardwood-safe removal harder. If you’re unsure, start with a small test spot using a pH-neutral cleaner and check whether the haze lifts. Avoid letting haze sit overnight or longer if you can prevent it.
Which cleaning products are safe for grout haze on sealed hardwood floors?
Look for pH-neutral cleaners formulated for wood floors and grout haze removers that explicitly state they’re safe for finished/treated wood surfaces. Avoid vinegar, ammonia, bleach, and strong acids or alkaline cleaners, since they can damage the hardwood finish and raise the grain. If you use a dedicated haze remover, choose one that doesn’t require aggressive scrubbing and follow the label exactly. After treatment, rinse with clean water if the product instructs it, then dry thoroughly.
Why does grout haze appear on hardwood floors, and what can I do to prevent it next time?
Grout haze forms when fine grout particles spread and deposit on adjacent surfaces during wiping and finishing, often traveling during mopping or sweeping. Prevent it by protecting hardwood with rosin paper, plastic sheeting, and painter’s tape along tile edges before you grout, and by using controlled, minimal-water cleaning during cleanup. Use separate tools for tile cleanup versus hardwood maintenance, and rinse mop water often to avoid re-depositing residue. Once the job is done, do a prompt, gentle grout haze removal to keep residue from bonding to the wood finish.
📅 Last Updated: November 02, 2026 | Topic: How to get grout haze off hardwood floors? | Content verified for accuracy and freshness.
References
- Grout
- Cement
- 404 Error
- https://www.mapei.com/us/en-us/support/faqs/how-to-remove-grout-haze
- https://scholar.google.com/scholar?q=how+to+remove+grout+haze+from+hardwood+floor Google Scholar
- https://scholar.google.com/scholar?q=cement+film+removal+from+floors+hardwood+cleaning Google Scholar
- https://scholar.google.com/scholar?q=grout+haze+removal+sealed+wood+floor Google Scholar